

Discover everything you need to know about the Dark Shrine Worship Hall walkthrough in Silent Hill f, including some useful tips.
Dark Shrine Worship Hall in Silent Hill f is one of the major sections inside the Dark Shrine, appearing after you clear the corridors and puzzle gates. Progressing in the chapter can be tricky and challenging due to the deadly enemies and complicated puzzles. Pick up all the notes to get hints for where to proceed. Birthing Monster is a mini-boss that appears while finding Shu’s prized possessions in the eastern chamber.
To progress further, complete the Door Puzzle, Light Puzzle, and Memories Puzzle in the Dark Shrine Worship Hall. The different monsters you encounter in the chapter are the Blade Legs Monster, Oi-Omoi, and Shackled Monster. In this guide, we’ll discuss how to progress in Dark Shrine Worship Hall, including how to complete all puzzles.
Find A Way To Unlock The Sacred Door
Move down the path and start following the Fox Mask. You need to unlock the Sacred Door to get inside the next room. There are doors on the left and right sides of the room. Interact with the Inari statues on the left to unlock this door.
Explore the Area
Pass through the door and start exploring the area. You can use Naginata while progressing in the Dark Shrine area. Keep following the path to find the shrine. Interact with it and save your game to mark it as a checkpoint. Move to the opposite side of the shrine and start locating three objects for the device.
Before that, you need to complete the Light Puzzle to progress further. Interact with the statue in the corner of the room after entering the Eastern Chambers. This allows you to change the active color to blue. Defeat the Blade Legs Monster after getting inside the newly unlocked door.
Locate Sakuko
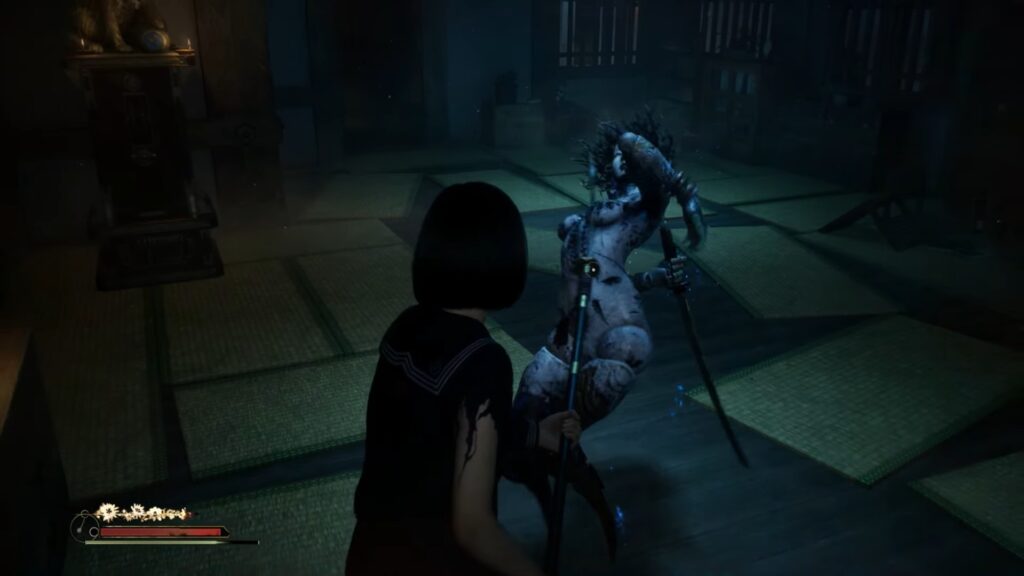
Activate the lever switches from the fox statues to unlock the doors and locate Sakuko. Open the doors in the area by activating the fox statue switches and changing the active symbol. Make your way to the closed doors by using the map. The enemies you defeat under the warding lanterns can’t rise again. You need to pull the foes into this room and kill them with your weapon under the lantern.
Get your hands on the blue seal to unlock the Central Door. Activate other fox statues after moving to the hallways to obtain the blue seal. Travel to the end of the hall to locate the Sakuko and the White Rabbit Emblem Key. Solve the puzzle after getting inside, as the doors will automatically close. You can find the Door Puzzle in the Dark Shrine Worship Hall after waking up inside the dream. You can reach the puzzle area by simply following the Fox Mask.
Move to the right side of the door to interact with the fox. Doing so allows you to open the hallway to your right. Take the stairs to move down and locate the shrine to save the game. You can find the fox statue with a lever over here. Unlock the doors by swapping the color to blue. Defeat the enemy that just appeared. It’s best to defeat this enemy under the evil-warding lantern, so it may not rise again.
Open the central door by switching the color to blue. Locate Sakuko inside the door after moving the main door in the central area. Sakuko is basically locked inside a room. Solve the succeeding Light Puzzle to exit the area after getting inside. The door will be closed once you enter the room, and you have to solve the Light Puzzle to escape from this room.
Acquire the Key in Front of the Cage
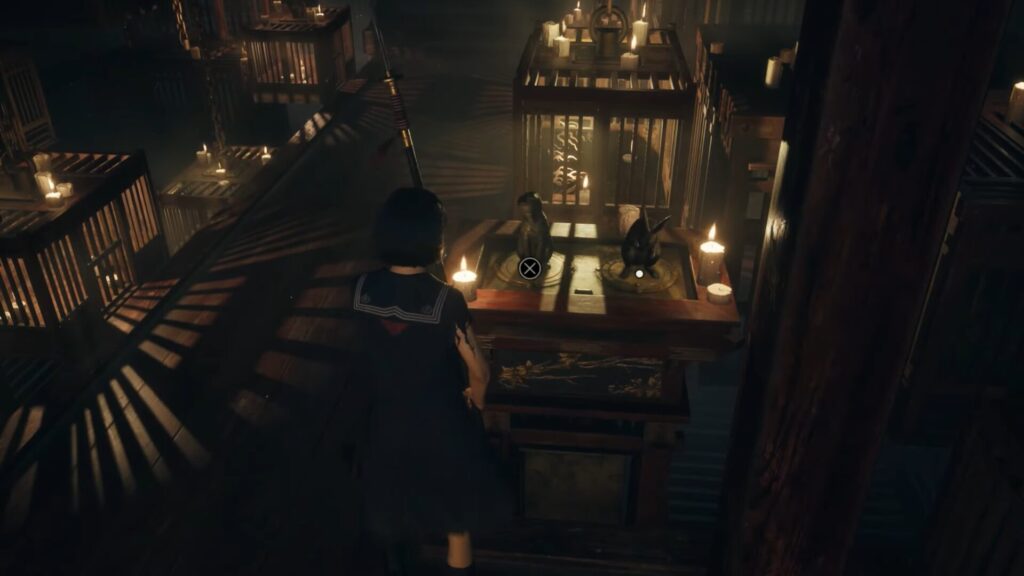
The fox statues are located on the left side of the middle door. Get inside the puzzle room once you pass through the lantern-lit rooms. You will encounter Sakuko here in this area. Pick up the note from the table, located near Sakuko’s cell. Picking this piece of paper allows you to initiate the Light puzzle in Silent Hill f.
Both left and right fox statues must face each other in Story Difficulty. Align the fox statues in a way that they face away from each other in Hard Difficulty. The statue on the left should face to the left, and the rabbit statue to the right, in Lost in the Fog Difficulty.
| Difficulty | Left Statues | Right Statues |
|---|---|---|
| Story | Turn the fox to the right. | Turn the fox to the right. |
| Turn the rabbit to the left. | Turn the rabbit to the left. | |
| Hard | Turn the fox to the left. | Turn the fox to the left. |
| Turn the rabbit to the right. | Turn the rabbit to the right. | |
| Lost in the Fog | Turn the fox to the left. | Turn the fox to the left. |
| Turn the rabbit to the right. | Turn the rabbit to the left. |
However, the right pair must face to the left. The doors will unlock after the cages are leveled, allowing you to gain two items. Acquiring these items allows you to complete the puzzle. Restrain and Talon lampshades are the two items that you need to retrieve.
Use can get the White Rabbit Emblem Key by using these items to cover the lights. Interact with the statues many times to set the directions of the statues. Use the directions below while facing away from Sakuko’s cage.
Approach the main fox statue in the Worship Hall Grand area and use White Rabbit Emblem Key to unlock the specific door. Use this key to open the path for the main hallway in the area.
Return to the Grand Hall
Use the White Rabbit Emblem Key on the Inari statue after moving back to the Grand Hall. You can find the Inari statue on the right side of the Sacred Door. The first door will be unlocked, so go inside. There’s another locked door behind it. Unlock the western chambers by interacting with the Inari statue on the left side. The Rinko is trapped in the cage just above the lava in this chamber.
Find the Missing Objects
There are three slots in the cabinet near Rinko’s cage. Locate all three objects that fit into these slots, allowing you to progress further. These are the crests that are located in the rooms. You need to go through the western wing of Rinko’s area.
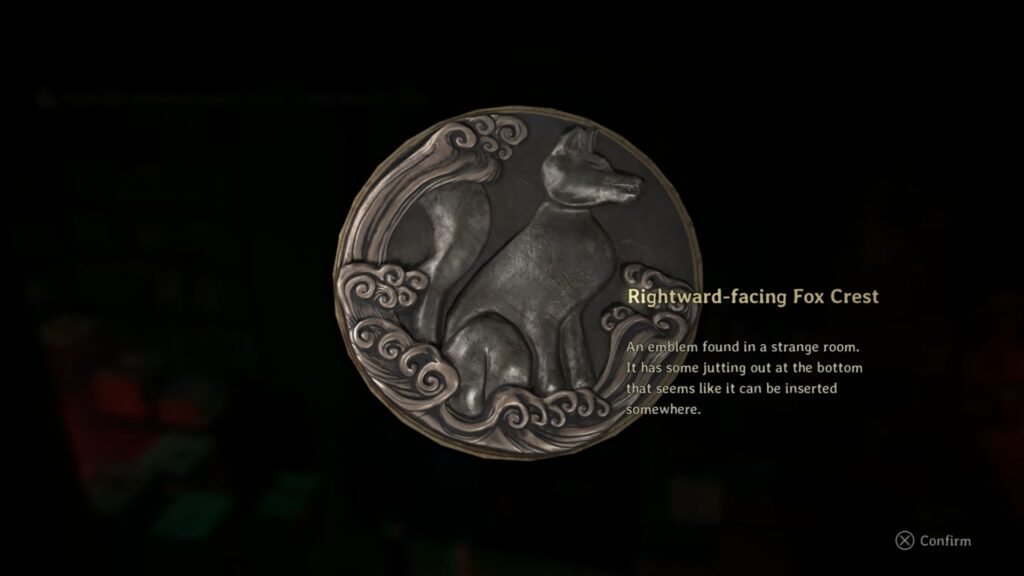
Locate the Rightward-facing Fox Crest
There are two statues on the left and right sides of the shrine. Open the door at the initial side of the path by interacting with the left statue. Go through the narrow gap on the left and move to the path on the right. Defeat the enemy in the path and get the First Aid kit.
Move back and travel to the left, and then turn right. Go through the sliding door at the end of the path to get inside Rinko’s room. Interact with the lamp on the top left, allowing you to turn the light red. Find the dolls over there and interact with them. Approach the lamp on the west, and interacting with it allows you to get your hands on the Rightward Facing Fox Crest.
Move out of Rinko’s room and approach the device. Defeat the enemy over there using the heavy attack and then follow up with the light attacks. Place the object into the device and return to the path leading to Rinko’s room.
Find Forward Facing Fox Crest
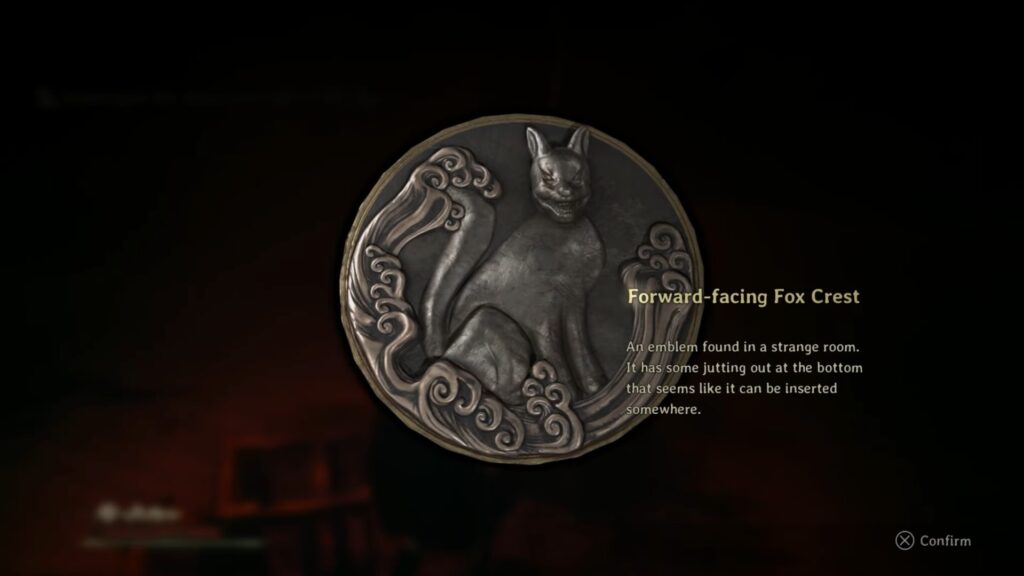
Continue moving the path straight rather than going to the left. Get inside the room you came across and defeat the enemy wherever they are. Dodge the attack and use the right strategy to eliminate it. Interact with the lever that has a green color by default. Move out of the room and move ahead. Take a left turn, then another left. Move straight to find a red symbol over there. Keep following the path and move to the left. Avoid the nasty enemy and proceed further.
Go through the narrow corridor and pick up Dried Carcass. Return and move to the path on the left to open the door ahead of you. After getting inside the middle school, collect the Class Log near the skeleton. Interacting with the lamp over there allows you to turn the light to red. Run towards the desk from the opposite side and interact with it to gain Forward-facing Fox Crest.
Defeat the enemies with Naginata and use the heavy attacks to stun them. Follow up with a few light attacks to defeat them. Escape the room after defeating another enemy and put the crest into the device.
Find Leftward-Facing Fox Crest
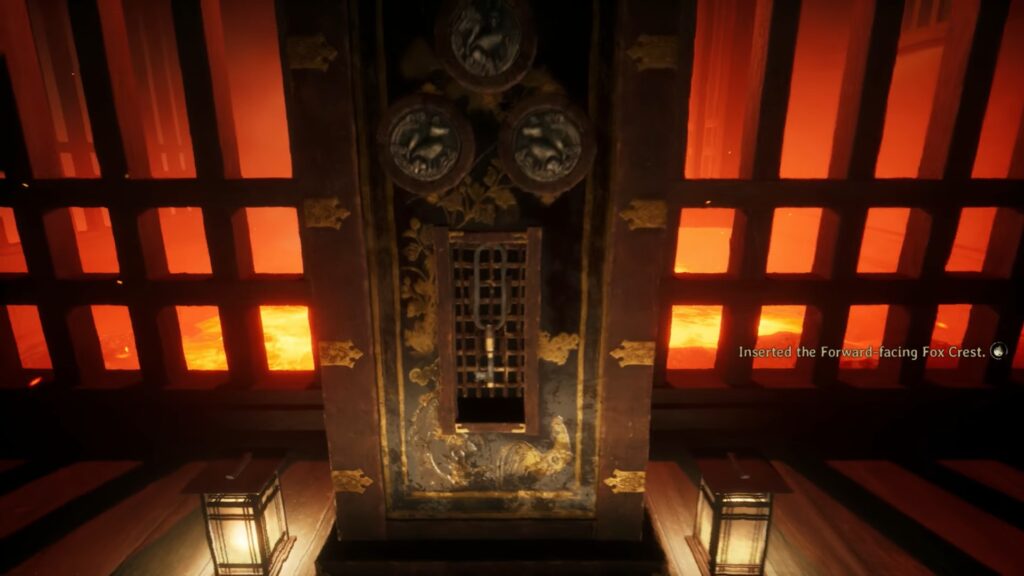
Interact with the statue on the right once you place the second crest into the device. The lever turns blue, and you need to follow the path to get inside the next door. Defeat the enemy in the next room and continue following the path. Move to the left once you pass through the red light area. Move up the stairs after moving to the right path. Travel to the west and get inside the room to final the final crest.
Pick up the letter from Rinko inside the room. Get your hands on the items by exploring the Chizuruya General Store. Turn the light red by interacting with the blue light. Defeat the Shackled Monster when the light turns red. Dodge the attack and follow up with the heavy attack to stun it. After that, light attacks are enough to defeat it. Pick up the Leftward-Facing Fox Crest from the candy jar. This is located on the left of the general store.
Return to the Grand Hall
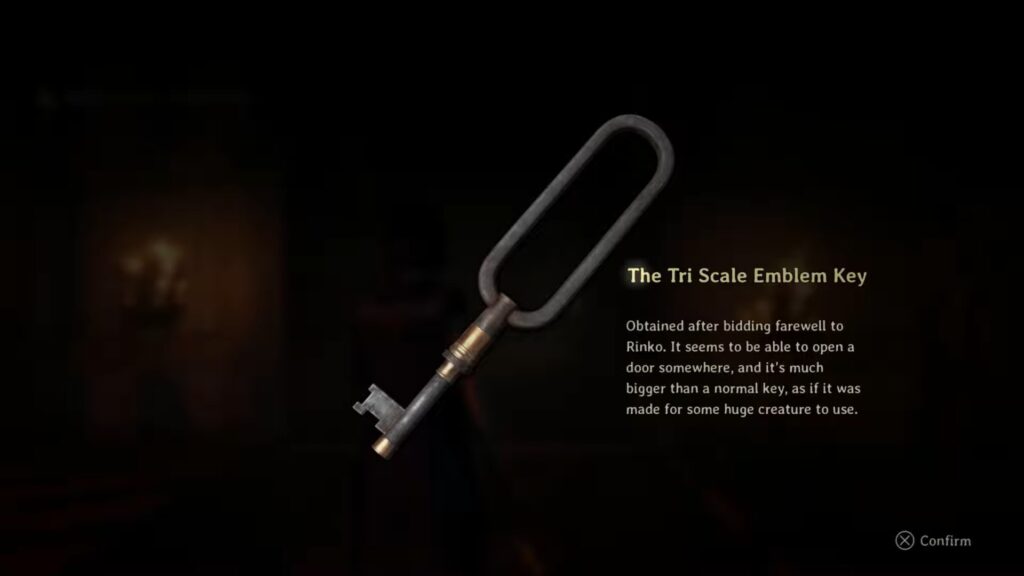
Approach the Sacred Door and get inside the Grand Hall. Open the final door using the Tri Scale Emblem Key on the Inari Statue on the left. Go inside this new room to locate the six pedestals.
Find Shu’s Possessions
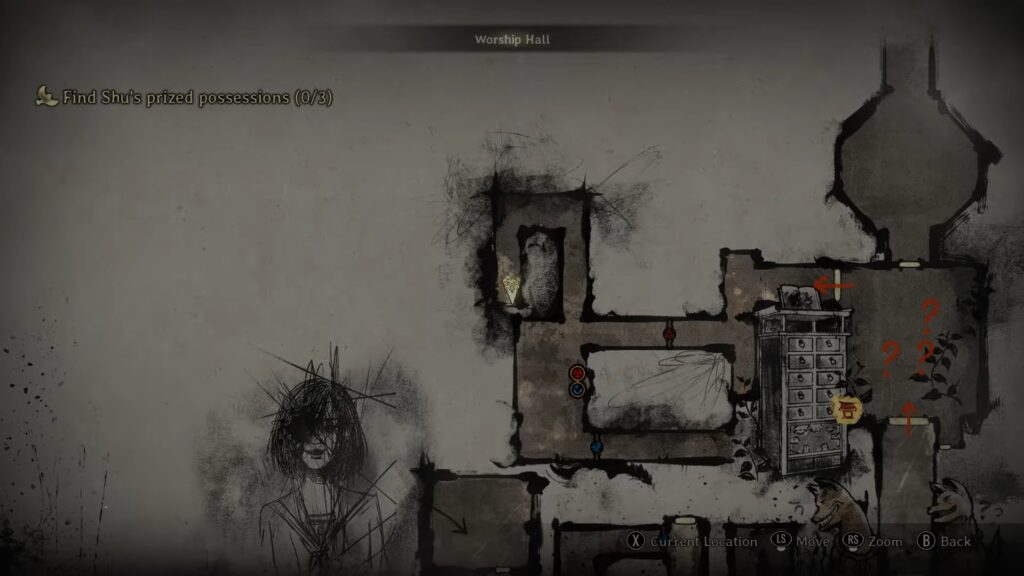
Completing the Memories puzzle allows you to gain access to the gate west of Ebisugaoka Middle School, leading to the Mountain Path in Silent Hill f. The Story Difficulty required you to find the Brainiac Hero Comic within Dark Shrine.
Obtain the Drawing of a Young Shimizu Hinako, along with the Brainiac Hero Comic. The Lost in the Fog Difficulty requires you to collect the Raygun, Brainiac Hero Comic, and Drawing of a Young Shimizu Hinako.
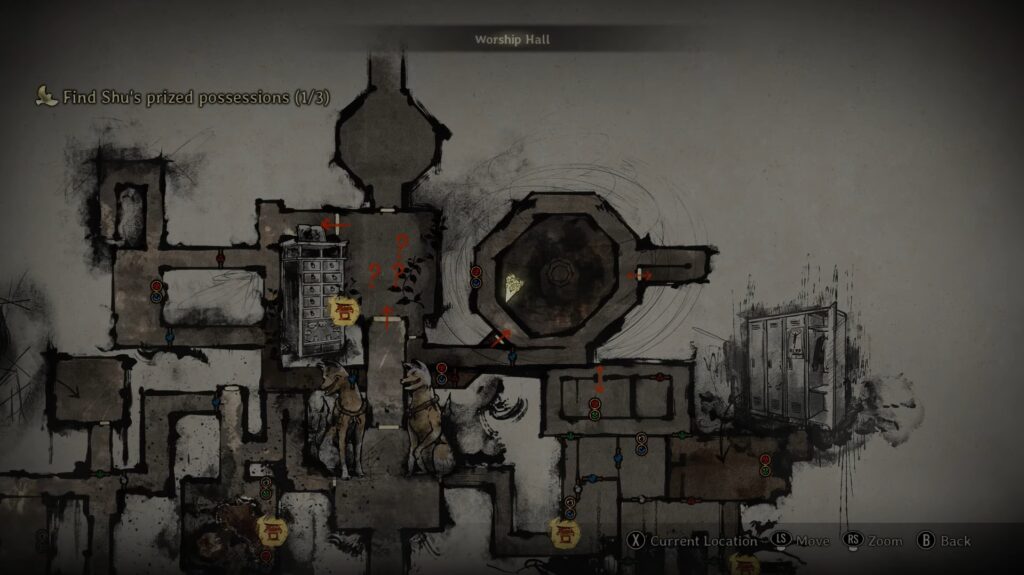
Make your way into the Worship Hall just past the two fox statues. Once you’re in Central Hall, filled with candles, move near the red door. Turn right and collect the note from the wooden box. Pass through the door on the left and take the stairs to move down.
Take a first left and turn right to follow the path to reach the end. Be aware of the enemy in this area. Now, turn right and reach the far end. Continue moving to the left and take another left. Collect the Brainiac Hero Comic (Shu’s Prized Possession) at the end, near the burning candles.
To find the Raygun, turn around and move to the left path. Take the stairs to reach down. Hit the lever on the left side to get access to the path ahead of you. Follow the path and press A to open the door. Defeat the monster in this area using the right tactics. You can’t avoid this enemy, as you need to explore this area thoroughly. Move to the left of the door you move inside this area. Collect the Raygun from the wooden shelf.
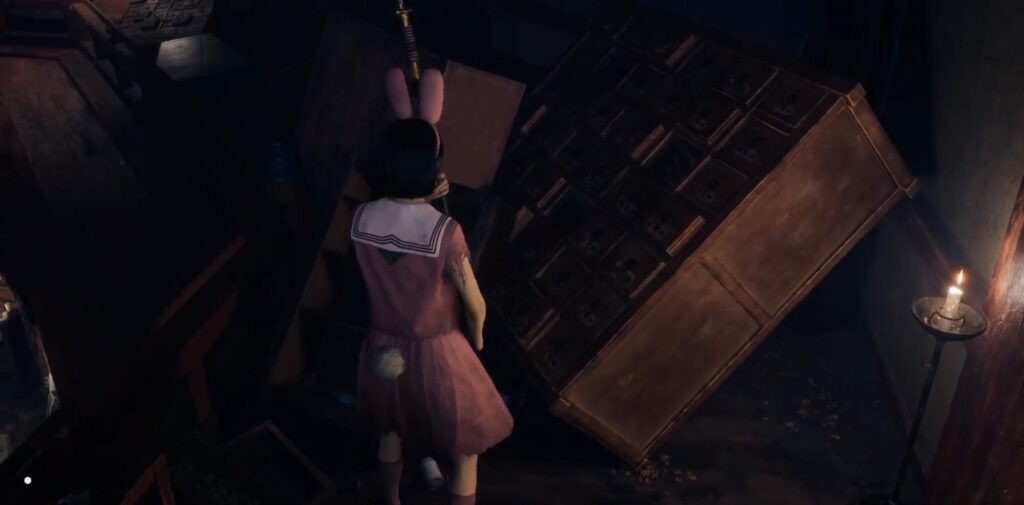
Turn around after getting the Raygun, and take the stairs to move upward. There are a lot of wooden drawers, so explore this path thoroughly. Turn right and keep following the path till you find a blockage. Collect the Brainiac Hero Comic from the shelf on your left. You have all the Shu’s prized possessions.
Hit the lever on your right, and the enemy will appear behind. You can simply avoid it and move to the far end to get inside the room. Follow the path to the end and unlock the door on the right side. Place the Shu’s Prized possessions on the pedestals to complete the puzzle.
Defeat Birthing Monster
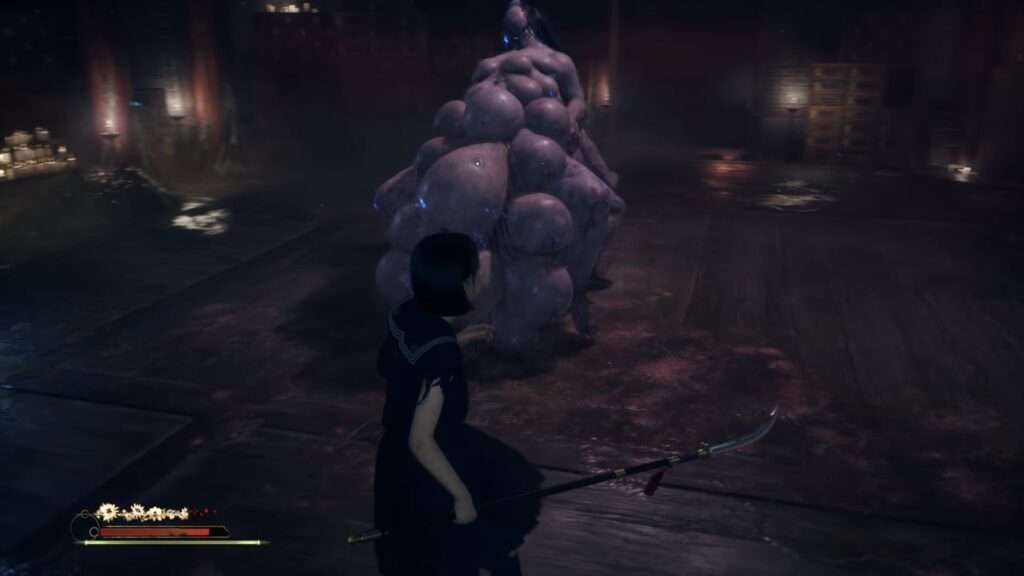
The Birthing Monster is a boss that you will encounter while finding Shu’s prized possessions in the eastern chamber. You need to destroy its cocoons and keep a distance to avoid its deadly ranged attacks. Wait for the perfect opening and strike with your Naginata to defeat it.