

Discover everything you need to know about the Greymoor walkthrough in Hollow Knight Silksong, including how to beat Moorwing.
Progressing through Greymoor in Hollow Knight Silksong can feel overwhelming due to the challenges and numerous threats. This region is filled with multiple deadly enemies that are lurking around every corner. Recruiting Garmond and Zaza is essential to defeating the Moorwing in a fight.
There’s a “Halfway Home” bench in Greymoor where NPCs like Creige operate. Tools, crest upgrades, and spool fragments are scattered throughout, so explore the world thoroughly. In this guide, we’ll discuss how to progress in Greymoor, including some tips to defeat the boss.
Enter Greymoor Area
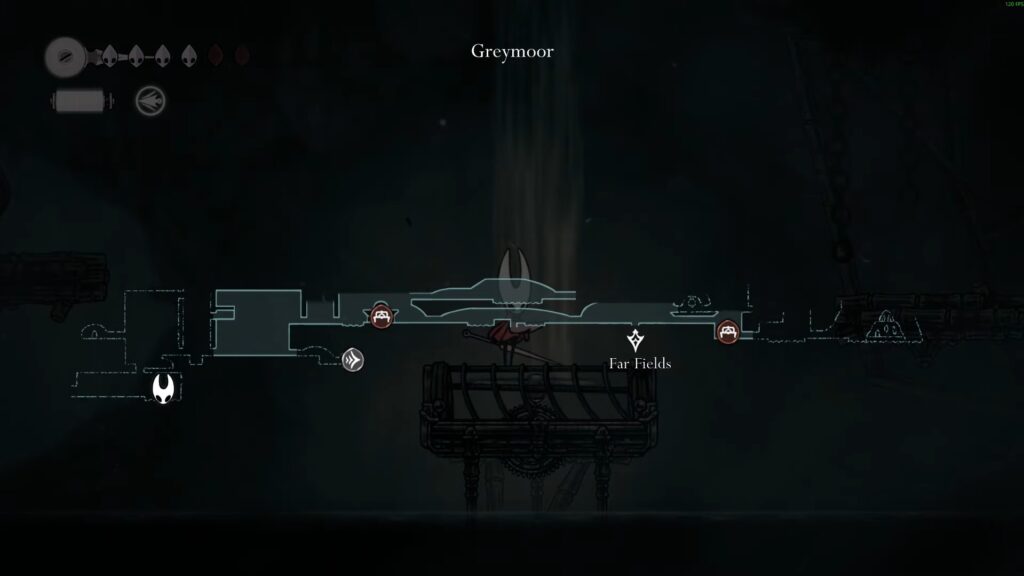
Make your way to the Greymoor from Far Fields after beating Fourth Chorus. However, using the Drifter’s Cloak for taking flight via air to escape Far Fields is necessary. Take the path on the right to reach the Shakra, the Map Seller. Use a small amount of Rosaris to purchase the Greymoor map, along with the quill.
Find a Locked Gate
Continue moving to the right and get to the platform next to you by using the Drifter’s Cloak ability. You will encounter the deadly flying creatures. Be sure to remove them, as tackling their attacks can be challenging. Please don’t do anything till they start flying over you.
Once they start flying above you, attack them four times to eliminate them. Passing through the gap next to you allows you to locate the locked gate.
Locate the Mini Boss
Climb up to the highest floor by moving through the multiple platforms. A bird with a devastating sword will attack you in this area. His attacks are fairly aggressive, but you can predict them to avoid them. Heading down and hitting the switch allows you to get access to the gate.
Go through the door to move to an open area. Be careful of the deadly creatures lurking in this area. Defeat them one by one to obtain Rosaries. Keep moving to the right and go up from the platforms to encounter the mini-boss.
How to Get Thread Storm Silk Skill

The fight is more challenging due to the other flying enemies that attack you during the fight. Some enemies throw daggers at you to deal damage. The daggers can easily lower your health, so take out these enemies first. Use Drifter’s Cloak and Swift Step to dodge the enemy’s attacks. Defeating all these enemies in a fight allows you to gain access to platforms.
Use the needle to ascend from the platforms. Take the exit route after hitting the lever. Travel all the way up using the spawned balloon. Keep looking for the platform on the left side. Move upward by using multiple balloons. Interact with the altar to unlock the Thread Storm ability. This is basically an active skill that allows you to unleash a devastating circular flurry of silk threads around you, striking enemies five times.
Find a Bit of Water
Return all the way to the entrance of Greymoor. Take the path to the left this time. Keep moving to the left and defeat all the enemies in this area. Don’t rush towards them, as you must wait for them to come towards you after you dodge the opposite path.
Encounter a small creature on the above platform. Dodge the bottles that he throws at you. Look at his pattern and use the needle to finish him off. You’ll find a small body of water after you keep moving to the left. Swim through the water to reach the platform next to you.
Enter the Large Building
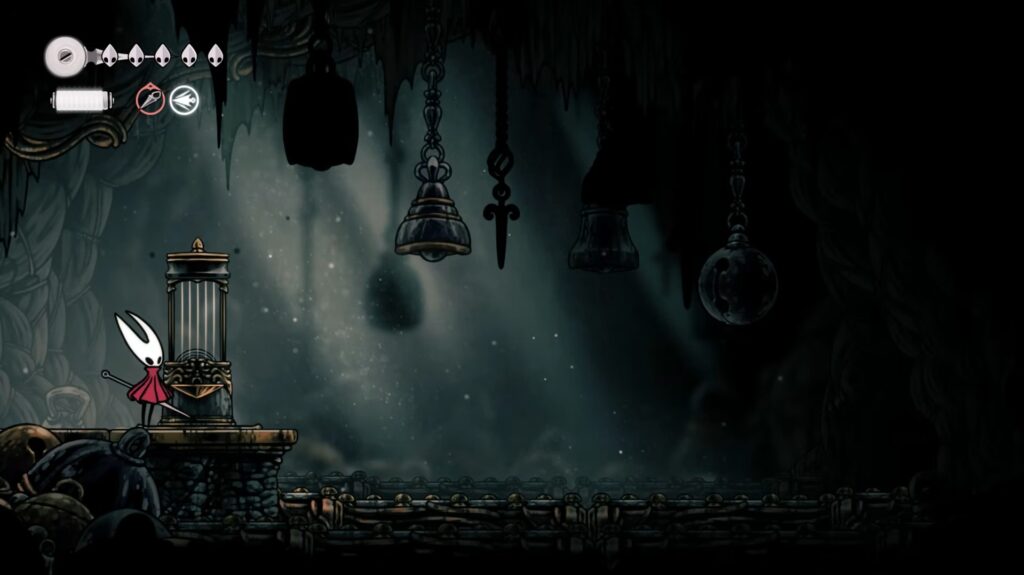
Two enemies here will attack you. However, you have seen them before during your journey. Defeating a guy with the club can be challenging due to his jump attack. Avoid this attack by simply dashing away. Use the right strategy to eliminate them without taking damage.
Keep moving to the left to find the building. Use the platforms around the building to get inside from the other side. Find the bench in this place and use Rosaries to activate it. Rest at the bench to mark it as a checkpoint and your health.
Defeat the Enemies inside the Building
Two enemies will come to attack you in the first wave. Both of these enemies are equipped with a staff connected to a blade. Their attack pattern is unique as they move back after swinging the staff twice. Upon defeating these enemies, a caterpillar with a spear will appear. They will throw the spear towards you and perform a follow-up with a charged attack. Stay near these enemies and slash them out.
Find Enemies with Scissors
Move inside the next large area. Be aware of the floating enemies that can engage in a fight with you. Unlock the Bellway Station on the bottom right side. Unlocking it allows you to fast travel in his area of Greymoor. Move to the farthest side of the area via the door. Take out all the enemies with scissors to move to the platform above you.
Recruit Garmond and Zaza
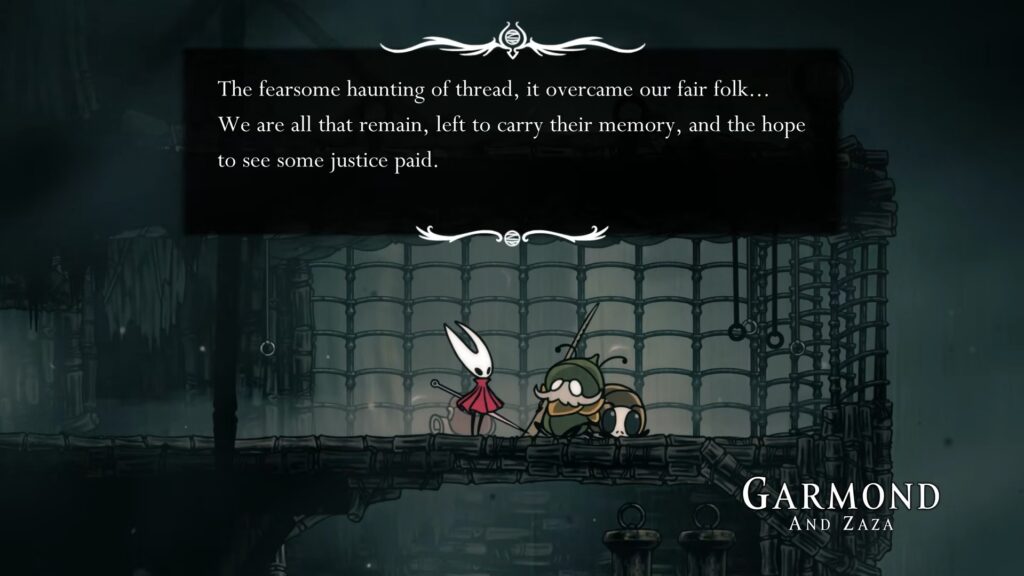
There’s an open door on the right after moving up. You will encounter Garmond and Zaza in this area. Garmond and Zaza are the NPC duo that can help you win the fight against Moorwing. You can find this duo in a room available to the West of Greymoor.
Garmond and Zaza will move to the entrance of Moorwing’s arena after you speak with them. They will offer you help in fighting against this boss. You need to lose a fight against this boss if this duo doesn’t appear there. Now, move to that area where you first encounter them and inform them.
Find the Moorwing
Return to the path you came in to recruit Garmond and Zaza. Take the path that takes you below. Here, you can move through the platform connected with a rope. Drop down onto the platform to encounter the Moorwing.
Defeat Moorwing

Avoid the gust attacks and focus on timing your jumps and positioning. Use the Swift Step ability to dodge the attacks when it is about to slash. Spam the Swift Step after the Bind animation ends. The boss will follow up a Low Charge with a slashing attack to deal massive damage.
Use Warding Bell to prevent you from taking damage during healing. Avoid the large circle AoE by sprinting away to get out of the range. Use the sting shard tool to deal massive damage to Moorwing.
The boss also launches two balls in the standard ball attack. Get ready after avoiding one, as the second one will arch back around. You can avoid this attack by simply doing two short jumps. Stay alert to the sneak attack by the blades that you just avoided.
Make sure to learn the mechanics of its blade attacks and avoid them at the right moment. Use the Reaper Crest in the fight because it allows you to unleash heavy, sweeping slashes while harvesting additional Silk.
Make your way to the left after defeating the Moorwing. You will find yourself in the left area of Greymoor. A cutscene will initiate after passing through a room filled with bells. You will now arrive in Haunted Bellhart right after the cutscene.