

Discover everything you need to know about completing the Shrine Vault Puzzle in Silent Hill f, including the solution for all difficulties.
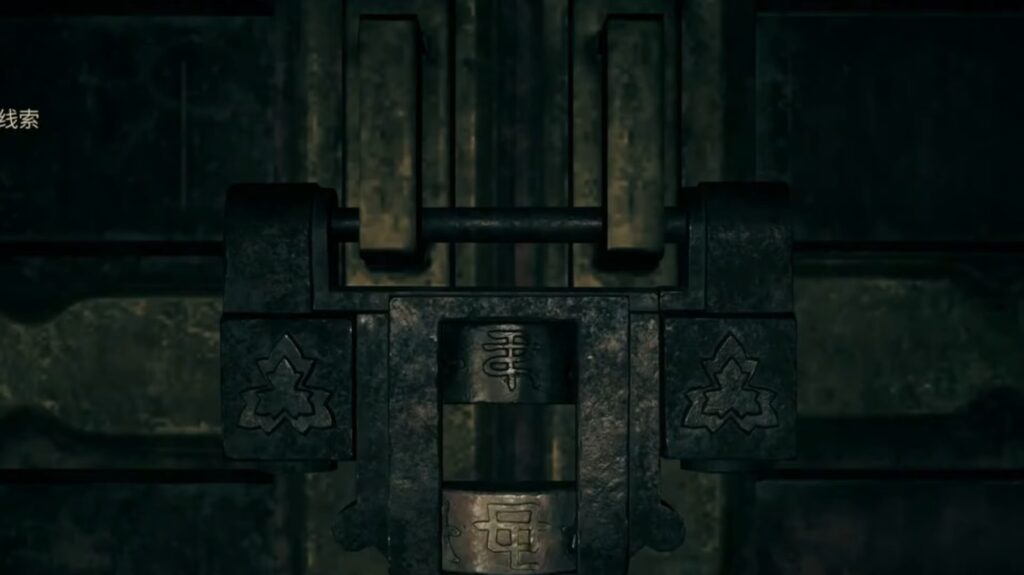
Shrine Vault Puzzle in Silent Hill f, also known as Ema Puzzle, is a difficult task to complete due to its different difficulties. Make your way to the Shrine Vault after completing the Altar Puzzle. It’s locked with a combination lock that needs three symbols to align. One of the dials is not available; make sure to retrieve it from one of the Ema plaques.
While Symbols for the Story Difficulty are Crane, Serpent, and Tortoise, the Hard Difficulty includes Lightning, Decayed Tree, and Kudzu. Find the three Ema plaques you need that have those symbols underneath. Return to the Shrine Vault after collecting all three symbols and a missing dial. Set the combination lock dials in the order to unlock the vault. In this guide, we’ll discuss how to complete the Shrine Vault puzzle in Silent Hill f, including some essential steps to follow.
How To Complete Shrine Vault Puzzle
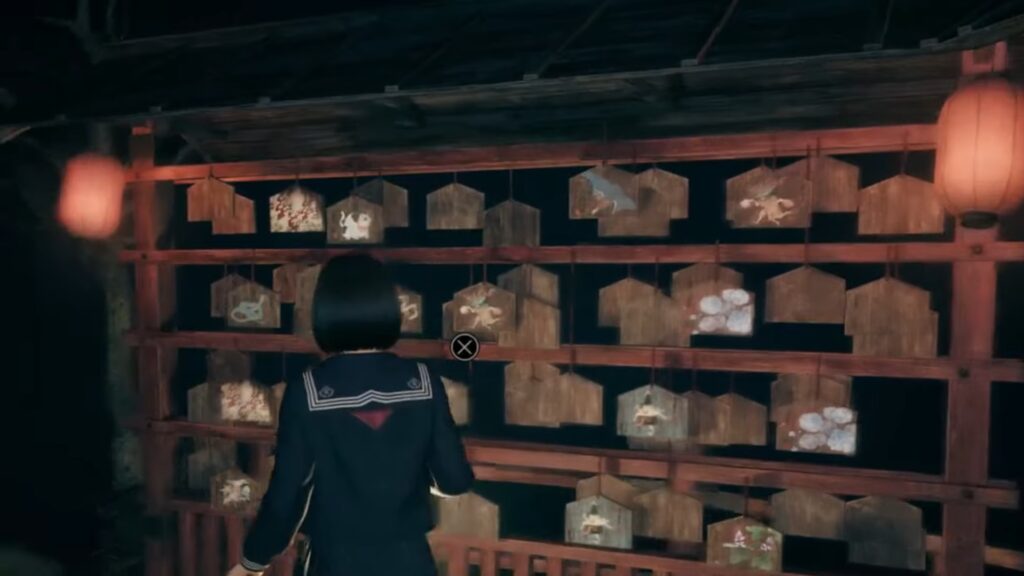
Make your way to the small shrine where you find your doll with a poem that acts as a clue to the symbols you need to find to open the lock. With the ambiguous clue, you need to escape or confront the demon that will be released in the area while you look for the correct Ema wooden block. You can find 1 at a time in the marked location by the game. What you’re looking for is the dead tree, a thunder, and the flower, which has the missing combination lock.
Each time you find one you need, just examine it and then press the button to flip it. If you make a match, Hinako will say something, and later it will be automatically in your journal. When you have all the missing pieces of the puzzle, go back to the sealed door, enter the code, and the door will open. After that, solve the puzzle and grab the key, and run back to the foxes to finish the puzzle.
Interact with Shrine
Hinako will tell you about the missing piece after interacting with the Shrine Vault puzzle. You don’t know the code for this lock, so you must locate the piece of the lock. Save the game and move to the Inari statue near the wooden plank path. A cutscene will appear on the screen, showcasing the red doll with some mysterious item. Find the main clue for this puzzle by interacting with the puzzle. Defeat the deadly enemy using your Kaiken.
Defeat the Enemy
This enemy is harder to defeat, so use the right tactic to eliminate it. It first includes performing an overhead strike. You can counter it by pressing R2/RT on your controller as soon as you see the red light. The nine-hit combo is more devastating, but you can counter. After that, follow up with the three R1/RB attacks to take it down. You can gain a trophy/achievement if you complete the puzzle without taking any damage from this monster. This enemy doesn’t die completely, as it will awaken shortly.
Flip All Emas
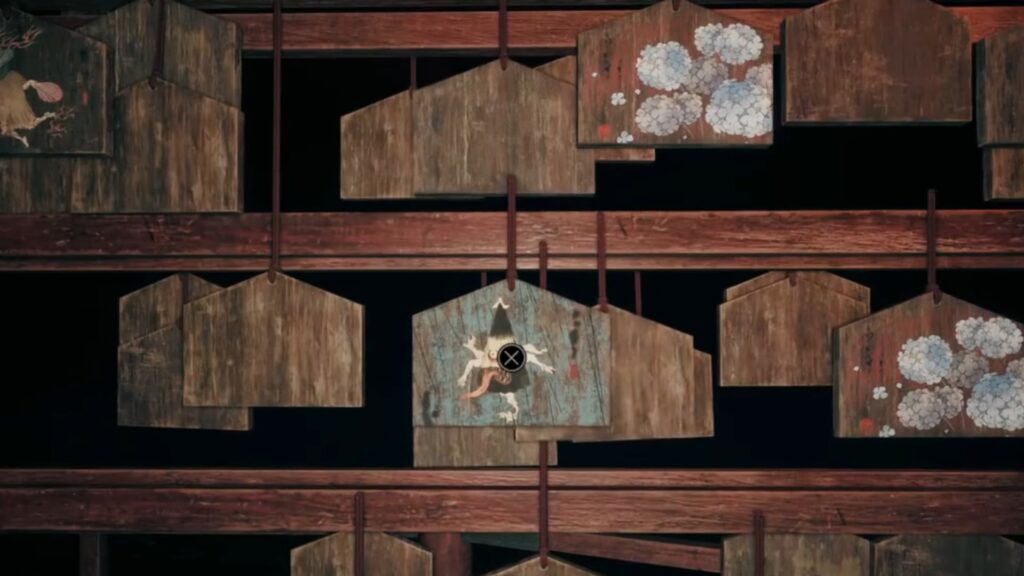
Travel to the Emas and find the Lightning, Decayed Tree, or Kudzu. Flip the Ema after locating it to unveil the symbol. You gain the Combination Lock Dial and the correct symbols after flipping all three Emas. Investigate the area on the left of the main gate in the Shrine to get your hands on more Emas. You also get an Omamori while exploring this area.
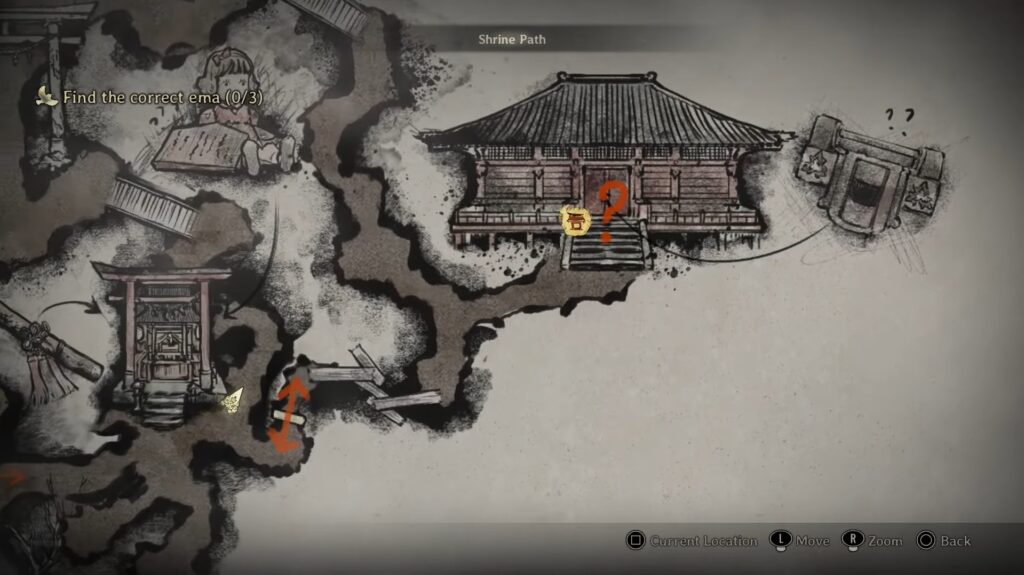
Make your way to the west and south of the Shrine path to locate the Shrine Vault Ema. The image below shows the location of the Shrine Vault.
The Ema Rack 1 is located as shown in the image below.
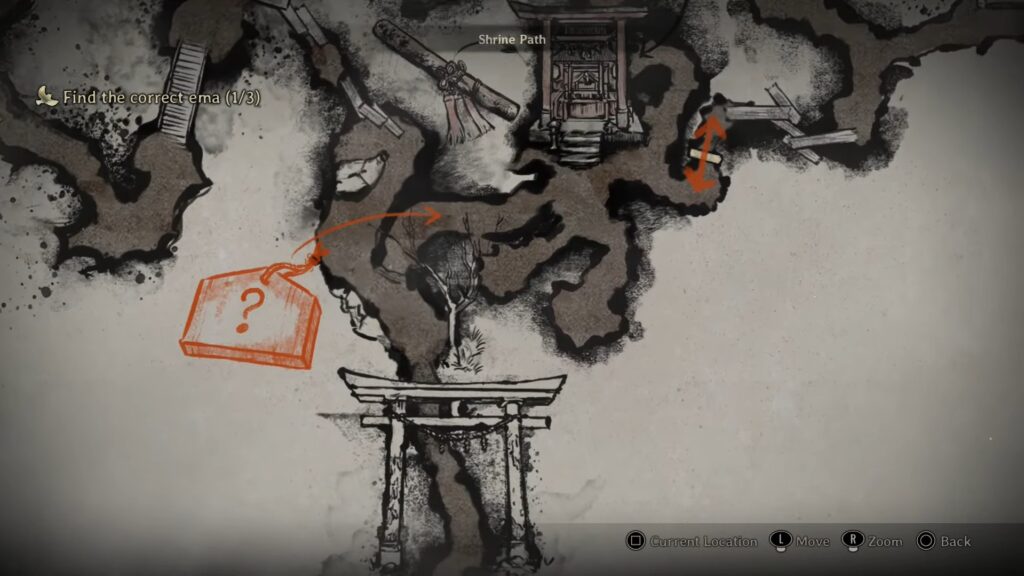
The Ema Rack 2 is located as shown in the image below.
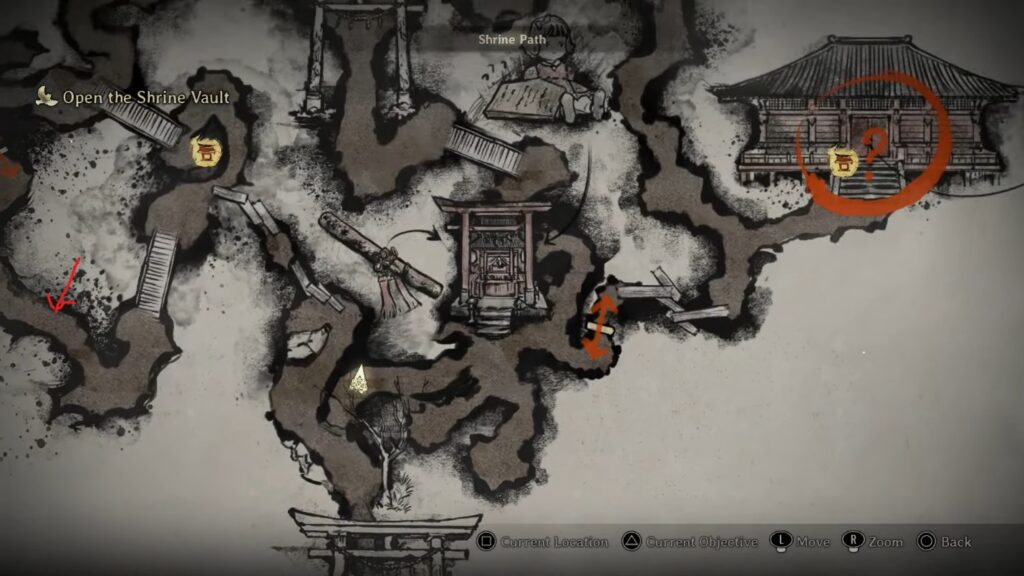
Ema Rack 3 is located as shown in the image below.
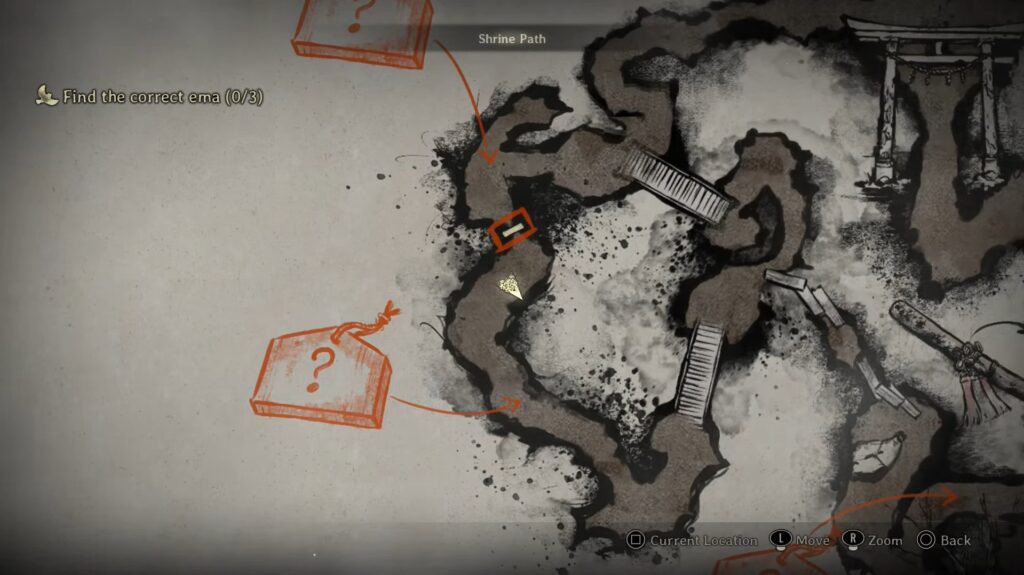
Story Difficulty Solution
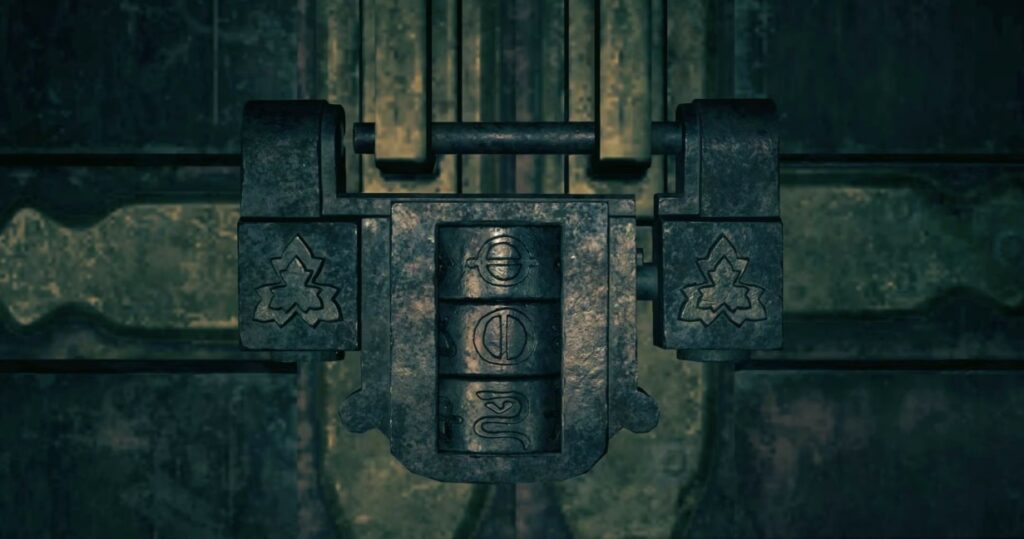
Find the Crane, Serpent, and Tortoise Ema around the map. Find the missing dial required for the padlock behind the Crane Ema. Read the Journal to get clues about the correct Ema you want to find. Spot the Ema with the Crane, Serpent, and Tortoise painted on them. Below are the clues for Crane, Serpent, and Tortoise Ema. Here is the sequence you need to follow to complete the puzzle in Story Difficulty.
- Top- Crane
- Middle- Serpent
- Bottom- Tortoise
- To extoll the advent of our clan, we bestow upon this sacred land the name “Heaven’s Benediction.”
- Send forth to the sky a crane, to the earth, a serpent, and to the spring, a tortoise.
- Pray for the prosperity of our clan.
Hard Difficulty Solution
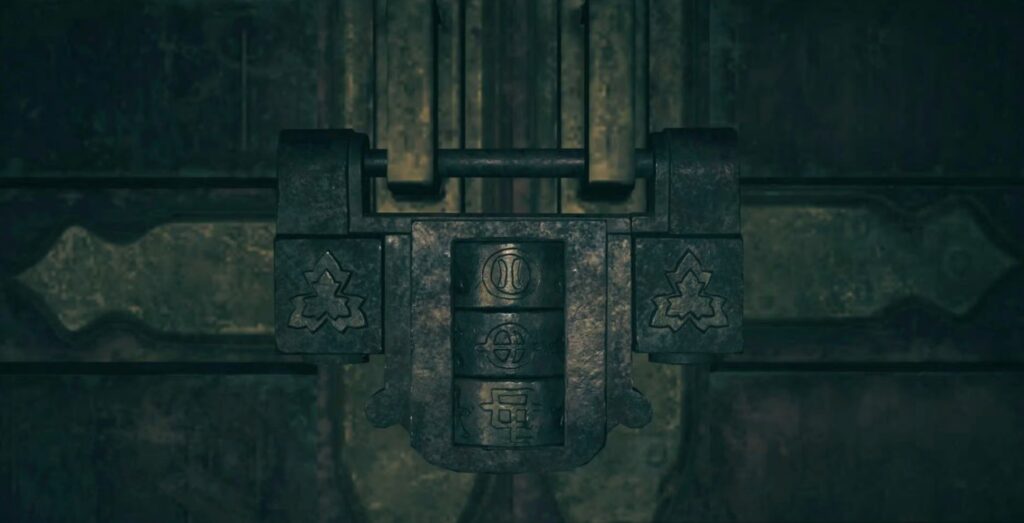
Spot the 3 symbols located at the back of the correct Ema. Doing so allows you to unlock the padlock for the Vault. The missing dial for the lock to work is available in the Kudzu Ema. Read Hinako’s Journal Entry to gain clues. The clues you’re looking for three correct Ema are for the Lightning, Decayed tree, and Kudzu in the Dark Shrine Path. Here is the sequence you need to follow to complete the puzzle in Hard Difficulty.
- Top- Lightning
- Middle- Decayed Tree
- Bottom- Kudzu
- Lightning casts down from the heavens, splitting asunder the decayed tree.
- From the earth grows kudzu, the prophet of eternal prosperity.
Lost in the Fog Difficulty Solution
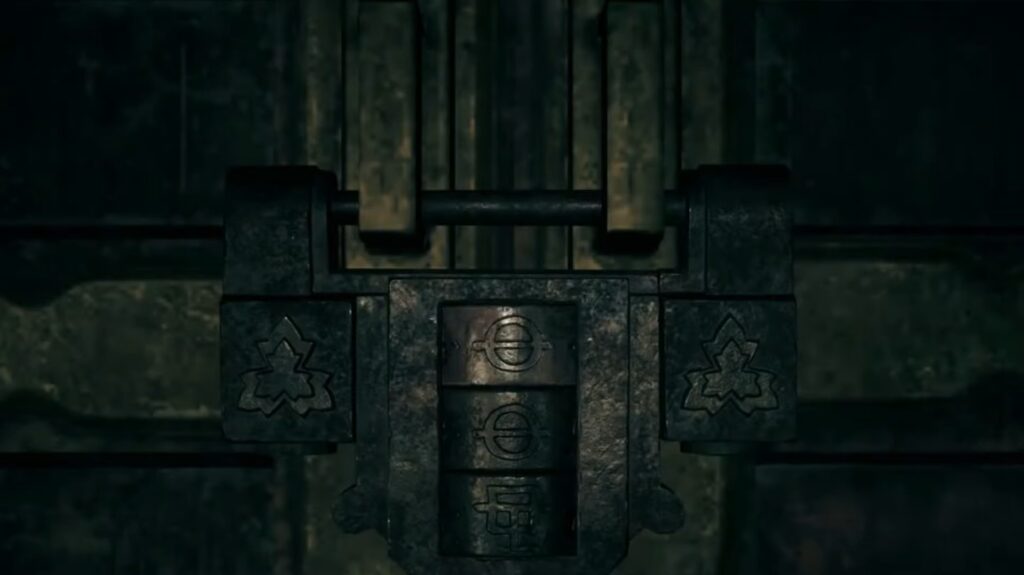
Locate the Ema representing the Yokai of the Carriage, Yokai of the Umbrella, and Yokai of the Kettle. They feature Japanese monsters combined with the objects, making them different from the rest. You need to flip each Ema to unveil four symbols. However, only one is the right one. You can verify it by the poem in your journal. Here is the sequence you need to follow to complete the puzzle in Lost in the Fog Difficulty.
- Top- Yokai of the Carriage
- Middle- Yokai of the Umbrella
- Bottom- Yokai of the Kettle
- To those corrupted souls who dare encroach upon our sacred land, may you be met with calamity and destruction.
- The Yokai of the Carriage had their heads removed. The Yokai of the Umbrella, their arms. And the Yokai of the Kettle, their legs.
- Only the losses of each shall purify this corruption.
Reference every yokai painting on the correct Ema with the part of the body to solve the poem. Make sure to count the number of body parts of the yokai and then move to the corresponding four symbols. These symbols in your journal are from left to right. The correct symbol is the one where the count ends. The second symbol is correct if Yokai of the Carriage has two heads.
Rewards for Shrine Vault Puzzle
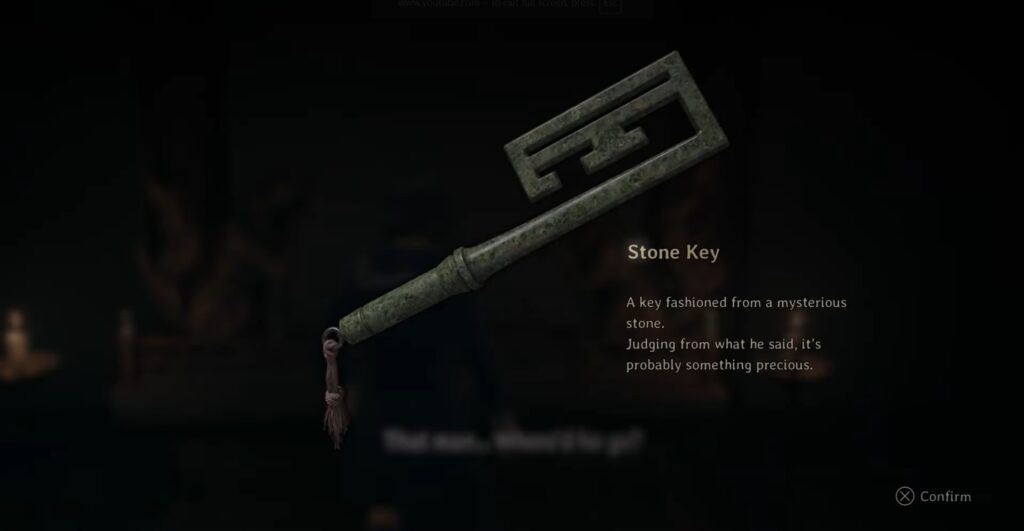
Acquire the Stone Key from the top of the altar after unlocking the Shrine Vault. A cutscene will appear on the screen with the Fox Mask, and it ends due to the monster near the vault. Collect the Key Stone and move to the Shrine exit.
This area is located on the north side of the map. Move to the path on the right to get to the exit. Make sure to avoid the enemies while covering this path. Move back to Ebisugaoka to reunite with Shu to complete the Shrine Vault. Doing so allows you to unlock the Fields area to locate Rinko.