


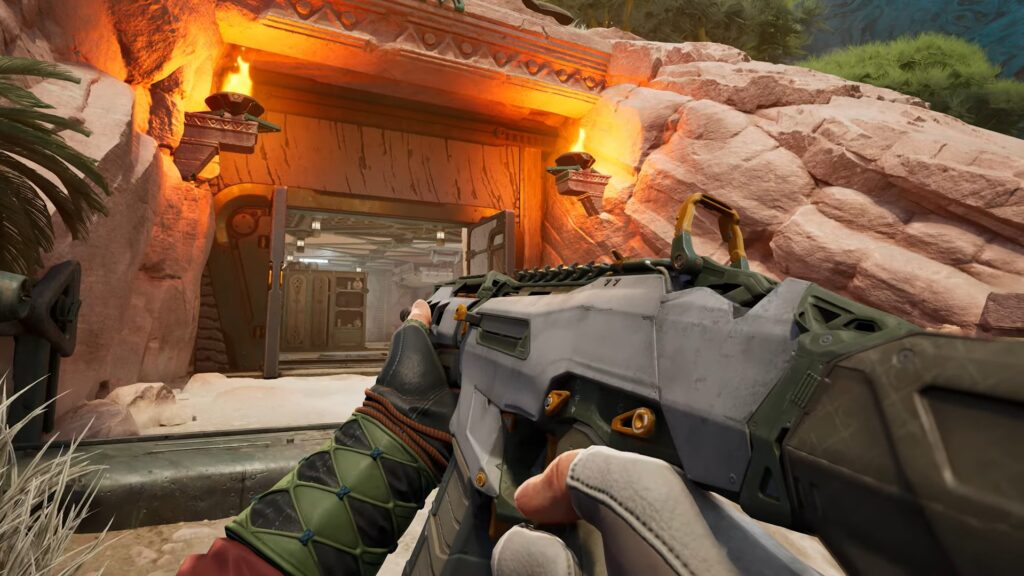
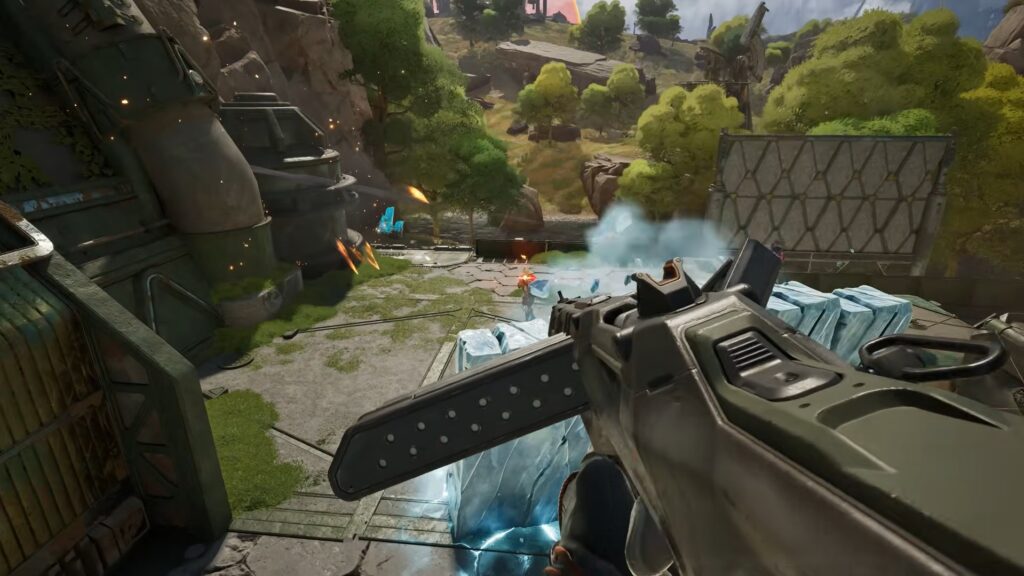
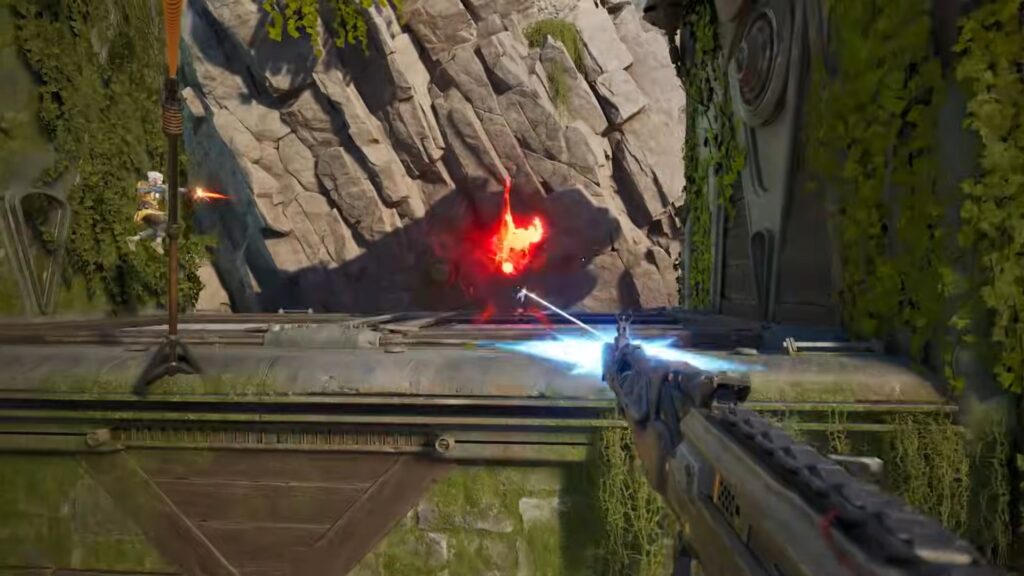
Highguard features multiple weapons to choose for players to tackle the enemies in combat. Players can pick two weapons for their loadout and can swap them later in the match. Every Warden also carries a Field Axe by default.
It’s used for self‑defense, breaking non‑reinforced walls, and harvesting Vesper resources. Choosing the best weapons in Hughguard is crucial in every aspect to eliminate the foes. Start with two primary weapons of your choice and carry grenades with cooldown, a melee tool, and a Raid Tool.
Table of contents
All Highguard Weapons Ranked
Below are all the weapons ranked in Highguard based on your effect and damage-dealing capability in combat.
1) Vanguard
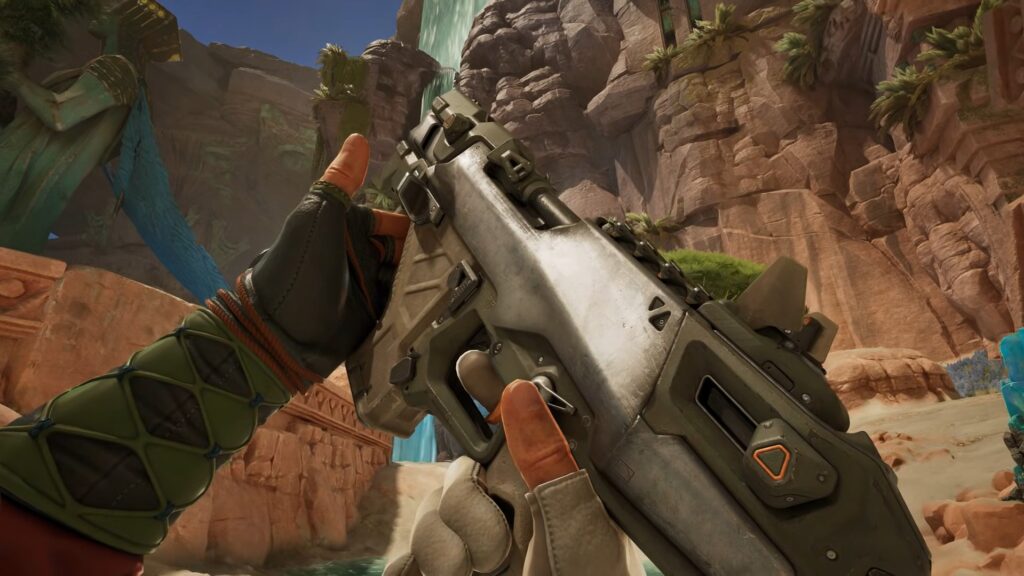
Vanguard in Highguard is an assault rifle you can pick as a combat weapon in your loadout. This is the best versatile mid-range firearm that suits multiple playstyles. Use this weapon tackle enemies at closer or long range on a battlefield.
It has a larger magazine size, meaning you can spray more rounds before needing to reload. However, the damage per shot is lower than that of high-skill weapons.
Using this weapon is easier to control and makes consistent hits on enemies. It shines at medium distances where its range and manageable recoil allow you to get easier shots. Make sure to position yourself so that you’re fighting around cover or doors.
The Vanguard’s magazine size is 36 rounds, allowing you spray through multiple enemies without constantly reloading.
I highly recommend stopping the extra rounds in short bursts, so keep your bursts controlled for accuracy. Staying on the move while equipping the Vanguard allows you to avoid enemy fire and reset fights. Pair it with a close-range weapon like an SMG or a shotgun for tight spaces.
2) Big Rig
Big Rig is an LMG or Gatling Gun and is not part of the normal loadout you choose at the start. This weapon appears in care package drops that spawn later in a match. It provides suppressive firepower with a huge magazine and massive per-shot damage.
Big Rig has 60 round magazine and 30 damage per body hit, along with 37 damage per head hit. It deals heavy damage and excels at sustained fire. However, its slow mobility and limited ammo make this weapon not suitable for long, tough encounters.
Big Rig is excellent for locking down an area while defending approaches during raids or holding choke points against pushes. Use this weapon to prevent enemy teams from pushing objectives. The Big Rig’s sustained fire also works on destroying structures and walls in Raid Mode.
Make sure to stay behind cover when firing and avoid sprinting wide open with it. Pair with a mobile mid-range weapon like an AR or SMG and swap to lighter weapons for movement and precision shots. Good coordination maximizes its suppressive potential and tackles its slower handling.
3) Kraken
Kraken is a close-range weapon that has high-damage bursts at very melee range. This pump-action shotgun has 10 pellets and can damage 101 body per damage, along with 151 damage at head per shot.
This is one of the weaker weapons due to its widespread, slow fire rate, and small magazine size. Although it hits hard when all pellets connect, its wide spread and slow firing makes hard to land consistent kills.
Kraken’s damage only shines when enemies are right next to you. Make sure to push into buildings, narrow corridors, or over walls where opponents are trapped. Jump onto structures or flank tight approaches to land full-damage shots. Most pellets miss and damage drops if you don’t shoot at the target precisely.
I highly recommend peeking from cover and firing one powerful shot. Use verticality or surprise angles to take out the enemies. Pair Kraken with a secondary weapon like an SMG to still be effective. Don’t sprint in the open with Kraken because you expose yourself without the fire rate or range.
4) Ranger
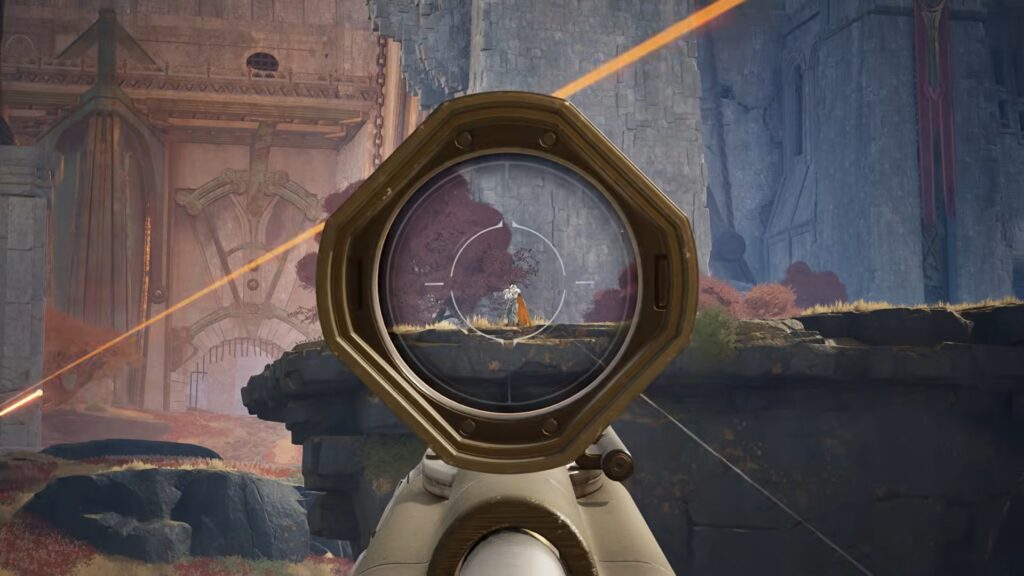
Ranger is the sniper rifle in Highguard that can eliminate enemies from a long range. This weapon has high-precision and high-damage shots at a distance. Ranger has 4 rounds in a clip, deals 85 damage per body, and 148 damage per head.
This weapon is suited for long-range engagements and can be lethal when paired with good positioning. Use a 6x scope for distant targets and a 3x scope for mid-to-long range when mobility matters.
Don’t push into tight, close-quarters fights with it, or else you will find yourself vulnerable. A well-placed shot can kill an enemy instantly with high headshot multipliers. Ranger’s low fire rate and small magazine reward accuracy.
Stay behind cover and peek only when you’ve lined up shots, allowing you to dominate the enemies. Pair it with a secondary weapon that excels at mid or close range, like an SMG or AR. I highly recommend that you position yourself to protect choke points and keep pressure on enemies.
5) Paladin
Paladin in Highguard is a fully automatic shotgun that unleashes a fast-firing barrage of pellets in close-range combat. It has a higher fire rate and faster follow-up shots than the pump-action Kraken shotgun.
However, the range is limited, but strong damage potential when used in the right situation. Use it where enemies are within tight areas, like inside buildings and corners. The weapon’s spread and limited range make it less effective than SMGs or Assault Rifles.
Paladin hits hardest when you control bursts, so you don’t waste ammo or miss most pellets. Tap bursts can be more accurate than holding down the trigger. Don’t sprint into the open and spray because the enemies can kill you in no time. Peek from cover and slide or dash into range to make this weapon more reliable. You can pair it with weapons like Vanguard or Saber Rifle.
6) Dynasty
Dynasty is an Assault Rifle that has a good balance between damage, range, and handling. This weapon performs well in a variety of combat ranges, especially from mid to longer mid-range. Dynasty can deal 14 damage per shot and 24 damage per head. It also comes with a 3x scope by default, giving you good sightlines for medium-range fights.
This assault rifle shines when you fight between close-quarter chaos and long-range sniper duels. Make sure to use open spaces and sightlines to track enemies at a distance. Its scope and accuracy make it effective before enemies reach shotgun range. Dynasty’s recoil is manageable when you fire in controlled bursts. Pair it with the close-range weapons like an SMG or shotgun for tight corridor fights.
7) Saber Rifle
Saber Rifle is a mid-range assault rifle that has decent precision and massive damage per shot. This weapon has three round burst and comes with a 3x scope for enhanced mid‑range precision. It can deal 18 damage per body hit and 27 per headshot. However, this weapon has a slower fire rate and a smaller magazine than others, like the Dynasty or Vanguard.
Saber Rifle’s burst pattern can quickly take down enemies at mid‑range before they close or reposition. Make sure to aim carefully and time bursts to land each 3‑round volley on target. A well‑placed headshot in a burst can shred enemies faster.
I recommend using pen sightlines and medium cover to engage and gain an edge due to their precision. The strategy should be to peek, fire one burst, then fall back behind cover to reset. You need to pair it with a secondary weapon that can handle close quarters.
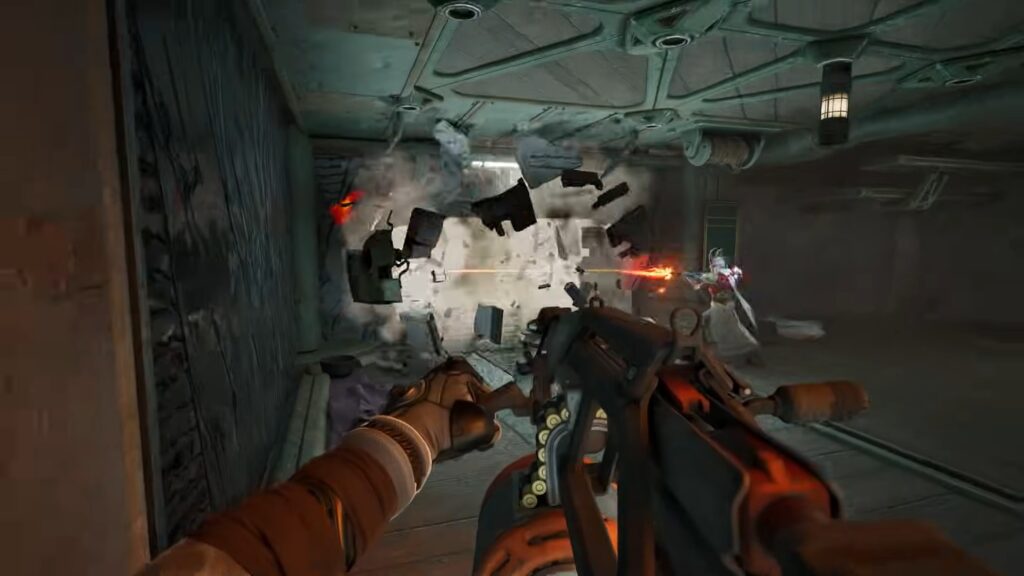
8) Corsair
Corsair in Highguard is an SMG that has a burst‑fire style and very high damage output in tough combat. It delivers multiple bursts up to four volleys of six bullets. Use this SMG to quickly melt enemies at very short distance engagements.
It has the highest raw DPS among the other SMGs. This weapon’s magazine can be emptied in about 1.6 seconds, and its high fire rate can destroy both enemy players and structures.
Corsair excels in tight corridors, buildings, and close-range combat, so using it in long-range combat can be the biggest mistake from your side. Its burst pattern and high DPS make it great for quickly killing enemies.
Make sure to peek from cover, land bursts, then reposition to make the most of this weapon. Pair it with the Dynasty for mid-range combat and Ranger for long-range fights. After emptying a clip, don’t sprint into the next fight; find cover and reload quickly.
9) Viper
Viper is an SMG that sits in the close‑quarters combat category. This weapon has a fast rate of fire for close encounters in Highguard. It has 26 rounds per clip and can deal 10-15 per hit at point‑blank range.
This weapon has 16.3 shots per second with a reload time of 1.7 seconds. Viper comes with a 2x scope, which helps a bit with aiming. Viper’s strengths are its speed and forgiving recoil, making it easier to control.
Use this weapon where enemies are forced into a close area. Use corners and cover to your advantage so you can deal maximum damage. Try toggling between the scope and ironsights to dominate the enemies in close-range combat. strafe, slide, and change angles to make yourself harder to hit in tough encounters. Make sure to reload behind the cover and avoid spraying blindly in open space.
10) Longhorn
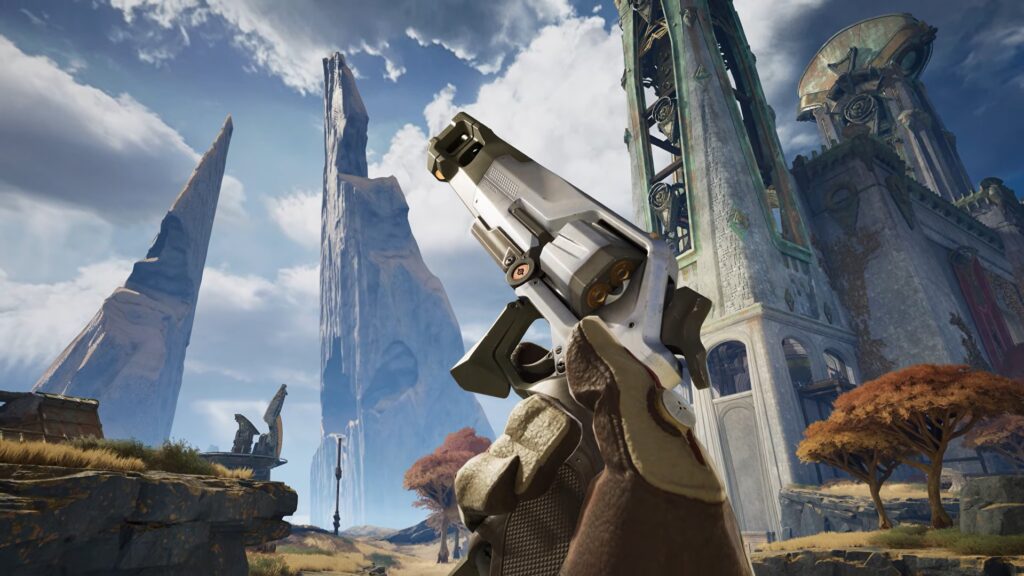
Longhorn is a high‑powered revolver that has massive damage per shot, capable of quickly downing enemies with accurate hits. It can deal 65 damage per body hit and 97 per headshot. This weapon has second highest damage per shot behind only the Ranger.
Revolvers are slower to fire and reload compared with rifles and SMGs. Longhorn is situational due to low ammo and slower fire.
Longhorn shines when you land precise shots. Its serious per‑shot damage makes headshots lethal. Use it for medium‑range engagements where rifles aren’t perfect and switch to it when your primary weapon isn’t working properly. Pair it with a mid‑range rifle, such as a Dynasty or a Vanguard, for general combat.
11) Rocket Launcher
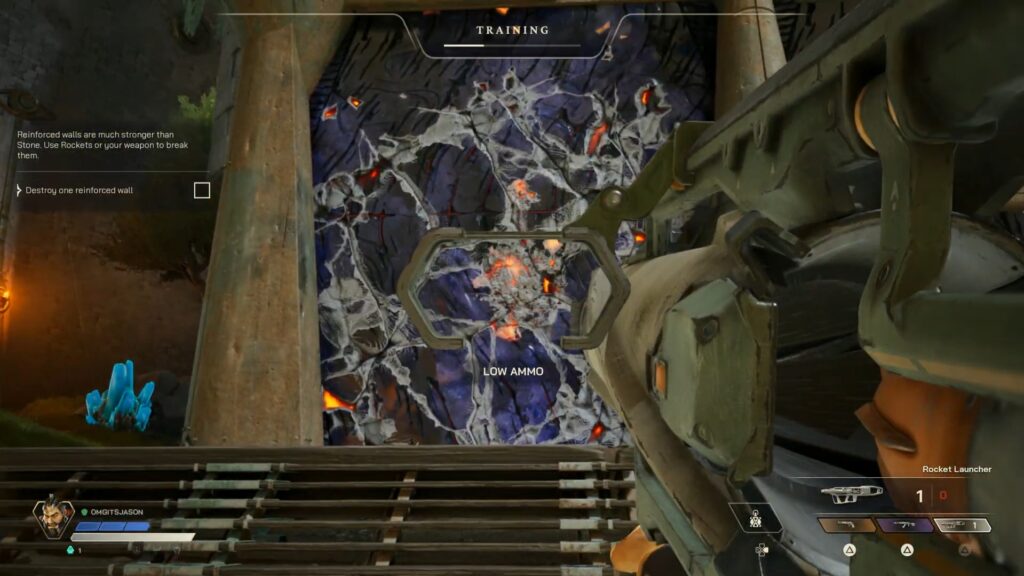
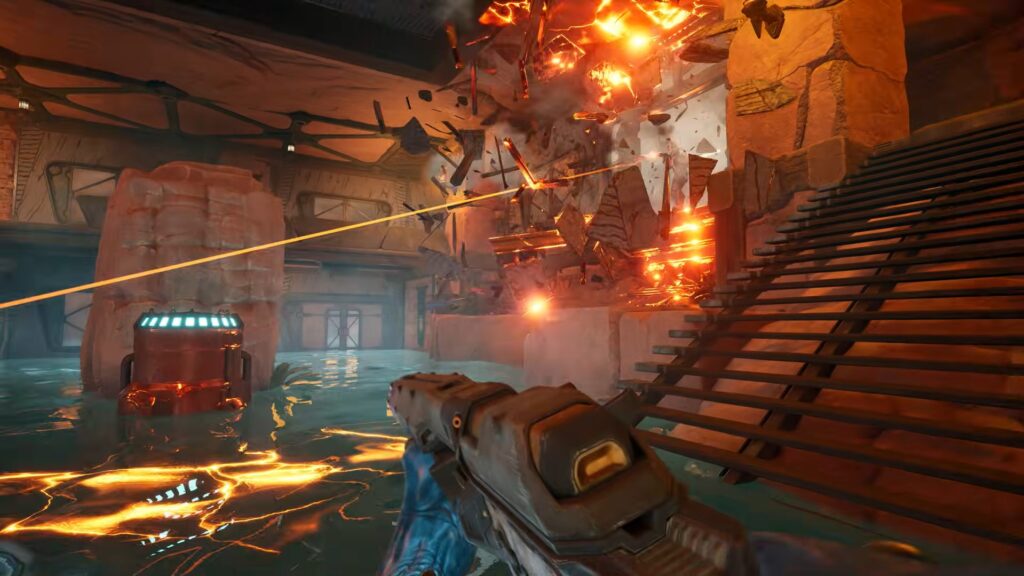
The Rocket Launcher is an explosive raid tool, not a regular firearm. This is used to destroy structures and walls during the Raid Phase of each match. A direct hit on a player deals 125 damage, making it deadly if you land it directly. Its blast radius deals area damage around the explosion, so anything nearby it can take damage.
Firing rockets at weak walls or wooden structures will clear paths for your team. Make sure to use it early in the Raid Phase to create openings. Teammates and enemies around the explosion will be affected, so use it carefully. It’s best to coordinate with the team before using it due to its limited ammo and slower firing rate.
12) Blast Hammer
The Blast Hammer is one of the Raid Tools that every player can select when preparing for the Raid Phase. This is a melee explosive destruction tool that can destroy walls and structures, helping your team get inside the bases.
It’s a sledgehammer fitted with explosive cartridges. It can deal 1000 damage to walls, but minimal damage to players. The Blast Hammer’s explosions allow you to tear down these barriers much faster. Destroy the wall to force the enemies to get into the open ground.
13) Zipline Gun
The Zipline Gun is another raid tool in Highguard that is used to navigate terrain and structures faster during the Raid Phase. This tool fires a high‑tensile wire into walls, structures, or terrain to create ziplines. It is selected before or during the Raid Phase to help attack or defend bases.
Use the Zipline Gun to gain access to rooftops or higher ground. This lets you flank defenders or pressure them from any angle. Use ziplines to escape open‑area fights, increasing your survivability.
14) Field Axe
The Field Axe in Highguard is a melee tool that is used for basic combat, utility actions like harvesting resources, and breaking structures. Axe swings let you mine Vesper resources from nodes. This tool is useful for chopping down non‑reinforced walls or barriers.
Switch to the Field Axe for close‑range defense and try to close the distance quickly and strafe to land hits. Don’t waste time on reinforced walls with the axe, so use the proper Raid Tools. You can combine axe hits with movement and cover to ambush players.


