


Discover everything you need to know about the Ballymolloy walkthrough in Dragon Quest VII Reimagined, including how to progress in it.
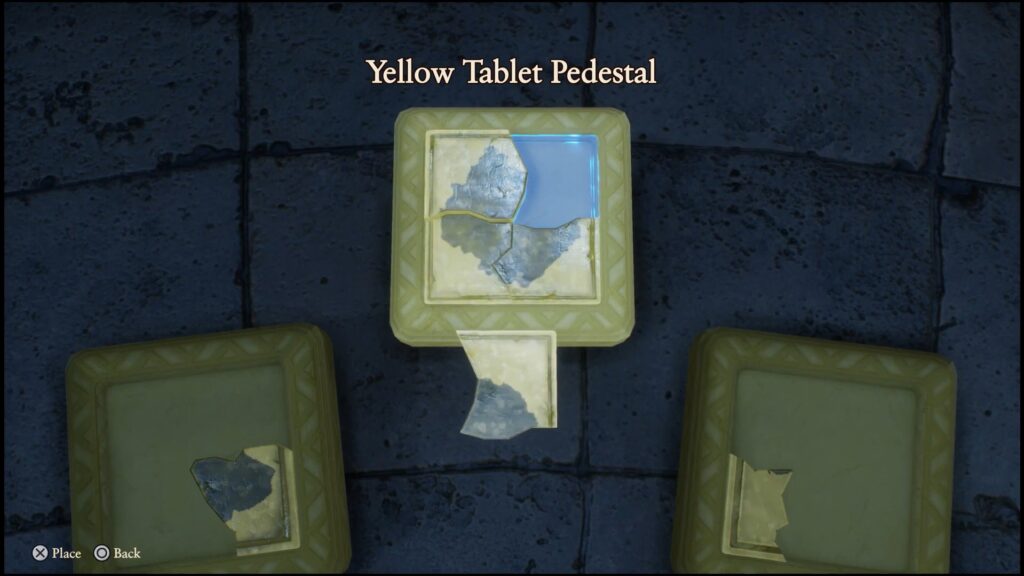
Dragon Quest VII Reimagined is a rework of Dragon Quest VII: Fragments of the Forgotten Past. The game has been completely reworked, with updated visuals, refined pacing, and a restructured story. Collect the required Yellow Tablet fragments found via puzzle rooms and NPCs. These can be acquired after beginning in your home village of Pilchard Bay and exploring Estard’s Shrine of Mysteries.
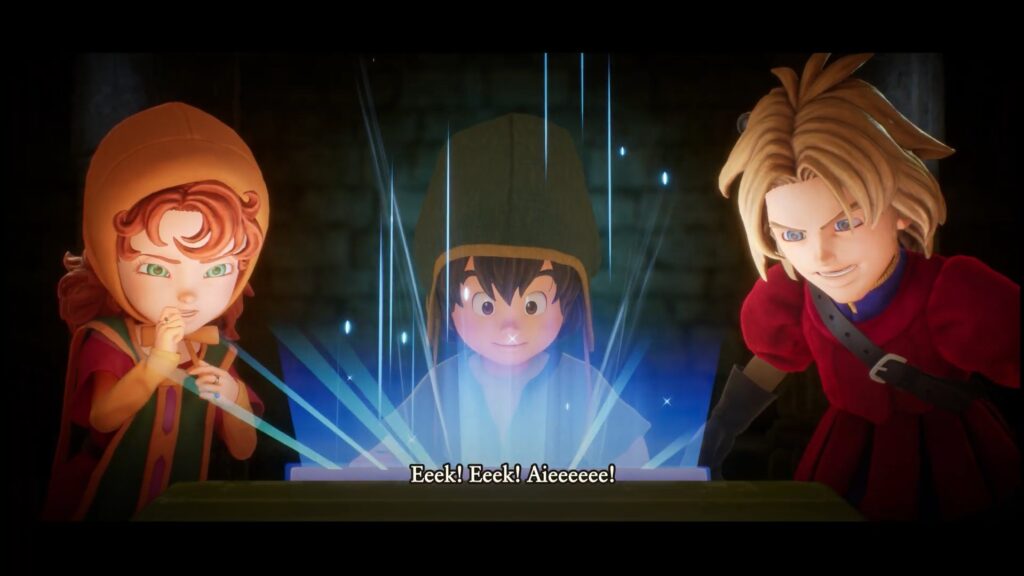
Once you have all of the necessary Yellow Tablet fragments, return to the Shrine. Interact with its pedestal to confirm the tablet to trigger the cutscene that opens the Ballymolloy. After that, you’ll be transported into the Ballymolloy past. This unlocks the Ballymolloy chapter as your first playable adventure.
Table of contents
Chapter: Ballymolloy Complete Overview
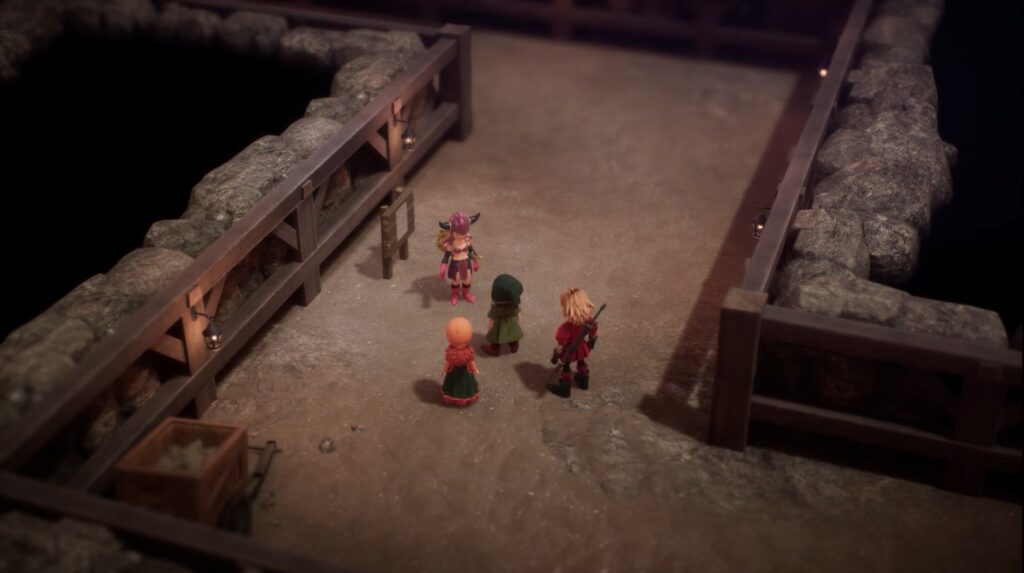
After the Ballymolloy cutscene, you appear in The Oddwoods forest. Head north and progress through the forest area toward the village. Maeve joins your party after a short fight. Before entering Ballymolloy village, you can head east to fight the Menacing Monster. Enter the village and talk with Patrick in the northmost house.
Head to the Rainbow Mines cave and solve push-block puzzles with colored rocks. Make your way down to the room with the Glowing Green Gem and approach the green rock in the mine. Obtain the wooden doll from Maeve and give it to Patrick.
Return to Ballymolloy and give Patrick the doll. Travel north to The Tower and defeat the monsters and a boss. Once the boss is defeated, cutscenes start, and you return to the present via a portal in The Oddwoods.
Explore the present version and move to the Sparkly Spot to find The Tower. Speak with the NPC in town to gain a Green Tablet Fragment and a password for the Rainbow Mines. Use the password to enter the mine and acquire the Red Fragment. After gathering the fragments, return to Estard Castle to find Red Tablet Fragments. Return to the Shrine of Mysteries and assemble the Red Tablet to unlock Emberdale.
Ballymolloy
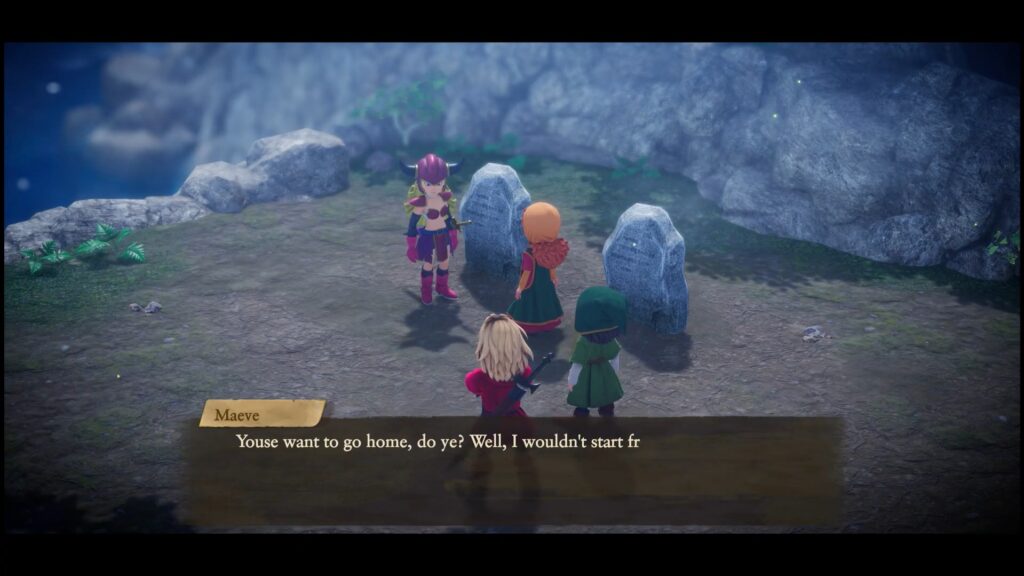
You find yourself in an unknown forest called The Oddwoods once the cutscene ends. Make your way to the north to locate Maribel and get ready to defeat blue Slimes. Once eliminated, make your way towards Maeve and the graves. This new character over there joins your party temporarily, allowing you to leave the forest.
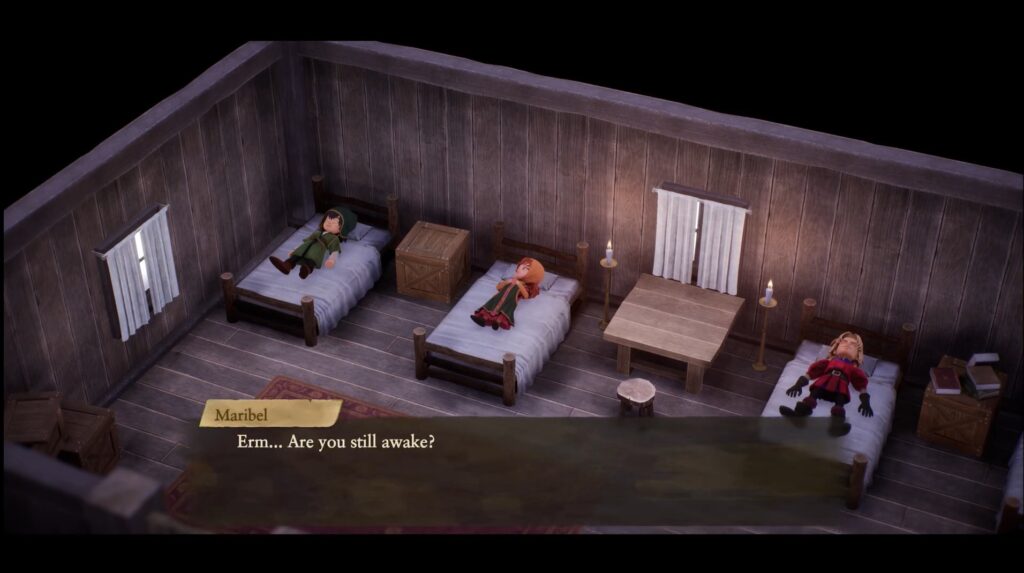
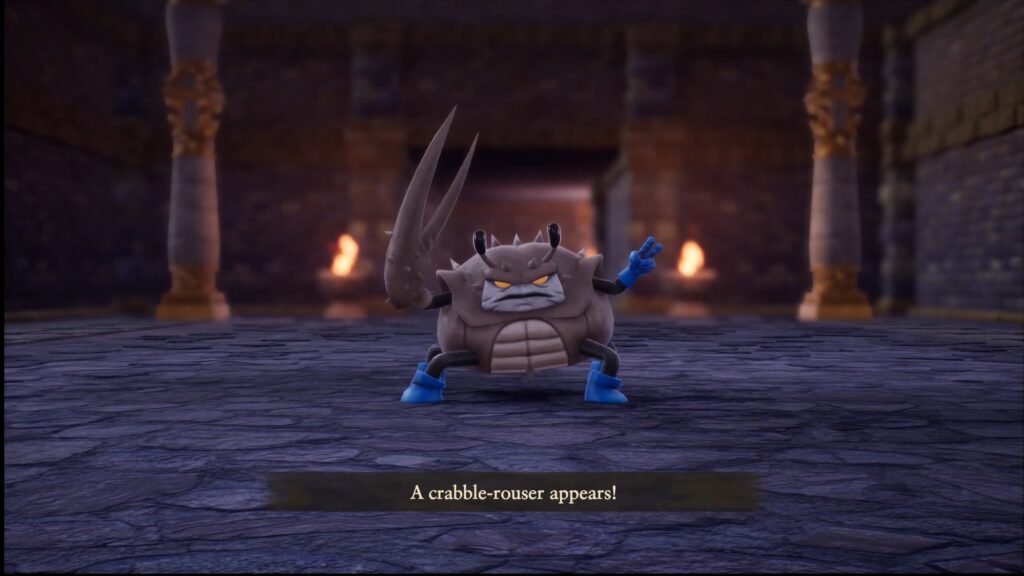
You can choose to go to the east side of the cave to defeat Vicious Hammerhood. Fighting this monster can be challenging, so use the right strategy to defeat it to gain a Monster Heart. I recommend entering the village and resting at the inn before defeating this monster. Maeve immediately leaves the party once you enter the Ballymolloy.
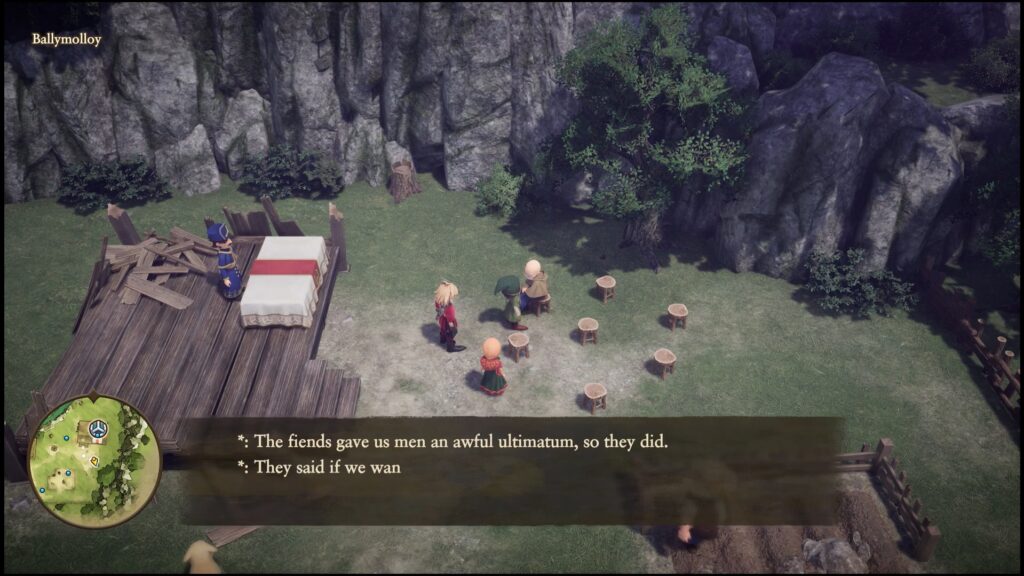
Move to the village of Ballymolloy and explore it thoroughly to collect new items. The objective for you here is to meet Patrick at the house on the north. Once done, return to the cave and move to the same place where you defeated the monster to get inside the Rainbow Mines.
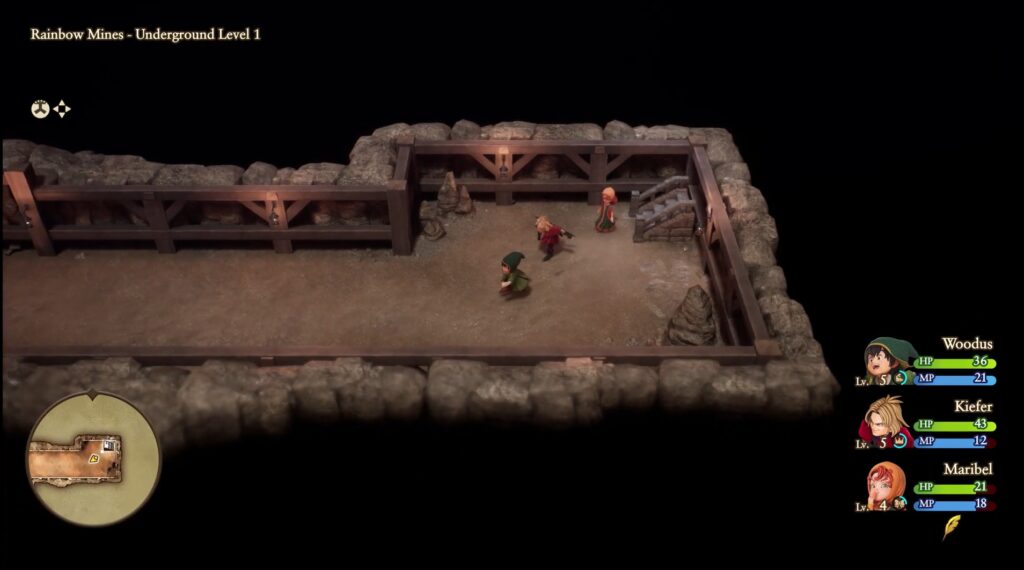
Rainbow Mines (Explore Underground Levels)
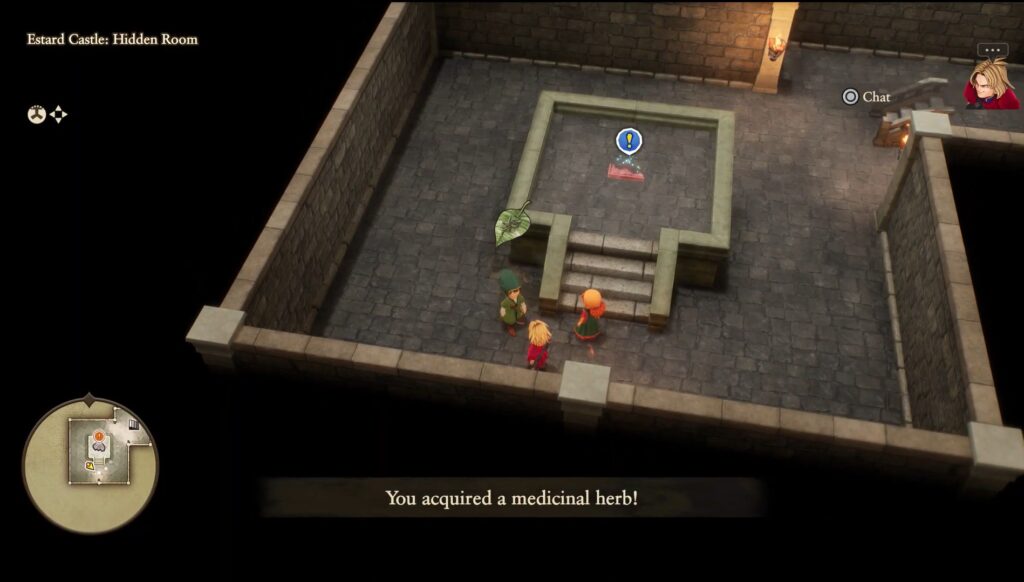
Interact with the statue to the north after getting inside to heal your character. Doing so also allows you to mark it as the checkpoint, so you spawn here when you die. Destroy the barrels from the southeast side to obtain Medicinal Herb. Once done, get inside to initiate exploring the area on Level 1 of Rainbow Mines.
Move to the path on the right after getting inside and take the stairs down to find a chest with a Leather Shield. Go back to the area where you came and travel to the left this time to find Maeve. Interacting with her triggers a cutscene, showcasing that she joins your party again.
Move to the left at the form to find a chest with a Hat in the dead end. Go back and travel to the right to take the stairs to move down to Underground Level 1.
There’s nothing special in this area, except for the enemies. The fight is more challenging because you need to fight all of them at once. Make sure to use the right strategy and team synergy to eliminate them effectively.
Once defeated, move to the south and approach the 2 red spheres. You need to pick up the top sphere and place it with the other, allowing you to break them. Exploring this area more is useful, as there’s nothing much. So, go to the left and take the stairs to reach the Underground Level 2.
Go through all the underground levels
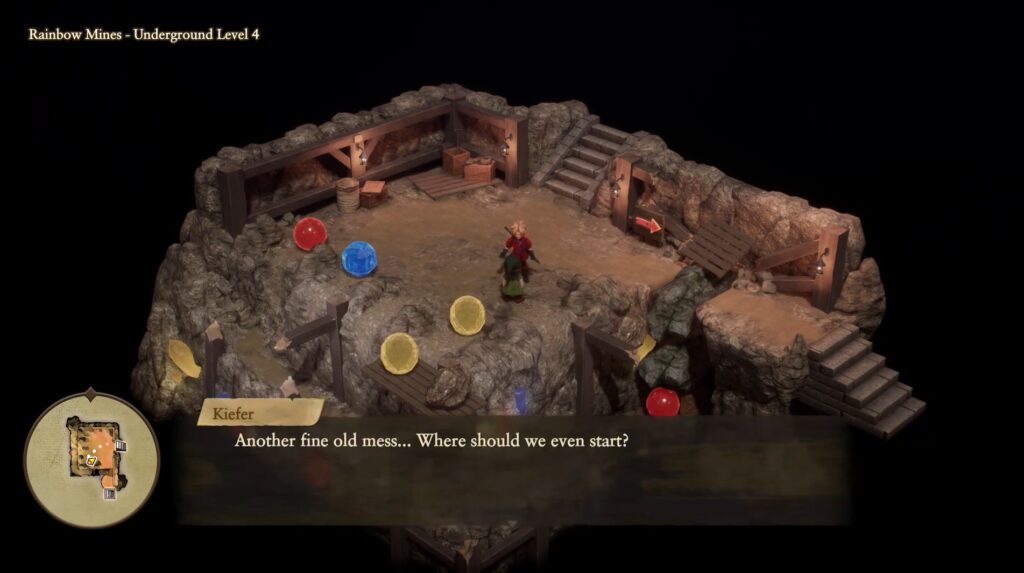
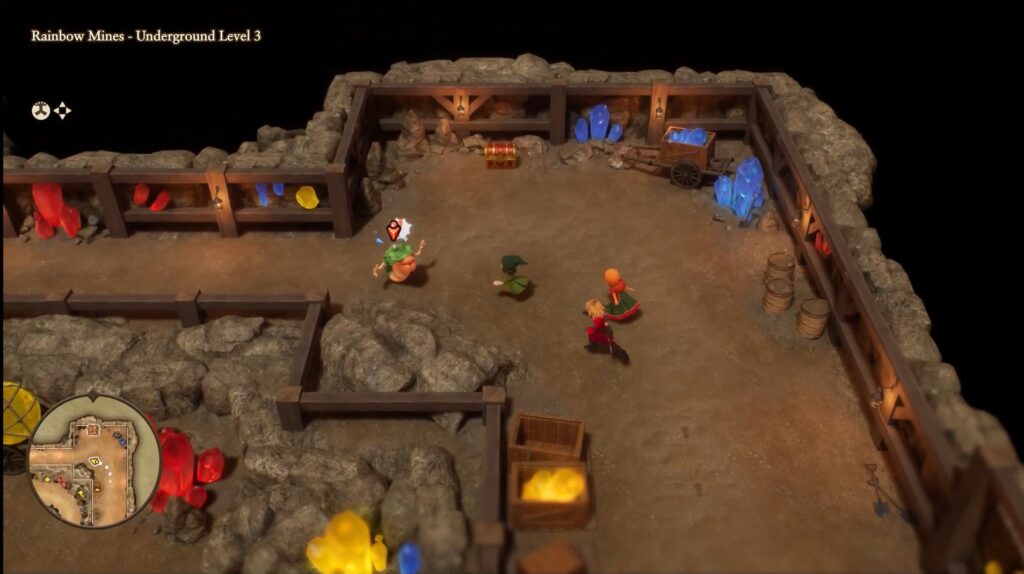
The underground floor contains a puzzle that you must solve to progress further here. There are multiple red and blue colored spheres in this area. The objective for you here is to hit the spheres with the same color to destroy them. I recommend going for the red off at the edge and the blue sphere. Completing this puzzle allows you to lower the platform that takes you to the Underground Level 4.
This Underground level also offers another puzzle, but completing it can be challenging for the players. The objective for you here is to push all the red rocks in the order of middle, right, then left. Once done, take the stairs to get to the Underground level 5.
This is the lowest floor of the Rainbow Cave, so start your journey from the north. Go all the way to the northeast side of the floor to open the chest to gain Slime Heart. Using this item allows you to gain +10% evasion for your character. Move to the south and take the stairs from the left side to collect the green gem near the middle rock.
Collecting it initiates the cutscene, so move ahead to save your game. Another cutscene triggers, showcasing Maeve giving you a Wooden Doll. Quickly get out of the mine and move back to the Ballymolloy to speak with Patrick. Give him the green gem that you just collected from the Underground level 5 inn, Rainbow Mine. After the cutscene, leave the Inn and give Patrick the Wooden Doll.
The Tower
Make your way towards The Tower and interact with the statue to save the game. Approach the double doors in front of you and pass through them to reach the level 1 of The Tower. There’s nothing much here, so move all the way to the right and take the stairs to move up.
Break the pots here you find to get your hands on a Single Phial. Take the stairs to move back, and this time travel to the left to find the stairs over there. Open the chest from above to gain 100 coins. Move back from where you came and save the game before taking the stairs to speak with the Golem.
Interacting with it allows you to initiate the fight, so get ready to take him out. Eliminating this Golem can be challenging because it has a unique attack pattern.
Keep using the healing items to stay in a good state and use skills like Hero’s Aqua Slash, Kiefer’s Flame Slash, and Maribel’s Frizz spell to deal massive damage. You can even use Maribel here to make your magic attacks more effective and damage-dealing. Get inside Level 3 after defeating this giant enemy.
Explore All Levels In The Tower

Simply move forward and defeat the Mouseflap here to obtain XP. Don’t need to explore this area, as there’s nothing much. Move to the north and take the stairs to reach level 2. You will encounter more Mouseflaps here that are worth killing for more EXP.
Once defeated, take the stairs to reach level 1. After returning to this floor, go north and take down the Lips. You can obtain the Hardwood Headwear from behind these enemies inside the chest.
Open the map to find the stairs on the left and ride side. Move to the right and take the stairs to reach level 3 to collect the Leather Shield from the chest. Move back to the place from where you came and go to the northeast side to take the stairs to reach Level 4. Go to the path on the right and obtain Antidotal Herb and Single Phial by destroying the pots.
Take the stairs from the south to reach Level 5 in The Tower. Destroy the pots to gain Medicinal Herb from the north side of this floor. Travel all the way to the south and go east to destroy the pots to obtain Medicinal Herb and Chimaera Wing. Move back to the north and obtain the Mini Medal from the chest here. Take the stairs and move north. Continue descending till you get to level 5.
Defeat Two Bosses
Collect the Golem Heart from the chest and obtain the Red Fragment near it. This fragment is used to unlock a path to a new zone. Interact with the statue to save the game and take the stairs to move to encounter the boss. Defeating this boss is very hard, so use the best strategy here to finish him off. Two bosses need to be eliminated in different fights. The first one performs physical attacks and is weak to Fire.
Once the first boss is defeated, the second appears in front of you. She also uses physical attacks to deal damage to you, but is weak to fire. Increase your defense before trying to hit this sword-wielding boss. Move back to the Ballymolloy after defeating the bosses and speak with Patrick.
Go to the Oddwoods once the cutscene ends. Get inside the forest and speak with Patrick again, but don’t take the doll from him. You gain a Seed of Resilience as a reward for not taking the doll. Make your way back to the present. Go to the south of Oddwoods to find the portal over there.
Unlock Emberdale
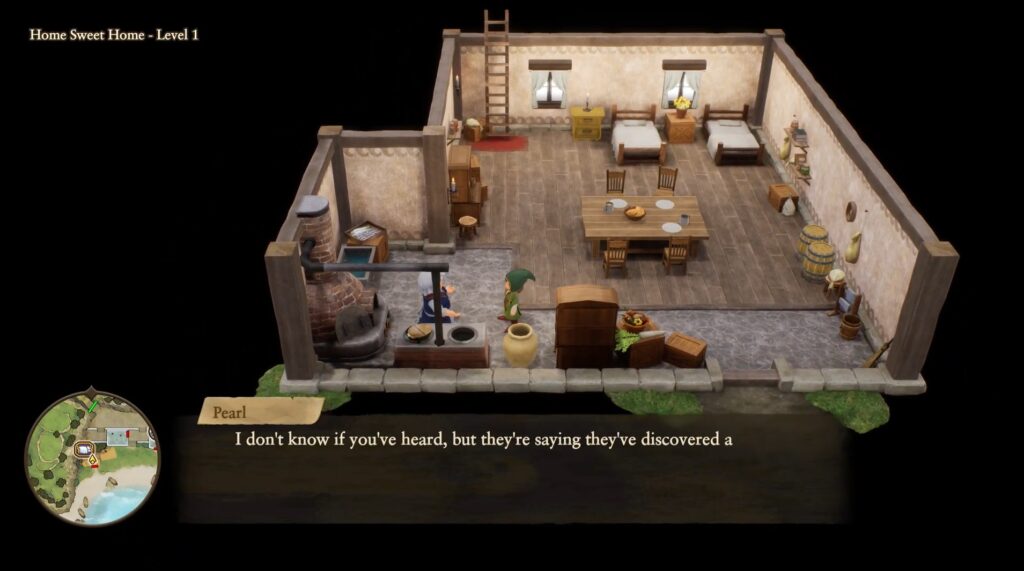
Make your way back to the Pilchard Bay and speak with your mom. Once done, talk to Kiefer and Maribel in west side of the cave. You can now use the boat after the cutscene ends. Go back to the Ballymolloy and obtain a Seed of Magic from the place of The Tower in the present.
Return to the Ballymolloy Village, explore the area thoroughly, and speak with the NPC in the large tower. You gain the Green Tablet Fragment and the password to enter the Rainbow Mines after exhausting all his dialogues.
Move to the Rainbow Mines and speak with the NPC at the entrance. Get inside the dungeon and keep descending till you make your way to the room of the Green Gem. Obtain the Red Tablet Fragment from the center of the room after opening the chest. Return to the Estard Castle after exploring the Ballymolloy to unlock the gate over there. Move out of the second floor and take the stairs to get down in the tower.
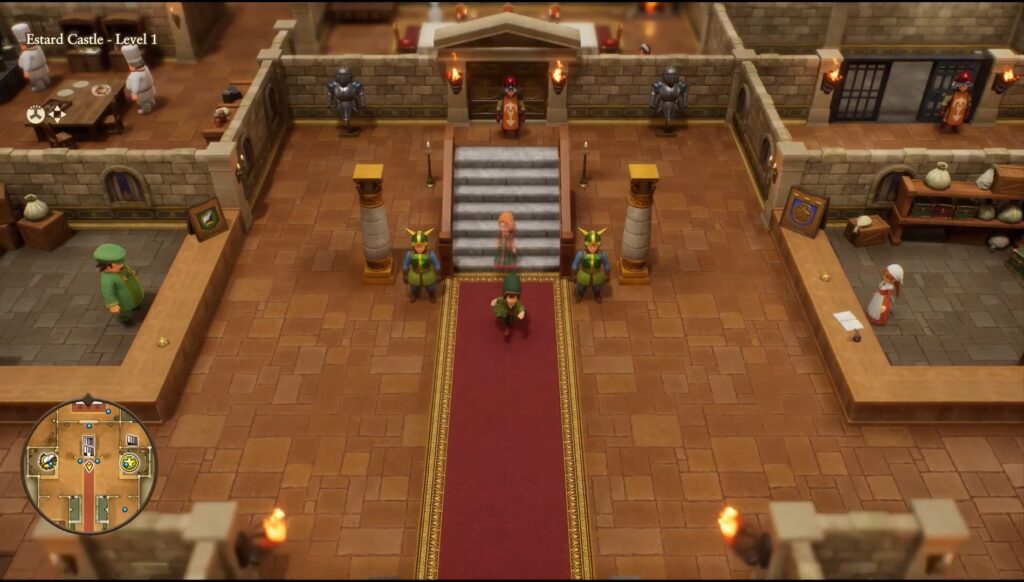
Speak with the guard and move down with Dermot to gain access to move into the castle’s moat. Go to the west of the castle and pass through the back entrance after taking the stairs. Find the stairs and take them to collect a Red Tablet Fragment.
Make your way back to the Shrine of Mysteries to assemble a new table using all the obtained pieces. Once assembled by interacting with the red table, you can move inside a new area called Emberdale.


