


Discover everything you need to know about the Sector 1 Solar Power Plant walkthrough in Pragmata, including how to progress.
Pragmata’s Sector 1 is the first main story progression area, requiring you to restore power and reach the main generator. Completing these objectives can take up to 40-60 minutes due to the first immense boss fight. You solve the hacking puzzles, get new weapons, collect Lunafilaments, solve the door circuit, and reach Tram. Don’t worry about missing collectibles; prioritize hacking over shooting. You arrive at the Solar Power Plant, the first real level, where the core mechanics open up.
Prologue Walkthrough
You play as Hugh Williams, an astronaut sent to investigate a mysterious lunar research station. Cradle is the station that is malfunctioning and controlled by AI systems. A sudden moonquake hits the base, destroying parts of the facility. Hugh gets injured, separated from his team, and knocked unconscious. Hugh is rescued by a small android (Diana).

Find Ken and Nicholas
After gaining control of Hugh, move through the path till you find Ken and Nicholas. Once the cutscene ends, go all the way to the left to find James and learn how to use the thrusters. Make your way up the white cargo lifted by the forklift and get to the platform on your right.
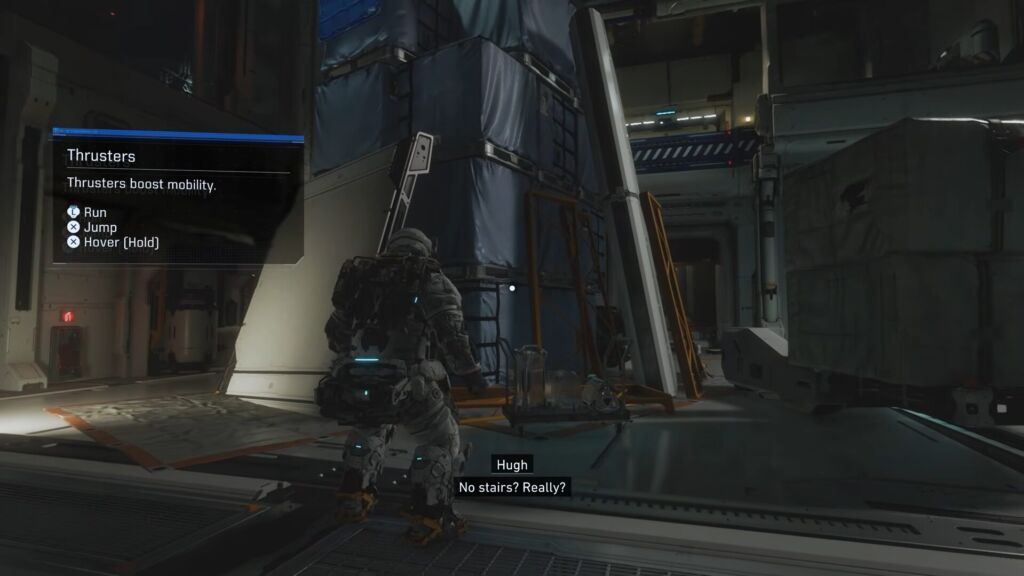
Learn to use Thrusters
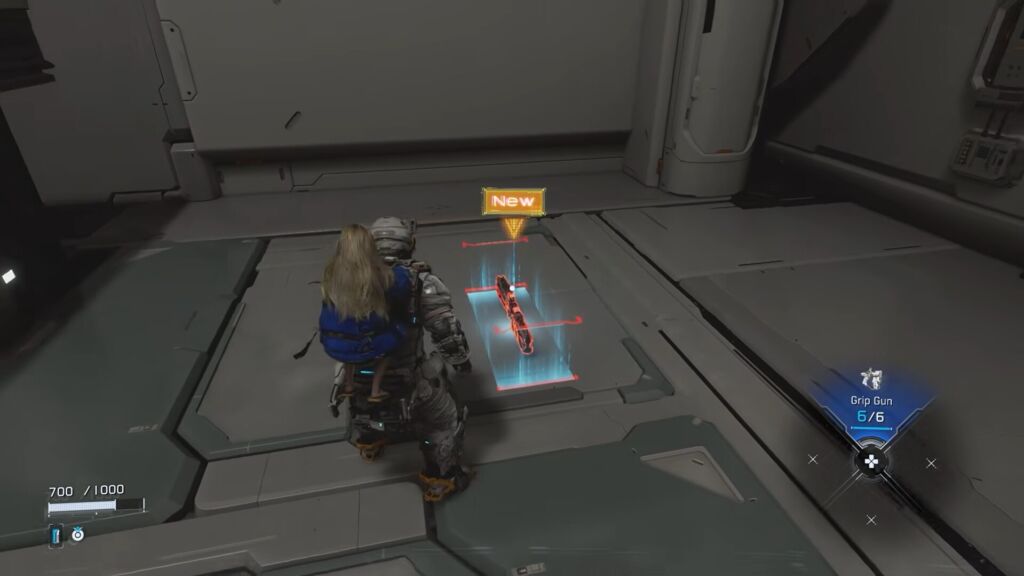
Once there, you find a blue cube called Lunafilament. Pick up this enemy drop, as it’s used for crafting later. Go up another platform in front of you and hover onto the panels near the blue trap. You need to activate your thrusters by jumping and then quickly holding the jump, letting you go to the opposite side.
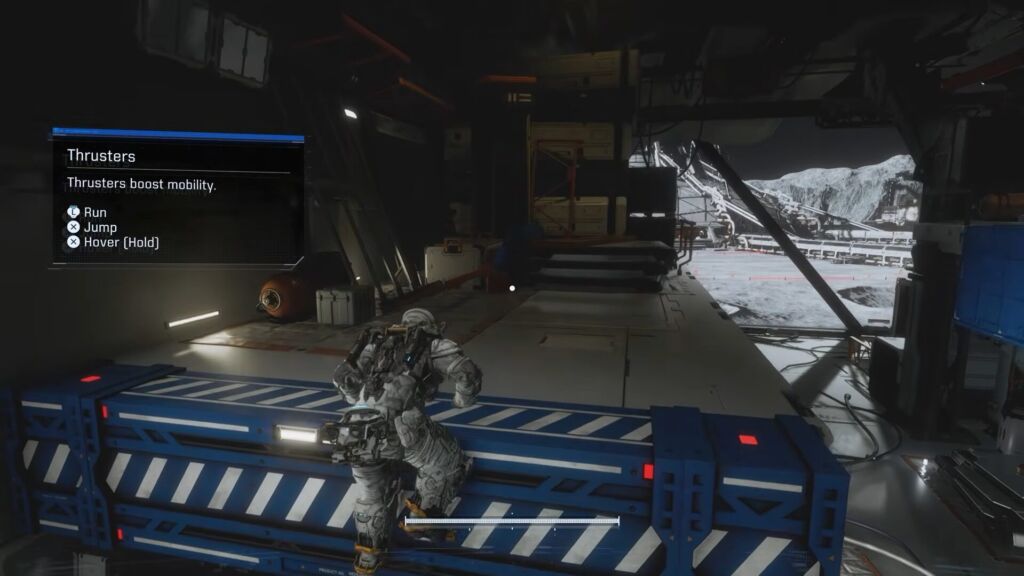
Jump Over Multiple Boxes
Go a little bit to the right and use the thrusters to reach the multiple boxes. These piles of boxes are in the center of the area where James is. Move to the end of the path to initiate the cutscene. Once it ends, you start the combat training. Aim at the robot and start shooting at it.

Diana Revive Hugh
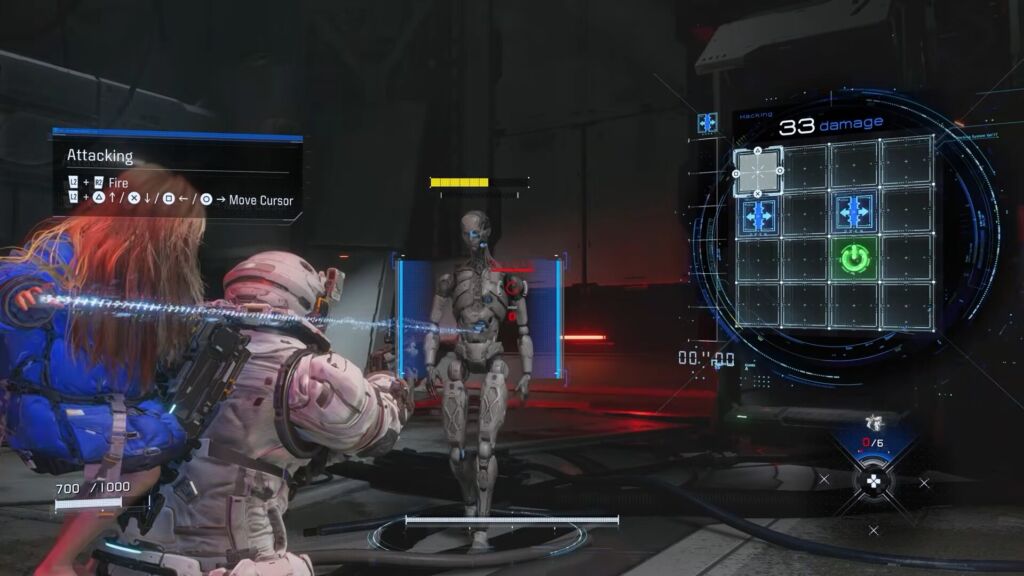
You understand that shooting at the enemy can deal no damage, but hacking it is more beneficial. Hold the aim button and go to the green square to hack the enemy. Hold Alt and drag the mouse or use Y/Triangle, (↑), B/Circle (→), A/X (↓), and X/Square (←) to move around while playing with the controller.
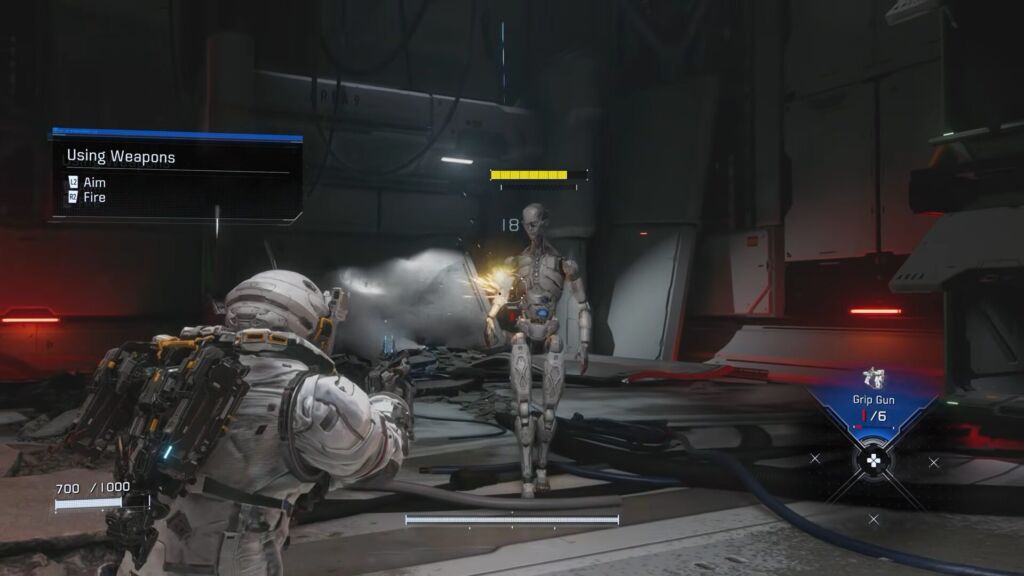
Basic Combat Training
Enhance the hacking damage using the blue nodes while passing through the grid. The AI robot becomes vulnerable to your attacks after hacking is done. Make sure to aim at the blue section with your weapon and shoot to eliminate them. The combat flow is to hack the enemy, expose the weak point, and shoot.
Learn the Hacking
The door in front of you is locked, but you can hack the door to unlock it with the help of your friend. Players on PC must hold Alt or a side button to start the hacking process. The objective is to look at the door and press the designated buttons to move it. You need to use a repair cartridge by hitting the Q or Circle button after moving inside.

Reach the Tram
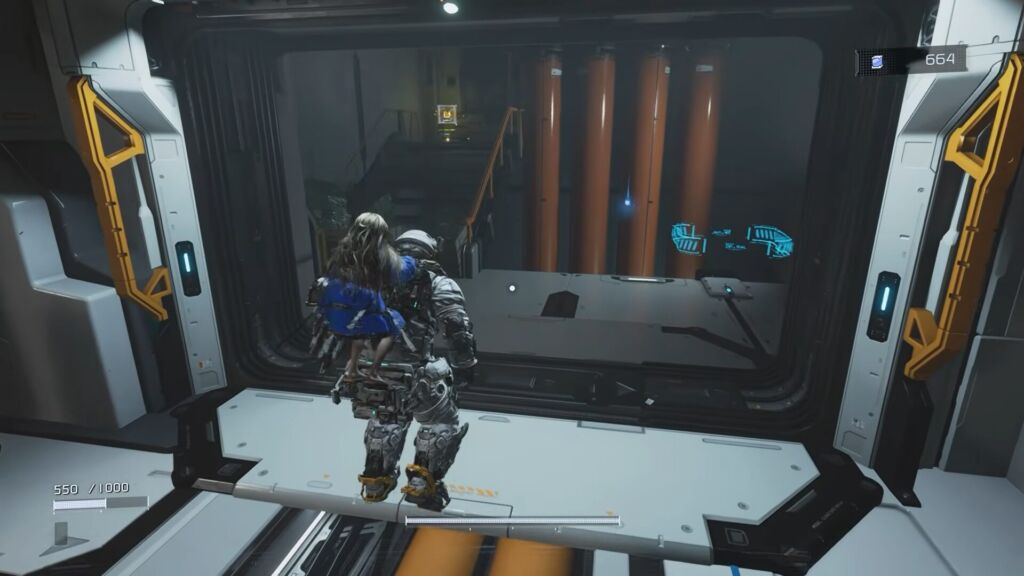
Keep moving the path in front of you and drop down at the end to reach the tram. More enemies come out of the large container, requiring you to hack and defeat them. Hack the container to clear the path after defeating the enemies. Keep using this tactic till you finally reach the tram and then into the Shelter. You will learn that the girl you’re hanging with is actually the Pragmata.
Shelter (Hub Area)
Hugh and Diana arrive at the Shelter after escaping the chaos. This area acts as a central hub in the game, where most key system upgrades occur over time. Firmware Updater and Unit Printer are the two systems available at the moment.

Main Hub Area
You can upgrade suit durability, weapon power, and hacking using the Firmware Updater that costs lunafilament. Use the Unit Printer to print more weapons, mods, and gear. Speak with Dianna, keep moving toward the tram station to modify your weapon loadout and mods. Take the tram to the Power Plant station in the Solar Power Plant (First Sector).
Solar Power Plant Walkthrough
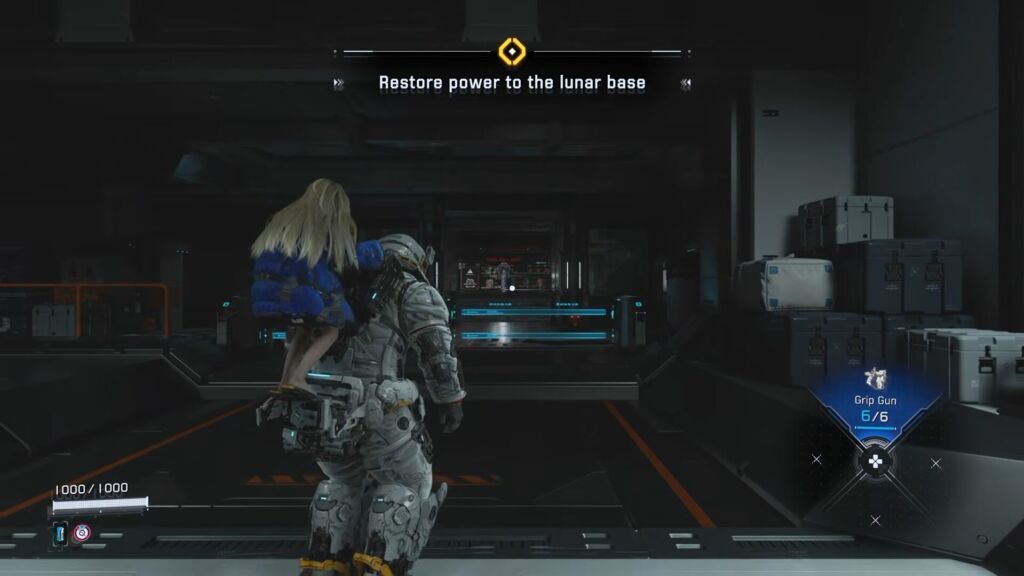
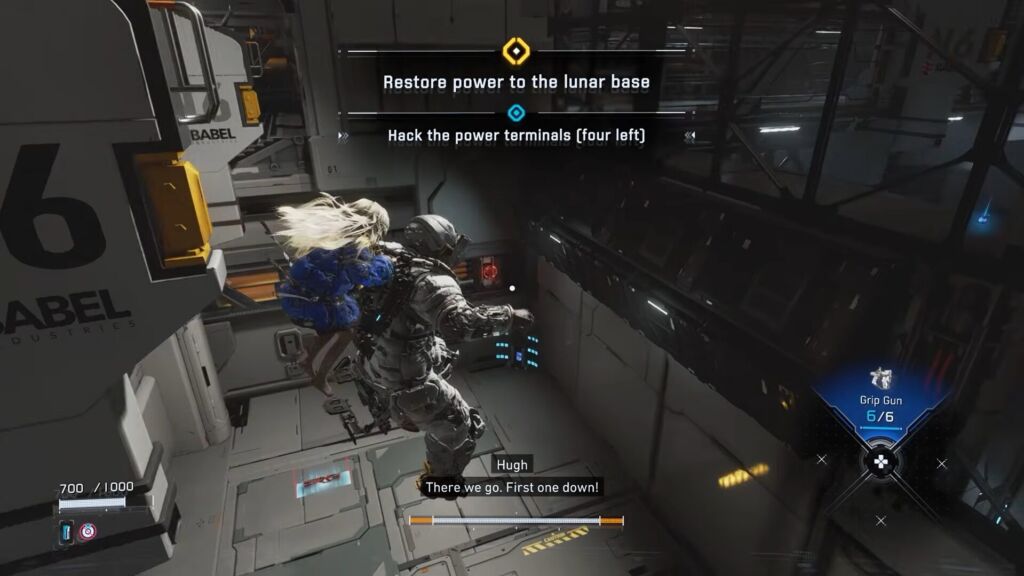
Your objective in Sector 1 is to restore power to the lunar base. The main story initiates using Diana’s Scan ability, which marks the major locations and objectives. You find more hackable circuits, enemy resistance, and threats after progressing through this area.
Generator Entrance
The objective here for you is to reach the generator area, restore partial power, navigate lasers, unlock Sec. 06 room, and unlock the Escape Hatch. You get to the Generator Entrance after riding the tram. Get your hands on the upgrade part from the room on your left before heading inside.
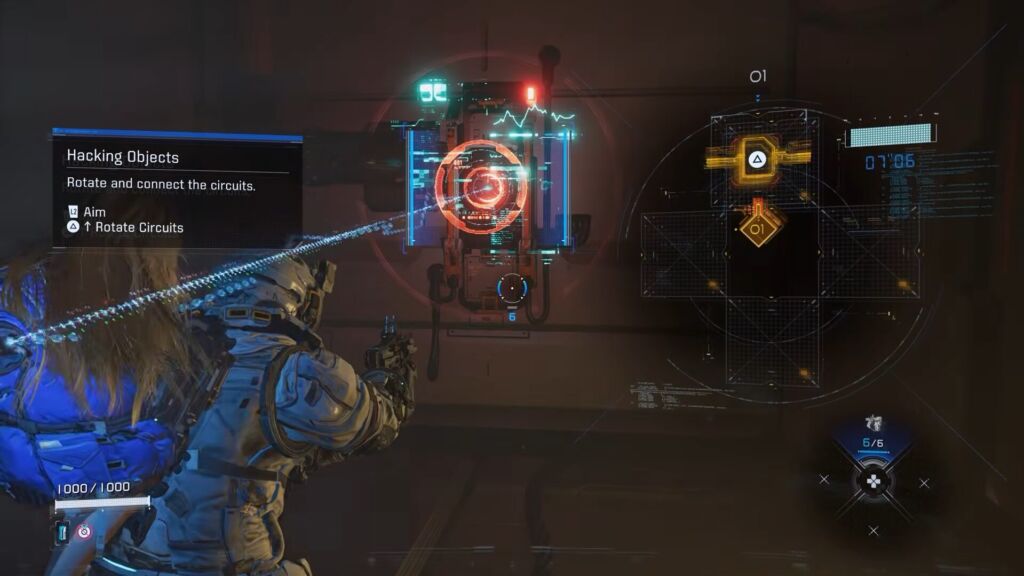
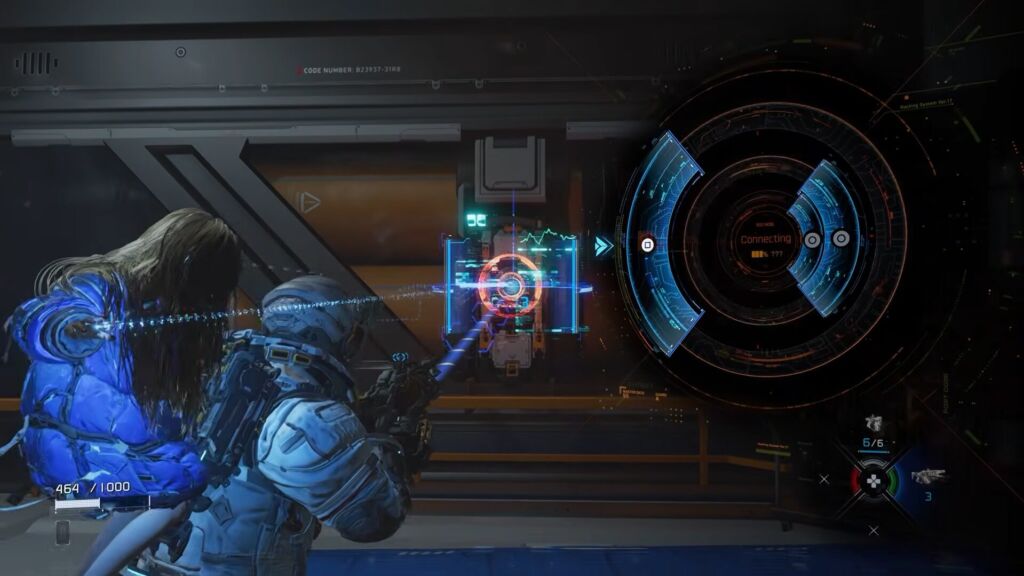
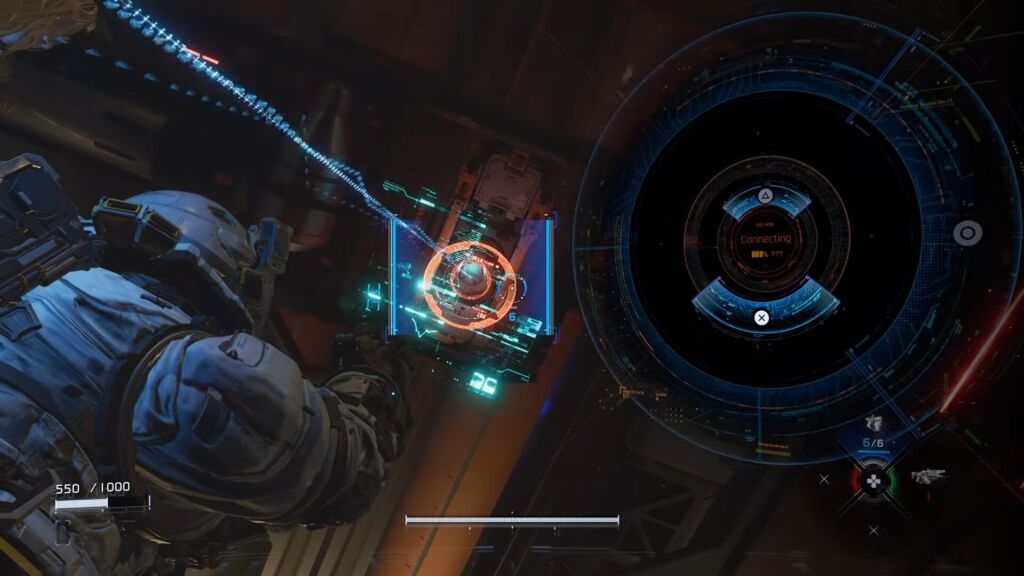
Hacking Objects
The doors are locked, and you can’t interact with them due to no power. Continue following the path till you reach the doorway, and then take the first right turn. Approach the power mechanism at the end and hack it to restore the power system. Defeat the robots generated by the 3D printer and return to the area.
Reach Power Distribution Center
Pass through the lasers blocking the path by jumping and dodging. You need to reach the doorway on the right side. Go through the door and keep progressing to the right side till you find a door blocked by spikes.
Deadend of Hallway
Once they reach the dead end of the hall, hack the two objects to unlock the large door. Eliminate the flying enemy before trying to hack the first object here.
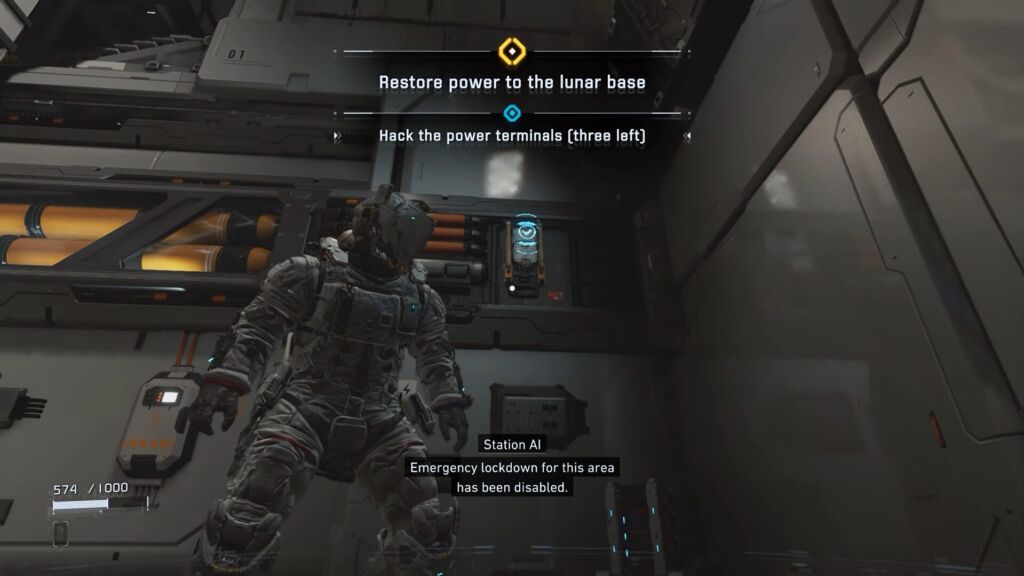
Hacking Power Terminal
Make sure to press the button on the outer ring and then move inside while hacking the object. The red circle on the door turns blue, so find the second object on the left to hack it. Completing the hacking process on both of these objects unlocks the door that takes you to the Power Distribution Center.
Progress in Power Distribution Center
Keep following the path after unlocking the door, and drop down after reaching the end. Hack and defeat all three enemies in this area to get access to the next room. Get the escape hatch from this area that can be used to move back to the shelter. Returning and upgrading your gear lets the enemies respawn.
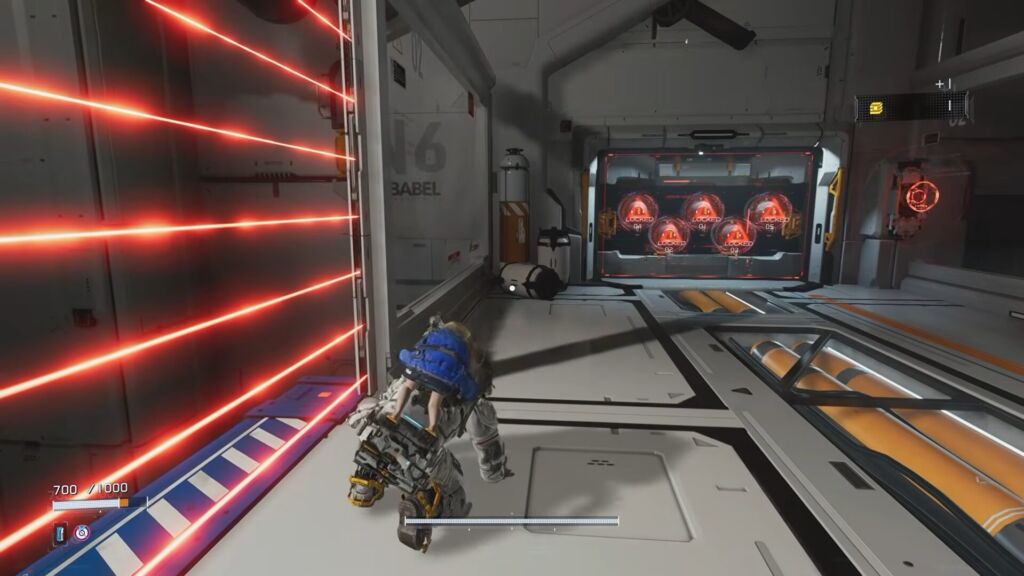
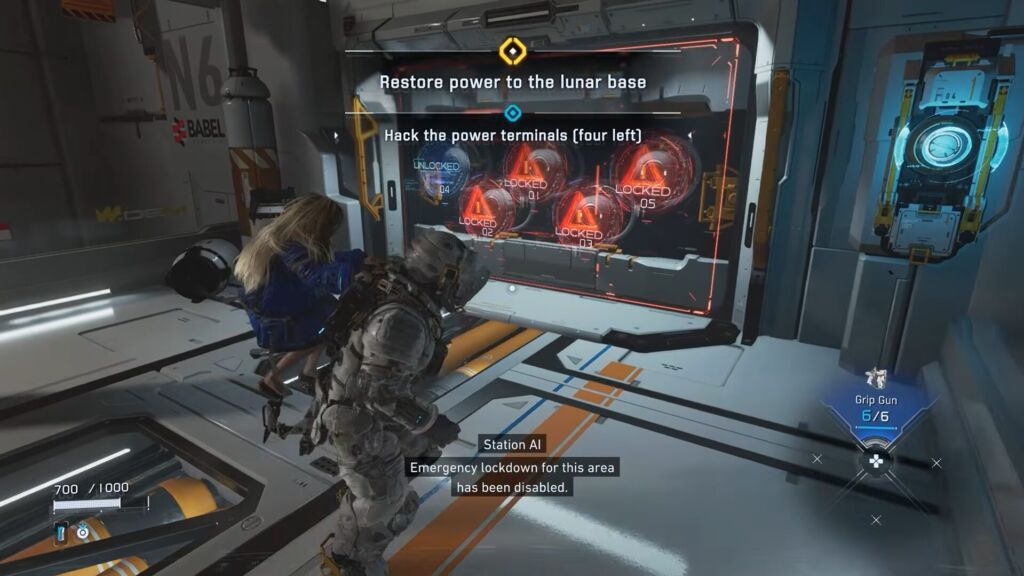
Finding All Five Power Terminals
Go through the door and keep following the path on your left to get your hands on useful components. Be aware of the moving laser while moving through here. Get to the locked door by dodging the lasers, but you need to hack five power terminals to open it.
Get Shockwave Gun
The first terminal is on the right side of the door, so hack it before finding the others. Go to the ledge below on the right to locate another power terminal. You can obtain the shockwave gun here on the other side, so grab it when you have the chance. Defeat the newly spawned enemies and hack the terminal to reach the elevator.
Hack Terminal
Go to the next platform from the blue trap and take down the robots. Keep moving up the platforms till you find the third power terminal. Only two terminals are left to hack. Move back to the last platform and move to the other side of the room to find the fourth terminal and a stasis net.
Restore Power Terminal
Once done hacking the terminal, pass through the yellow door on your left to defeat two enemies here. You can use the stasis net to keep the enemies in one place, making it easier to hack and eliminate them. The last power terminal on the ceiling in this room.
Power Terminal on Ceiling
Keep moving through the hallway till you find the small cabin and another component. Lunafilament clusters are blocking the path in front of you, so move to the left to reach the unlocked door.
First Safe Box
Before going through the door, you can find two safe boxes in this area. Make your way in the opposite direction and then take the left turn. Hack and defeat the enemies here, and keep moving on the path. Once you reach the end, you find the first safe box and a robot enemy.
Second Safe Box
Return to the area from where you came and use the lift to move up. Interact with the terminal here to hack it after reaching the top. Doing so let the platform rise and get over the glass wall. Reach the corner of this area to locate the second safe box. Now, hack the terminal and then go through multiple platforms to escape this area. Reach the unlocked door and collect the component to move inside The Concourse.
The Concourse
This is the third and final Block of the Solar Power Plant, and multiple collectibles to unlock. Once you reach this new area, get the Globe of the Earth. While Hugh explains it to Dianna, he gets Read Earth Memory. The objective is to find each REM in the Cradle’s Sectors to print them at the Shelter.
The Concourse
Equip the Hardened Suit mod and upgrade your equipment before moving towards the tram to reach the Main Control Lobby. Pass through the door and continue moving on the path till you encounter the Decode hacking node. Using this node allows you to deal additional damage to the enemies after hacking them. You can use this node up to three times, so you can pick up more.

Main Control Lobby
Keep following the path and eliminate the foes till you reach the lift on the left. Use this elevator to reach the Mini Cabin Figure and the upgrade component. Interact with the strange wall to uncover the secret area filled with the Crayons REM and a file.

Get the Decode
Alternatively, make your way to the other room and hack the terminal to reach the next floor. Hack the enemies and defeat them before heading out. Interact with the terminal again to hack it and collect the ammo before diving into the boss fight.
How to Defeat SectorGuard Boss
Interacting with the control panel initiates the SectorGuard boss fight (First Boss Fight). The fight includes hacking, shooting weak points, and using Overdrive. The boss is heavily armored, and you must solve the grid puzzle and then shoot the weak point. The weak spot of this boss is the orange fuel tank on its back, so circle around the boss and attack from behind.

SectorGuard Boss Fight
This is the only area where most of your damage comes from. Boss rushes straight at you, requiring you to dodge sideways and keep the boss in view. The red circles appear on the ground for a missile barrage, so keep running and only dodge if necessary. Make sure to use Overdrive Protocol charged by successful hacks. This is only activated when the boss is immobilized and the weak point fully exposed.

SectorGuard Phase 1
The best strategy is to activate the Overdrive, get behind the boss, and dump all damage into the fuel tank. After enough damage, a prompt appears, and Hugh jumps on the boss and attacks. Triggering this allows you to deal massive damage and progress the fight. You also get a message about Critical Shot that lets you use a follow-up attack. Get close to the SectorGuard to let the Hugh climb atop it and blast it.

SectorGuard Phase 2
Phase 2 starts around 50-70% HP, and the boss’s attacks become more aggressive and spam faster missiles. I recommend focusing more on survival and hacking. Make sure to use special tools like Stasis Net and save Overdrive for this phase. Use the Shockwave Gun as a primary weapon for main damage, Stasis Net to immobilize the boss, and Decode Node to boost damage after hack.

Defeated SectorGuard Boss
Defeating this boss allows you to gain lunafilament and a Shelter License Key. Collect this key near the SectorGuard’s body to complete the mission. Once defeated, use the Tram to return to the Shelter.


