
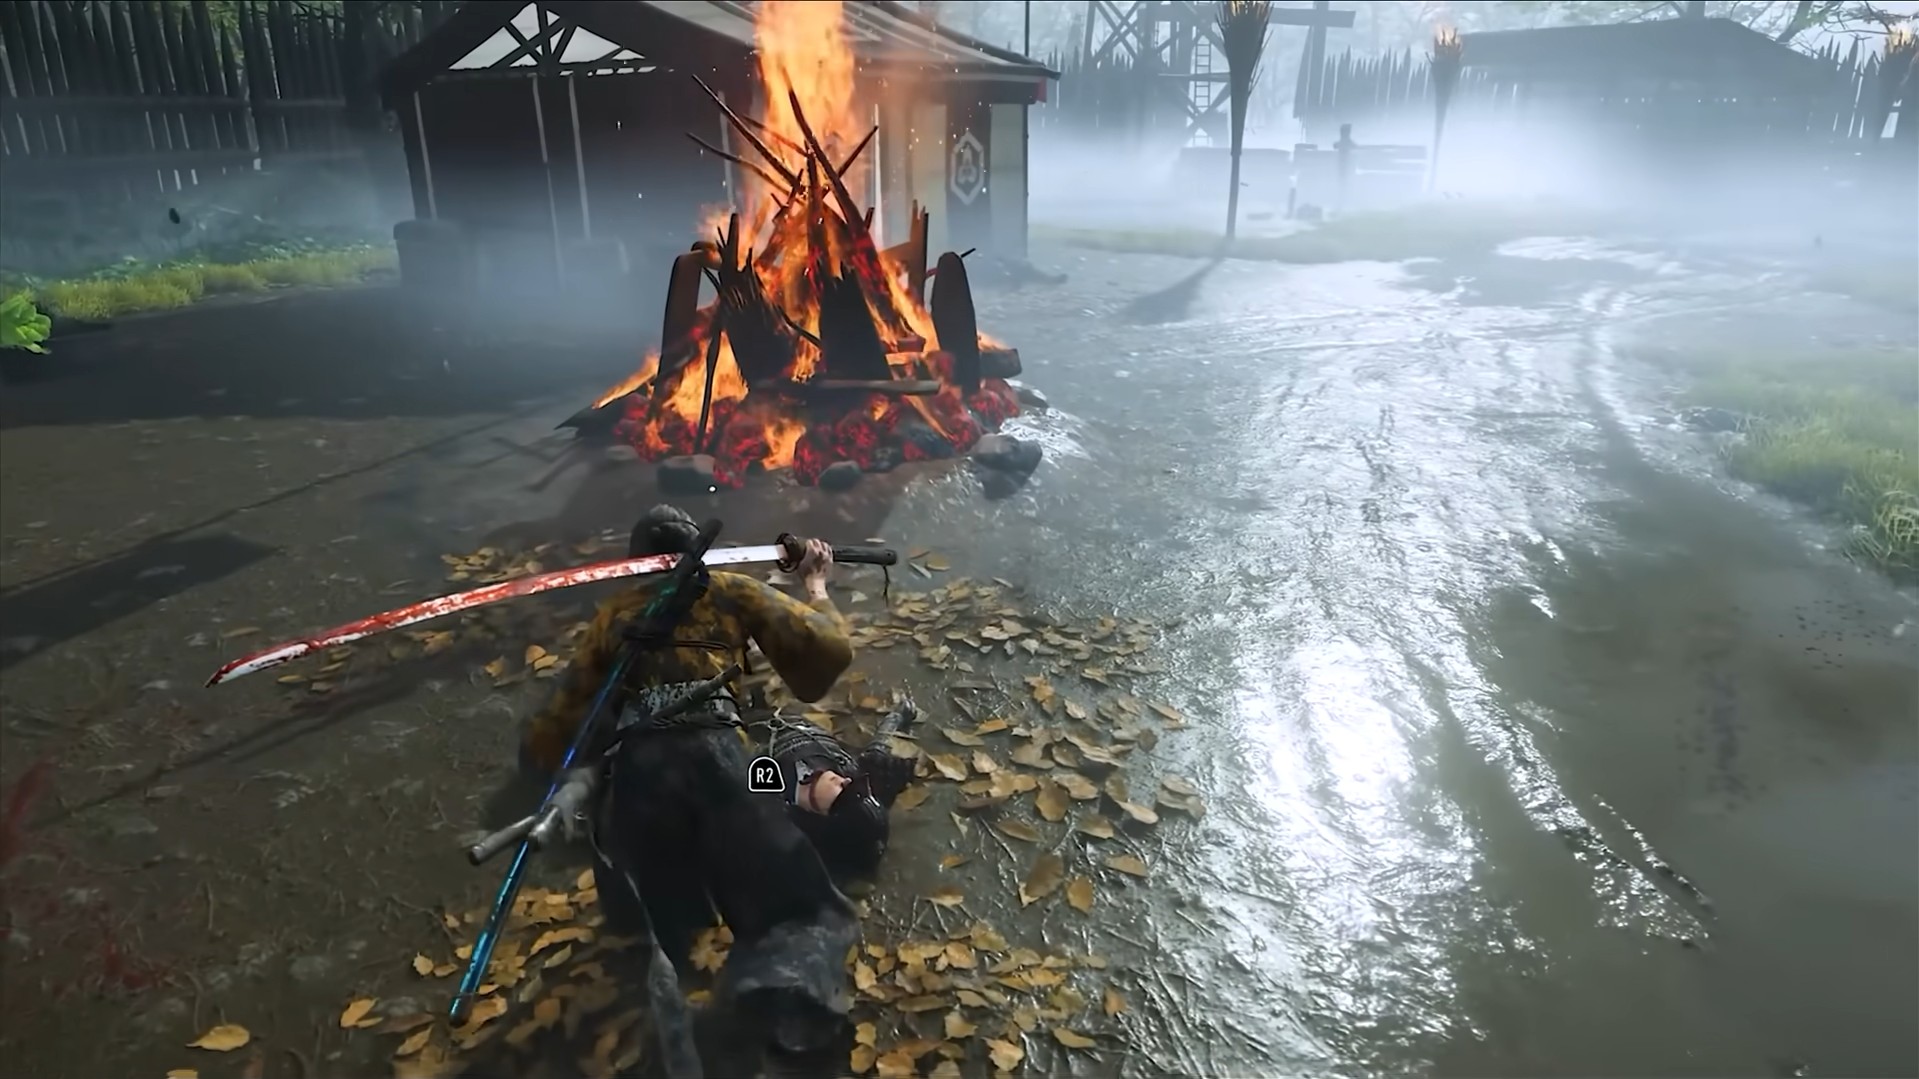
Discover everything you need to know about the best beginner’s guide for Ghost of Yotei, including some tips to get started.
Ghost of Yotei is an action-adventure RPG game, blending stealth, swordplay, exploration, and questing in a semi-open world. You play as Atsu, a mercenary driven by vengeance, hunting the Yotei Six. The game offers multiple weapons like Katana, Dual Katanas, Yumi(bow), Kusarigama, etc., and modes. Use campsites or safe areas to rest and recover before engaging in a fight with the enemies.
Progressing in Ghost of Yotie can be challenging due to the deadly enemies lurking around every corner. Learn attack colors, use armor effects, explore for loot and upgrades to proceed further. In this guide, we’ll discuss the best beginner tips to help you get powerful early in Ghost of Yotei.
1. Change the Gameplay Settings
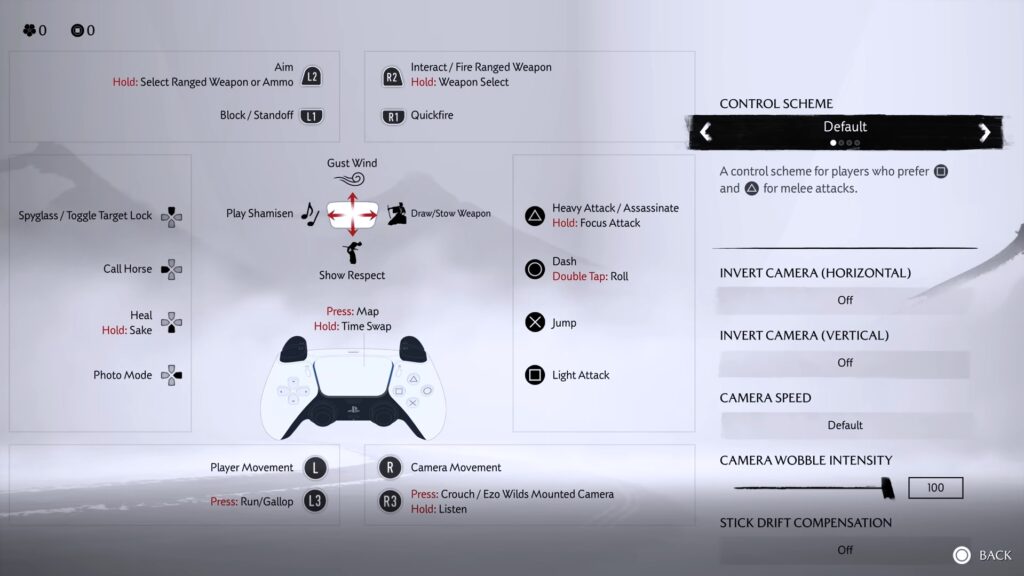
You can now turn on a target lock system. Press up on the D-pad, and this will allow you to mark your current target in view. This way, you can more easily follow exactly the target you want to hit. Also, keep in mind that you can actually have multiple loadouts now by default as you unlock more gear. This way, you don’t have to switch back and forth between different charms. You can pretty much have them dedicated to multiple types of builds. I recommend having multiple builds at the ready for melee range and also for exploration.
You may also want to turn on alternate control schemes. In this case, it will change the default triangle and square attacks to R1 and R2 for the light and heavy attacks to more closely resemble the typical action game control scheme.
Turn on the enemy range indicator. This is not completely needed, but if you’re having trouble with enemy attacks coming from offscreen, especially from archers, this may help with that, adding another indicator for you. You can also choose the simplified minigames control either now or a bit later. This can be for whenever you get sick of the mini games, such as bamboo strikes, and want to have the button sequence a little bit easier to deal with.
2. Focus on Side Content

A big mistake that a lot of players will likely end up making is focusing a little bit too much on the main story and not enough on the side content. Focusing purely on the main narrative means missing out on a lot of powerful upgrades, weapons, and armor. These are mostly provided by side missions and other activities in the open world.
Focus on some of the altars of reflection, as that’s going to provide you with the majority of skill points. You need to invest them in Atsu’s kit from combat all the way to her defenses. Also, keep in mind that you can find these in camps, too, not just jumping puzzles. So, in this case, pay attention to the swarming butterflies that are typically spawned around these points of interest. Spend that point at the altar, as it won’t get banged in the UI. Unfortunately, you actually need to allocate it right there and then.
Focus on the bamboo strikes. While some of the mini games involving them have changed slightly. However, they still provide spirit, which is one of your most important resources in this game. Not just to dish out cool abilities, but also to stay alive. One whole point of spirit is at least as useful as multiple hot springs in terms of how much HP you can get out of it.
3. Use Melee Weapons
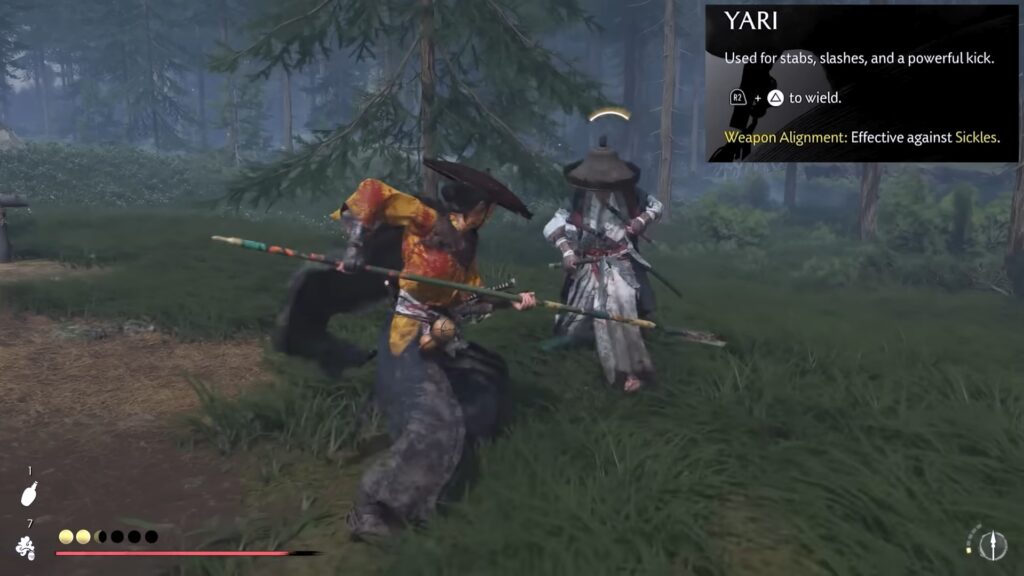
Yotie takes away the old katana stances and instead replaces them with four new melee weapons. They more or less also expand further upon said stances. There are several adjustments needed before you can actually switch to them on the fly and as easily as you used to do in the past.
First of all, Dual Katana is best at countering enemies with spears. Unfortunately, its placement is where the stone stance used to be, rather than the wind stance, which in the past was the one in fact countered spears.
Yari is your spear. This is best at countering enemies with sickles and gives you a Spartan kick. It also provides a lot more range compared to some of our other melee options. So, it’s almost going to combine the old stone and win stance in terms of functionality.
Kusarigama is your best choice for breaking enemy shields. This weapon also has the added advantage of providing great AoE range and a very useful assassination scorpion style. Its functionality and placement remain similar to that of the water stance from Tsushima.
Odachi is separate from your stance wheel and best suited against brutes or other large enemies. It focuses on heavy and powerful attacks, making it an excellent option against pretty much all types of enemies. Breaking enemy defenses is your first and most important option to perform in combat. This means we can easily reach their HP bars, their true HP bars, much more easily as a result. So, give it a try, and maybe upgrade this in case you just want to go with one style that fits them all.
4. Grab Bounties to Make Money
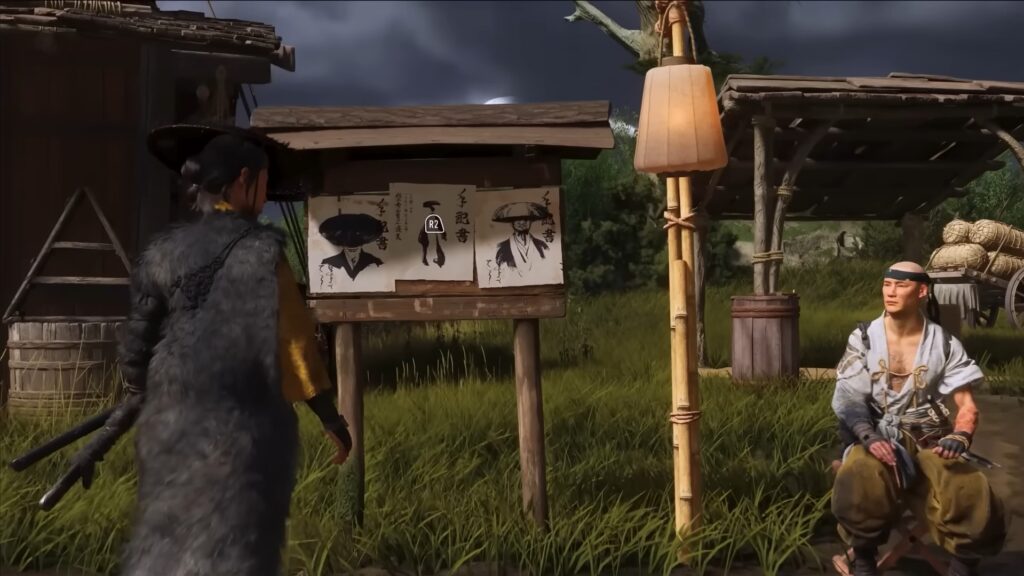
Bounties are an excellent source of quick coin early on, extra resources, and even unique items. A lot of the settlements around the map will feature bounty boards/brokers with several targets for you to hunt. They only give out clues about the last place that bounty has been seen. Chances are that just following the game’s structure will bring you to or close to these bounty places anyway. It’s going to be easier for you knowing that on your way to the next objective, you may have a bounty or two just begging to be taken off the list.
You can also choose to spare some of these bounties in exchange for some extra cash, assuming that you want to really maximize that revenue. You will also find bounties on Atu as well that you can go ahead and rip out. Her depiction becomes increasingly more menacing as she takes down members of the Yotie 6. At the same time, this will also increase the bounty sum on her head. While this won’t stop others from hunting you down when you least expect it, at the very least, you get a quick spirit top-up in case you need a quick heal.
When you’re interrogating targets to follow the clues about the Yotie 6, you may want to focus on any current mission that actually also unlocks a new weapon for you. Especially early on with Kusanigama and whatnot. You’re going to want to actually go with those, and you will neatly see that from the menu when you interrogate set targets. This way, you can reach them quicker, which is going to make the remainder of the game a lot easier.
5. Upgrade Weapons To Boost Damage
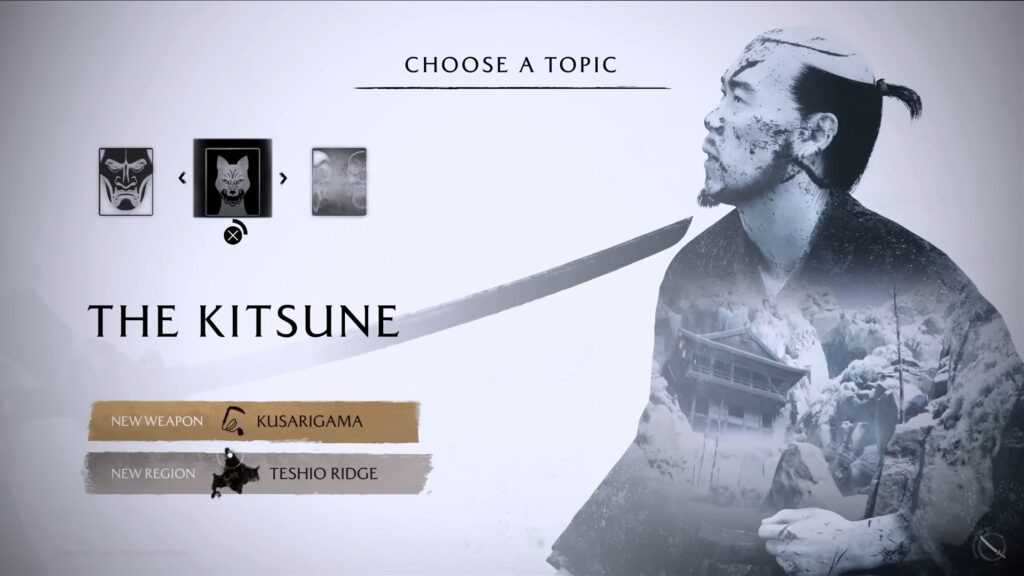
The best and quickest way to massively increase your damage is to upgrade said weapon back at your homestead. However, now it’s going to be a little bit more costly. This is because instead of a single melee weapon, you have five. All of the other new and old options we had back in the day are not involved, including the armors and the bows.
You may struggle with this a little bit because resources are not quite as abundant. I recommend prioritizing early on the weapons you find most useful, either for your play style or depending on the enemies you want to counter the most.
For example, if shielded enemies become annoying and you want to deal with them quicker, maybe it may be worth it to focus on upgrading that Kusarigama or dual katanas once you unlock them. This is useful against spears in case you’re having difficulties with speared enemies or later on Odachi. This can work just as well and can actually be used as a great all-around option.
6. Combat Mechanics and Tips
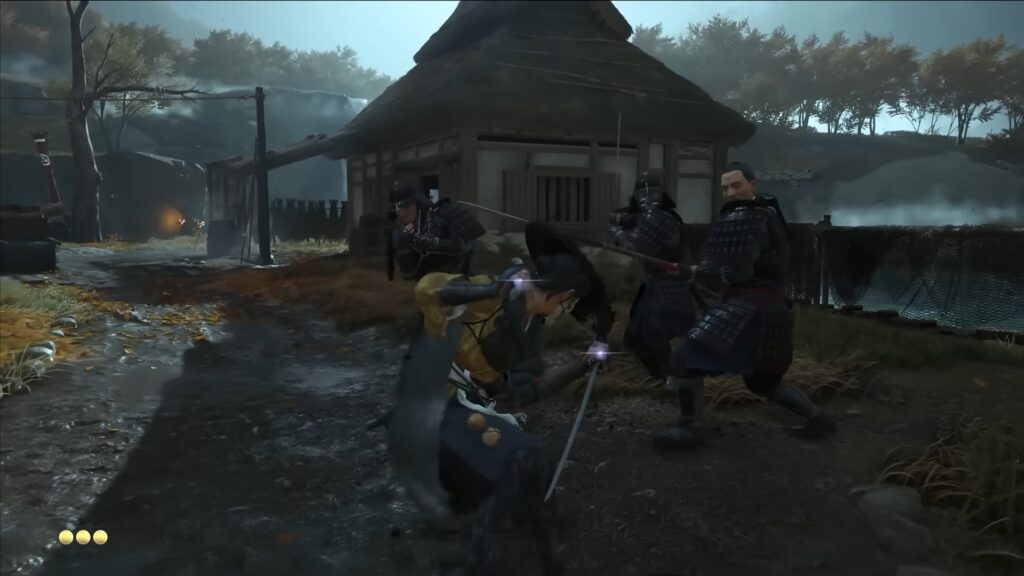
Invest into the perfect parry perk and disarm counter early on to deal with the normal attacks, the blue, and the yellow glint ones. For the first two, try and practice perfect parries on every occasion. The slow motion, spirit regen, and amazing damage follow-up are one of the many things that make ghost combat so satisfying. If you’re having trouble with that, also use the bounty master armor to extend the perfect parry window. However, keep in mind that it’s also going to disable normal parries.
Enemies also have a new type of attack, which is indicated by the yellow glint. This is going to end up completely disarming you. You really don’t want to do that because eventually you can be left off without a weapon, and you will have to manually pick it off from the ground.
So, in this case, you can actually counter that with the disarm counter you just unlocked. So, if you perform a focus attack against the target by holding down and then quickly releasing the triangle right as they are performing their yellow attack, you will end up disarming them instead and gaining some extra spirit. You can even make a playstyle to throw that weapon back at the target for almost guaranteed one shots with some of the upgrades here at the throne weapon perk line.
For red attacks, it pretty much goes just like before, up until you get the upgrades to turn them to blue. In the meantime, just simply perform side steps or even dodge rolls, which will usually get you out of harm’s way. Also, dodge rolls, if you invest in them early, are very helpful in case you catch fire and want to extinguish those quickly.
Similarly, tools are more important than ever this time around. They are amazing at a lot of things, but most importantly is that Atsu, unlike Jyn, can use some of her tools in one-on-one duels. Jyn was only able to use weapons and the legendary skills. Atsu can actually use the pocket sand and even set her weapon ablaze against some of these targets, but especially so if you’re going against targets and want some extra ways to distract them.
The kunai may be one of the best options. It instantly takes away their defenses and even staggers them momentarily. So, you can quickly chip away at their health bars without being interrupted at all. Give them all a try, and they are actually very strong.
7. Set Up a Camp
This new feature comes packed with so many benefits, and it would be a waste not to use them. First of all, it’s also a fast travel point, so you can quick travel wherever you left your previous camp. Its biggest advantage, though, comes from the fact that it lets you spawn vendors to you instead of you having to travel to them.
Virtually every vendor you recruit to your wolf pack can be summoned directly to your camp right here. It can be from the wolfpack menu with a simple press of a button. They can also randomly spawn whenever you set a random camp out, normally in the open world. But once at the camp, they will automatically join you. So, you can do all of the buying, selling, and upgrading that you want.
From the menu here, you can conveniently see if there are any new items in stock or objectives that they may give you. Don’t forget that you can now cook meals and get temporary buffs out of them. Everything from buffing your melee damage all the way to defenses and more, depending on the type of meal that you cook. You can also pass the time at the camp in case you prefer playing during a certain time of day.
8. Obtain Charms to Get Buffs
Just pay attention to their primary effects. If you pay attention to the bottom left side of the screen, you will notice that they can affect just like some of your other gear, including the armor, melee, range, and defenses. If you’re focusing on a specific build, you may want to prioritize the charms that boost that specific area of the build. So, if you’re focusing on melee builds, you may want to buff up, in this case, melee damage. Similarly, it goes for defenses and spirit generation.
Furthermore, I also recommend leveling up as many charms as you can while you’re still progressing in the game. Virtually every charm in the game can now be upgraded up to three times, gaining a more powerful version of its effect. These challenges involve really simple steps, such as defeating a certain number of enemies with a certain weapon or ability while having that charm equipped. So, swapping them often and trying out different loadouts is the key to your success.
9. Defeat Enemies Quickly
Standoffs are a great way to defeat enemies quickly and get an excellent top-up on your spirit early on. You will start a lot of fights with low to no spirit because you simply don’t have a finalized build just yet. So, having a way to quickly round up the targets, fill up on that spirit, lets you pretty much spam your abilities and heals way more often following it.
Just like Tsushima, enemies will try to bait you at the start of the fight. So, to avoid all of that, pay close attention to their footwork rather than their upper body, which you will want to fully ignore. Pay attention to their feet. The moment they leave the ground, that’s when you want to let go of the button and strike at them. If you further level up the standoffs, you can even take down extra targets too, for even more spirits, all the way to using a pistol with some of the later unlocks.
10. Call Isaburo (Map Seller)

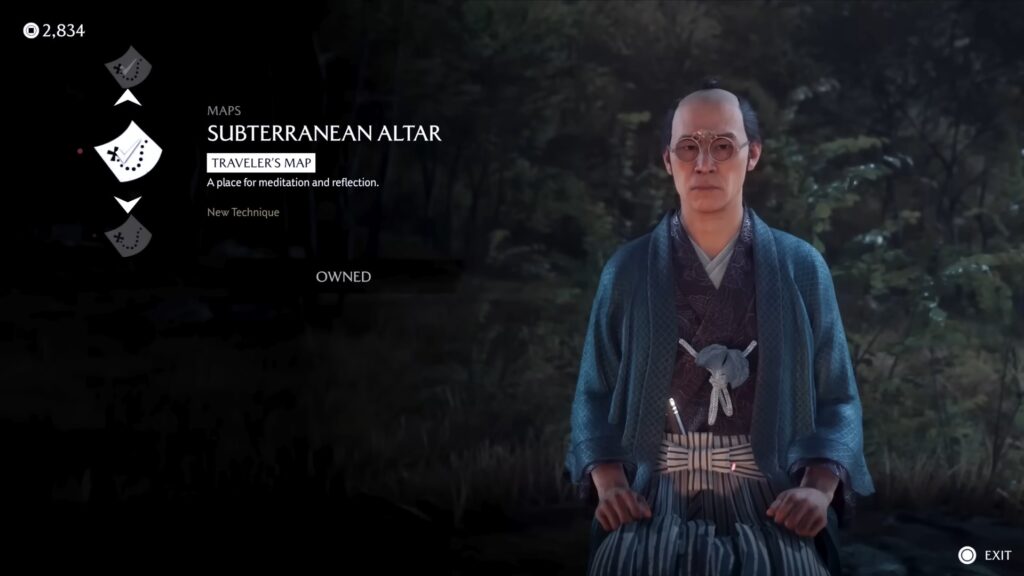
When you feel lost, go ahead and call the cryptographer, Isaburo, to buy out all of the maps they have available. These will typically reveal points of interest you haven’t been to in areas you haven’t fully yet explored. These are the altars for technique points, hot springs, and other useful upgrade locations. This way, you don’t have to rely purely on random chance when exploring, or just the guiding wind. In addition to this, your spyglass is one of the most useful new additions as well.
With this, you can minimize your dependency on map menus even further, as you can scout the land of Yotie far and wide with it. In this case, it’s very useful to place any pins to your next settlement or enemy camp, all the way to identifying the next bounty you want to hunt down. Then you can have the wind guiding you towards there without ever having to interact with any menus.
Some Additional Tips
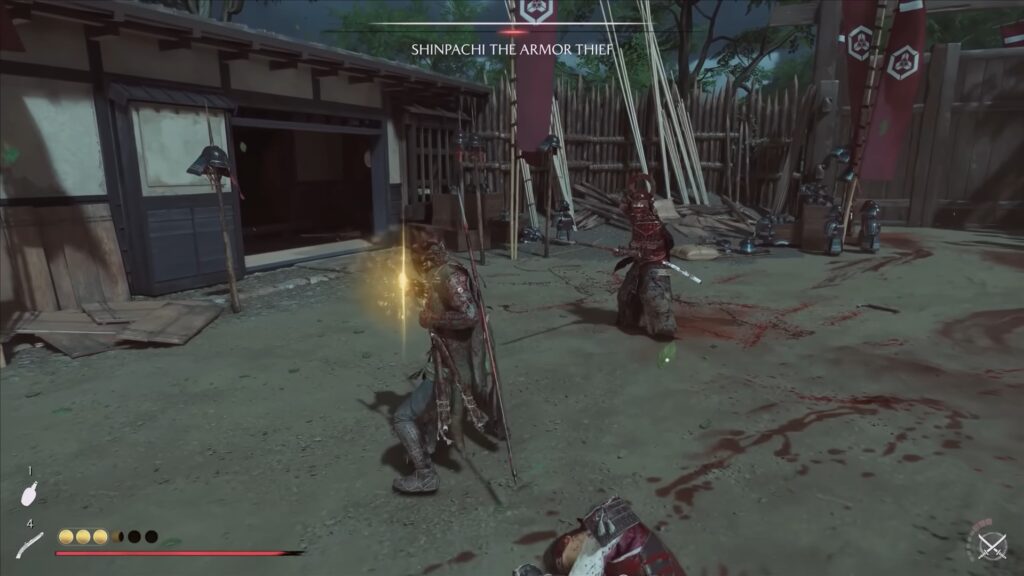
You might want to end the suffering when you see enemies crawling on the ground. It may not seem important, but it’s actually going to give you a full spirit point, which can be useful for a quick heal, especially early on.
Constantly be on the lookout for the white flower fields. More or less, they will provide a speed boost when you’re galloping with your horse through them. So, this is going to let you reach destinations quickly. You can also set grass on fire and affect multiple targets at the same time. It’s especially useful if you lure them into one tight spot. After that, set that on fire or use an explosive against multiple of them in case you want to deal with a large group in one single blow.