


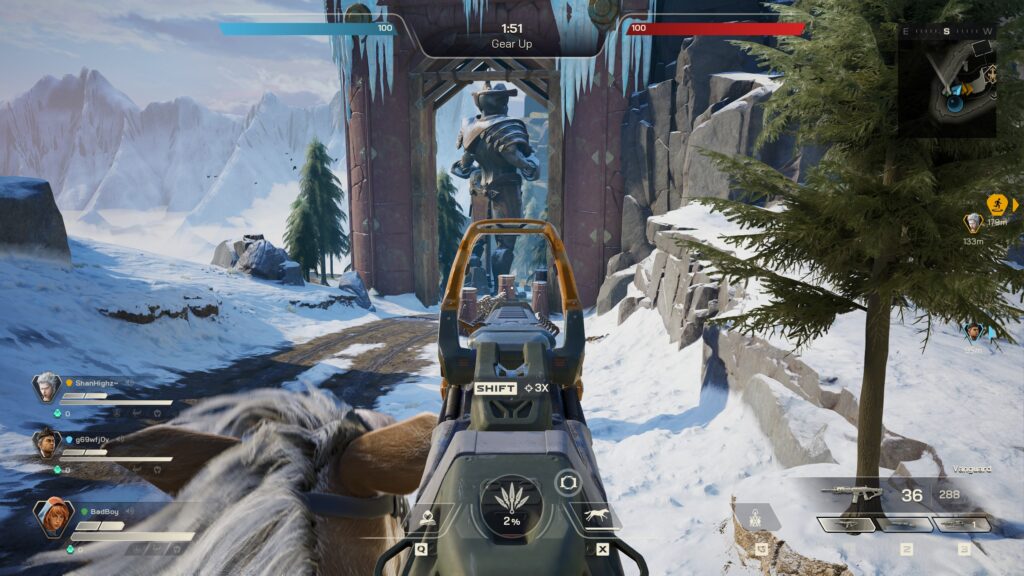
Raid Mode is the main mode in Highguard where two teams of three Wardens compete over territory and objectives in a large map. Capturing a key objective and then executing a full raid on the enemy base are the two distinct phases.
A central objective called the Shieldbreaker will spawn mid‑match. Teams fight each other to capture it, as it unlocks the next phase of the Raid Mode. Matches are time‑limited, so if neither team completes a full raid before time runs out, the match may enter Overtime.
Table of contents
Raid Mode Overview
Raid Mode in Highguard is the main competitive mode where matches are structured around capturing objectives and then assaulting an enemy base. This is a new 3v3 PvP raid shooter that blends fast shooter combat with strategic team play. Each match features two squads of three players called Wardens.
These are the heroes with unique weapons and abilities geared towards combat. This mode has two distinct phases in Highguard. Capture the Shieldbreaker and raid/assault the enemy base. This mode is not about kills, but about coordination, resource management, and strategy.
Battle for the Shieldbreaker
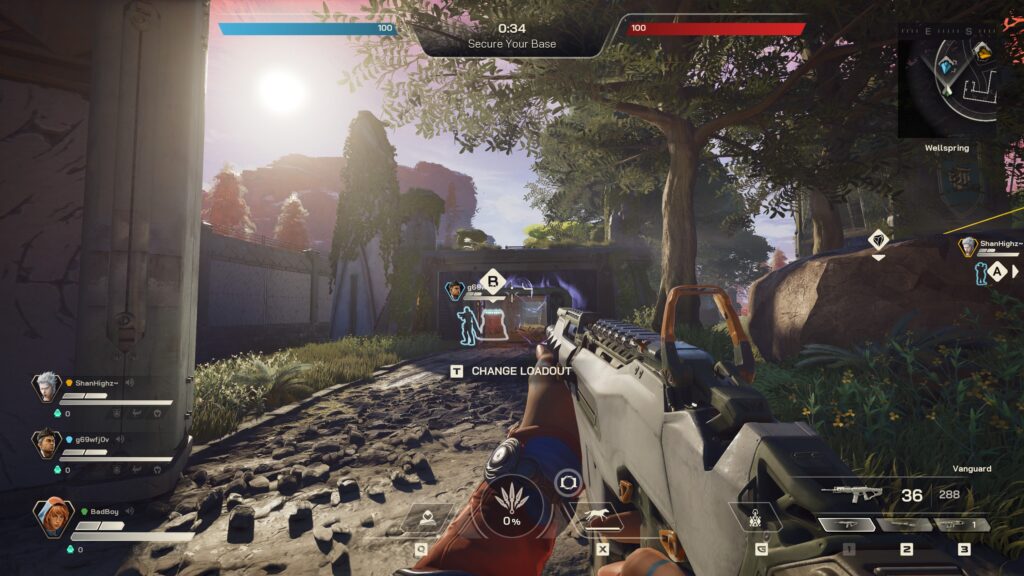
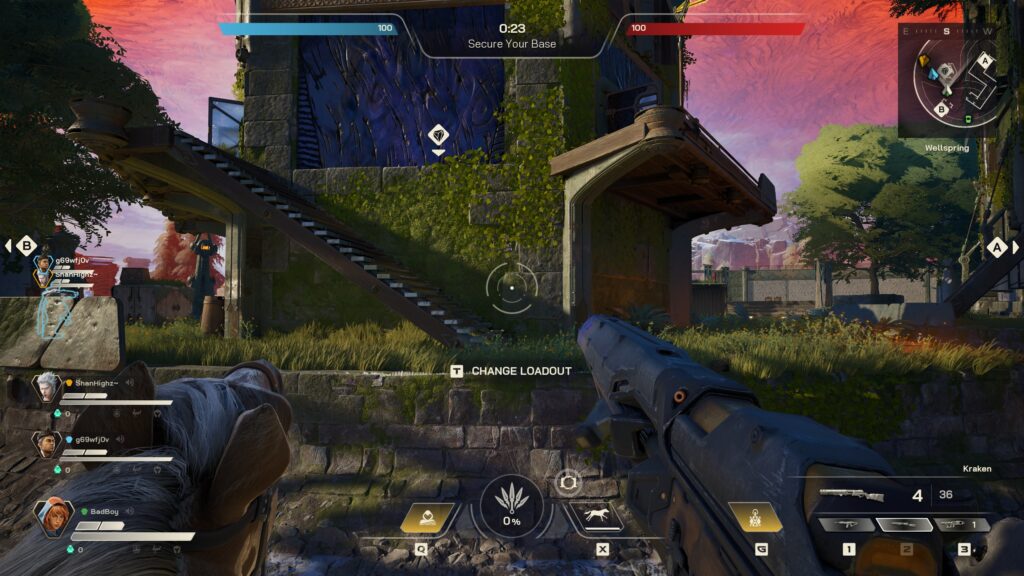
Both teams leave their bases to fight in the open world after the match starts. The main objective early on is to capture the Shieldbreaker. This is a mystical artifact that acts as the key to launching a raid. Teams can also gather resources, loot gear, and upgrade weapons during this phase.
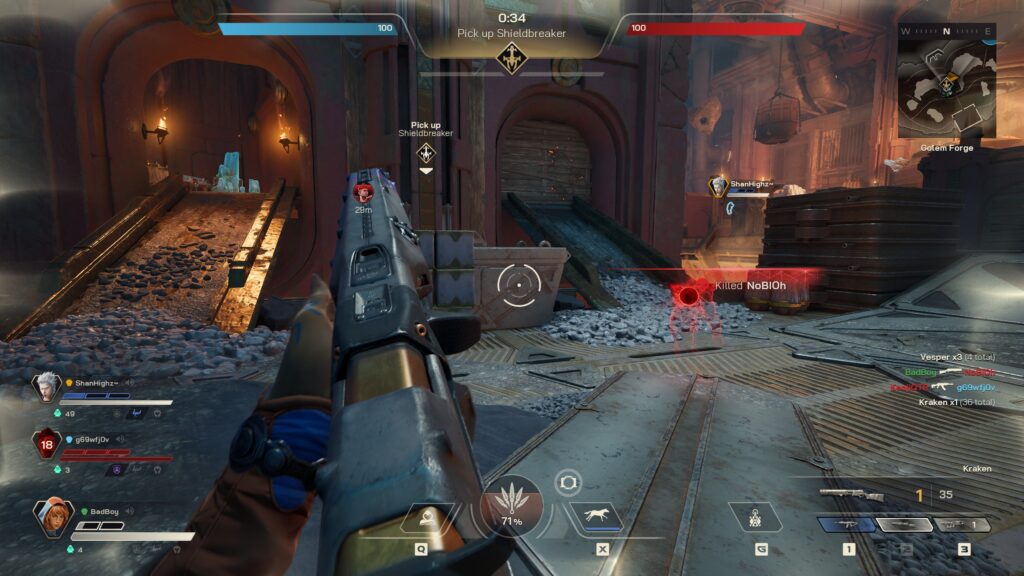
Only one Shieldbreaker exists on the map at a time, and both teams fight to control it. It drops, and either team can pick it up if you’re killed while carrying it.
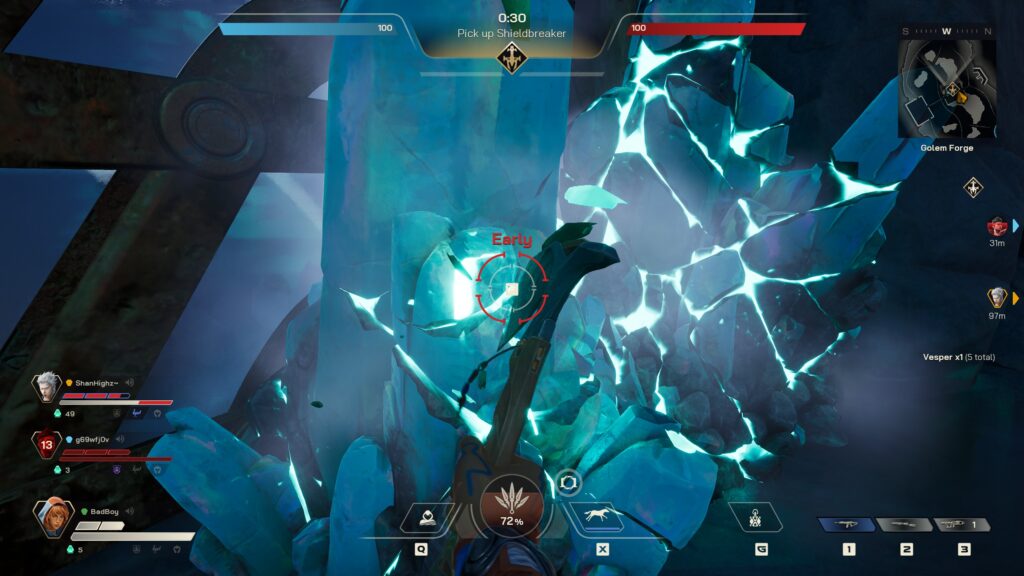
The Shieldbreaker appears in an open field phase of a match. It spawns after the start of the round, in a central spawn area on the map. Make sure to ride or move with your team straight to its location as soon as it spawns. Avoid looting for too long because this allows the other team to reach it and take it.
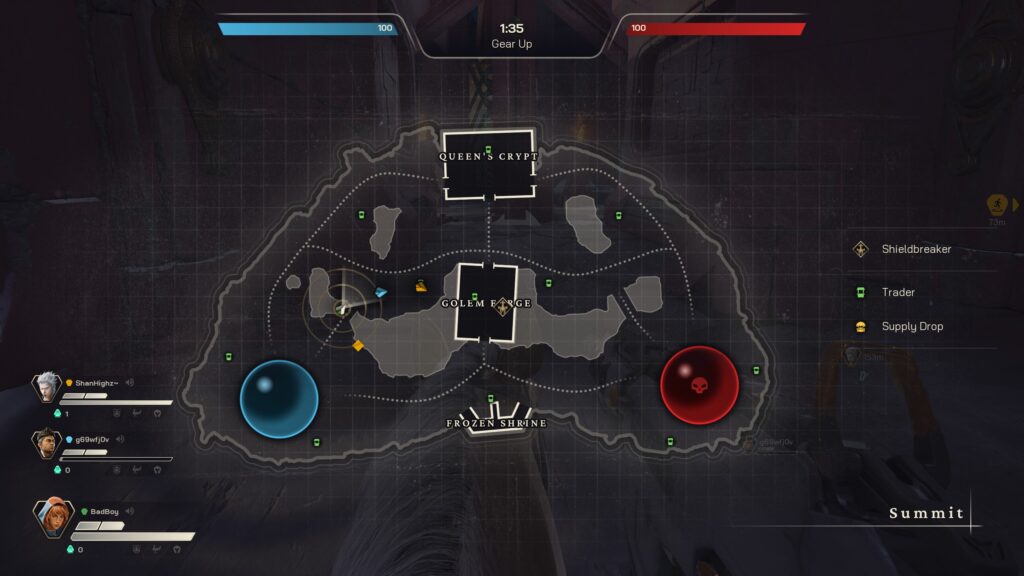
Taking the point isn’t just about touching the Shieldbreaker, as you need to control the area around it. I highly recommend setting up crossfire positions and using cover to hold off enemy pushes. If your team has Wardens with mobility skills, use them to spot enemies early and secure the Shieldbreaker.
Once you have the Shieldbreaker, the enemy will target you. Staying alive is really crucial here, so positioning and team cover can help you make it safely toward the enemy base.
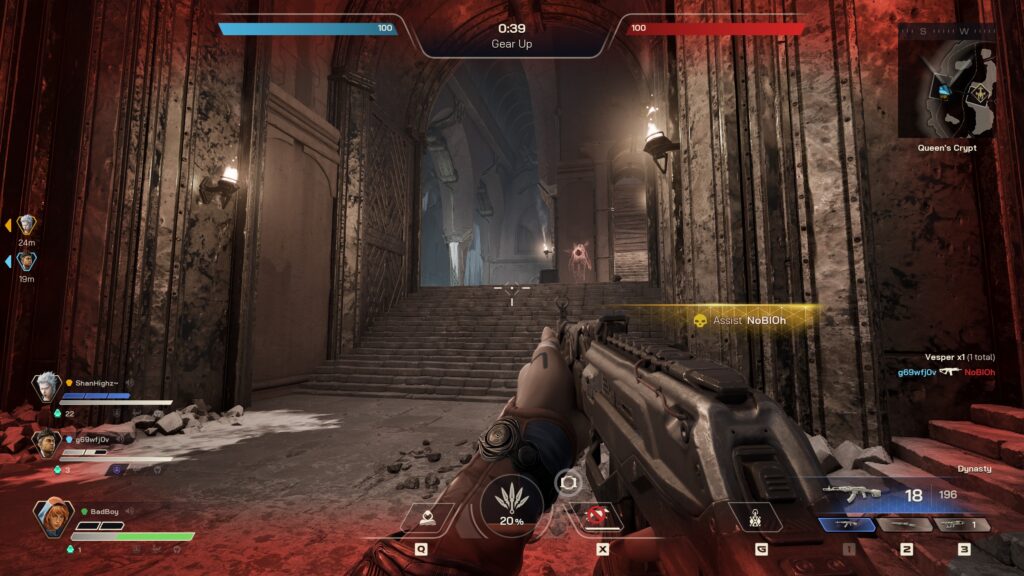
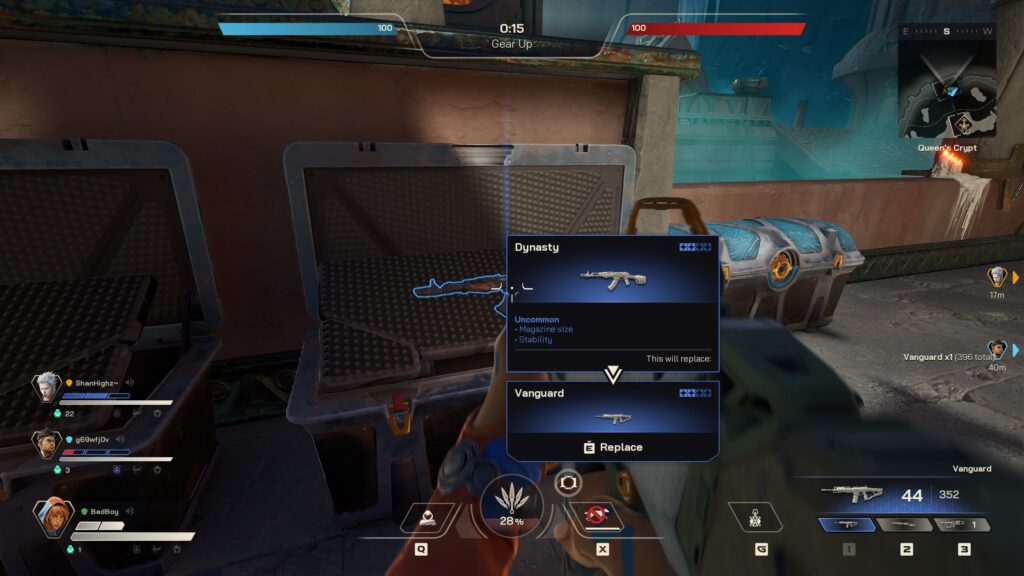
Keep an eye out rather than waiting for the minimap. Upgrading weapons and armor immediately improves your squad’s ability to win the fight. Carry it to the enemy base to weaken their shields and trigger the raid phase.
Initiate the Raid
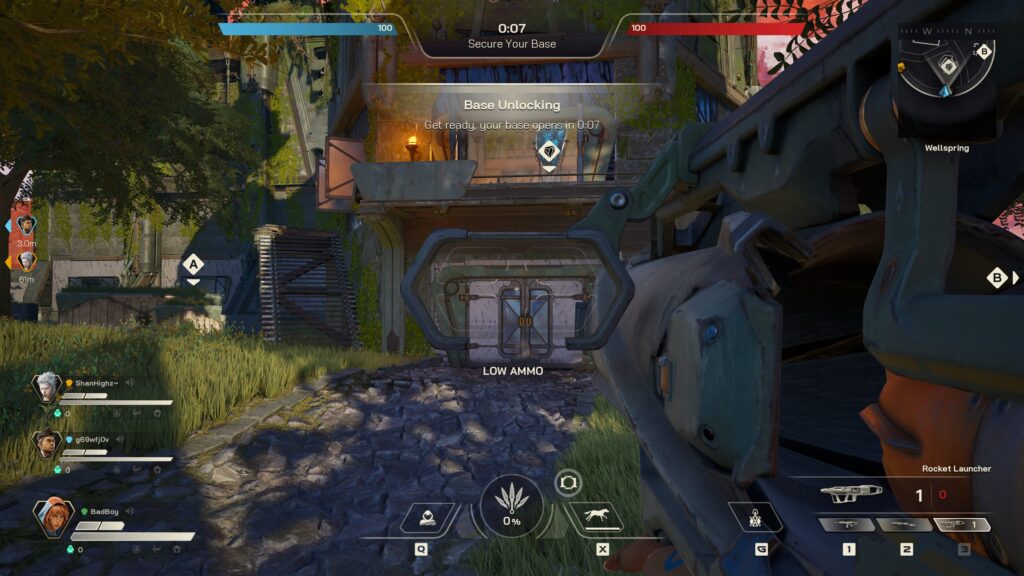
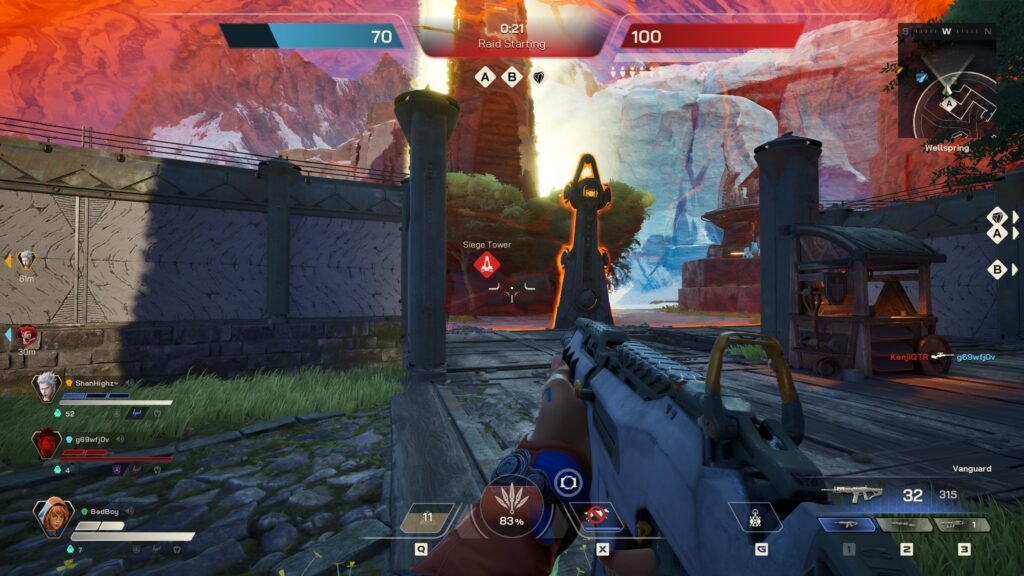
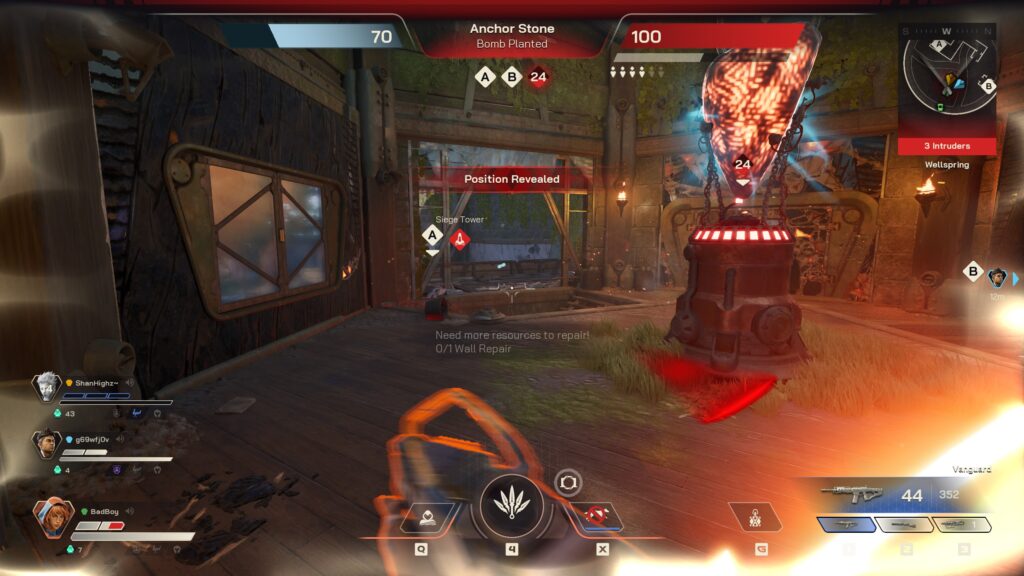
Get the Shieldbreaker and carry it to the enemy base in Raid Mode. Now, planting it allows you to trigger the raid. Planting the Shieldbreaker weakens enemy base shields and spawns a Siege Tower. Once the raid starts, attackers must break the defenses and enter the base using the raid tools.
The objective is to plant bombs on generators or go for the central Anchor Stone to destroy the base. Defenders need to stop sabotage or defuse bombs before detonation.
One or two players should focus on Shieldbreaker control while others secure the area. Make sure you have a balanced team with a mix of offensive and defensive Wardens. The raid phase only starts after you plant the Shieldbreaker, so push together toward it.
Use mounts to reach the objective quickly, but dismount before heavy fights. Use the specialized weapons and abilities to break the wall and structures. Plant bombs quickly on priority targets like generators. Your raid can fail, and the match resets if the defenders hold long enough.
Breaching the Obstacles
Enemy bases have multiple walls and defensive structures that block direct entry. Normal weapons can’t be used to destroy them, so you need special tools for this purpose. Rocket Launcher is the best tool or weapon to destroy non‑reinforced walls with a single hit.
The Blast Hammer charges up and deals extremely massive damage to walls. This allows you to eliminate the defenses and get inside the base easily. The Zipline Gun allows you to bypass obstacles by moving over them or repositioning.
Assign one or two teammates with breaching tools to destroy the walls. Wardens with wall‑breaking or area damage ultimates allow the defensers to move back and make wall breaks easier. Make sure not to always go to the bigger walls, as it’s faster to destroy a less reinforced section.
Use your Rocket Launcher on walls or near bomb sites, allowing you to open up space quickly. Use the ultimates and abilities to repel enemy pushes while playing around objectives. It’s best to defuse enemy sabotage attempts on your generators quickly.
The game can go into Overtime where elimination decides the winner if no team finishes a successful raid in time.
Team Roles

The team composition in Highguard matters a lot. Choose the best warden to dominate the enemies and complete the objectives effectively. Assault Wardens can lead attacks and help secure the Shieldbreaker. Defensive Wardens: can hold the ground and protect objectives.
Choose the Recon to scout enemy positions and gather intel, and the Support Warden to provide healing and utility buffs to the teammates. The Destruction Wardens can break the walls and sabotage defenses. Select the Warden that suits your playstyle and works effectively with the team.
Tips & Tricks For Raid Mode
Below are the best tips and tricks for Raid Mode in Highguard.
- Prefer objective over kills because chasing the deaths can cost you the match.
- Collect Vesper currency by opening chests and defeating enemies during the early phase.
- Prioritize armor first to increase your survivability and then upgrade weapons to make them more effective.
- Don’t need to make a group around the Shieldbreaker, as this makes you an easy target.
- Good team communication allows you to decide when to push or fall back.
- Destroying generators contributes to overall base damage, allowing you to open the path for the final objective.
- Use the Raid tools to break through iron walls quickly.
- Your mount can be destroyed easily, so dismount before heavy gunfights.
- Try to take down the Anchor Stone immediately with good coordination.
- Saving ultimates and coordinating pushes can win the game during overtime.


