
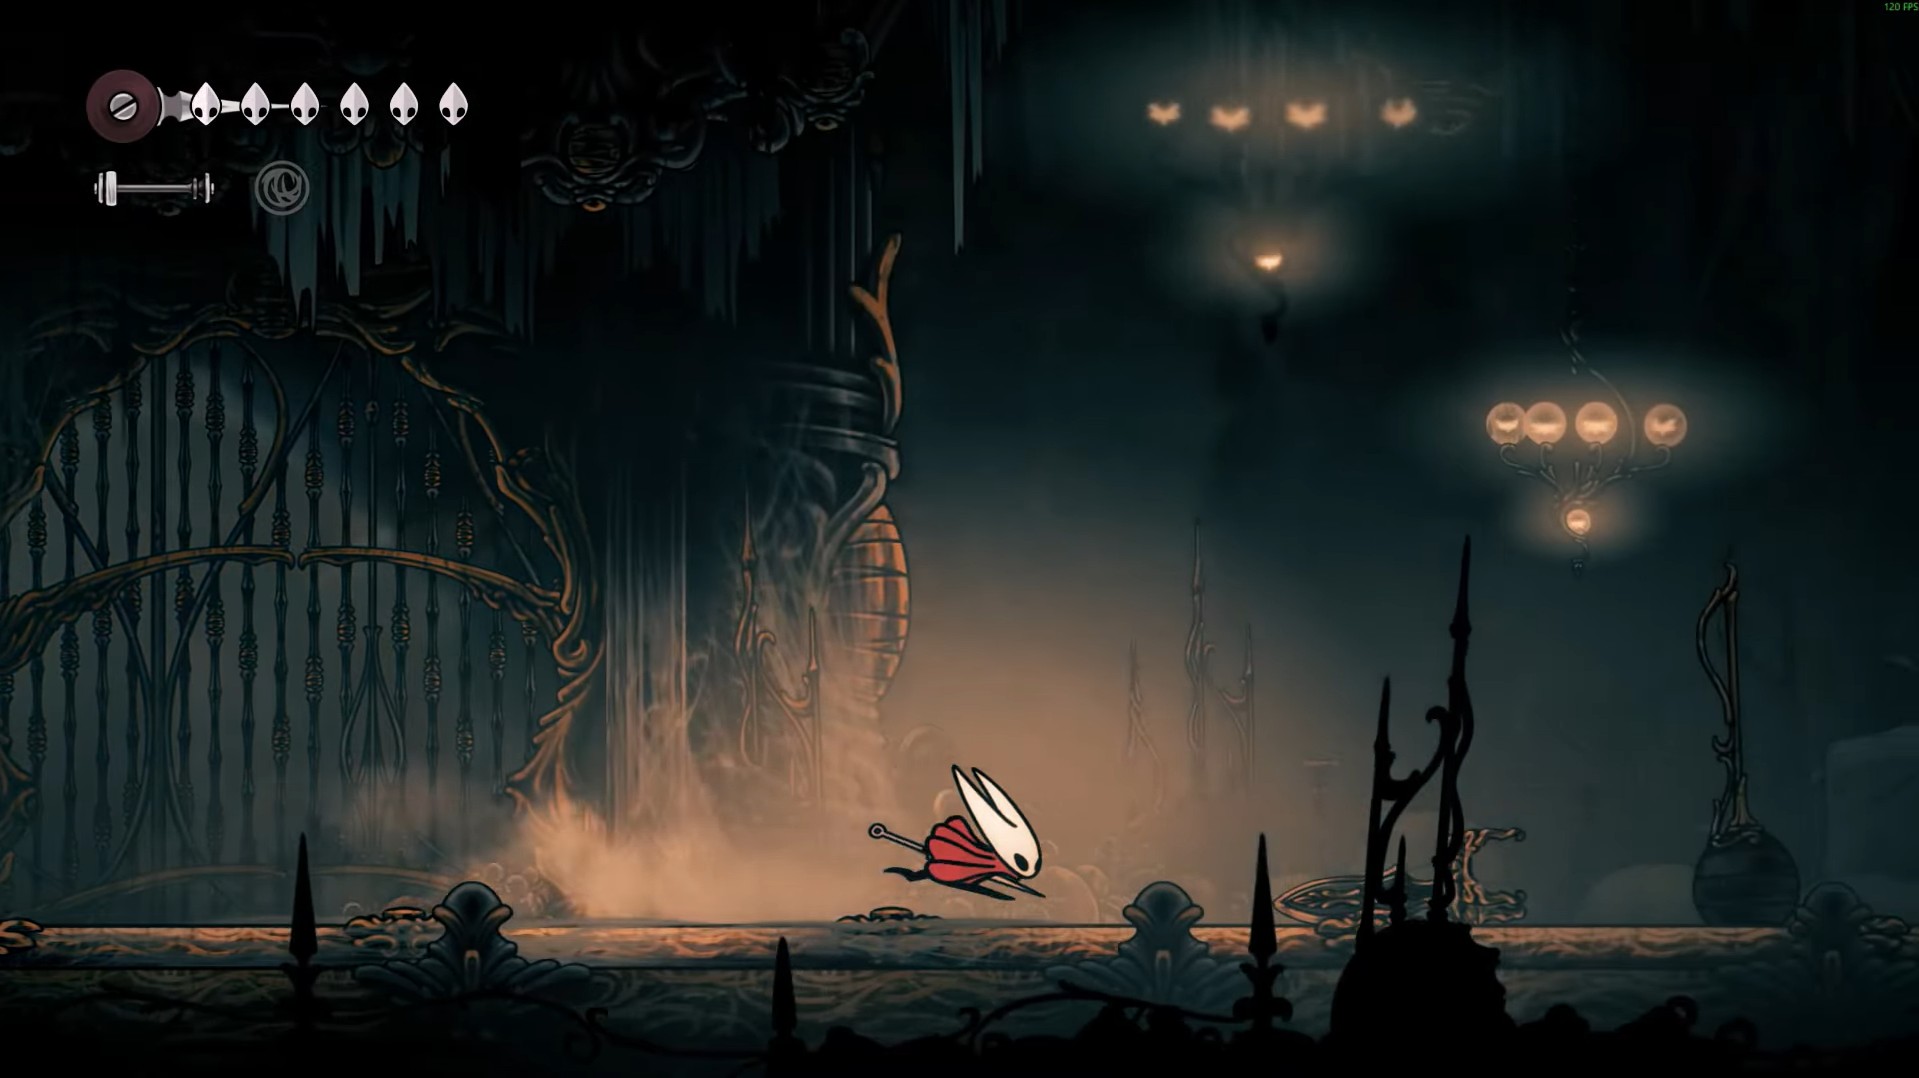
Discover everything you need to know about the Choral Chambers walkthrough in Hollow Knight Silksong, including how to progress in it.
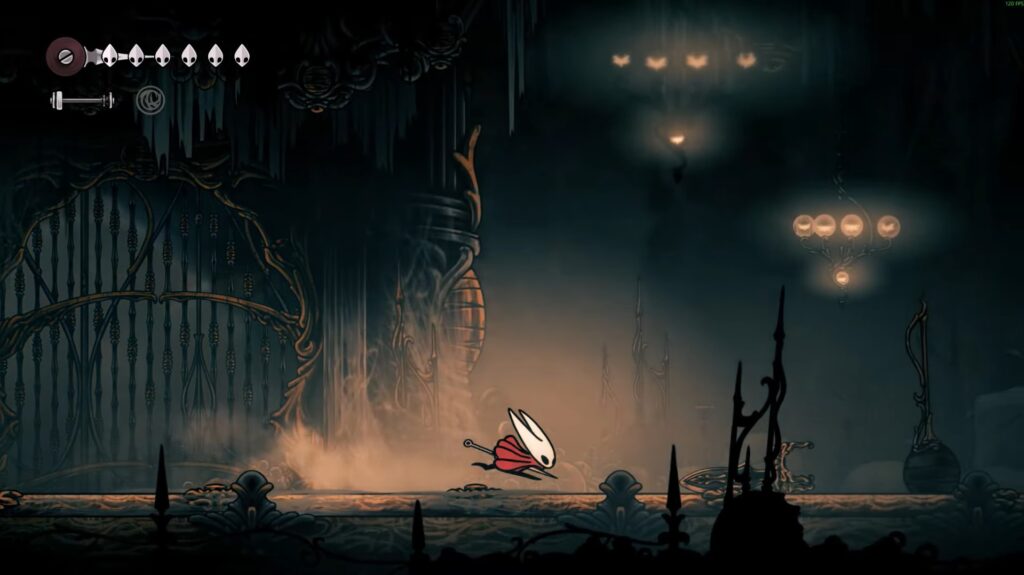
Choral Chambers is an area in Hollow Knight Silksong and becomes accessible once you’ve reached Act 2. Find platforming challenges, puzzles, enemies, shortcuts, and guards while exploring this region. Acquire the map to make the navigation easier. There are Shell Shard chests and Rosaries scattered around, so picking them up helps you become stronger.
Learn the attack pattern of Trobbio to defeat it effectively without taking damage. Progressing in this biome can be challenging due to numerous threats lurking around the corner. In this guide, we’ll discuss how to progress in Choral Chambers, including some tips and tricks to eliminate threats.
Preview of Ventrica Station
Make your way to the left side to approach a bench after moving to the top of Underworks. Rest at the bench to mark it as a checkpoint. Move into a large room on the far left. Locate the Grand Gate by continuing to the left.
However, you need to move up and go around to activate the lever. There are shards available on the left of the activated lever. Climb up to the top and get your hands on the beads, allowing you to get to the Ventrica Station. However, the station is blocked from this side.
Meet the Lace
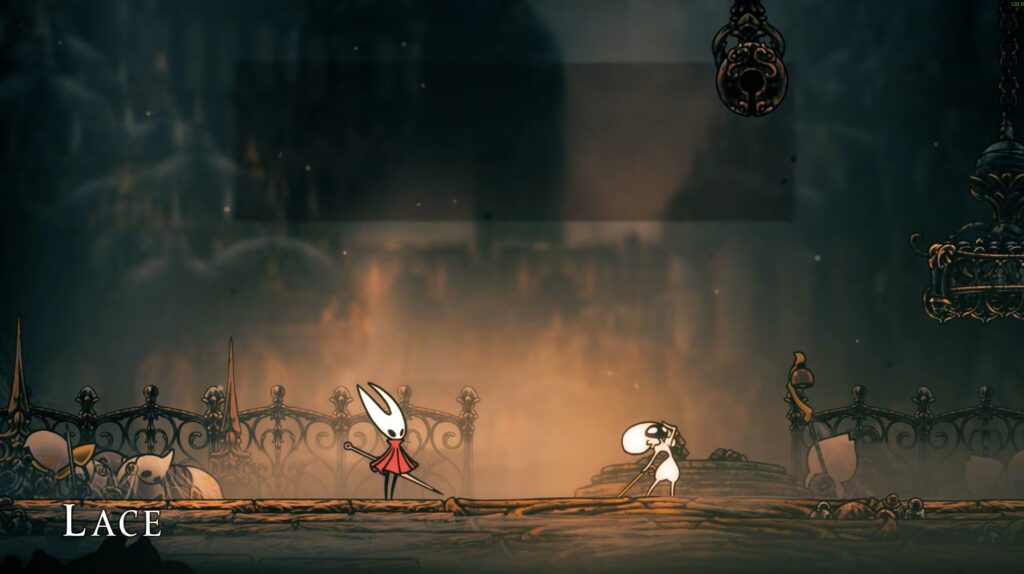
Move to the right and use rosaries to purchase the map from Shakra, allowing you to navigate this biome with ease. Keep moving forward and open a path, allowing you to progress further. Spiders also drop here along with a hatch. Pass through several dead denizens of the citadel on the top. Continue moving till you encounter Lace. Speak with the Lace, and a fight will start when she leaves the arena.
Bugs will appear here, so take them out. Defeating these creatures isn’t challenging. Take out the enemies with red clothing as they deal more damage. Most of these enemies can take big swings or throw projectiles to make the fight complex. You can also choose to avoid the enemies and leave the area.
Collect Rosary Bead
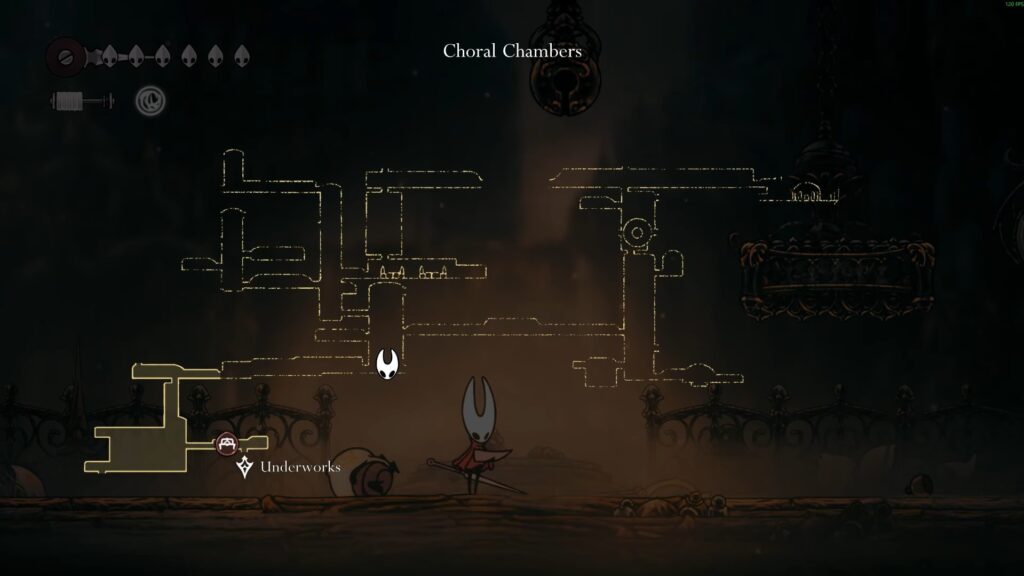
Move to the room at the bottom, but an elevator is blocking this room. You may need to acquire a specific key to unlock this room. Travel back to the big room and move up using the platform. Defeat the enemies wielding a sword in this chamber. Move to the room on the left and break the window. Collect the Rosary Bead from a corpse after jumping up the wall.
Head upward to get to the upper left exit after returning to the previous room. Defeat the enemies in this area to collect Rossaries. Continue moving to the left, as the upper section of this room is blocked.
Move Into the Underground Steam Pipe
Eliminate the enemies in this chamber and travel to the left to approach the door. Head down after jumping through spikes and keep moving to the right till you get to the end. You will find yourself in the Citadel Spa that vanishes. Get into the underground steam pipe system after breaking through the floor in the first room. There are no items to acquire in this area, but you can unveil a secret entrance path.
Activate Ventrica Station
The left side of the map and the middle section are connected with this entrance path. Defeat the silk-strung enemies after moving to the left. Drop down in this area once you hit the switch. Get your hands on the rosaries and move down to enter a large room. You can find the upper right segment in this chamber, where multiple enemies are lurking.
Once you’re done with them, move down and keep heading right. Locate the check that contains more rosaries. Activate Ventrica Station after you exit the large room and move down to travel to the right. Utilize this place as a hub to get access to all areas in Cetadel.
Obtain Cogheart Piece
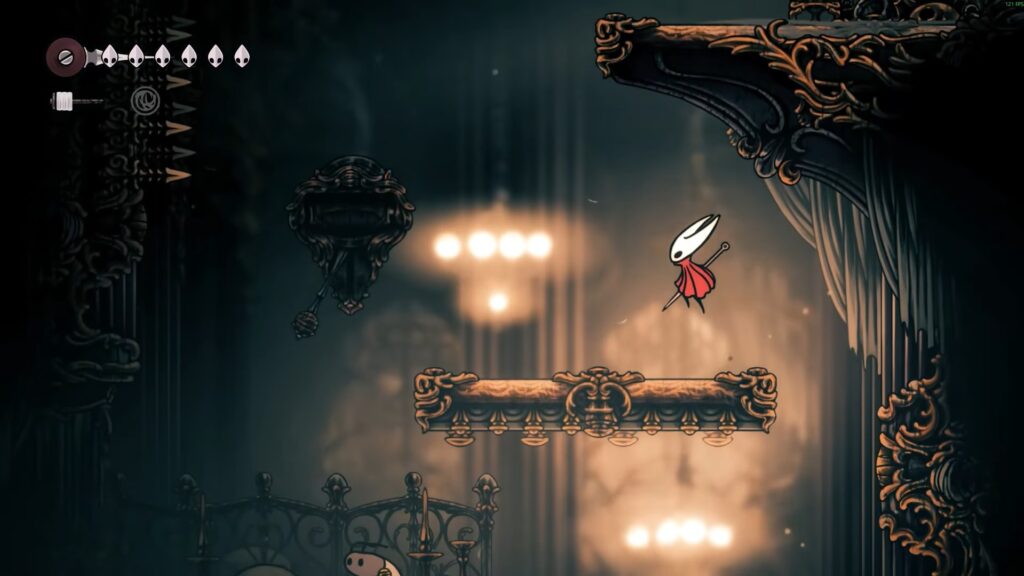
Return to the big room after opening the shortcut to find the Ventrica Station. Keep moving to locate Skill dispensers after getting to the upper left exit. Multiple bells ring while standing on the pressure plate. You can find this in the next room up and to the left after moving up using the temporary platforms. Pay attention and repeat whatever pattern they ring out. C
omplete this puzzle to gain one Cogheart Piece. While the first pattern is 1, 5, 4, 6, the other one is 3, 6, 5, 1, 7. Move to the right and jump while dodging the enemy attacks. You can gain the reward by ensnaring the enemies and killing them first. Defeat the winged swordsman on the top left entrance after you move up from the times platform.
Get the Pale Oil
Continue your journey from the top right chamber and drop down to defeat the enemies in this area. Collect the rosaries after jumping over to the left. Get inside the big room once you jump to the right. Destroy the wall to open the path to the right. Drop down and be aware of the spikes. Hit the lever and move back to save a flea.
Travel all the way to the bottom to create a secret path to the big room. After that, start moving to the right into a hallway. Get into the room filled with flies once you go through the curtains. Get the Pale Oil from here, and move to the top right and get Silkeater. Now, get out of this chamber and drop down to reach the large room. Travel to the right and move upward to reach the entrance on the right.
Defeat Mechanical Bug
Make your way to the right after resting at the bench. Open the hatch and defeat the spiders and steam. The paths here will take you to a big hall after going through the bottom right. Unveil a secret path for the halls on the left side after moving to the left.
Be aware of the cogs and mechanical bug in the chamber to the right. The hallway is filled with several enemies that throw heavy blows to deal massive damage.
Nab a Silkeater
Drop down after entering the room on the right. Move through the Grand Bellway and purchase Ventrica Station. You can also activate the bench using rosaries to rest at it. Dodge the spikes and defeat the enemies, and break cocoons in the room on the left side. Breaking the cocoons allows you to nab a Silkeater. Make sure to break the glass blocking an entrance.
However, the entrance is blocked by three pins, but the inside has more Pale Oil. Get inside the cramped hallway by moving back and pogoing off the bells. Hit the lever to turn the big wheel with a hole. Move vertically by turning it. After that, wall jump and travel to the left to get your hands on more silk dispensers.
Collect White Key
You can get through the door at the top right side after pogoing off balls. Use the dash ability to pass through the straightforward hallway. You can rest at the bench after you get inside and ring the bell. This allows you to get inside the town of Songclave after coming outside.
Collect the White Key from the right side of Songclave. The key is used to open up the elevator, leading to the tiny area. Make your way up and move to the left side.
Defeat Cogwork Dancers
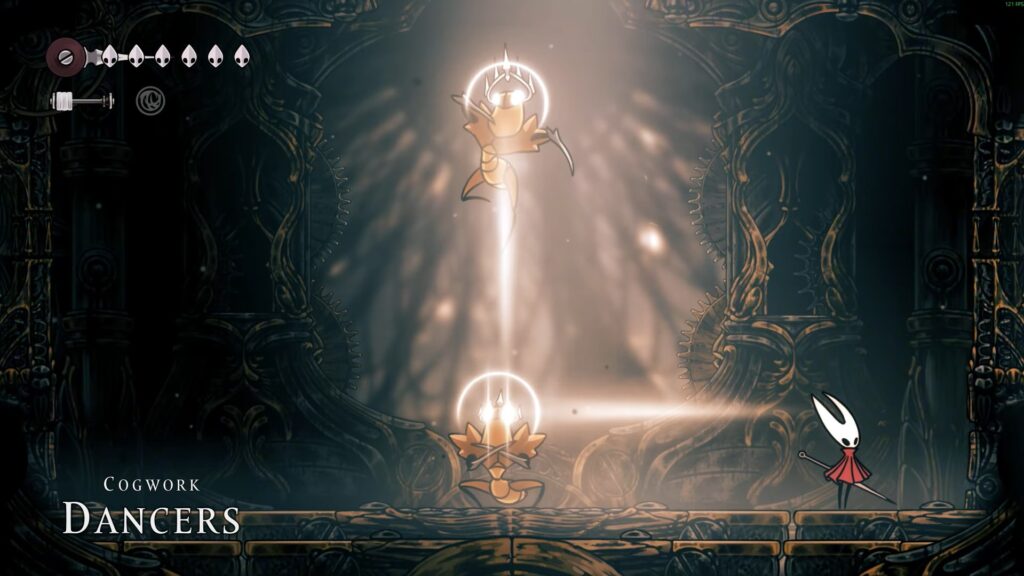
Activate another Ventrica station from the top of this chamber that can help you progress in Act 2. Continue moving to the left after dropping down and passing through the long hallway. Defeat the beefy guards to obtain rosaries. Travel to the entrance on the upper side on the left.
Use the wings to get access to this chamber. Unlock a secret path by dropping down in the area. Moving in this area allows you to initiate the fight with Cogwork Dancers. Eliminating this boss is essential to make progress and open the Cogwork Core.
Exit the Cogwork Core
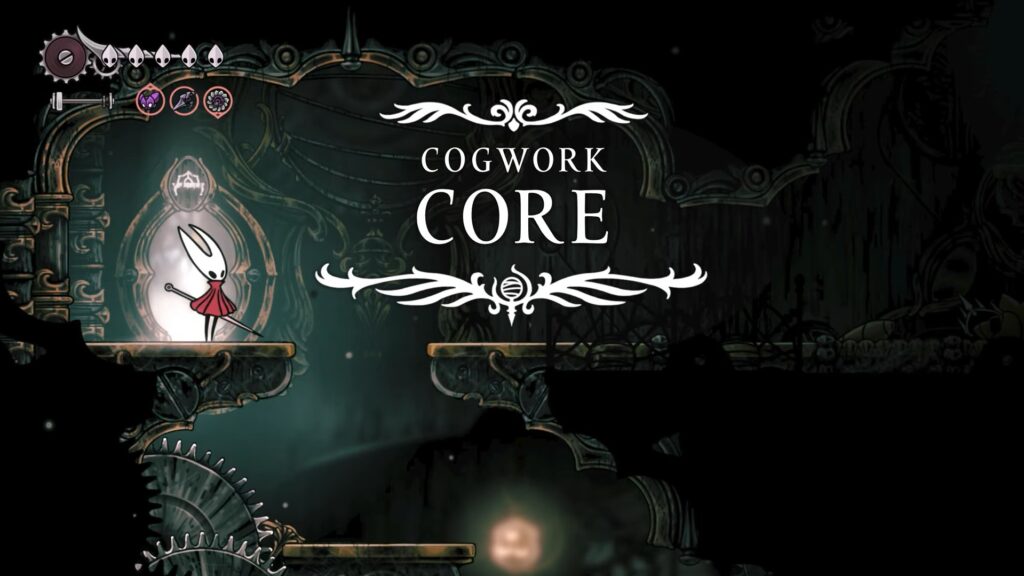
Defeat the guards over here and move to the top left side of this chamber. Move down to explore more areas of Choral Chambers or choose to move to the left. Exit the Cogwork by choosing the gates on the right of this room. Drop below to get to the top left gate. Doing so allows you to unlock the lower left gate. You can encounter two more gates after moving down.
Move to High Halls
Descend and pass through the dining hall to find the Royal Mergwin for the quest for pale oil. Move upward to the same Cogwork Dancers’ room. Look for a chest to gain a reward by moving up a big platforming challenge on temporary platforms.
Obtaining the wings can make this process easier. Collect the rings from the left side to grapple onto a climb. Get to the high halls and rest at the bench to rest at it.