


Discover everything you need to know about Moss Grotto Walkthrough in Hollow Knight Silksong, including some useful tips.
Moss Grotto in Hollow Knight Silksong is a darkly beautiful world that has lush greenery and numerous enemies. While this region has only one main boss, other enemies can be very challenging. Moss Grotto is the major area in Pharloom, containing several bugs that will be friendly and threatening. Crawling and flying enemies make the progression slow, but using the right strategies, these threats can be eliminated.
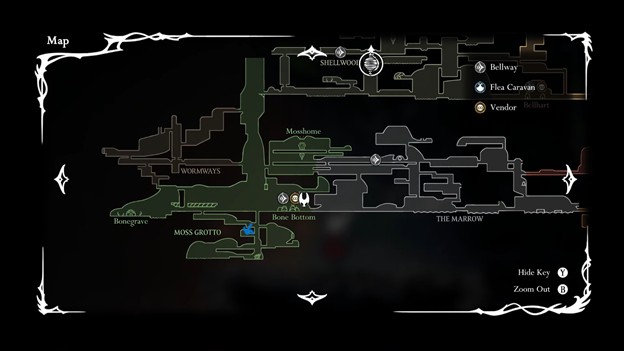
Bone Bottom and Mosshome are the key areas in Moss Grotto, offering unique challenges. Garb of the Pilgrims, Berry Picking, and Bone Bottom Repairs are the major tasks in this area. In this guide, we’ll go through the entire area to conquer the enemies, unveil hidden secrets, and eliminate the Moss Mother.
Get Inside Moss Grotto
Binding a hornet in Hollow Knight Silksong is essential to enter the Moss Grotto. Head to the left and use the needle to attack the veins, allowing you to exit off-screen. You can clear the path to Moss Grotto with only two to three swings of your needle.
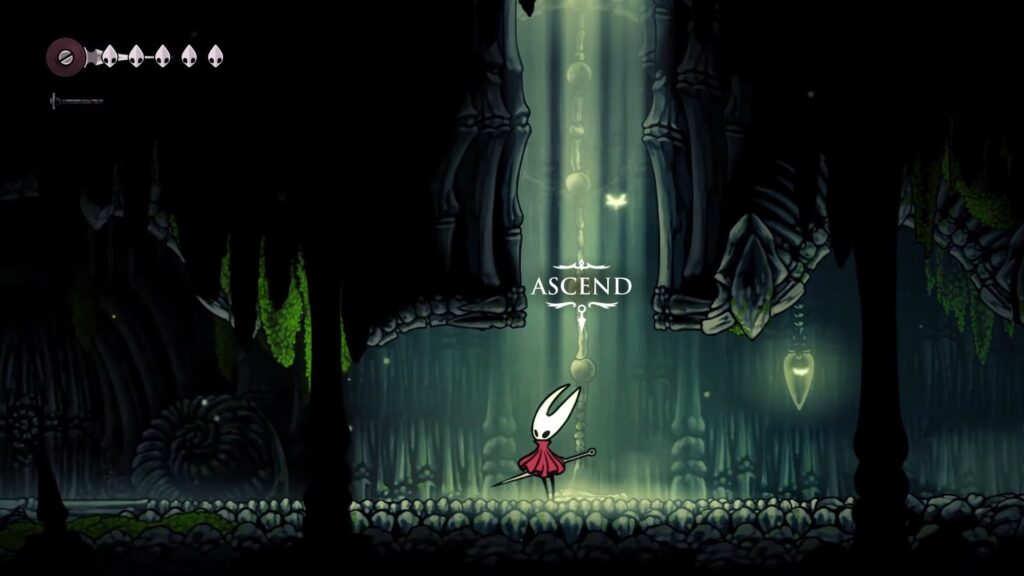
Move Higher into Moss Grotto
Your journey in Moss Grotto by moving forward and continuing to the left. This is the first area of the game where you can learn the controls and essential mechanics. Equip your weapon to eliminate the small grubs in this place. Hitting them with a needle with 2~3 hits is enough to kill them.
Move upward and head to the right. Two mossy creatures are guarding the area, but you can avoid them by going back and jumping to the ledge above you when you near them. Just jump across the ledges and attack the berries over there with the needle to collect them. Be aware of the flying enemies over there, as they will also try to attack you. After that, you will find a path to drop down and keep moving right to exit off-screen.
Gather Rosary Beads
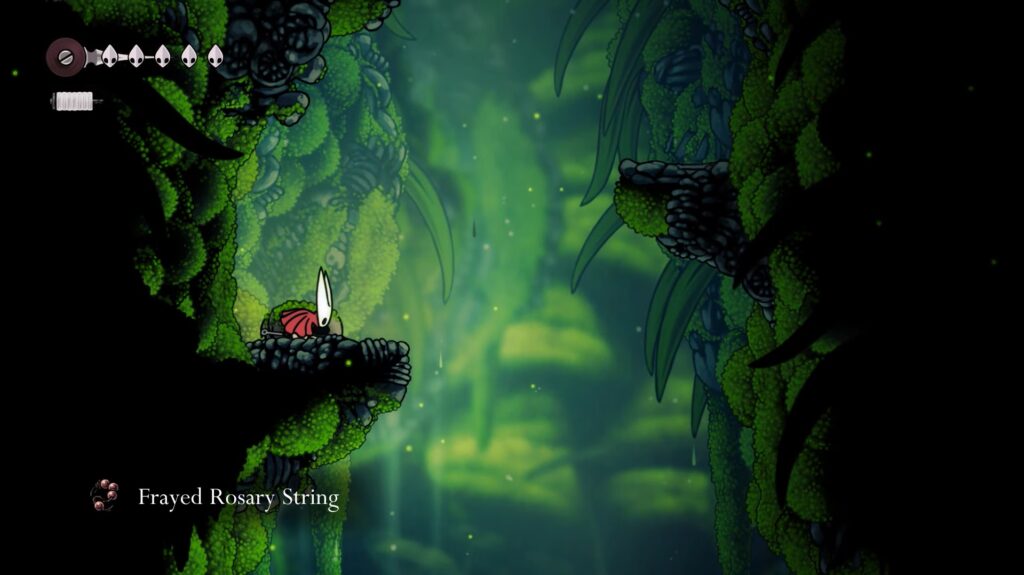
You will take a moment because the ailment befalls you for a short duration after entering the next room. Pass through the run to the ledge on the left side once that ailment is passed. You can fill your pocket with the Frayed Rosary String on this ledge. Rosary is a crucial in-game currency that you can mainly obtain by defeating enemies or from Rosary Beads. Rosary Beads are basically kept safe to use in the future by Rosary Strings and Necklaces.
Unlike Shell Shards, this currency drops when you die. But having Rosary String and Necklaces can save the Rosary Beads to use later, even after dying. After you drop down from here at this point, you will find yourself at the beginning. Now, you need to repeat the process again, but this time continue your journey to the right.
Investigate Everything in the Next Room
Additional bone-y terrain is available in the next room. We recommend you ignore the path upwards via the ledges for the first time. Now, you need to keep moving to the right to continue your journey. There are spike traps during this path, so make sure to avoid them by jumping. However, the Tiktik-esque enemies are also over there and will attack you when they see you. Eliminate them in the first place and move upward to the higher ledge. You will encounter Shard caches over there, so use the needle to attack them.
Now, move back to the main area of the room. You will now be able to climb to the movable platform. Move to the left side of the platform to jump onto the first ledge you came across. Find the path to drop down to the lower right-hand ledge after getting inside the tunnel. Attacking the statue over there allows you to gather shards. You can also gain Silkspear ability by interacting with a statue. To move to the start of the room, you must drop down from this point.
Now, you can explore the area on the right side if you prefer, after heading up to the platform. Move to the right and continue your journey to find the room filled with berries.
Reach the Mossberry
You will find the berry on the ceiling before leaving this area. Pogo off the enemy to reach the berries. Use the needle to attack the berries, allowing you to collect them for your Mossberry in the game. If you were in a big hurry and already killed the creature over there before getting berries, then you must leave the room and come back quickly to respawn it. You can also leave this area if you find it difficult and come back later with some new abilities like Sprint and Swift Step.
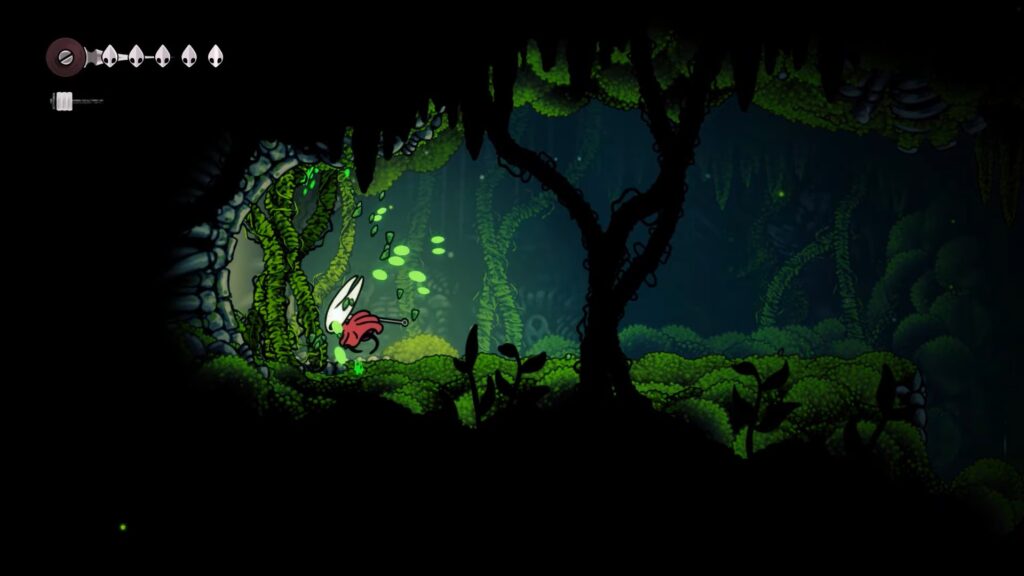
Locate the Hidden Chest of Shards
Get inside the room on the left and drop down in the next screen. Now, move downward and get connected to the wall on the left. You will find yourself on the sheltered ledge that has vines. Pass through them to unveil the hidden secret. Two flying creatures are here to attack and kill you in this hidden potion, along with a chest. Move to the ledge to approach the chest filled with 28 Rosary Beads. Hang a right when you fall after dropping down. After that, follow the path again.
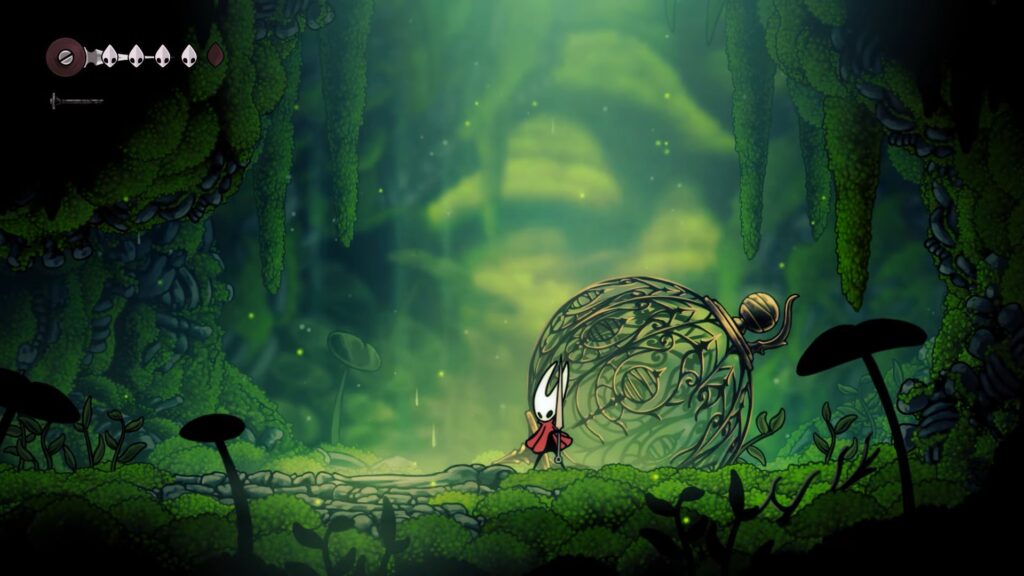
Eliminate the Moss Mother

Jump over the drop after getting to the top. Remove the vines to get to the room on the left. Keep moving, and you will find yourself in Ruined Chapel. Here, you will encounter your first boss. Climb up to move into the next room to encounter the boss in the arena.
This boss comes with different attacks like stringer dash, ceiling slam, and moss rain. Defeating this boss can be challenging and hectic if you don’t use the right strategy. The Moss Mother has the swooping attack that is indicated when she dives or when her stinger sort of points out. You need to hop over her head to get the opening for attacking. It’s best to practice your jumps to get comfortable. You can also get in more than one attack. When she headbutts the ceiling, look for these light shafts, and you want to find a spot in between the shafts. This allows you to avoid the rocks that fall. Once she does that, she will resume her dive attack.
The Moss Mother will be temporarily stunned after taking enough damage. This allows you to deal additional damage while she is in an unconscious state. Once she gets dizzy, you can get additional attacks in. Keep an eye on the stinger for the swoop, but also when she headbutts, and you see light shafts. Position yourself between the light shafts and kill those moss worms.
Meet the Pilgrims in Bone Bottom
Move to the left to use the rope to move upward. This can only be done after defeating Moss Mother in a fight. Your strength will be very low at this time to tackle the threat in this area, making you faint. The Chapel Maid is an NPC who eliminates all the threats before you wake up. This is the first NPC you ever talk to in this region.
Speak with the Chapel Main and exhaust all the dialogues for the quest. The room on the left is locked for now, but will be unlocked later. Move to the right to exit the area. You will find yourself in the Pilgrim’s settlement of Bone Bottom in this location. Speak with all the NPCs in this place, especially Pebb the trader. However, you don’t need to purchase anything from him. Get closer to the bench in this area to save the game and gain health.
Chapel Maid, Little Pilgrim, Fearful Pilgrim, Pebb, Flick the Fixer, Shakra, and Moss Druid are all the NPCs you will encounter in Moss Grotto.


