


Discover everything you need to know about the best beginner tips for The Outer Worlds 2, including overcoming the challenges.
The Outer Worlds 2 is an action role-playing game that is set in a different star system called Arcadia. This colony is far from Earth, with its factions, politics, and corporate intrigue. You play as an agent of the Earth Directorate, investigating space-time rifts and entangled in the factional war. Learning some beginner tips before starting to game allows you to tackle every threat and complete the objectives.
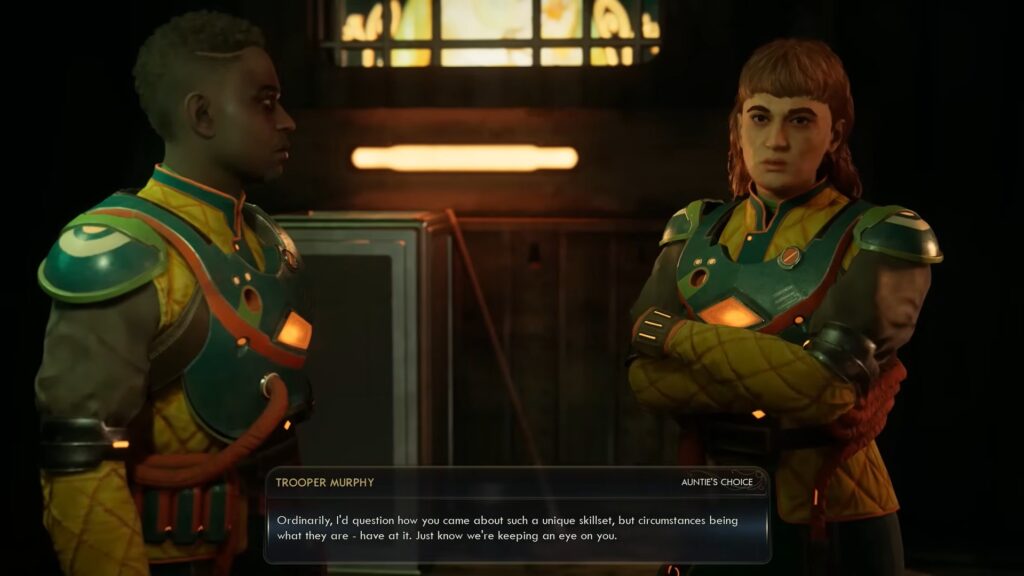
The worst thing in Outer World 2 is to lose a bunch of progress because you have to go back to a save a couple of hours ago. Anybody who has a name above their head is somebody special, and you want to make sure you talk to them. The game emphasizes player choice, like dialogue trees, branching story paths, companions, and different approaches. In this guide, we’ll discuss the best beginner tips to get started in The Outer Worlds 2.
1. Loot Everything
There’s no restriction on carry weight or an inventory limit. Everything you pick up has a use. Junk is disassembled into crafting materials. Food is used to heal you out of combat. Drugs and similar items are used for your inhaler charges. If you’re okay with stealing items in this game, it is really easy, just not to be seen and take anything you want. So, that just means more loot to hoard. However, stolen items don’t show a value when you hover over them in your inventory.
When you take it to a vendor, it does appear you can sell it even though it’s stolen. Alternatively, you could just break it down into materials and use it that way. Do be cautious, though, when selling items to a vendor, as some things can be marked up as reduced. So, you just want to make sure to avoid that so you get the most bang for your buck.
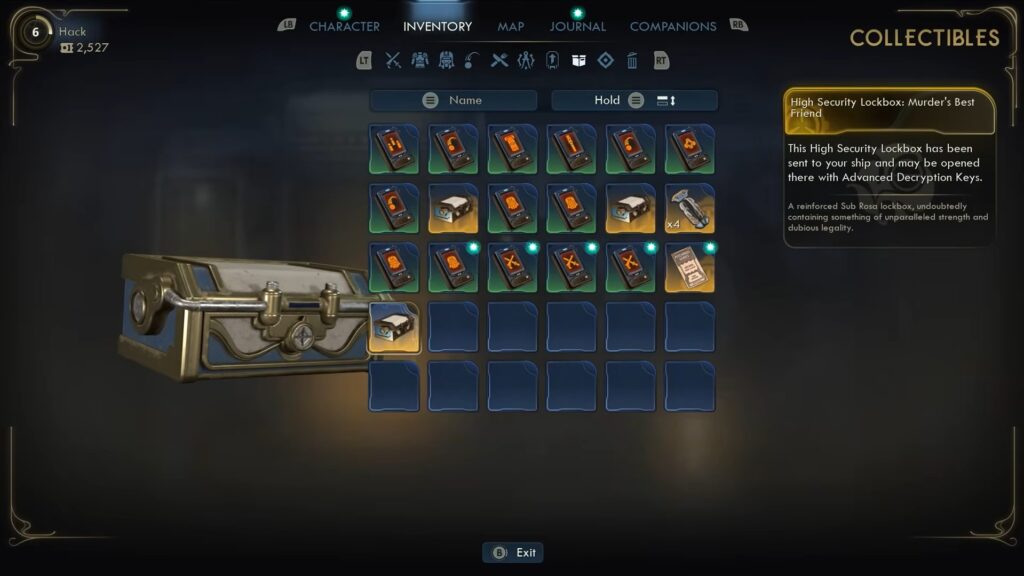
2. Get Secret Permanent Stat Cards
These cards can be found all over the place, including on bodies or as a quest reward. Be sure to keep an eye out for these, as they are quite small, but they do give permanent stat boosts. While the stat boosts aren’t huge, it’s free, and over time they’ll add up. Plus, there’s an achievement to collect 100 of them.
3. Acquire Engineering and Lockpicking Skills
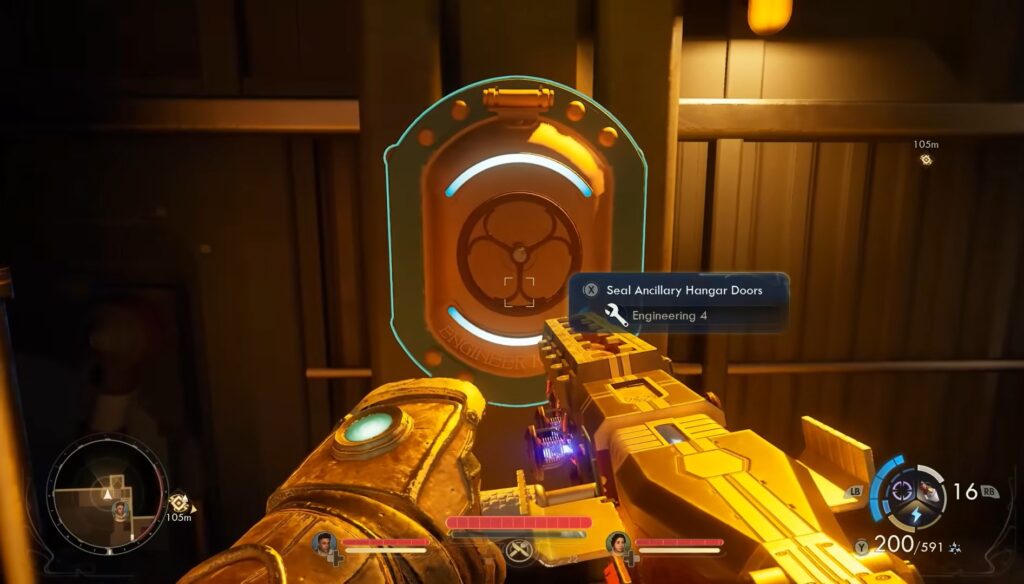
These skills are really good to invest in early, as they make opening doors and locked containers a lot easier, and you’re less likely to come across something that you can’t open. So, it just means that you don’t have to backtrack later, and you can do it there and then. Plus, the passive bonuses you get from both of these skills include increased damage resistance and evasion chance. These are really nice boosts to your survivability.
4. Energy Field Tinkering
The first companion you get in the game is Niles, and he has the amazing trait Field Tinkering. This basically turns him into a mobile workbench, which is super convenient, allowing you to just craft, modify, and dismantle anywhere you are as long as he’s in the party with you. Which means if you get short on ammo, for example, you can just straight up craft it there and then and not have to worry.
Also, companions can provide unique dialogue options when in conversation with certain NPCs. This really makes them feel like they’re part of the party and not just a random character following you around.
5. Crafting Tips

Most of the time, breaking things down is much more beneficial than selling them. This is because the raw materials are often more valuable as a total than it is to just sell the item. There are a few exceptions to this, but as a general rule of thumb, I’d just break everything down. Something else to know is that you only start the game with the ability to craft one type of ammo, and that’s compact rounds. To craft more types of out, you’re going to have to buy the recipes.
You can get four of these recipes from Fairfield straight away, which are shells, biomass canisters, shock rounds, and short rounds. As for later on, you’ll have to find other recipes from different vendors and different places.
6. Get the Best Mods
These are very powerful upgrades that you can apply to your weapons and armor. To your weapons, you can change the type of damage that your weapon does, such as plasma, corrosion, or shock. All of these damage types have different effects. For example, plasma applies a burn, which does damage over time. Stacking the burn then causes your target to explode and deal damage to nearby enemies, which is really fun to use in practice. Corrosion is vulnerable. Lowering armor as it builds up, and stacking vulnerable transitions into dissolved, which completely removes the target’s armor bonus and causes them to take extra damage.
Shock applies electrocuted, repeatedly interrupting enemies. Stacking electrocute applies paralysis. This naturally causes your enemies to be stunned, which is huge in combat. It’s not just damage that you can change with weapons. Other mods provide silencers, which give increased sneak damage. You’ve got magazine mods, which change the fire rate or capacity. You’ve got optics such as a nice reflex scope or something to make aiming a little bit more convenient.
With armor mods, well, the damage types I mentioned earlier, you can get resistances to these types of damage or just a straight-up damage resistance. So, be sure to apply these when you can. It’s also worth noting that while these mods are one-time uses, as soon as you acquire any mod, you learn the recipe to create that mod. So, you can use the mod and not really worry about it. This is because if you need to use another one or replace it or put it in something else, you can then make that mod again, as long as you have the right materials.
7. Don’t Be Scared of Higher-Level Enemies
You don’t need to be scared of enemies if it says that they’re a dangerous enemy. Because you might surprise yourself and find that you can actually take on this enemy. They’re not necessarily as scary as they seem. You just might have to take a slightly different or more cautious approach. So, save the game and give it a go.
8. Save Your Game Often
Remember to save often. As with any game like this, there are multiple routes and choices, and you’re going to want to have the option to backtrack to a previous point in time where you can remake that decision. This allows you to go down the route that you’d rather take if you change your mind.
Speaking of a variety of approaches, this includes physical obstacles, too, such as buildings. They might have several ways to get in. There could be a small vent on the side, or you might have to lockpick your way in through the entrance, or maybe even hack a terminal. This turns off the power and opens a door. There are so many different ways to do one thing in this game that it’s worth exploring and finding a different path to the same goal.
9. Keep An Eye on the Mini-Map
On the outside of the mini map, you’ll have red segments. This shows the general direction of enemies before turning into a shroud of red on the mini map when you’re close enough. These are where enemies are outside of your field of view. When they are inside your field of view, they’ll turn into a red marker.
Do note that you can go down the observation skill tree. At level three, you can pick up the tracker perk, where any hostile will be immediately turned into a marker rather than a shroud, and have their direction of facing shown. Now, this is really handy if you want to play a stealthy or assassin-type playthrough.
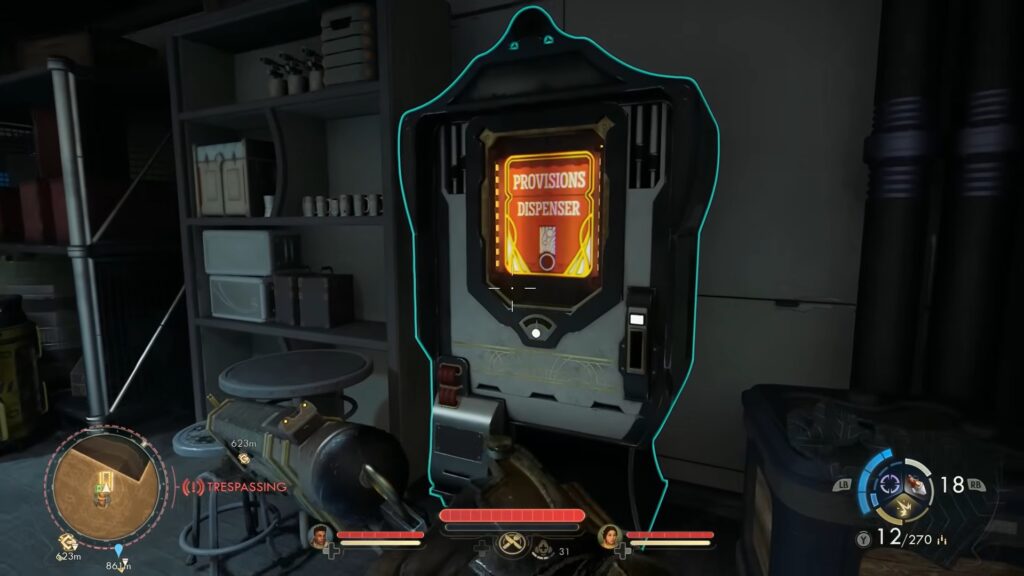
10. Do Not Ignore Terminals
Check every single terminal you come across. Read every option. Even if you don’t actually read what’s on the screen, just clicking on it can trigger information that you can use as dialogue options, reveal a quest, or give you passwords to containers. So, definitely don’t forget to check every terminal you find.
11. Always Use Auto Doc
You’ll find them periodically throughout the game. They’ll usually be on a wall somewhere, and they’ve got like a medical symbol on it. And interacting with this will fully heal you up, cure any poisoning. Even if you’re full HP and you don’t have any poisoning, still use it because it gives you two inhaler charges for free.
They are a one-time use, but there is an infinite one on your ship if you want to get free healing or cure your poisoning for free at any point without going to a doctor and paying some bits. But with the one on your ship being infinite, it does not give you inhaler charges.
12. Farm Money Early
A really good perk to get early on is the bit transfer perk, which requires Hack 2 and the restricted access perk. However, this allows you to extract bits from any bounty terminal. You can repeat this process for every 7,200 XP you earn. This means it’s a nice, reliable way to earn bits periodically as long as you remember to revisit the terminals now and then.
13. Be Mindful of Flaws
The game will throw flaws at you, which is a fun trait that can offer some good perks. However, it also comes with a negative side to it. So be careful, as some of these are not worth the downsides. So, when they pop up, weigh the pros and cons, as you can’t remove these flaws once you accept them.


