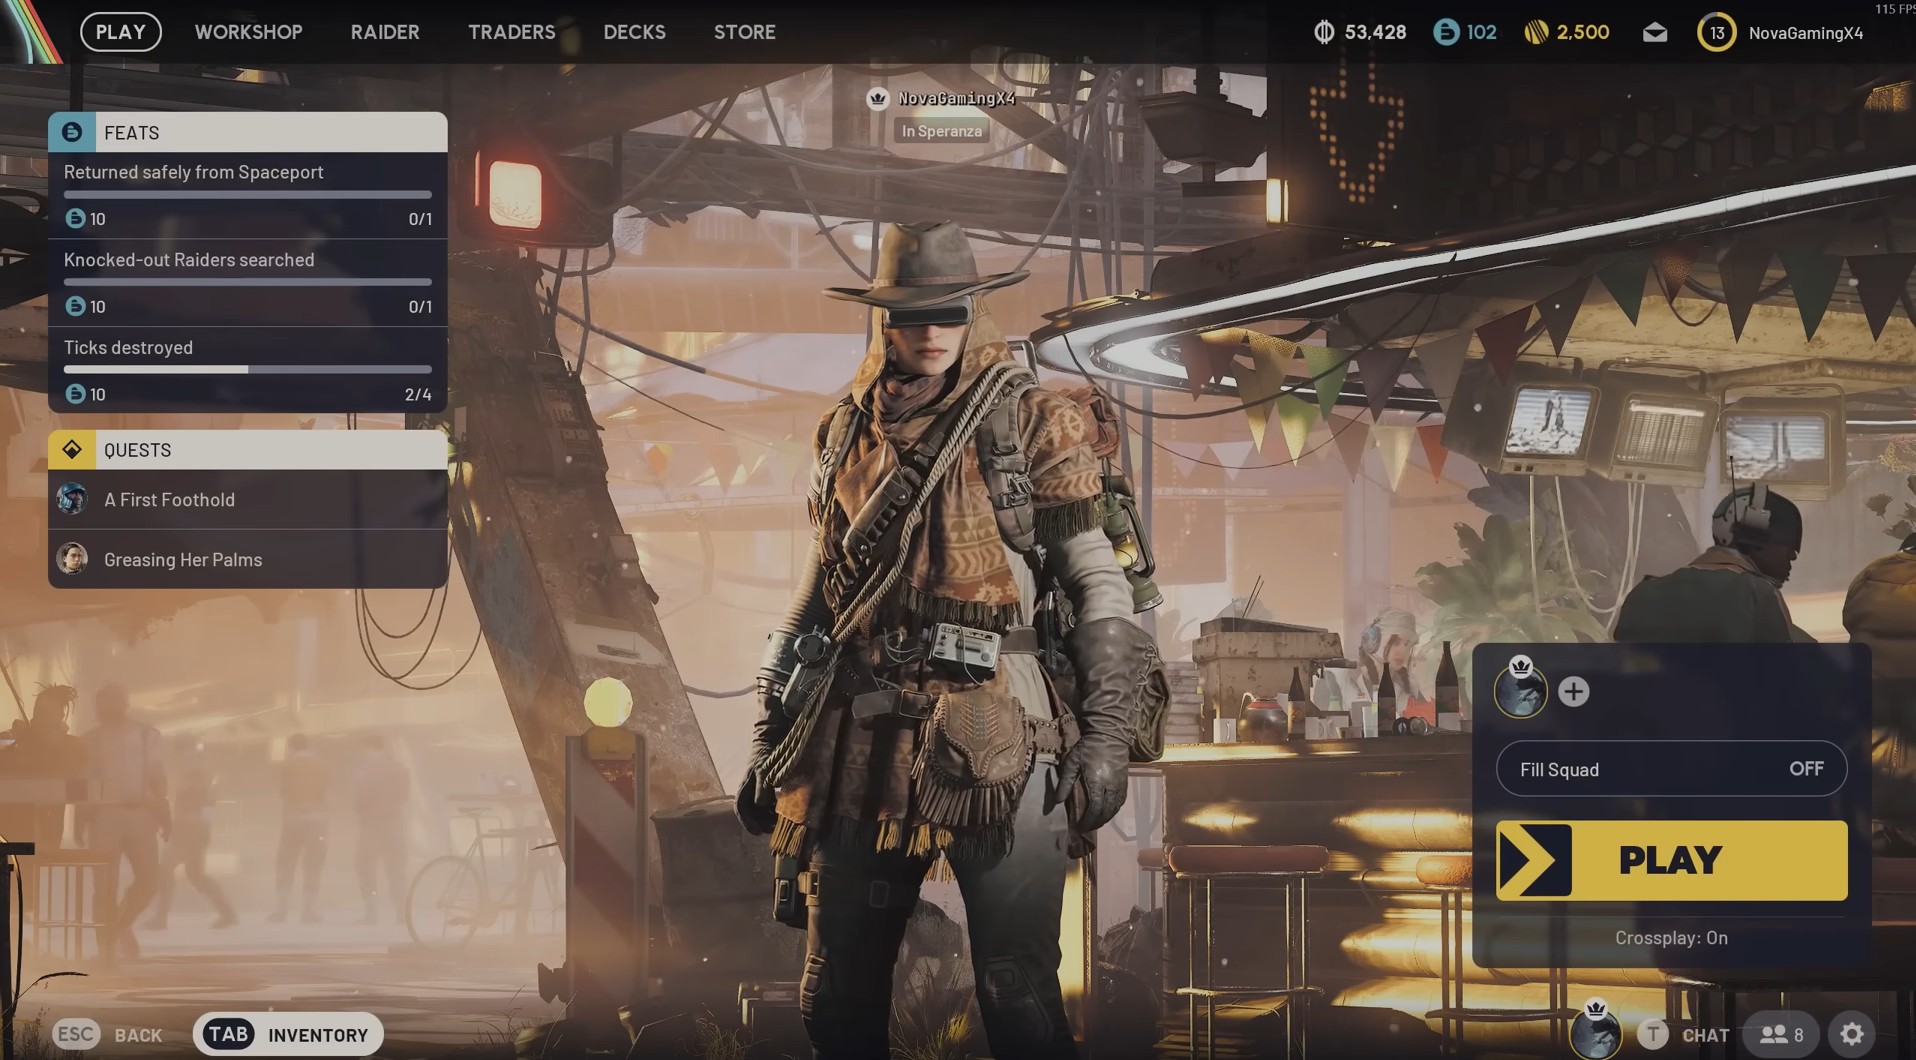
Discover everything you need to know about the beginner loadouts in Arc Raiders, including which one to carry.
Are you struggling with the early game loadouts in Arc Raiders? There’s a simple setup that gives you a strong and reliable start. I’ve noticed a lot of new players using loudouts that really hold them back. There are Free Loadouts vs Custom Loadouts. Free ones cost nothing from your stash, which means you don’t risk losing your best gear. Using your own gear gives you safe-pocket slots.
Early on, you’ll want to focus on survivability, mobility, and learning the map, rather than chasing the highest-tier gear. While the Augments determine your backpack capacity/slots and maybe other perks, the Shield mitigates damage. Make sure you always bring one. In this guide, we’ll discuss the best beginner loadouts in Arc Raiders, including the best one to pick.
Make Use of Free Loadouts
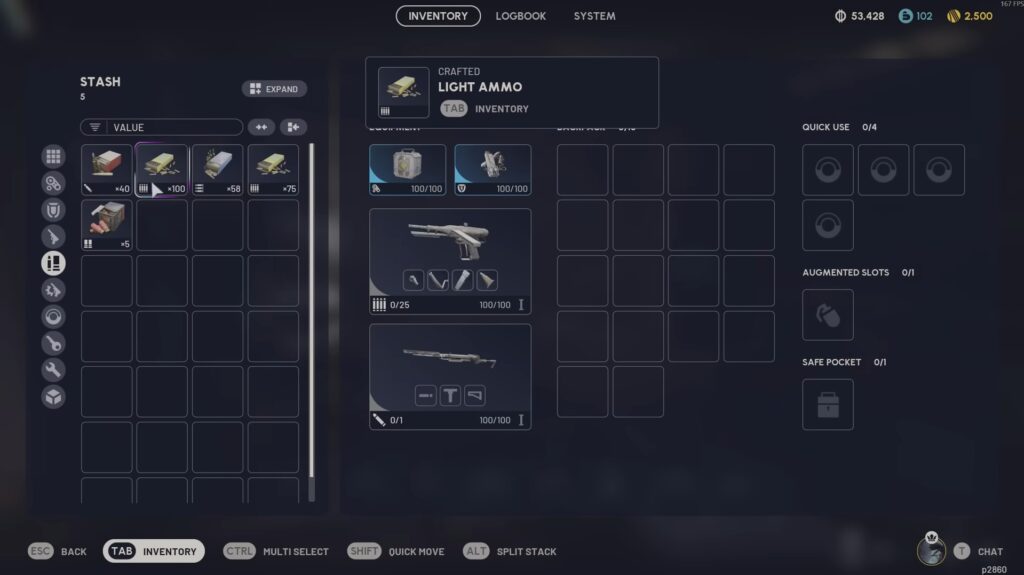
We highly recommend not using your starter gear. Instead, when you’re ready, make use of the free loadouts. It doesn’t show you what you get because it’s different every match, but they’re usually extremely good early on. You’ll have no risk when you go into a raid because if you die, it was a free loadout anyway. But you actually spawn in with some very good early items.
The weapons you get are passable, the same as those you have in your stash. But you’ll actually start with some free heals, shield regens, even grenades and other utility items, and a bit of ammo for your gun, which is generally enough. On top of that, if you manage to make it out alive with one of these free loadouts, you can trade the gray free loadout augment with the NPC Lance for one of the good green augments.
This is totally free if you survive with a free loadout run. This makes running them back-to-back and stockpiling up all the guns and goodies that they give you in those free loadouts very much worth it for when you want to start taking your own gear in. The only thing to note is that free loadouts don’t give you a safe pocket, so you will lose everything if you die. But early on, you should be focusing on just filling your pockets and getting out.
Best Augments to Use
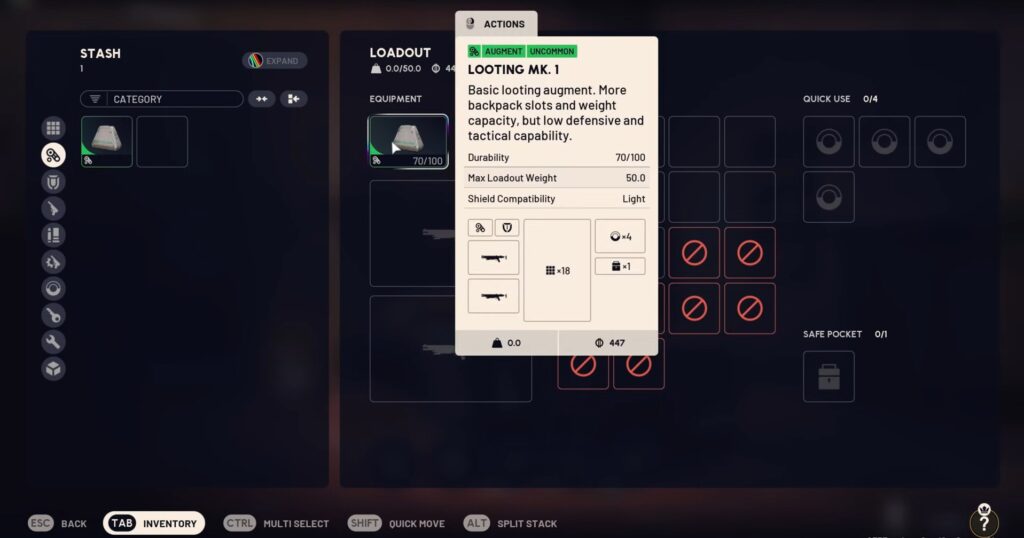
They determine which shields you can equip and your backpack size. At a minimum, run a green augment. It nearly doubles your backpack space and comfortably lets you extract 40 to 60k in value on the first map.
1. Looting MK. 1
Looting MK. 1 is a basic loot augment in Arc Raiders. It provides more backspace slots and weight capacity, but low defensive and tactical capability.
2. Combat Mk. 1
Combat Mk. 1 is a good all-rounder augment as it has a decent size for your inventory, but also allows you to use medium shields.
3. Tactical Mk. 1
Tactical Mk. 1 is best for survivability as it has an extra quick-use for your healing or throwable items. Get access to the blue rarity versions of these augments after leveling and finishing some quests. Looting Mk. 2 augment gives you three slots for trinkets, so it’s worth leveling quickly.
Looting Mk. 1 augment works better for beginners because they don’t have medium shields for the other two augments at the initial stages of the game.
Best Shields
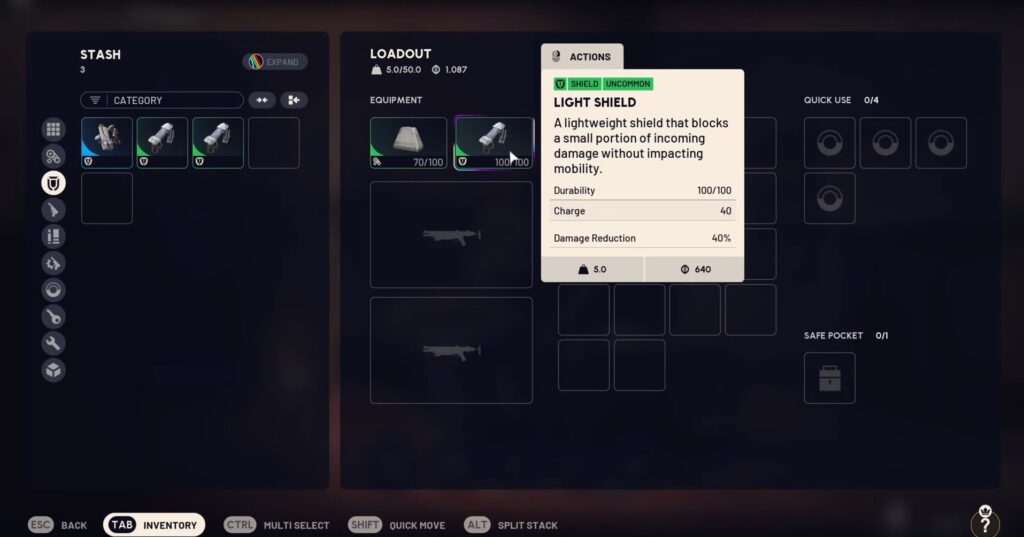
Shields are critical since they block a portion of incoming damage. The better the shields, the more protection you get. I personally use blue shields as soon as they are available and when I have the right augment. But pay attention to the penalty of the movements because the better the protection, the fewer movements you have.
Best Weapons
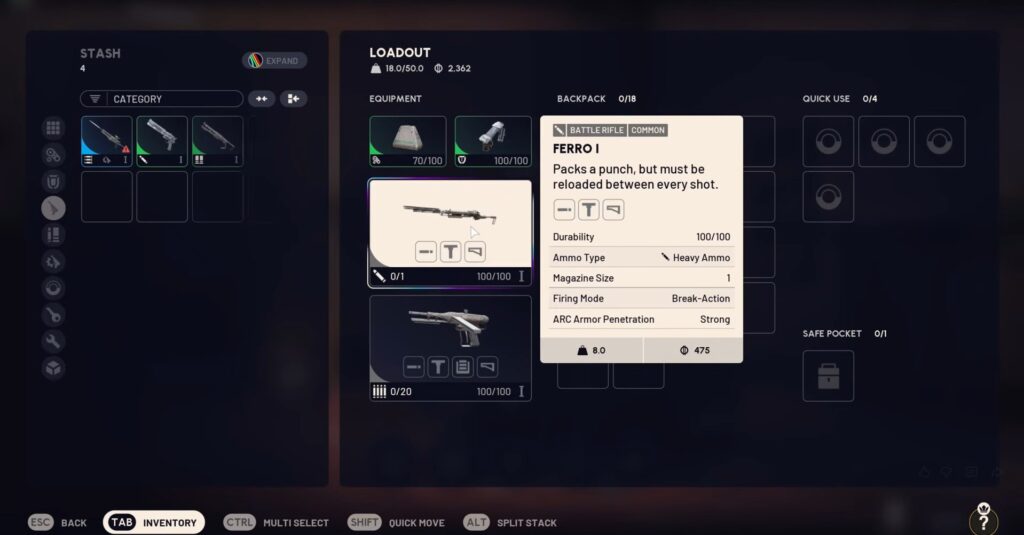
Weapons are where many players go wrong. Always carry two guns because the reloads are slow and you need options. Always make sure to pair long-range and the close range. Early strong combos are the Ferro rifle and the Stitcher SMG, or the Anvil hand cannon and Il shotguns. These are pretty much meta for the early games. The better the gun, the better the armor penetration against arcs.
Try to upgrade your weapons to at least level three when you can. You will feel the improved reload and perks. Also, don’t forget to repair your shields and gun regularly. This is because the durability drops over time.
1. Stitcher
Stitcher has an automatic firing, but the damage is quite low. This is the best gun to use if you are new to both Extraction games and Shooter games.
2. Ferro
Ferro is the basic snipe rifle that deals high damage to enemies in combat. However, you need to reload after each shot.
3. Rattler
Rattler, on the other hand, is a good all-rounder weapon as it has multiple bullets. However, it has no automatic fire and deals decent damage.
4. Hairpin
Hairpin is the lower-tier weapon, but it can be effective in certain conditions. This is best suited for stealthy gameplay because this weapon comes with a silencer. Rattler is the best weapon to equip because it allows you to eliminate both the Arc machines and other players.
Ammo
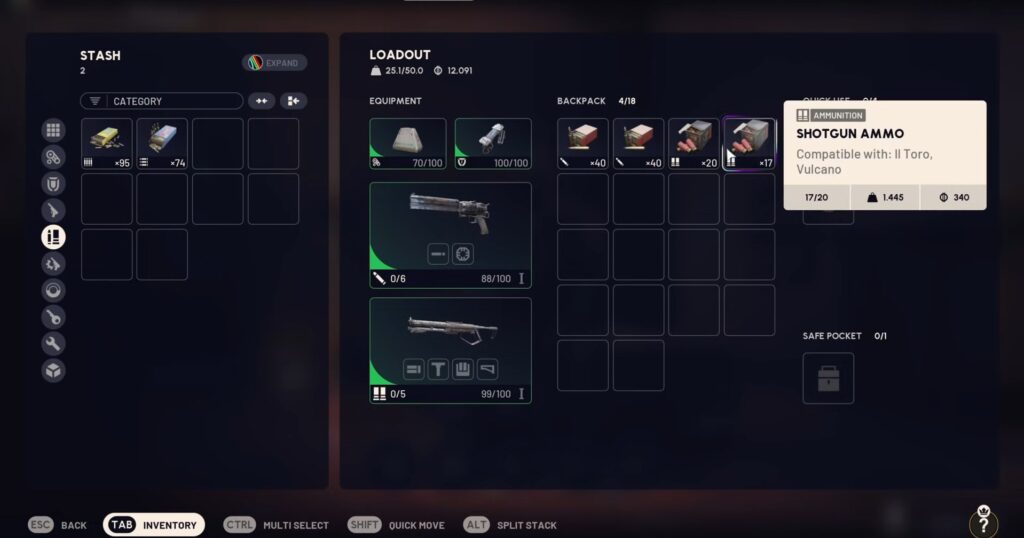
For backpack management, you do not need tons of ammo. Two packs per gun are more than enough. In pretty much 95% of all your runs, even after taking down the bastion, you can still have plenty of ammo left for extraction. You’ll usually run out of the backpack space way before you even run out of bullets. So, limit ammo to about four slots total.
Quick-Use Items
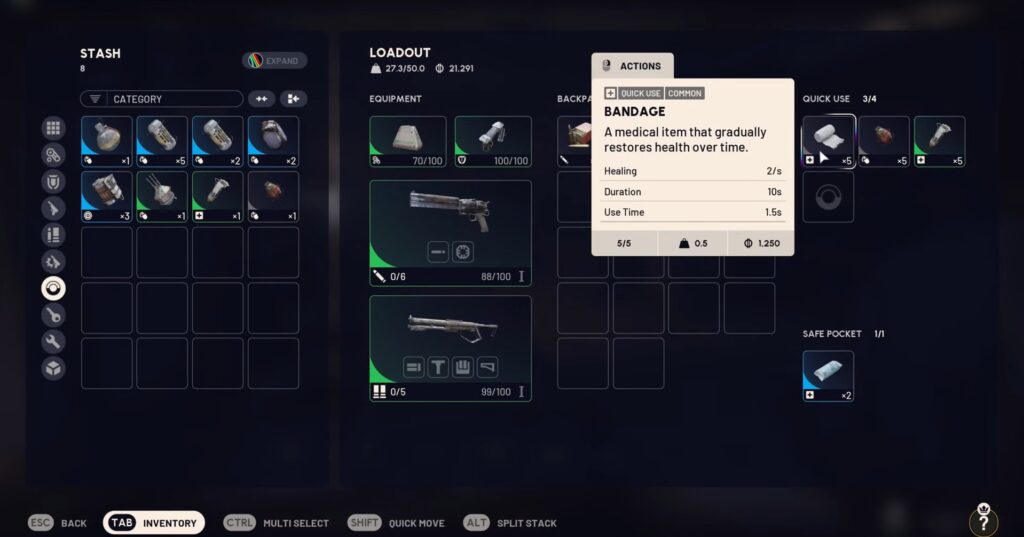
For the quick-use slots, prioritize grenades, bandages, shield recharge, and probably fast recovery. Your default quick-use order always starts with a healing without cycling items. So, place items accordingly. Keep the grenade second for the extra DPS since healing isn’t instant, and you’ll usually need to get to cover anyway. A pro tip: you don’t have to scroll between items.
Just press your quick-use key and then three, four, five, or six, based on your item order. So, I would suggest keeping the same setup across all your loadouts to build the muscle memory. In-game hotkey always starts from your healing. It’s advisable to place it first for consistency of item cycling.
In-Round Crafting Skill

Go to your skill tree and unlock in-round crafting early. It lets you craft basic items like ammo or bandages during the match using recycled materials from your inventory. This is a massive quality-of-life boost. You can break items into source materials in a match and craft basic elements like bandages and ammo.
Weapon Mods
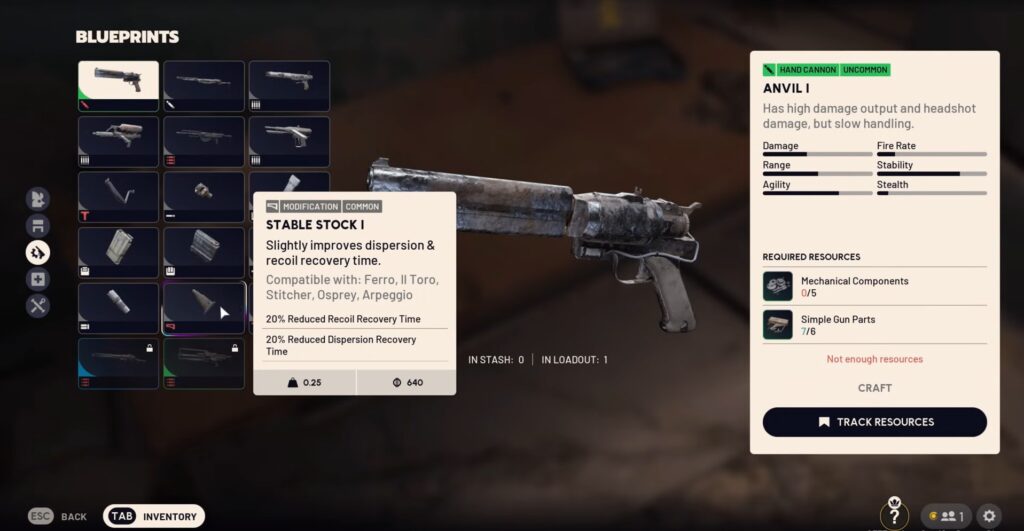
When you can afford craft compensator and stable stock weapon mods, as they are critical to provide you the better accuracy and reload time, you will feel a big difference using them. Use the best mods to make your weapon more effective and damage-dealing. While you can learn how to control recoil, shot dispersion/reload are fixed stats not linked to your skills.
Attachments
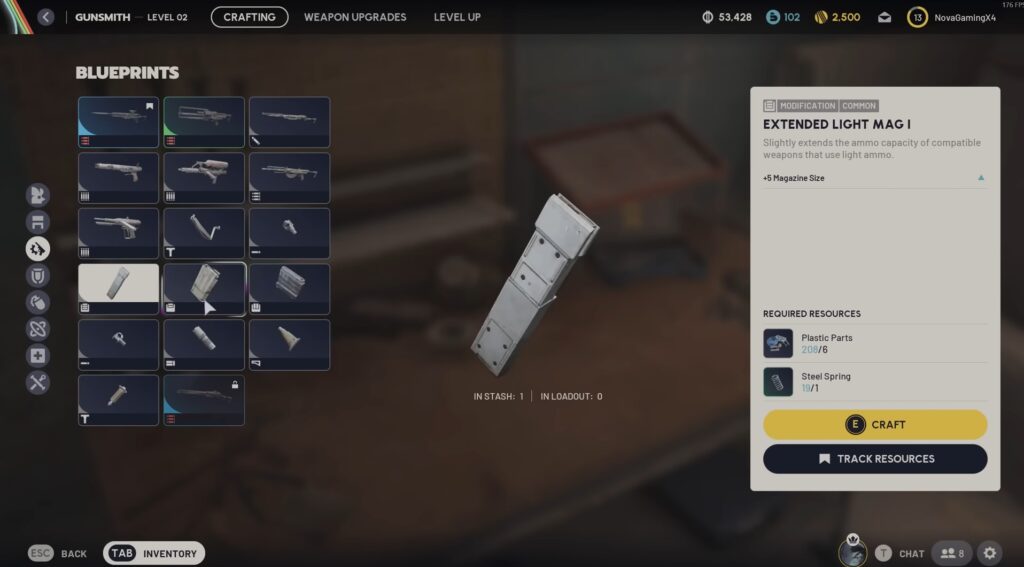
The Angled Grip in Arc Raiders is better than the Vertical Grip because it deals with horizontal recoil. This is a lot harder to control than vertical recoil. It only takes Duct Tape and Plastic parts. You need a lot of Duct Tape, so make sure to keep it whenever you find it in a raid. The Angled Grip grants 20% reduced horizontal recoil. The Muzzle Brake 1 slightly reduces both vertical recoil and horizontal recoil. The Compensator 1 also slightly mitigates per-shot dispersion. It grants 20% reduced per-shot dispersion and 10% reduced max shot dispersion.
Use the Extended Light Mag I because it extends the ammo capacity of compatible weapons that use light ammo. The Stable Stock I grants 20% reduced recoil recovery time and 20% reduced dispersion recovery time. Once you have these attachments, I don’t really think you need an attachment for the Ferro. If you have a silencer, throwing it on your Ferro can be super nice. You can shoot enemies, and they have no idea where they’re getting shot from.
Tips & Tricks For Beginner Loadouts
Below are the best tips and tricks for the beginner loadouts in Arc Raiders.
- Choose the Free Loadout option at the start of a raid, providing you with basic gear with no cost to your gear stash.
- Choose a common-rarity weapon, light shield, ammo, bandages, or med items, maybe a grenade.
- Select a modest Augment so you get backpack space.
- Bring a light shield and upgrade it to medium when comfortable.
- Use the safe pocket slots for any rare items you pick up.
- Stitcher, Ferro, and Rattler are the best weapons to use in the beginning, as they deal decent damage.
- Your loadout success depends on core elements like weapon synergy, utility selection, and risk management.
- Use the Adrenaline Shot because it fully restores stamina and temporarily increases stamina regeneration.
- Light Impact Grenade is also a good pick because it detonates on impact, dealing explosive damage in a small radius.
- Don’t ignore consumables and shields just because you like your weapon.
- Make sure you are using a custom loadout with safe-pocket slots.
- Don’t bring your fully-maxed gear into a map you haven’t learned yet.