


Discover everything you need to know about getting the Double Jump Faydown Cloak in Hollow Knight: Silksong.
The Double Jump or Faydown Cloak is the last traversal ability unlocked in Act 2 of Hollow Knight Silksong. It is required to explore all regions throughout Pharloom and The Citadel fully. Acquiring this skill is a difficult task, as you need to go through several different areas.
Using this ability makes your progress quick in the game and uncovers new secrets. Make your way to Mount Fay and unlock this ability by interacting with the shrine and playing Needolin. In this guide, we’ll discuss how to get the Double Jump Faydown Cloak in Hollow Knight Silksong, including some shortcuts to reach the destination.
How To Get Faydown Cloak in Hollow Knight: Silksong
Below are all the steps to follow to get the Double Jump Faydown Cloak.
1. How To Reach The Slab Location
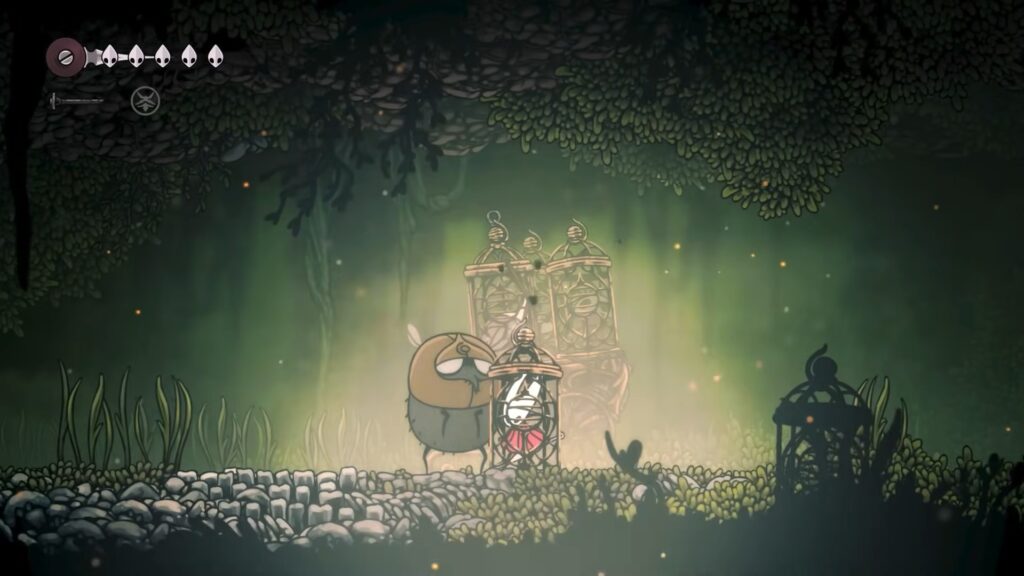
The first thing you will need to do is get to The Slab, and that will require you getting kidnapped. Start at the Pilgrim’s Rest Bellway, then move west and up towards the indicated chamber in Deep Docks. Given all of our mobility upgrades, this trip should be extremely quick and easy.
There is the potential that you will need to hit one lever to unlock the way forward, if you have not already done so earlier in your travels. Once we’ve reached this chamber, which will be easily reached with the Cling Grip ability. You need to allow yourself to be captured by the Wardenfly.
2. Key of Indolent and First Bench
A brief moment later, you can spam the attack button to break free of our cage. You are now in The Slab, but unfortunately, you don’t have any of our stuff.
- To get it back, drop down and go through the bottom west exit.
- After that, jump up and attack a breakable wall to open the path forward.
Traveling up and to the west, pass under your captors before heading out into the cold. This will start to damage quickly if you stay in it for too long. Because of that, quickly drop down and enter back inside, to the east. Get past several penitent bugs as you move east, then drop down through a hole.
3. Speak With Grindle
Speak to Grindle before going into the west chamber. There, you will find the Key of Indolence up on a chain.
- Strike it to make it fall, then pick it up and move back out east.
- With it, you are now able to open the door where Grindle was previously and run into the next chamber.
- Follow the bench sign to reach our next checkpoint, as well as have another chat with Grindle.
4. Acquire the Key of Heretic
You don’t have a map to refer to, but you can move west from here. Drop down past the Guardfly, then move into the bottom east chamber.
- Opening the locked gate will lead you into an arena where several waves of enemies will need to be defeated.
- Manipulate the traps by stepping on the pressure plates to aid in this task.
- Once all waves have been cleared, move out to the east, then platform our way up as you avoid spiked wheels and traps.
There are also pressure plates on the wall partway up that you will want to avoid. Getting to the surface, move west, stopping at braziers along the way to warm us back up and prevent frost damage. There is a shortcut we can open up at the end of this path. However, this is mostly to aid in exploration after we get our stuff back.
- In any case, drop through the hole on the west side of the surface to enter back into the slab.
- Following the signs will bring you to our next checkpoint.
- Move east and down, before moving west.
This will bring you to a spot above our captors, where you can drop down and get the stuff back. You won’t have any of our tools equipped, so this fight can still be a bit challenging to get through. Once you’ve defeated the last foe, grab the Key of Heretic, then move east to the nearby bench.
5. Move To Slab Bellway Station
Take a moment to re-equip the tools, and although you don’t have the map for this area, you can still see where you are in reference to the rest of the world. East of here is the first Heretic door that you will open. Run out and drop down to the bottom of this vertical chamber, going back through the bottom west exit once again.
- Open the Indolent door this time, then drop through the hole that follows.
- Going through the east exit, drop down past the Guardfly once more, then use the Key of Heretic to open the central passage down.
- Hit a lever to open the next passage down, then move through the west exit.
- Moving further west and following the sign will eventually lead you to a new bench, as well as the Bellway fast travel station for The Slab.
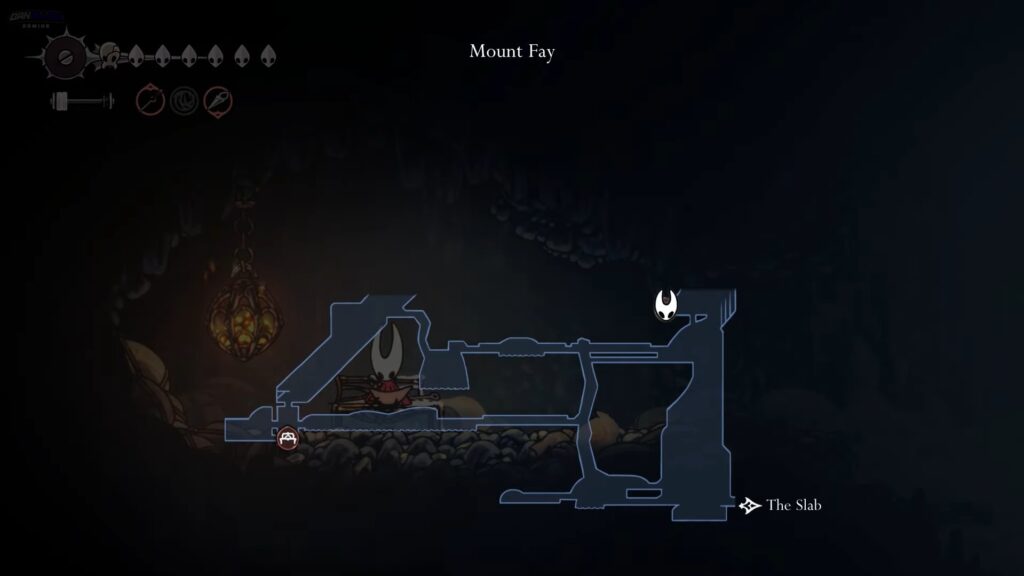
6. How To Reach Mount Fay and Get a Map
Moving west from the bench, you need to activate the fast travel station, as that is our ticket out of this place. Before you take it, though, you need to go get our double jump. For that, move west of the station, out into the cold. With the Clawline ability, you can cross the divide and reach Mount Fay. In the very first chamber is a bench to rest at, as well as Shakra, who will sell us the Map for Mount Fay.
Get To the First Check Point
All that stands between you and your double jump now is a whole lot of platforming with the Clawline. The first section starts to the west, then eventually goes east as you move up. The heat lamps will provide you with warmth as we move through this section. However, you need to move quickly between the platforming sections if you want to reach them without taking damage.
The first section to the east is the best example of this, requiring a very good pace if we want to avoid damage. Keep in mind that you can Clawline immediately after hitting an enemy with it, as doing so generates silk. But if you hit a ring or plain air with it, then it will take a second before enough silk has been generated to use the Clawline again.
The second section of platforming here will require you to combine our air dash with the clawline to get through a dual-sided spike trap. Quickly clawline between several Driftlins to reach our next safe spot.
- After moving west past some spools of silk, carefully drop down the tube that follows, avoiding several Mnemonids along the way.
- Your goal is to land on the western ledge about halfway down the tube, then move into it.
- There is a really full spool of silk that you can harvest and use to heal up if needed.
- Move west past a hostile Servitor Boran and break through some debris to continue.
- There is a checkpoint just beyond this next section, but this section is very unforgiving and will likely result in death if you fall into the frigid water.
7. Find the First bench in Mount Fay
Don’t get tricked by the ring when you first see it. You need to first Clawline the nearby Mnemonid to get the height needed, then hook the ring and continue to a safe spot. It is then just two more precarious platforming sections to reach a checkpoint. If you go out to the west of the chamber with the bench sign, you will see a mask shard floating nearby.
This cannot be reached until we have a double jump. For now, though, we can break through. A wall to the east and head through it to reach the bench. It is safe to say that the bench is probably worth the 90 Rosaries, especially if you struggled to get this far.
8. Locate the Second Bench in Mount Fay
After resting at the bench, hit the nearby lever on your way up and out to the next platforming section. Once again, you will need to chain our Clawline ability to platform up and to the east. Keep your silk reserves in mind so that you don’t mistime anything and end up falling back down.
There is another dash-clawline section after the next safe spot. This time it is followed by a more demanding clawline maneuver is required to reach the next section successfully.
Once you’ve made it to the top east chamber, use our cloak to carefully drop down a tube lined with spikes in several sections. Don’t take too long, though, as we still have the cold to worry about. Get through another platforming section with mnemonids. Following this is another precarious frozen lake section, followed by a full spool of silk to heal at.
- Moving further east and past another servitor, you will unlock a shortcut back to an earlier part of the mountain.
- The next section is followed by a hidden safe spot.
- After clawing through several Driftlins and rings, you will hop up to level ground.
- Quickly move west and break through the debris there to access a heat source and a bench to rest at.
Unlocking the Double Jump Faydown Cloak

Clawline up and to the east, then air dash/Clawline over another spike pit.
- You need to follow it with a well-timed Clawline to a nearby Driftlin.
- Perform a skillful wall jump to get onto level ground and quickly move west towards the next safe spot.
- This next section has a difficult wall jump, requiring a small margin of error to get up and over some wall spikes.
- After that, it is just a few more clawlines and dashes to reach the next safe spot.
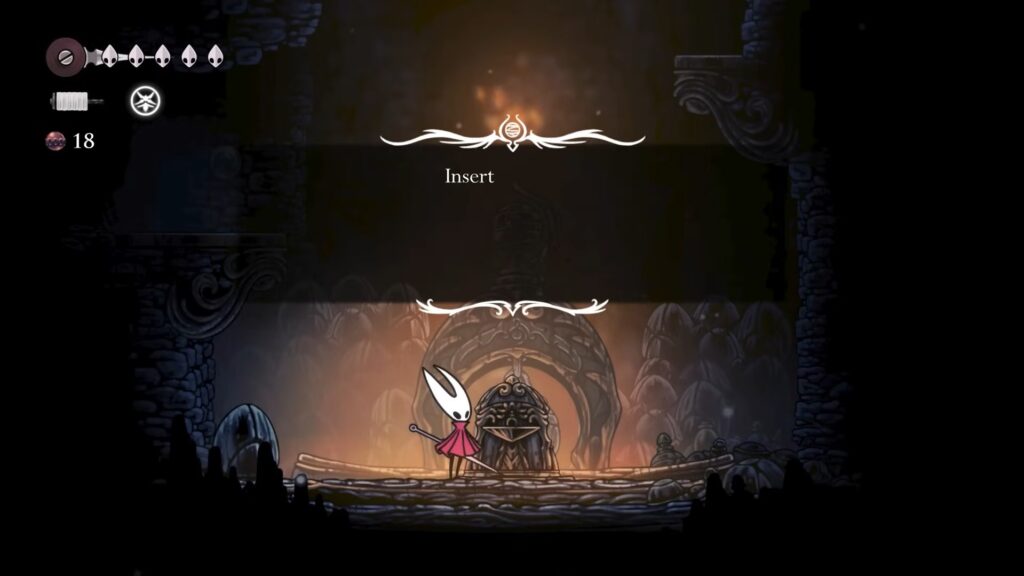
- After climbing up the nearby tube, we will need to get over some spikes and move west towards an air stream. You can ride this the rest of the way up, then move east to reach the final safe spot, a tuning mechanism.
Interacting with it and playing our Needolin will lead to a short cutscene, the result of which is unlocking Double Jump or the Faydown Cloak. In addition, the cloak makes us impervious to the cold air of this mountain.


