


Discover everything you need to know about the Sector 2 Mass Production Array walkthrough in Pragmata, including how to progress.
The Mass Production Array is a major mid-game sector in Pragmata. This is a factory-like network where this material is used to mass-produce robots. Players gain tools like barrier-removal abilities that open new paths and allow backtracking to earlier sectors for upgrades. Creator is the final boss in Mass Production Array, which has three distinct phases. You enter Times Square, Shopping District, Side Alley, and Lim Facility. Sector 2 has 39 collectibles and a new weapon called Charge Piercer.
Preparation at Shelter
After beating SectorGuard, you unlock Shelter License Key, new upgrades, and crafting capacity. Meet Cabin, which acts like a bingo card board and uses Cabin Coins found in chests or fights. I recommend upgrading hacking and weapons before entering Sector 2 in Pragmata.
Times Square Hub
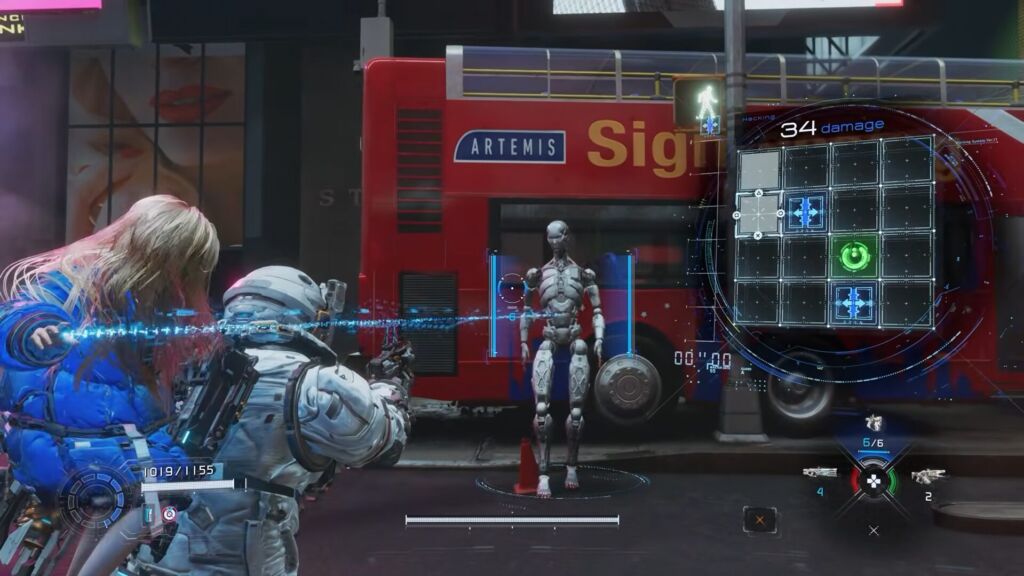
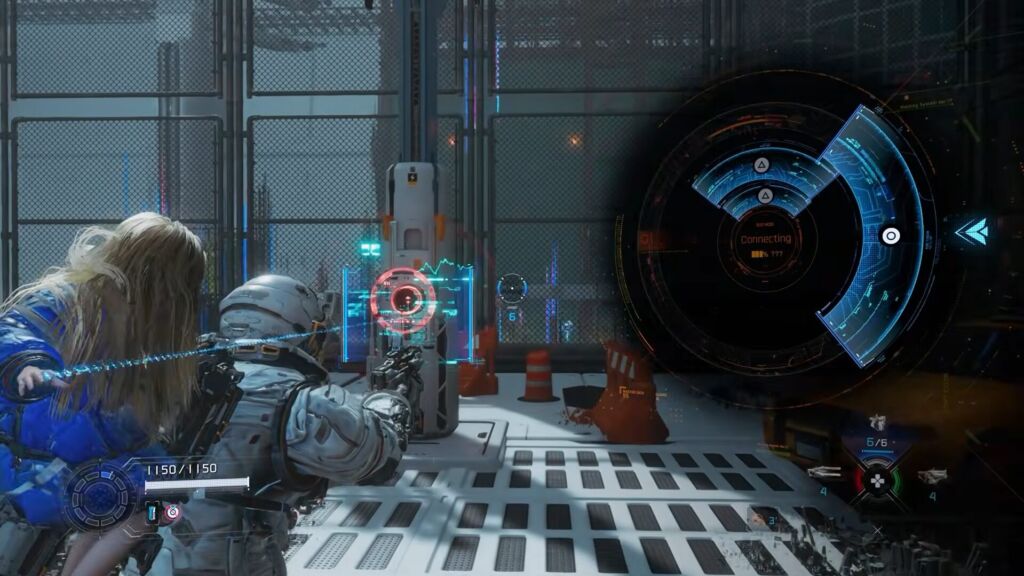
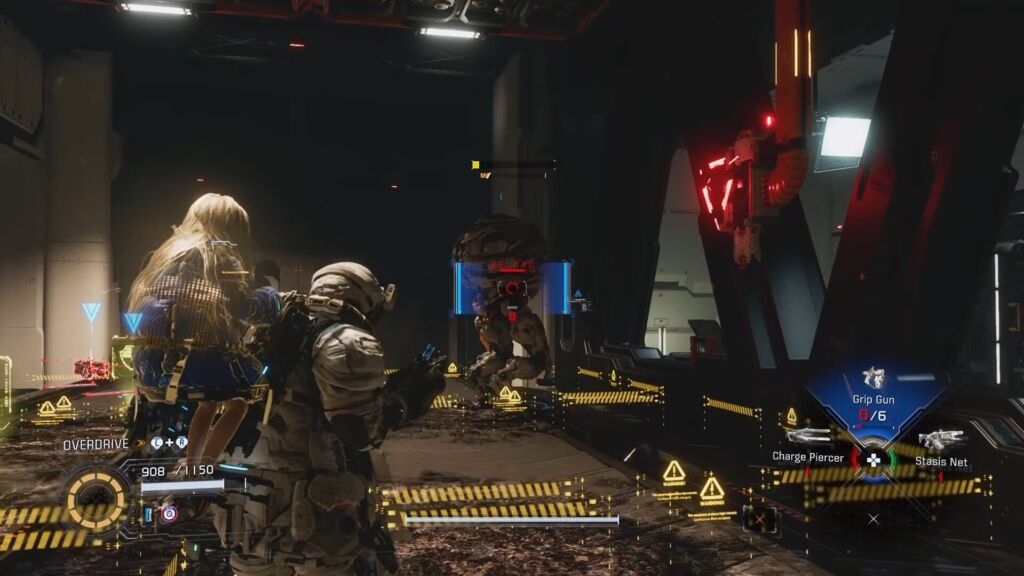
You enter a moon-built replica of New York, and the area gets locked down with 6 beacons. The objective here for you is to hack all 6 beacons to open the main gate. After moving inside the Test Site Entrance, you can find the upgrade component on the right side. Make your way inside the room and eliminate all the enemies.

Time Square Hub
Get your hands on the upgrade component from the right corner of this area and continue moving to the next section. Pick up the file and a holo from the end and keep progressing to the left side. Take down all the walkers here and collect both the file and the upgrade component from this room.
Defeat the Enemies
Go to the end of the road and collect the upgrade components. Find the beacons popping out from the ground after reaching the dead end of the road to hack it. Turn around and move to the gate to hack it, allowing you to enter the Shopping District.
Shopping District (2nd Beacon)
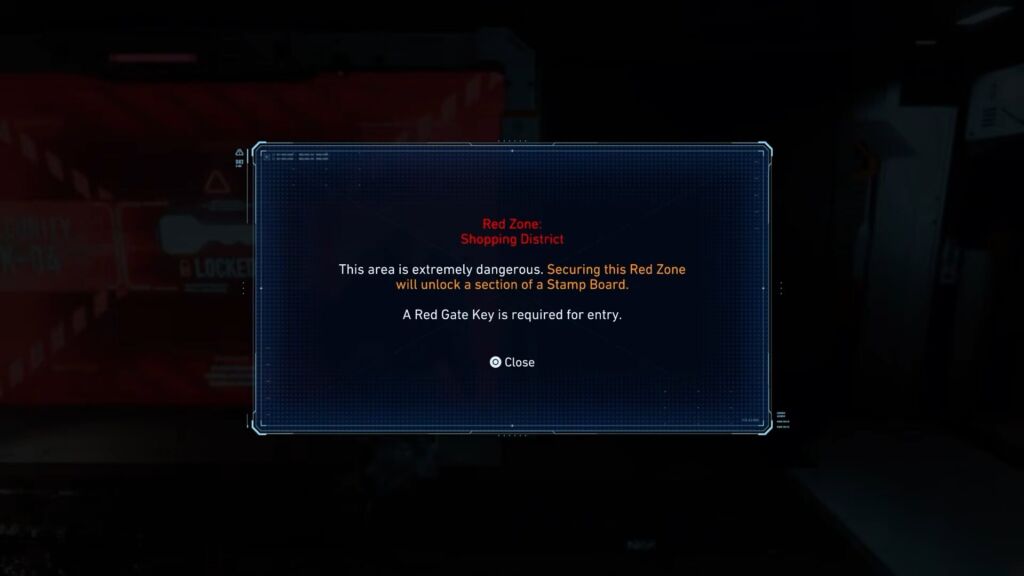
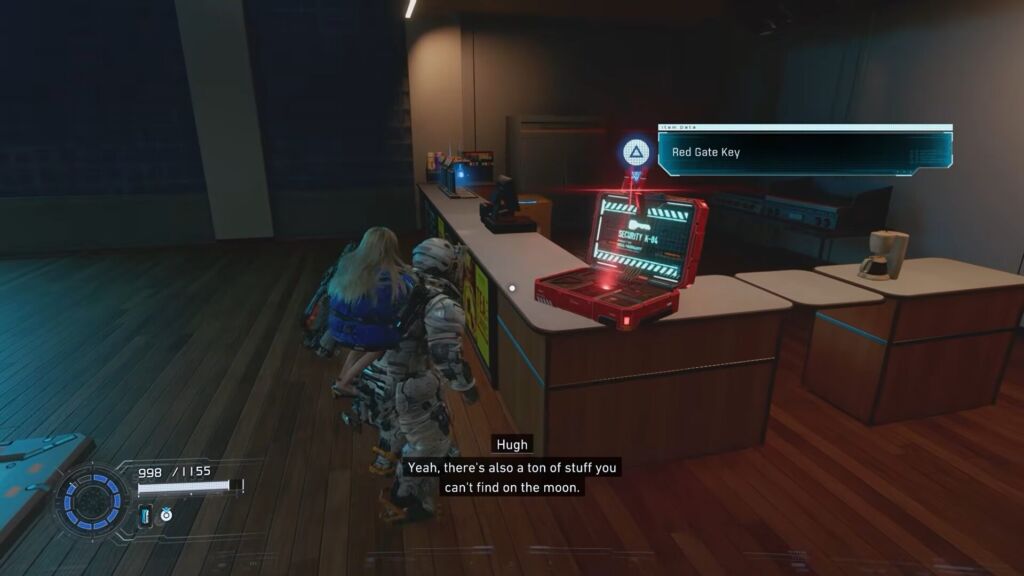
Make sure to get access to the escape hatch and keep moving through the path till you locate the red gate. Shortly after the chase, you’ll see a Red Zone barrier on the main path. Get the red gate key from the Cabin’s Stamp Club to open the red gate. Continue forward past the locked Red Zone.
Shopping District
After a short fight, you’ll enter a diner area. Pick up the Red Gate Key from the counter and return to the Red Zone door and unlock it. Once you get inside, you encounter three waves of enemies. Hold the Overdrive Protocol until the last wave to defeat the multiple enemies in a small area.
Entering Shopping District
Wave 1 includes small enemies, wave 2 features Walkers and a Watcher, and the final wave contains multiple enemies, including rollers & brute. Once defeated, approach the chest to get a Pure Lunum and Stamp Board progress to unlock and upgrade abilities. This is optional but highly recommended for upgrades.
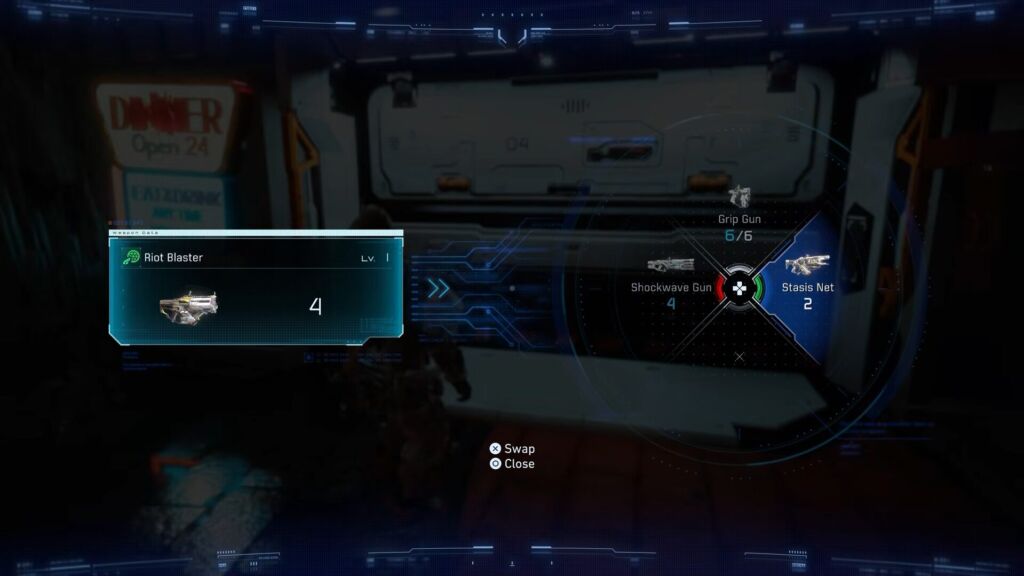
Get Riot Blaster
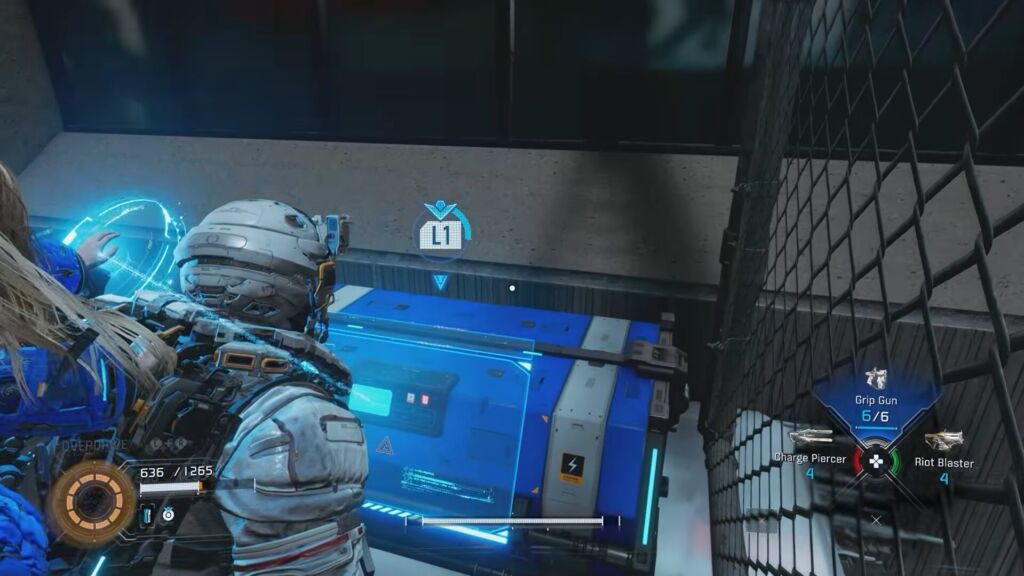
While progressing, grab key items like the Riot Blaster weapon, multihack node, mods, and pure lunum. The riot blaster can be obtained from the floor while following the path.

Eliminate Smaller Enemies
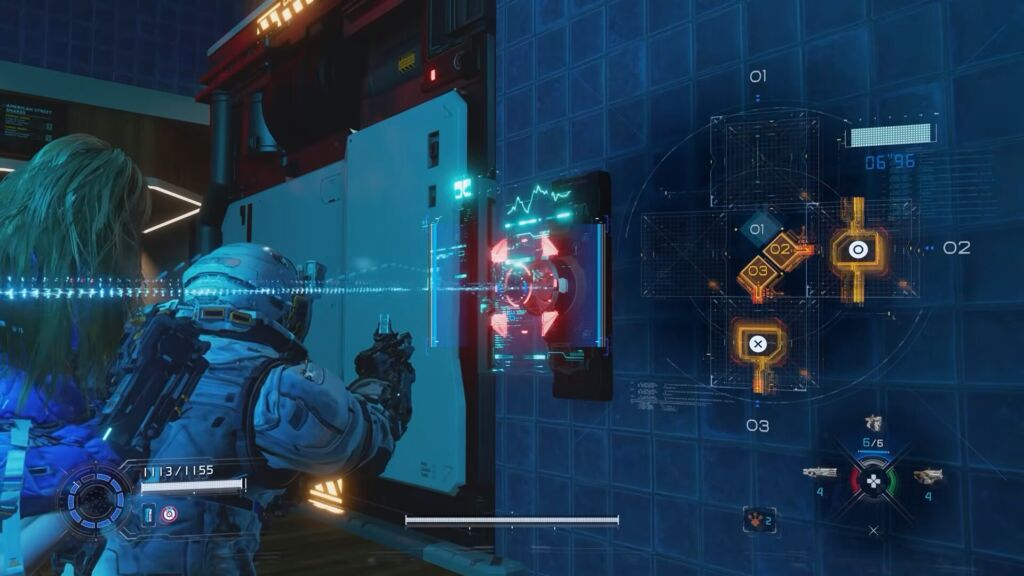
The enemies spawn after the door ahead gets closed, requiring you to defeat them first to obtain the red gate key. Face towards the wall to hack the terminal over there and make your way to the upper floor while defeating the enemies.
Get Red Gate Key
Collect the upgrade component on your right after getting inside the next room. Avoid the lift in this area and move towards the hidden box. Keep avoiding the lasers while moving through this path and eliminate the walkers. Use the lift to move up and get the Extended Breach mod from the chest. You can turn off the lasers by hacking the terminal on the wall.
Hack the Terminal
Return to the first elevator to move to the top to find the Mini Cabin figure. Keep following the path to get your hands on the multihack node. Go through the path behind the multihack node and kill the walkers to get lunafilament from the safe box.
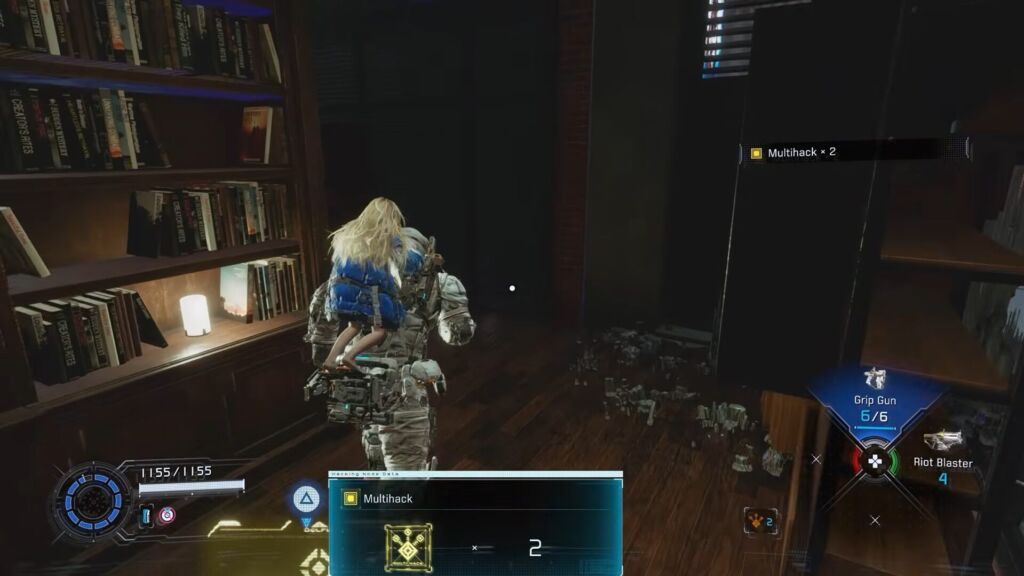
Get Multihack
Continue upward through platforms and interiors to reach the rooftop section. Hack the beacon to progress the main objective. After hacking, use a control panel to activate moving platforms. Pass through the bridge to reach the Interconnecting Passage Escape Hatch. This leads you out toward the Side Alley and the next objectives.
Hacking the Beacon
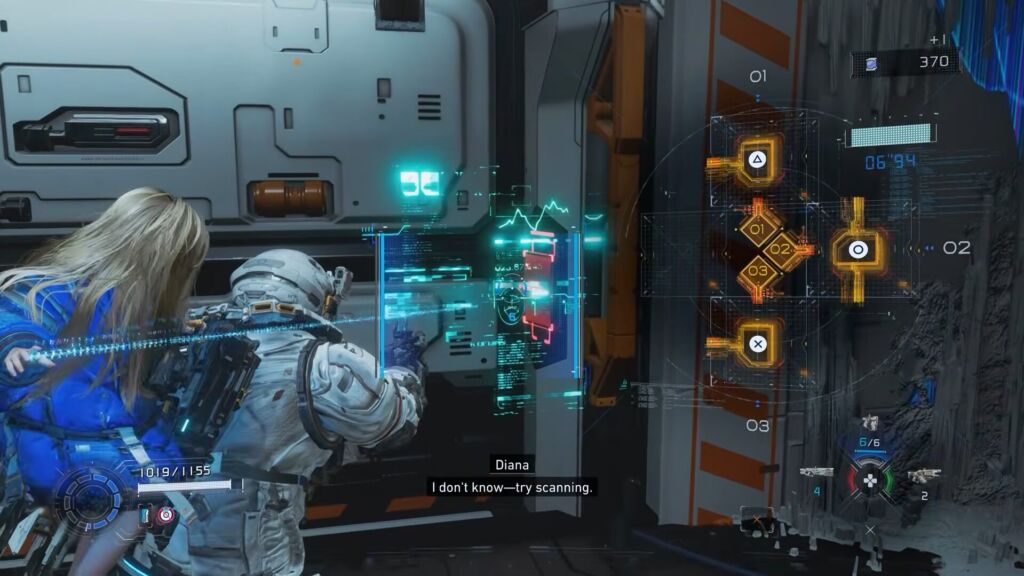
I recommend scanning with Diana to unveil hidden items and fake walls. You may need to backtrack later after unlocking abilities like Lim Eraser.
Side Alley (3rd & 4th Beacons)
After leaving the Shopping District via moving platforms and a bridge, you reach an escape hatch checkpoint. I recommend using your Cabin Token, upgrading your gear, and adjusting your loadout before heading out. Just ahead, you’ll find the Charge Piercer weapon. This is designed to deal with armored enemies and the upcoming boss-type fight.
Follow the Hallway Path
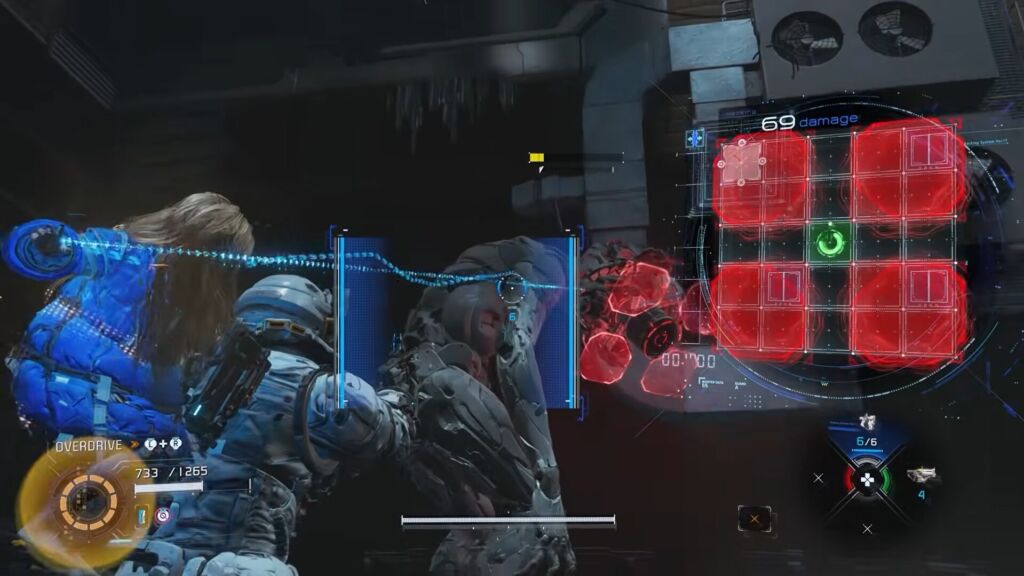
Two flying enemies (executors) spawn here and start attacking you. Make sure to target their chest (weak point) and rods on their back. Use the Charge Piercers for the best damage. When it activates red shield panels, get ready to shoot the red squares first, and then Diana hacks its core again.
Hacking Terminal
After clearing enemies, you need to hack a wall terminal to spawn a platform forward. Defeat the enemies while moving up and open the blue chest on your right side. Pick up the Relay Amplifier mod by using the thrusters. You need to dash in the mid-air to move back to the platform and continue moving up the platforms to reach the higher ground.
Open the Blue Box
Once you reach the next section, drop down to the area to tackle the enemies and multiple walkers here. Once defeated, go to the center of this area to open the blue chest to gain the Long-Range Targeting mod. Approach the door in front of you and hack to return to the escape hatch (previous location).
Hack the Beacon
Continue climbing and clearing enemies till you reach the third beacon guarded by Watcher firing missiles. You can hack missiles mid-air and redirect them. The fourth beacon is nearby, but you need to face multiple waves of enemies like Watchers, Walkers, and Executors.
Finding the Third Beacon
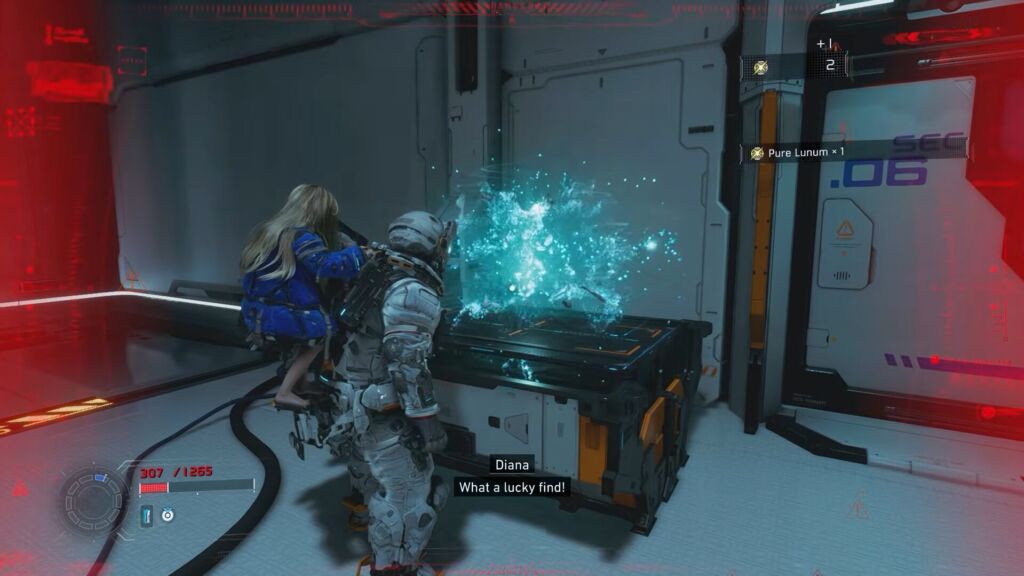
I recommend keeping moving to avoid laser targeting, breaking shields, and using hacking & AoE weapons together. Once enemies are defeated, hack the beacon and explore the nearby office area to get Pure Lunum from the chest. This transitions you into the Business District, which is the next major area.
Business District (5th Beacon + New System)
After exiting Side Alley via the escape hatch, you arrive in the Business District. Your main objective here is to hack the 5th beacon to unlock the sector gate. Once you move inside the room in this new area, you find an escape hatch, an upgrade component, a holo, a file, and a chest. Open the chest to get Pure Lunum and move back to the shelter to upgrade the equipment before progressing further.
Get Pure Lunum
Pass through the big door and keep following the path on your right side. The path in front of you is now blocked by the lunafilament cluster. Reach the fence and drop down to get to the area below. You can get the upgrade component from inside the safe box. Approach the red gate and hack it to unlock it.
Approaching the Red Gate
Once you move inside, you encounter two waves of enemies. You must defeat 2x rolling enemies, 4x walkers, and 2x executors. Move to the higher ground and start shooting at the enemies to take them down one by one. Use Overdrive Protocol to eliminate the last wave of enemies, which is pretty much challenging.
Interact with Terminal
Once defeated, go to the corner of the room to collect the Pocket Refinery mod and a pure lunum from the chest. Escape this area and move into the next room to get your hands on the safe box near the lift and a cab. Hop inside the lift and find a hackable terminal on the wall. Move up the platform and then hack this terminal.
Hacking Beacon
After that, jump onto the other platform to return to the escape hatch in the initiate area from where you started. Run towards the door beside the escape hatch and continue moving on your left side. Hack the beacon at the top and a terminal to build a bridge that leads you to the Lim Recycling Facility.
Lim Recycling Facility (6th Beacon)
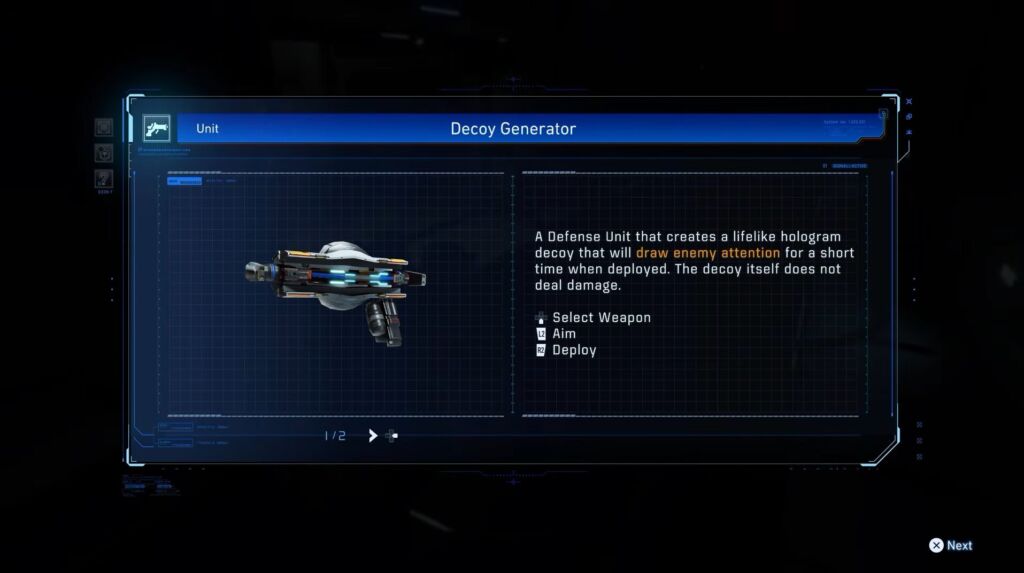
Just after the 5th beacon, you’ll find the Decoy Generator (Defensive Tool). It creates a hologram that distracts enemies, making it useful for luring enemies into Recycler traps. Drop into the industrial lab entrance area to find heavy machinery and filament blockages.
Get Decoy Generator
Right after entering, you fight a large armored robot and smaller walkers. After clearing enemies, you can safely push deeper. Once the enemies spawn, hack the terminal after they get into the yellow squares. Hack it to defeat all the enemies after they get inside.
REM of a CRT TV
Locate the strange wall on your left after getting to the end of the path. You find a file inside the safe box in this area. Get your hands on the REM of a CRT TV once you enter the opposite room. Find the gap here and drop down to defeat the executor. Pass through the elevated door to get another escape hatch.
Reach the Globe Mechanism
Approach the box at the corner of this room and find the Mini Cabin figure. You need to get to the top and collect the upgrade component. Continue moving till you enter the next room to get the cabin coin from the safe box. Dodge the lasers in this room and hack the terminal after moving up the ramp via thrusters.
Unlock the Lim Eraser
You reach a sealed lab terminal at the end of the facility. Diana interacts with it and downloads the data chip. Doing so lets you unlock the Lim Eraser. This ability breaks blue filament crystal barriers and opens previously locked paths across the game world. Right after unlocking, use Lim Eraser on the nearby filament blockage.
Hacking Last Beacon
You enter a large arena with Walkers, Crushers, and an Executor. The objective to tackle these enemies is to lure enemies into Recycler zones, trigger the environmental kill system, and clean remaining survivors with weapons.

Road Towards the Creator
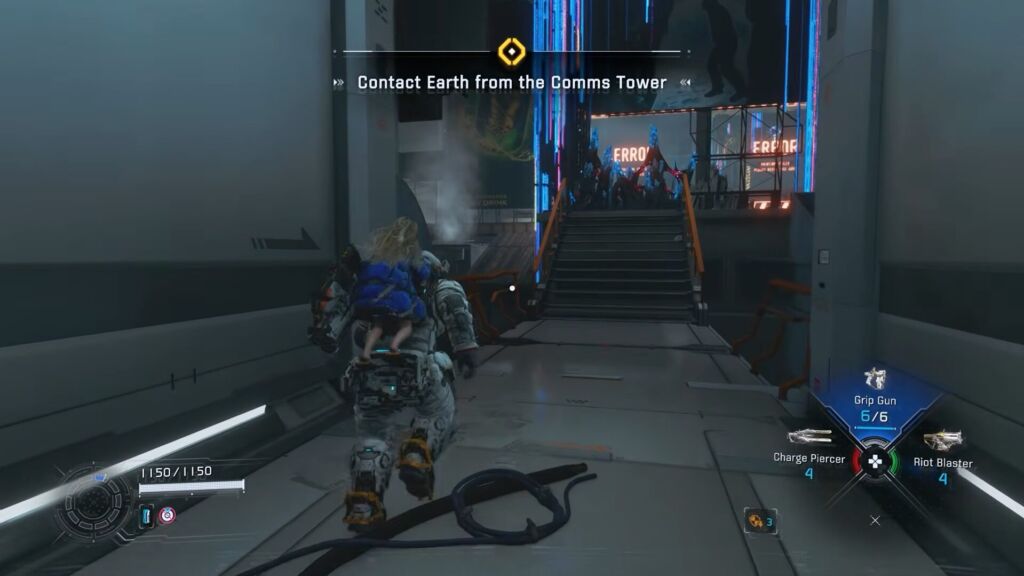
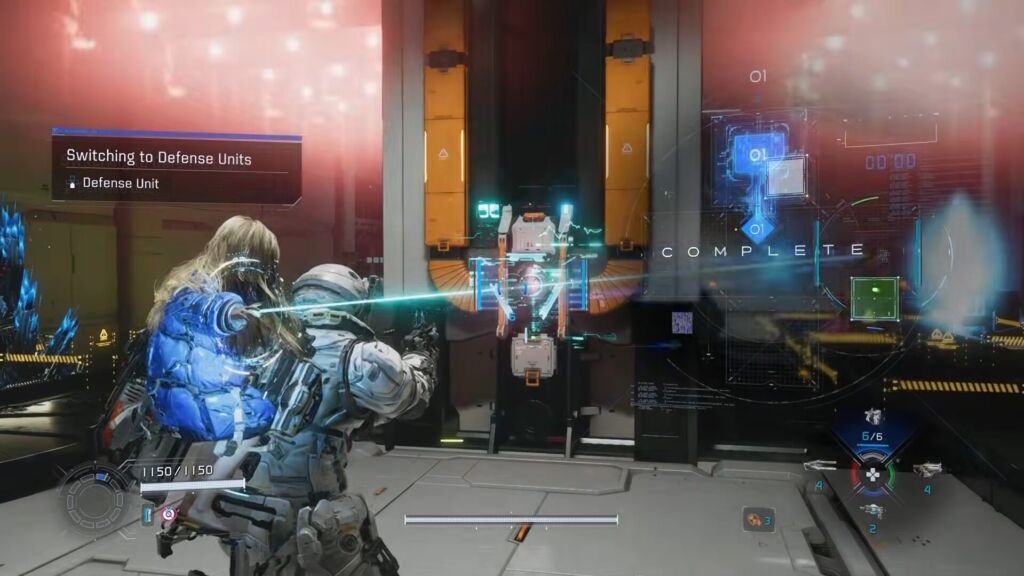
After clearing the room, hack the final beacon nearby to complete the Lim Recycling Facility segment. Approach the wall and interact with the escape hatch to move into the Comms Tower.
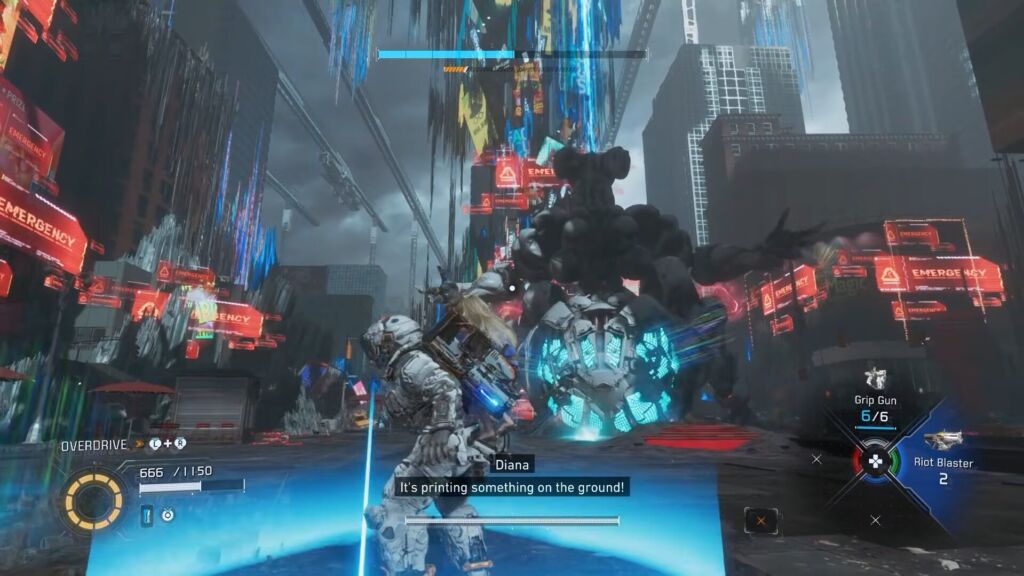
How to Defeat Creator Boss
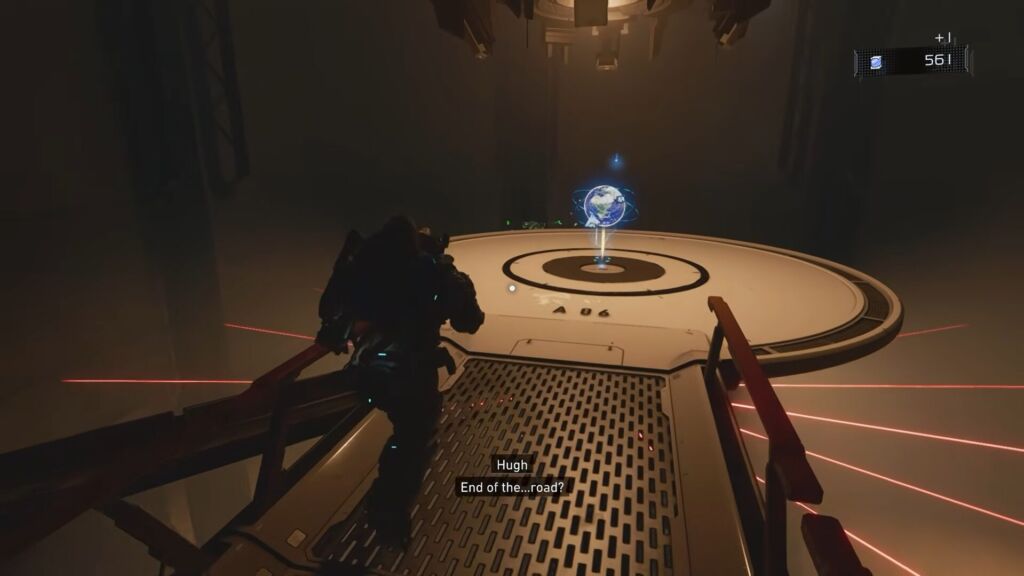
Make your way towards the Comms Tower to encounter the Creator boss. The Creator is a multi-phase colossal boss in Pragmata. This mixes heavy dodging, hacking-based weak point exposure, hazards, and survival mechanics. The fight is less about raw damage and more about controlling windows of vulnerability.

Fight the Creator Boss
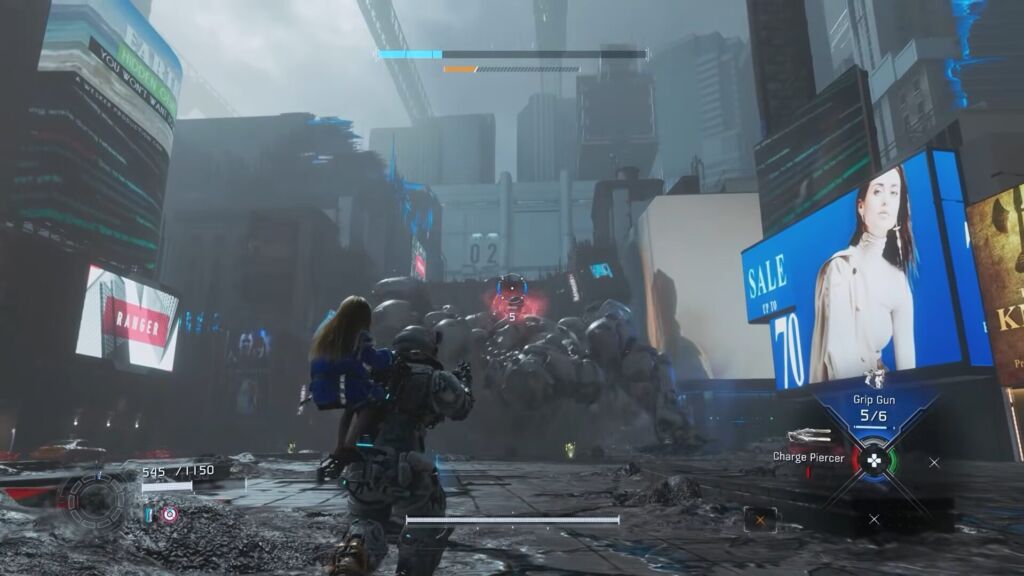
The fight starts with slow but high-damage attacks, where the boss uses hand swipes, arena charges, and laser attacks. You need to dodge into the swipe, giving invincibility frames and safer positioning. Creator rushes across the arena, so try to avoid the limbs and stay mobile.

Dodge the Attacks
The laser attacks have two versions, like the stationary sweep laser and the forward charge laser. The best strategy is to dodge into stationary beams or stay to the side during the charge version. Its face or underside opening is the main weak point, but you cannot damage it consistently until you hack it first.
Phase 2 Fight
I recommend using hacking to stun or slow the Creator and unloading damage on exposed weak points. The boss starts covering the hacking panels during phase 2. Glowing weak spots appear on arms, head, and later back joints. The goal is to shoot the glowing joints first to reopen the hacking access.
Phase 3 Fight
At low HP, the fight becomes survival-heavy. Creator sweeps across the arena, so quickly run to the opposite side to avoid taking any damage. The entire arena glows red, and this attack drops you to 1 HP instantly if hit. Make sure to climb the Lunafilament pillars and stay elevated until the attack ends.

Defeated Creator
Once the health is nearly gone, the boss becomes fully vulnerable. This allows you to enter a final hacking sequence, and it becomes a timed puzzle. Make sure to carefully navigate nodes and reach the Open command before the timer ends.


