


Discover everything you need to know about the Care Center Walkthrough in Resident Evil Requiem, including how to get to the main courtyard.
The Rhodes Hill Care Center in Resident Evil Requiem is the early central gameplay hub. Grace starts her journey trapped inside the facility and goes through several encounters. After escaping initial encounters, Grace must explore the Care Center to solve the puzzles and collect Quartz pieces.
Make sure to unlock security areas with clearance levels and find a way to escape while defeating or avoiding the deadly zombies. You can encounter Emily here, who helps you solve the puzzle. Obtain the Level 1 & 2 ID Wristbands to get access to new areas in the Care Center.
Table of contents
- Acquire Cherub Key
- Escape The Girl
- Get the Screwdriver
- Get the Fuse
- Escape The Girl After Getting Fuse
- Get out of the Rehabilitation Ward
- Move Inside Guard’s Office
- Get Through the Kitchen
- Get Inside the Filling Room
- Enter the Chairman’s Office
- Moon Quartz Puzzle
- Open Red Jewel Door
- Get the East Wing Key Card
- Enter Examination Room in East Wing
- Leave the Blood Lab
- Obtain ID Wristband (Level 1)
- Solve Sun Quartz Puzzle
- Open the Secured Door
- Obtain the Wrench (Isolation Ward)
- Get the Artificial Lungs
- Revive the Organless Body
- Get the Level 2 ID Wristband
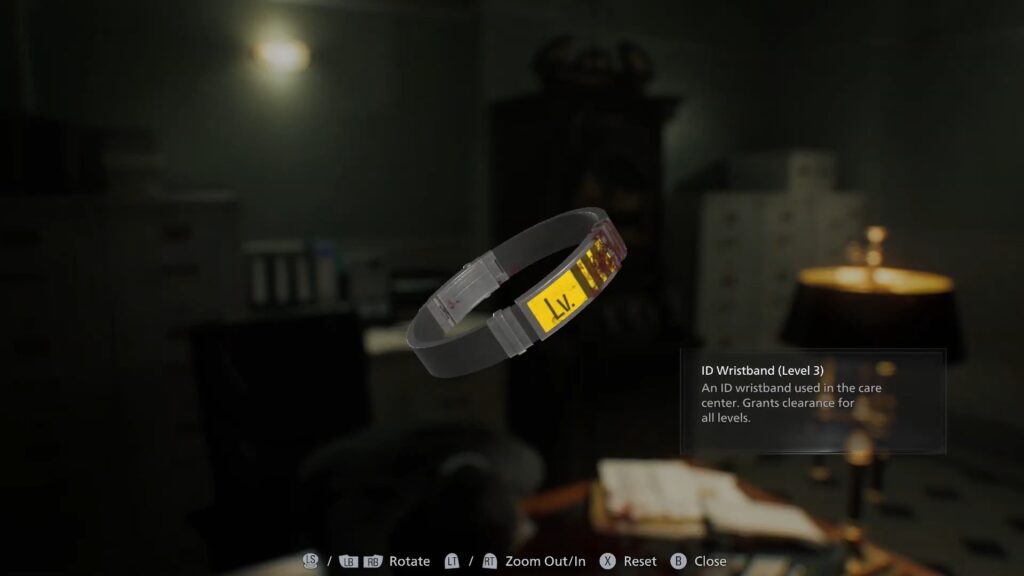
- Acquire ID Wristband (Level 3)
- Defeat Chunk
- Explore Visitor’s Office
Acquire Cherub Key
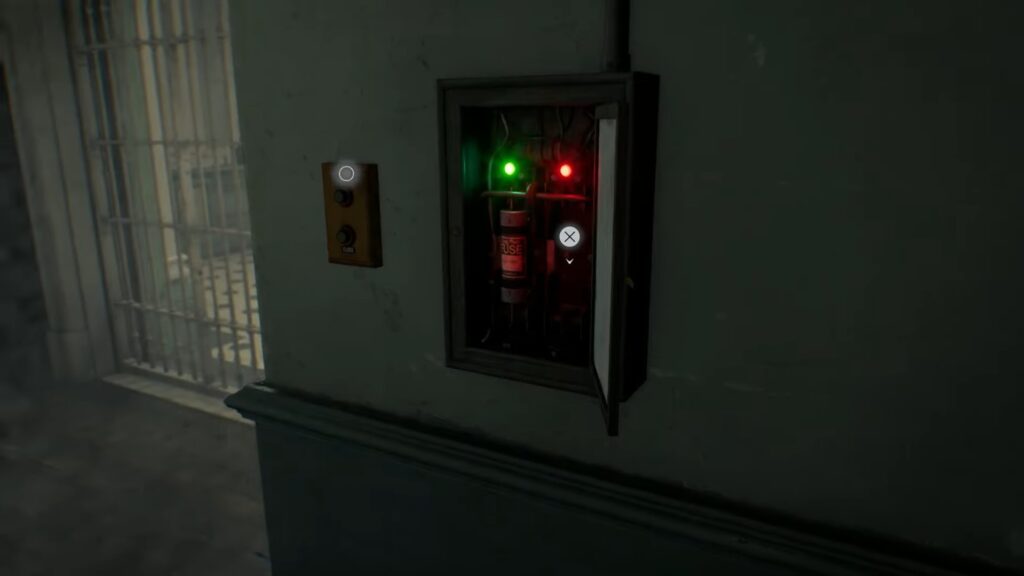
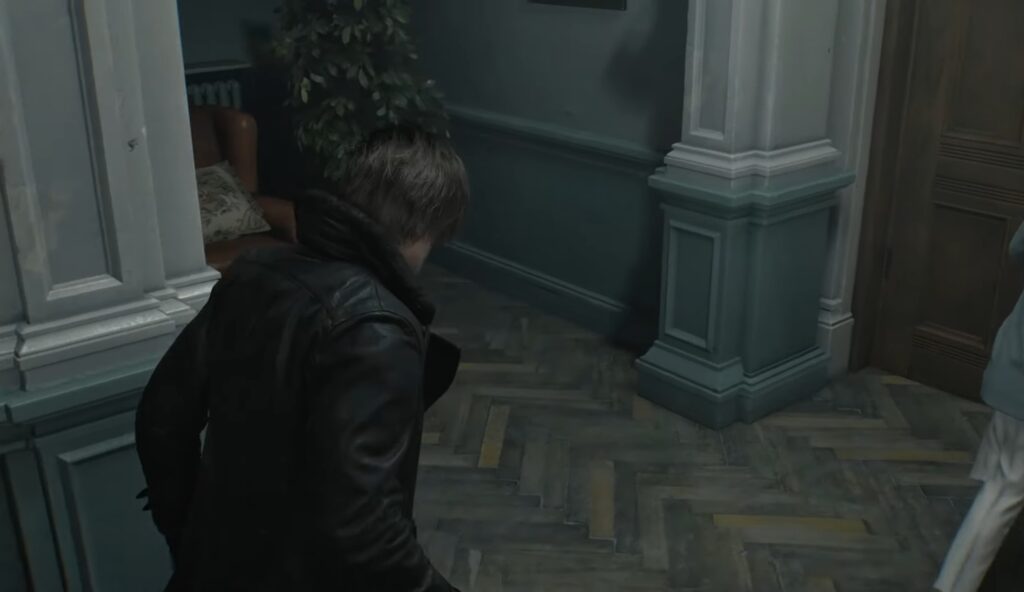
After getting attacked by the monster in the hotel, you wake up at the hospital in room# 203 at Rhodes Hill Chronic Care Center. Get ready to leave the room after waking up and turn on the lights in the hallway. Keep moving down the corridor and approach the locked metal gate with a fuse box.
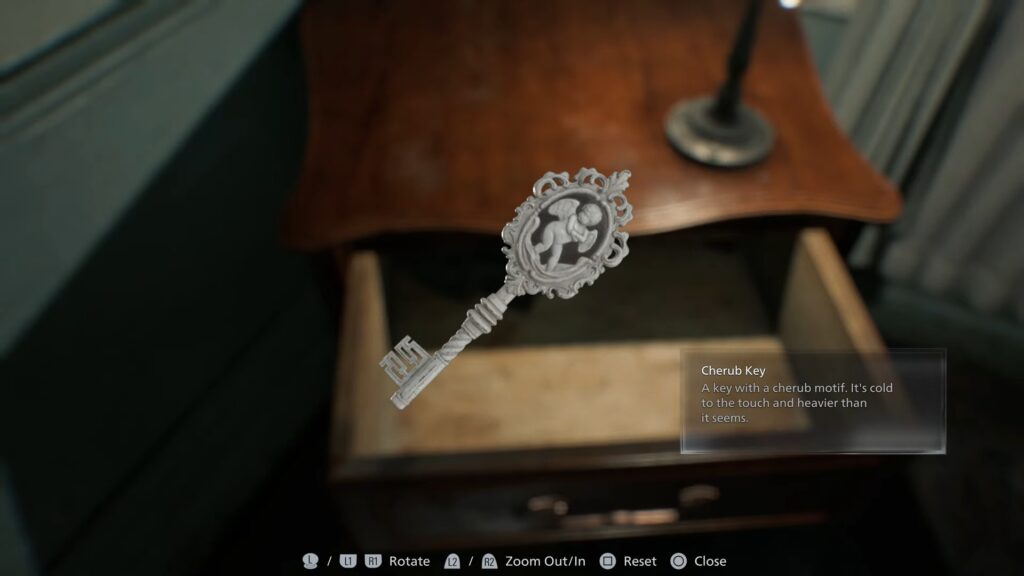
You cannot open the gate because one of the fuses is missing. The objective here is for you to power up the facility. Make sure to check the drawer next to that gate before moving further to collect the Cherub Key.
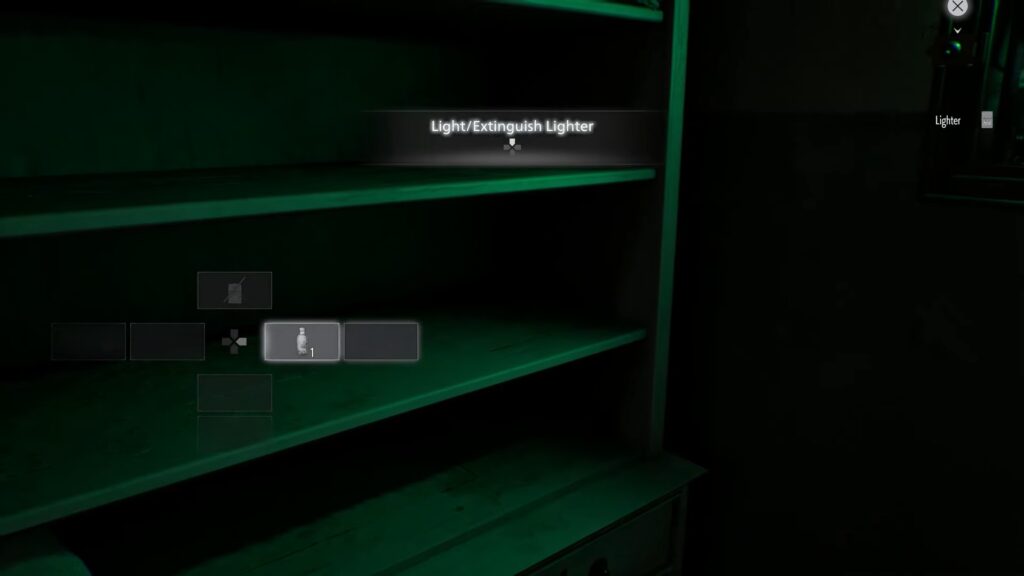
Pick up the Cherub Key and return to room# 201. The door of this room is locked, so use the Cherub key to unlock the gate. This room has a typewriter and an item box, which is crucial for saving progress. Collect the Lighter to use it later in the game from Room 201 before leaving.
Escape The Girl
Get out of this room and head inside Room 202 to get a note n cardboard box from the closet. Investigate this cardboard to get the clue to find the Screwdriver. Take out the lighter and use it to explore this dark corner of the room. Examine the children’s book to learn how to eliminate the elite enemies.
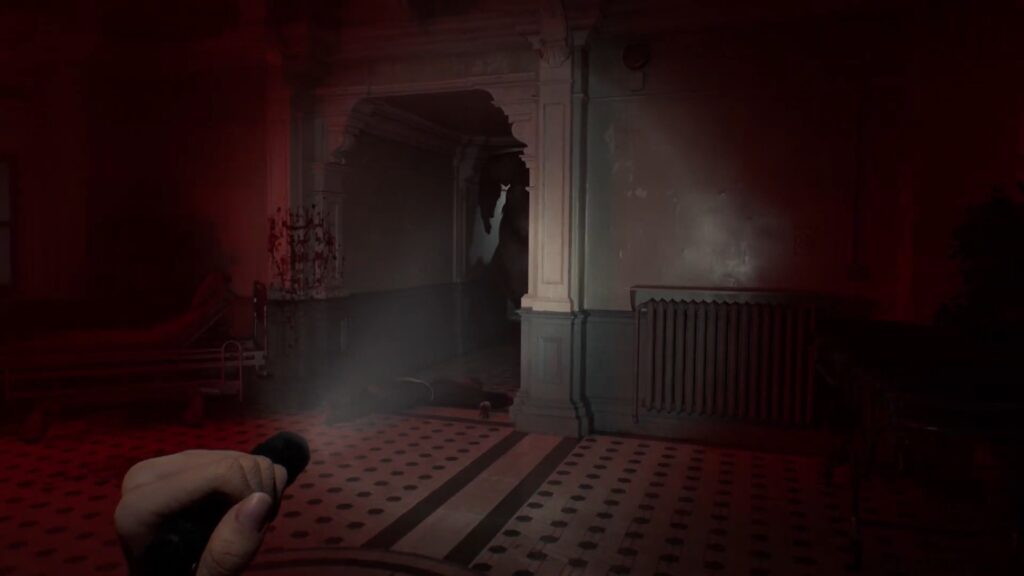
Make your way to the dark corner after heading out, and pick up the bottle from the floor. A cutscene triggers, showcasing that The Girl is casing you. She starts hunting for you in the hallway after you start moving the cart.
Get the Screwdriver
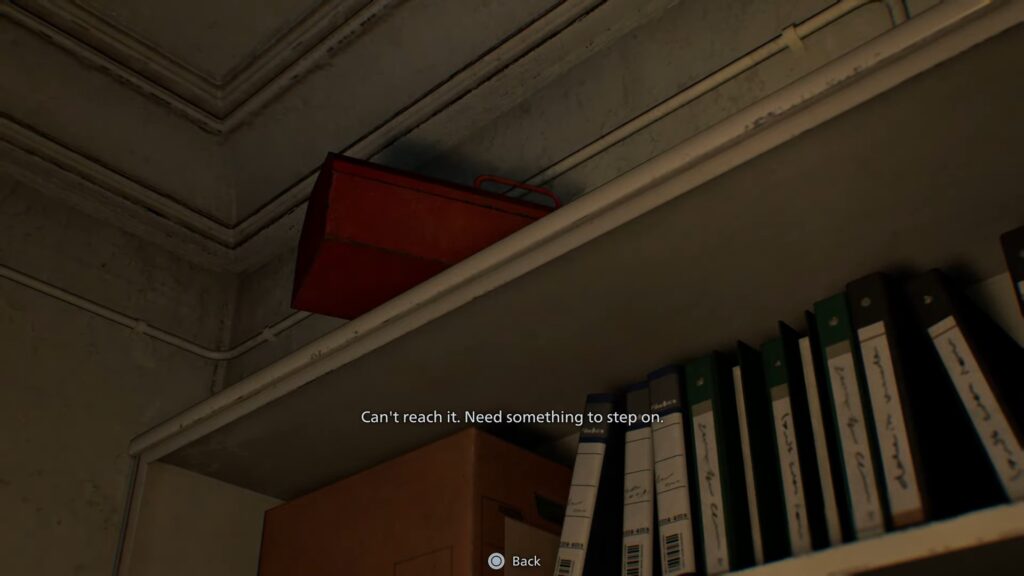
You need to quickly move the cart into a corner or hide if she comes into the Nurse’s Station after you. Move the cart to the right shelf, climb on the cart, and open the red box.
Obtain the Screwdriver quickly from here and dodge to avoid taking any hits from her. The Screwdriver is inside a red toolbox on a high shelf. You need to move the trolley in the room underneath the shelf where the red toolbox sits. Push or reposition the cart so Grace can climb up and reach the toolbox.
Get the Fuse
After you grab the Screwdriver from the Nurse’s Station, you need to return to Room 201. If you still remember, this is the same room from where you first got the Lighter. There’s also a locked Fuse box that has a fuse and requires a Screwdriver to open it.
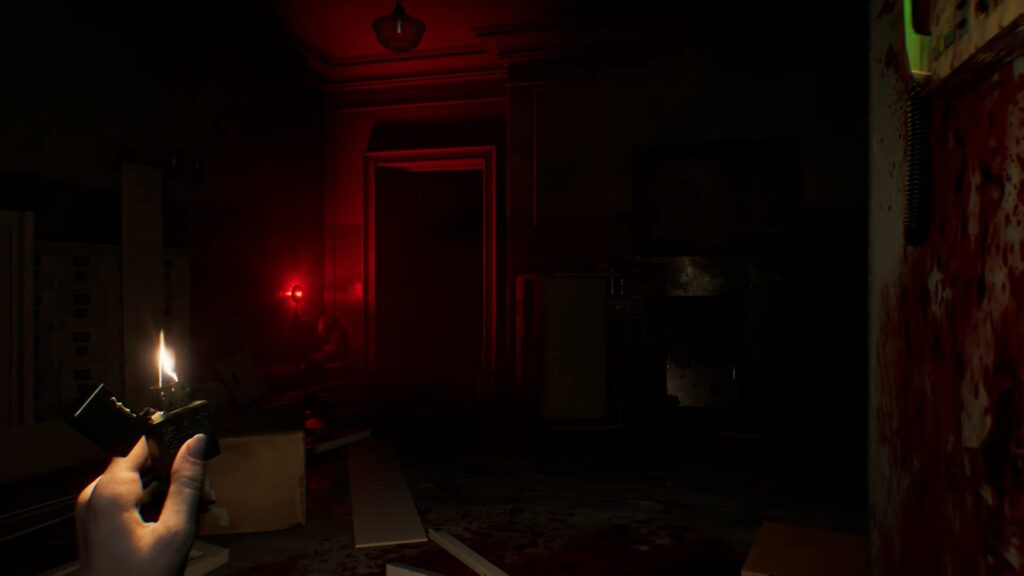
Reaching this room from the main hallway is a challenging task as The Girl is patrolling there and looking for you. Get out of the Nurse’s Station and head back down the main hallway toward Room 201. Make sure to avoid the shadow ghost while moving towards Room 201.
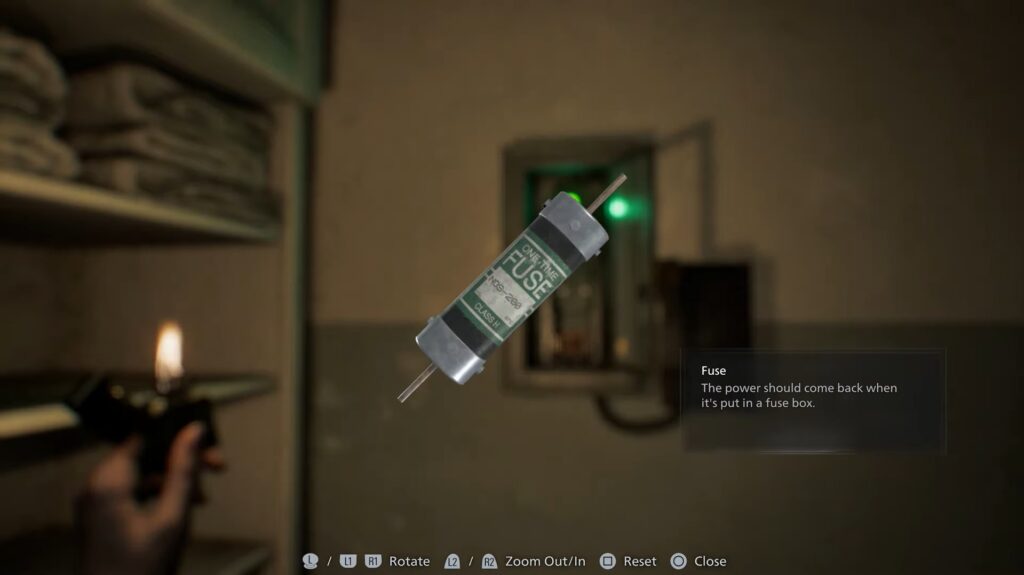
Move inside the lighted rooms, like the starting one or Room 203, to reset to the position. I recommend throwing the empty bottle that we collected before to distract her. This allows you to make a path to Room 201. Once you reach Room 201, enter and approach the closet. Take out the Screwdriver from your inventory to use it on the locked box to obtain the Fuse.
Escape The Girl After Getting Fuse
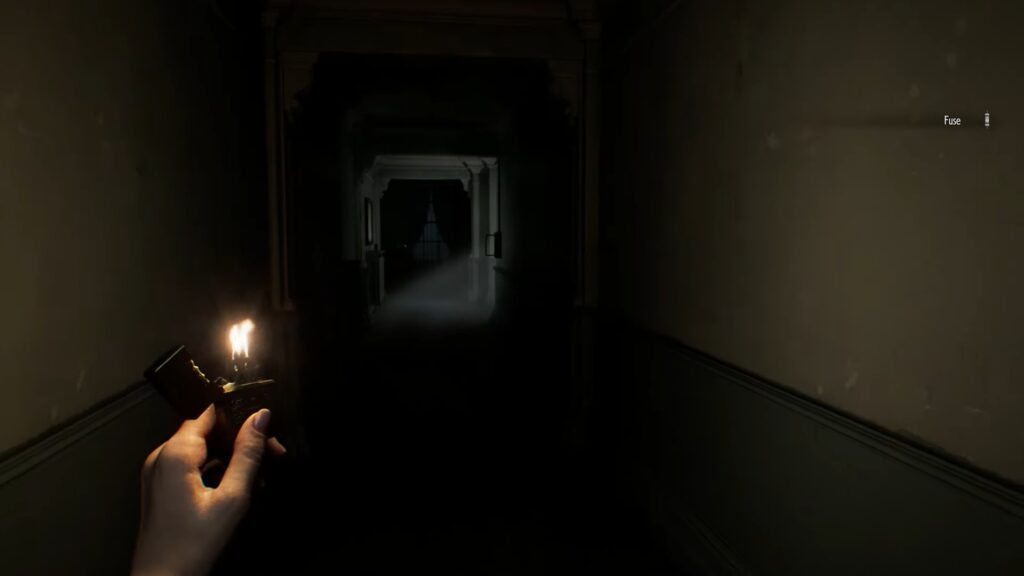
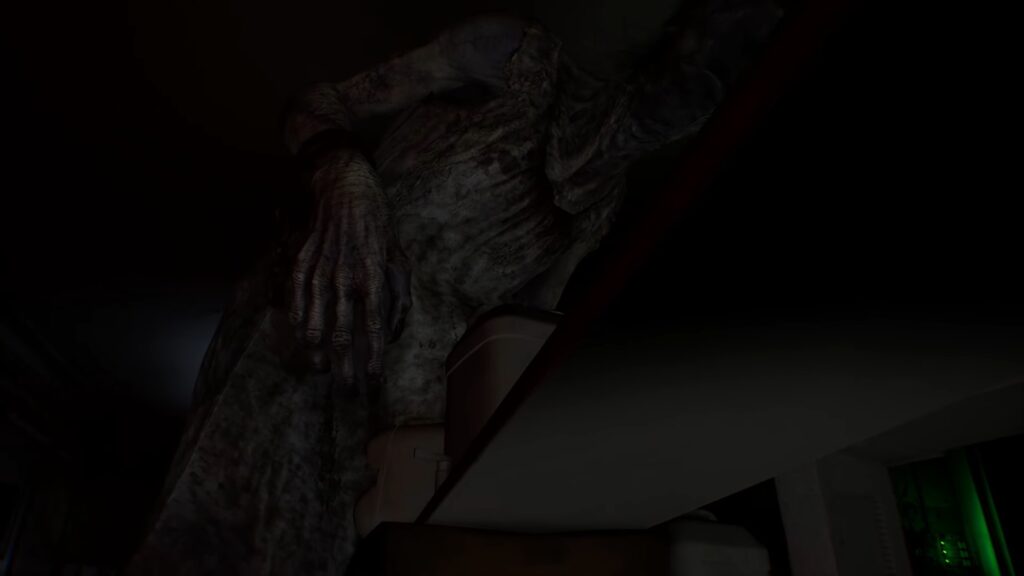
A cutscene triggers after picking up the Fuse with the Screwdriver. The Girl spawns from the ceiling and starts chasing you again. You need to run towards the gated exit area with the fuse in your inventory.

Use lighted rooms or throw bottles if she blocks your path. After that, sprint toward the exit gate and interact with the fuse box to insert the Fuse. Doing so allows you to trigger a cutscene and end the Care Center section.
Get out of the Rehabilitation Ward
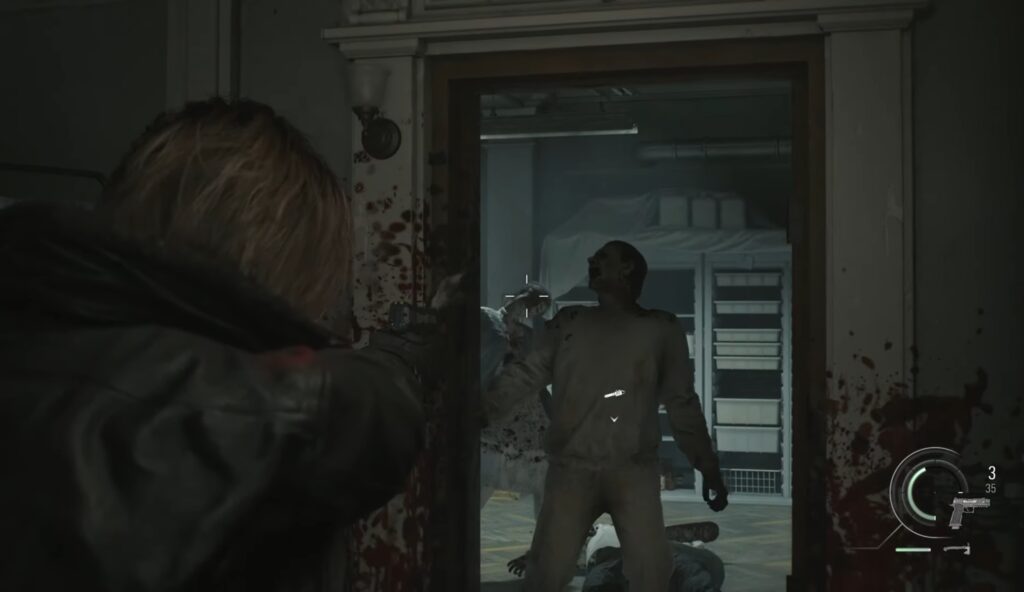
Once the cutscene ends, you play as Leon inside the Rehabilitation Ward. You encounter multiple infected enemies, so use your weapons to take them down. One of the enemies is wielding a chainsaw, and he is your main target. Once defeated, the chainsaw dropped on the floor.
You need to wait for it to stop spinning before picking it up. Approach the locked double door on the south side, blocking the path in the Rehabilitation Ward. Wielding the chainsaw and interacting with the locked gate allows you to cut it open.
Move through the newly opened path and escape the immediate ward area as Leon. Once you clear the door, take the stairs near the door to move up. Continue following the hallway and open any new doors as prompted. Eventually, a cutscene triggers, and Leon’s segment concludes here.
Move Inside Guard’s Office
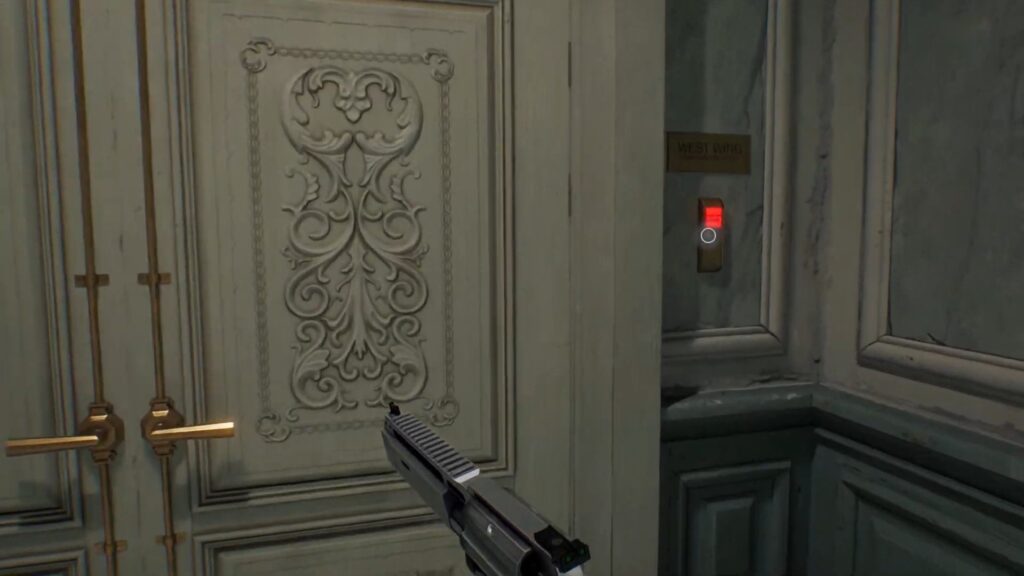
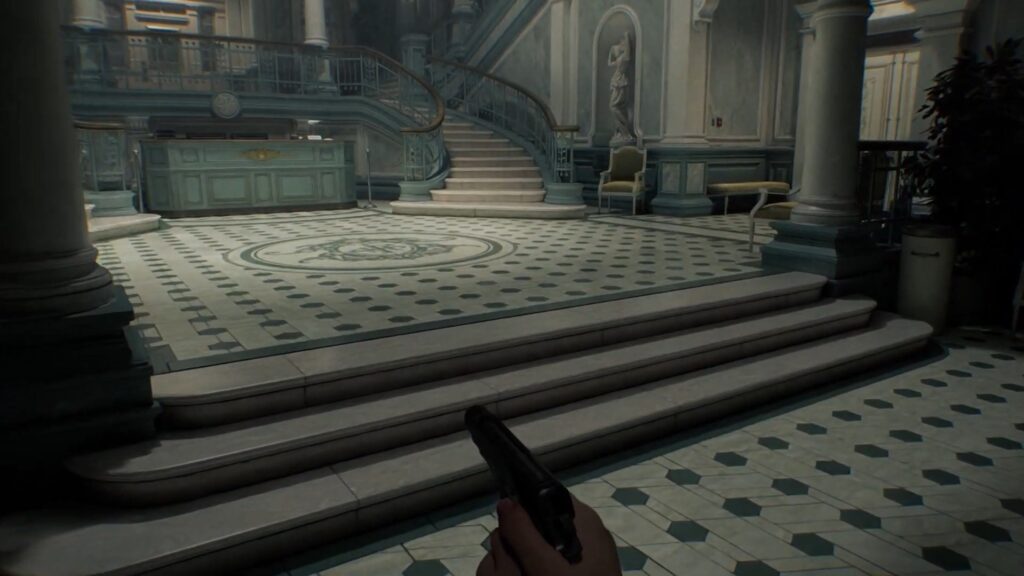
You play as Grace here and solve puzzles and collect antique coins while progressing towards the Parlor. We are not in the West Wing of the Rhodes Hill Chronic Care Center in Resident Evil Requiem. The doors in the central hall are locked except for the one located at the base. The Guard office is a hub area for you, allowing you to save your progress.
From the Central Hall, go toward the West Wing corridor. The Guard Office is directly off this path in the West Wing. You can find a typewriter, an item box, coins, and some starting items. Make sure to collect the Care Center Pamphlet and Whiteboard Scrawl from this office.
Get Through the Kitchen
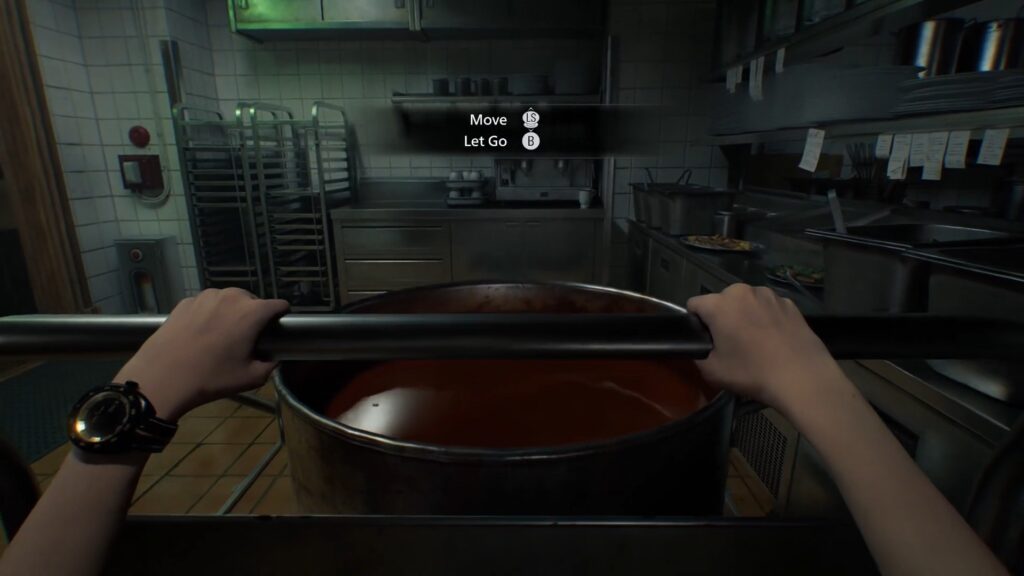
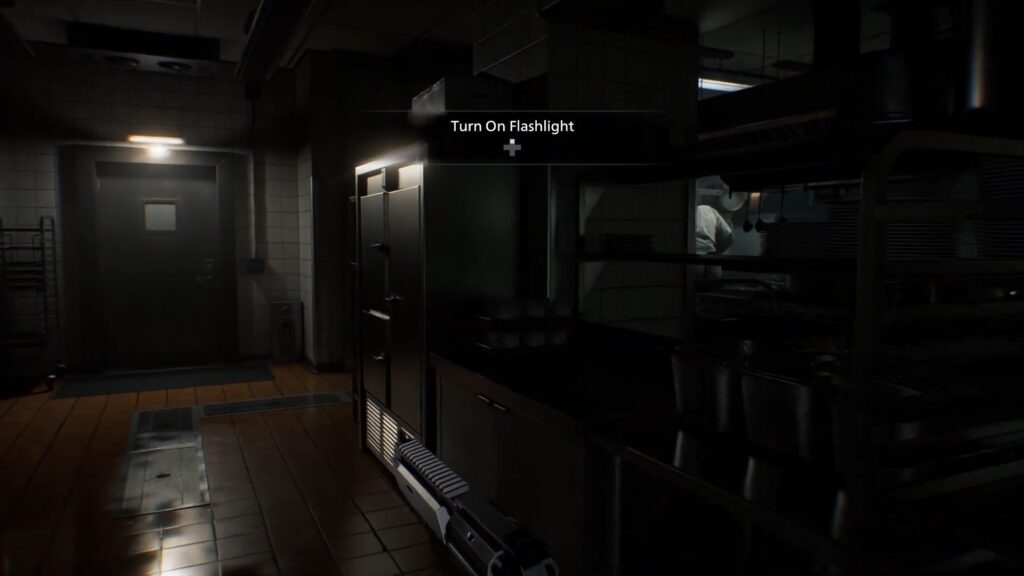
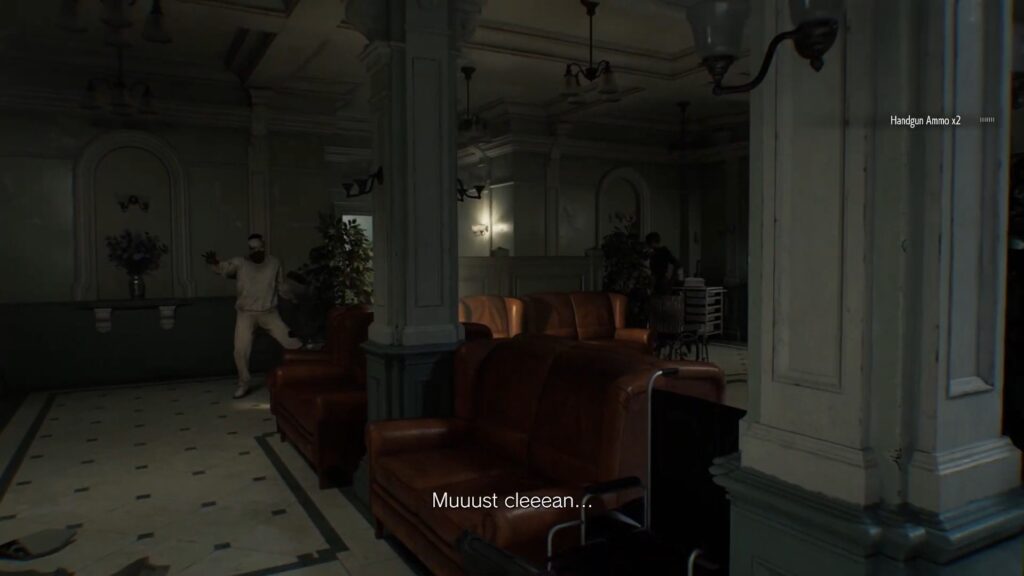
Make your way inside the West Wing hallway after unlocking the West Wing with the West Wing Keycard from the Guard’s Office. Continue moving down the corridor to the Kitchen entrance on the left side. Get inside the kitchen and be aware of the large chef enemy wielding a cleaver.
You need to avoid this enemy or lead him away to progress. The chef moves around the counters and a cart. Make sure to wait for him to get to the other side and then sneak past him to reach the door on the other side.
After getting past the chef, continue moving right till you find another door leading out of the kitchen. Go through the door and move into the West Wing Corridor. Defeating the chef by using the Requiem Bullet allows you to gain the Pantry Key. This is used to open the Pantry in the Kitchen to loot items like ammo.
Get Inside the Filling Room

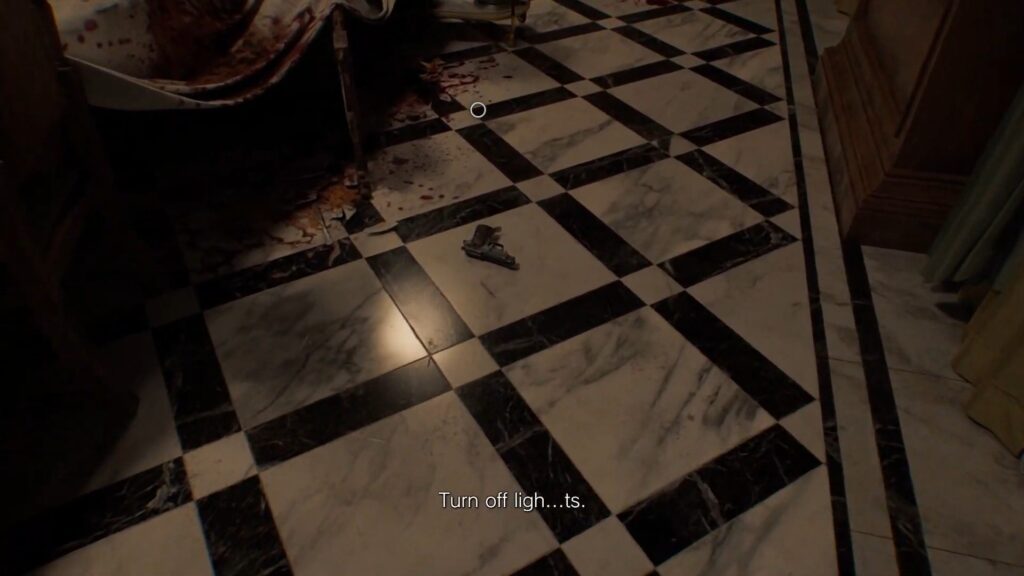
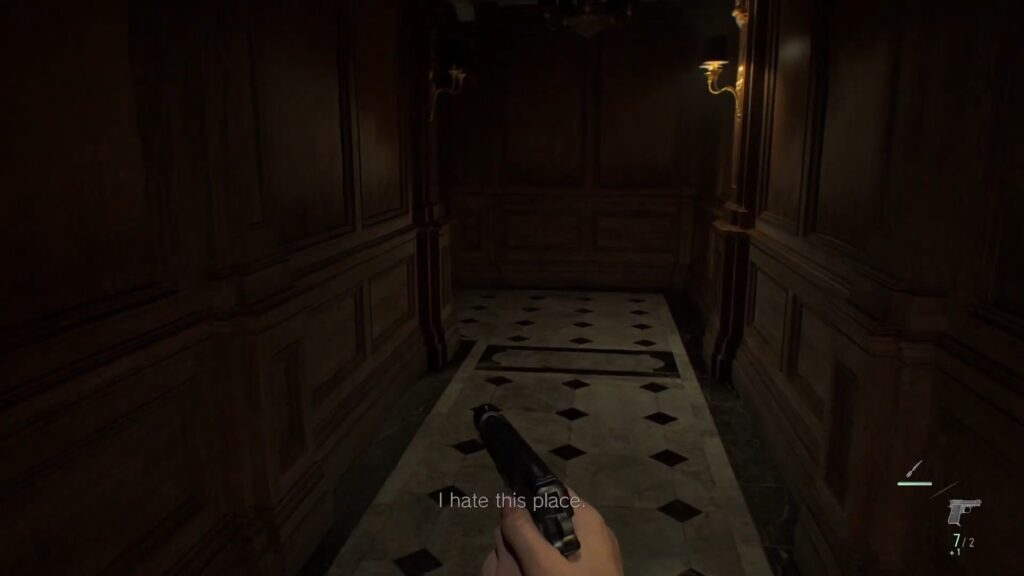
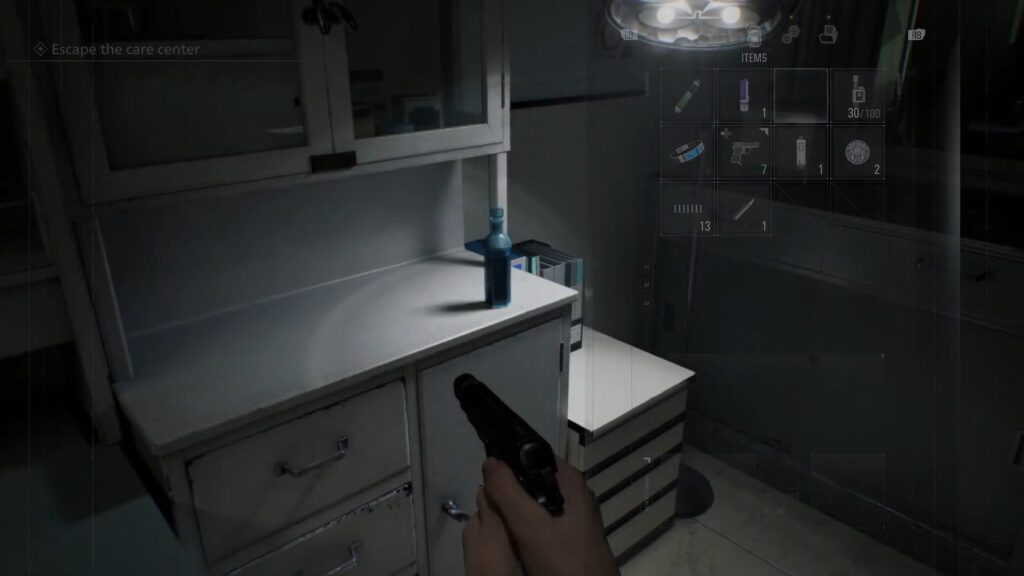
Get your hands on the makeshift knife from the dressing table after leaving the kitchen area. You can use this weapon to eliminate any threat by using it correctly. Progress into a hallway with a light-switch zombie and avoid it to get past safely.
This enemy usually goes to the end of the corridor before returning. Move into the Dining Room after passing through the hallway. Grab the weapons and an Empty Bottle from this room.
You may also encounter the zombies here, so use B934 to eliminate them quickly. Go past the Dining Room and enter the Filling Room on the left side to loot more items. Tackle a zombie in this area before looting anything.
Enter the Chairman’s Office
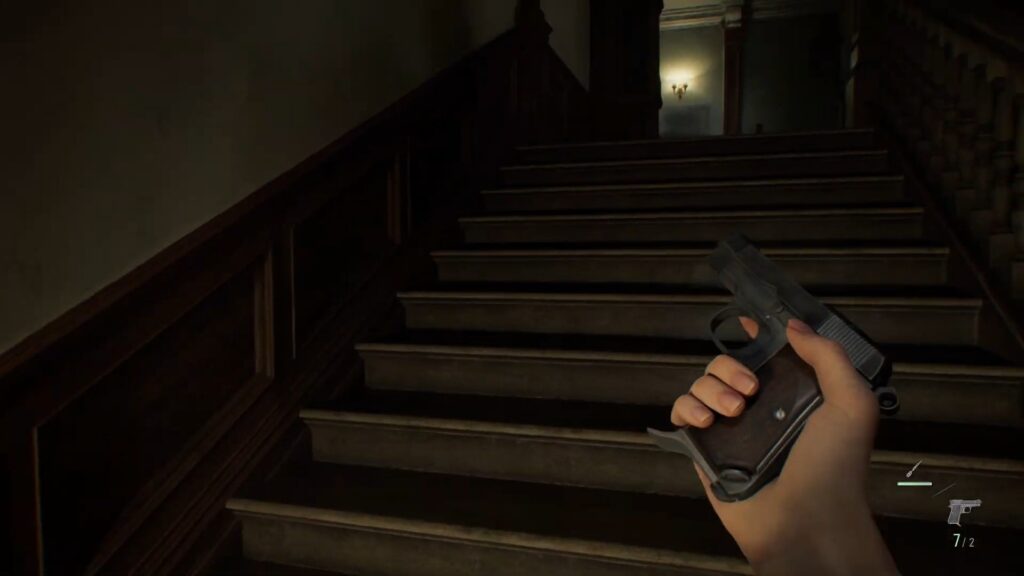
Once done with the Filling Room, go to the corridor heading northward. Collect the Antique Coin from the floor in the hall for future upgrades. The corridor takes you out past the Filing Room and Bar & Lounge. Find the stairs to move up at the end.
Take them to reach the second floor of the West Wing. Once you reach the second floor, you enter the Bar & Lounge area. Go all the way to the right from here and get to the next connecting rooms or corridors.
The Chairman’s Office is located on the same second floor of the West Wing. You need to go past the Gallery area and the admin rooms. Simply open the door leading into it to get inside the Chairman’s Office. You can collect multiple items from here that you will use later in Resident Evil requiem.
Moon Quartz Puzzle
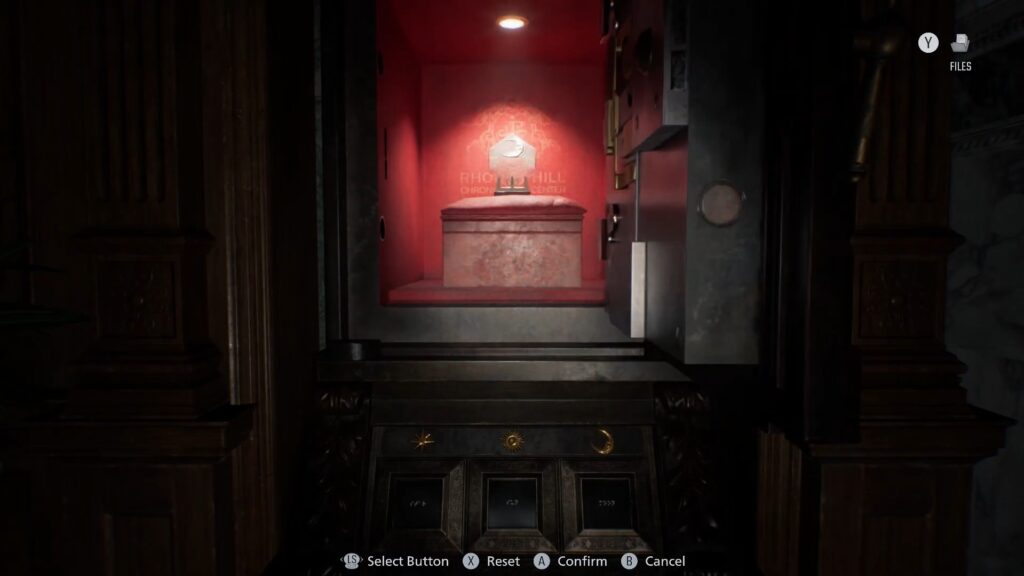
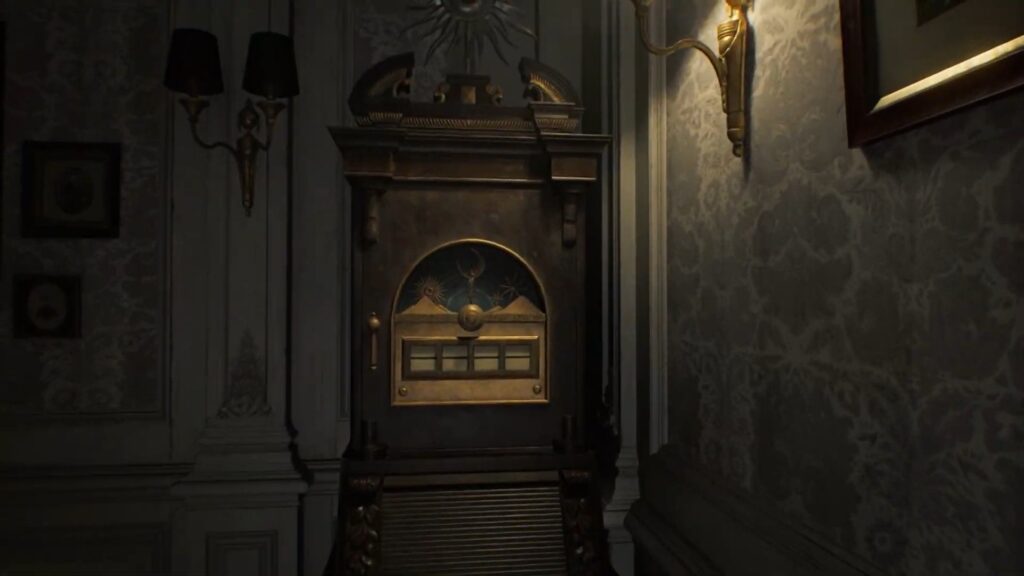
Collect the Unicorn Trinket Box from the table near the entrance. Inspecting this allows you to pull out a Red Jewel. Approach the desk drawer and examine it to obtain the pencil. Move to the coffee table to get your hands on the notebook page.
Use the pencil while holding this notebook page to unveil the code for Moon Puzzle Box. The code for solving this puzzle is moon, sun, star, moon. Entering the symbols in the same order allows you to get the Moon Quartz. This is one of the items required to unlock the main Care Center Hall exit later.
Open Red Jewel Door
Once you’ve picked up the Moon Quartz and Red Jewel, get ready to leave the office and continue moving towards the Parlor near the kitchen. Approach the locked door with a unicorn emblem from the 1F West Wing hallway. Interact with the door and insert the Red Jewel to unlock the door.
Get inside the Parlor and get ready to encounter the zombies and the Chef here. The Antique Coins you get from the parlor are crucial for upgrades. Collect the first coin from the roulette table and another one from the bar counter.
Get the East Wing Key Card
Search the lockers and cabinets to obtain the Hip Pouch, Stabilizer, Steroid, and an Override Manual. Make sure to reserve at least 3 coins for the Hip Pouch first, as inventory space is limited. Collect a Green Herb and some ammo inside or around the Parlor counters.
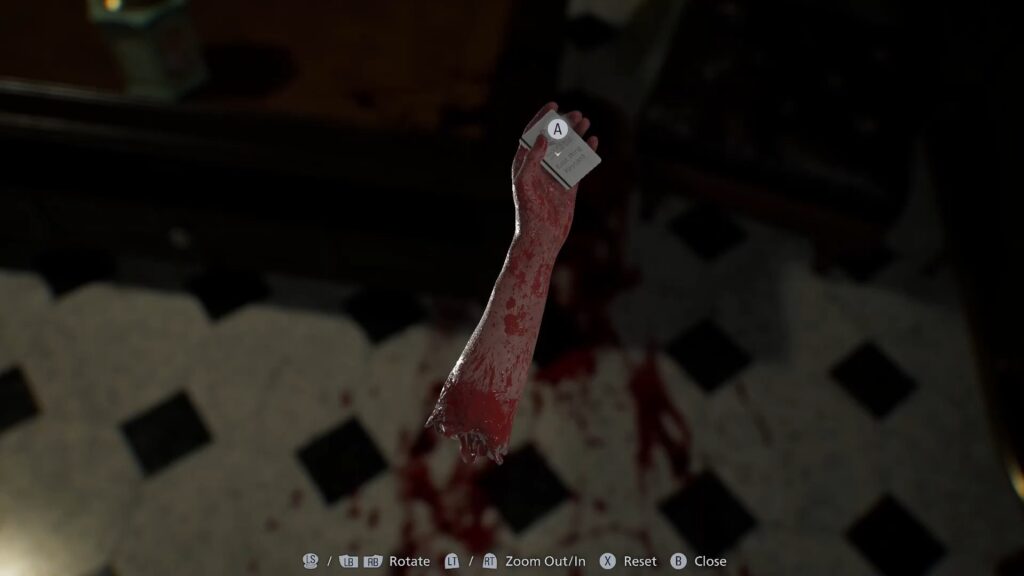
Find the corpse holding the East Wing Keycard on the floor at the backside of the Parlor. Examine the hand to obtain the keycard and make your way out of the Parlor.
Enter Examination Room in East Wing
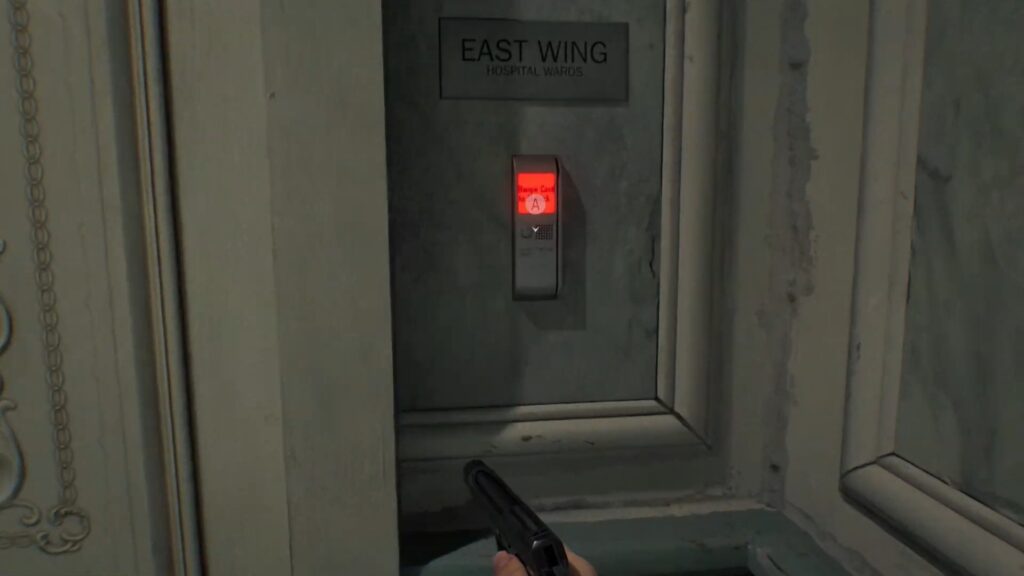
Return from the area where you came in to move out of the Parlor. Approach the East Wing door and use the East Wing Keycard to get inside the East Wing in the Care Center. Move through the west and enter the East Hallway. Follow the corridor toward the Examination Room to collect multiple items.
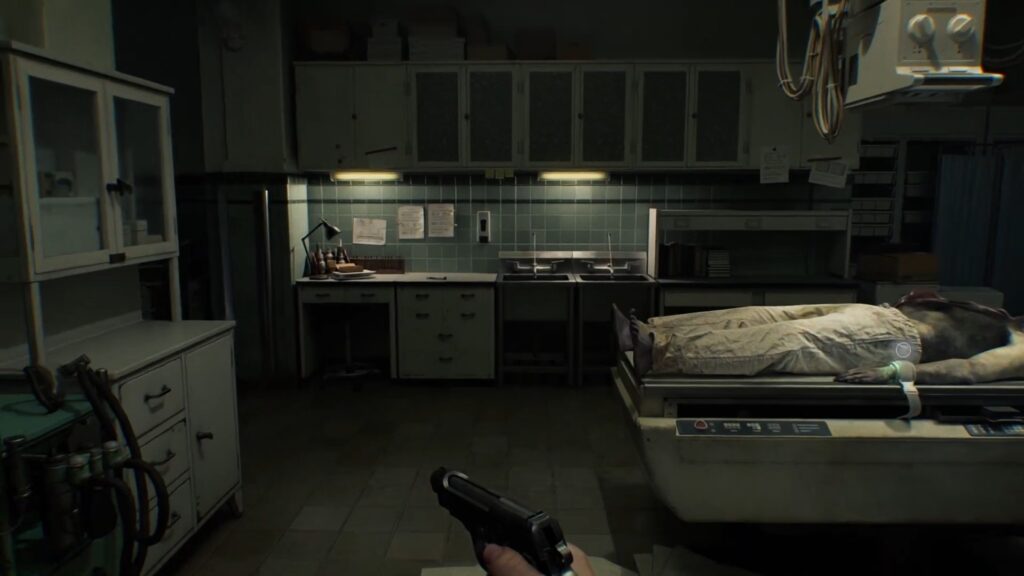
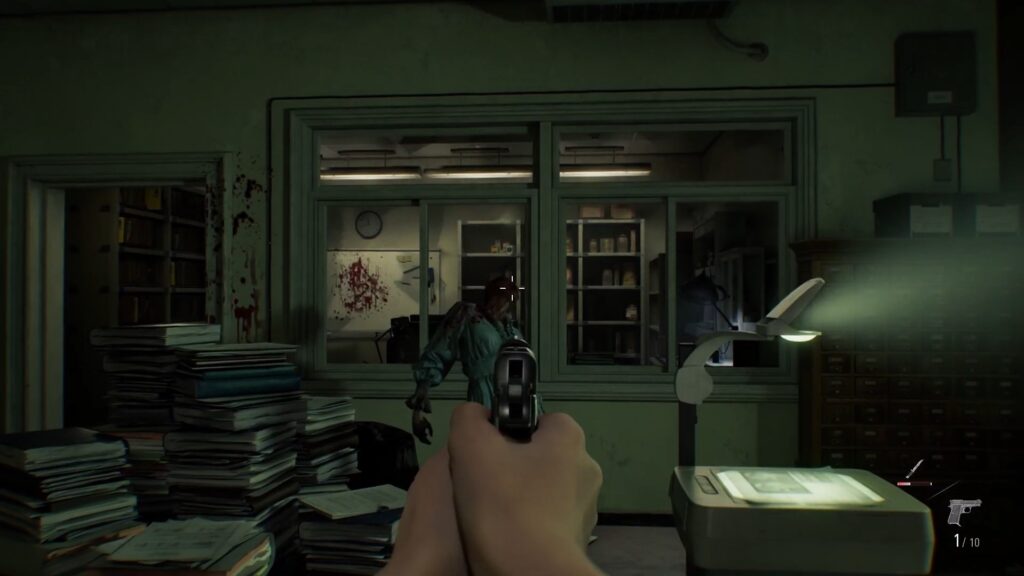
You can enter this room from the first floor of the East Wing. This is marked as you go past the Waiting Room area, making it easier to locate. Once inside, you need to collect some items and do crucial things. Pick up the Hemolytic Injector from the desk and use it on the zombie in this area.
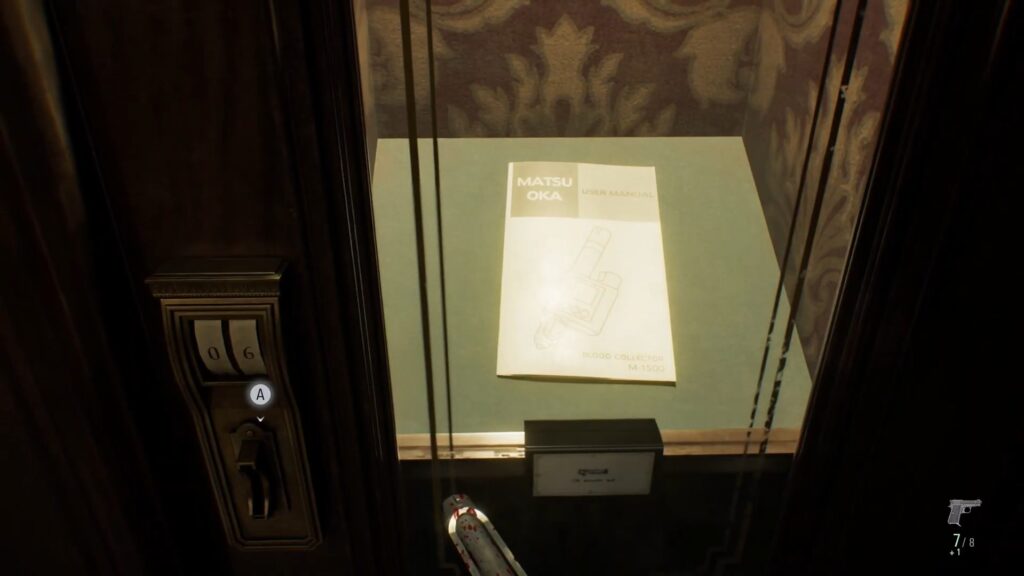
There’s a locked safe inside the Examination Room, commonly on a cabinet. The objective for you here is to open this safe for 3 Antique Coins, useful for upgrades later. Collect the Scrap from the left side inside the safe. Get your hands on the blood collector from the buckets and blood bags.
Approach the bucket at the center of the room to collect the blood collector by interacting with it. Go towards the computer and interact with it to get Blood Specimen Denatured. The Blood Compound Synthesis from the desk in the middle.
Leave the Blood Lab
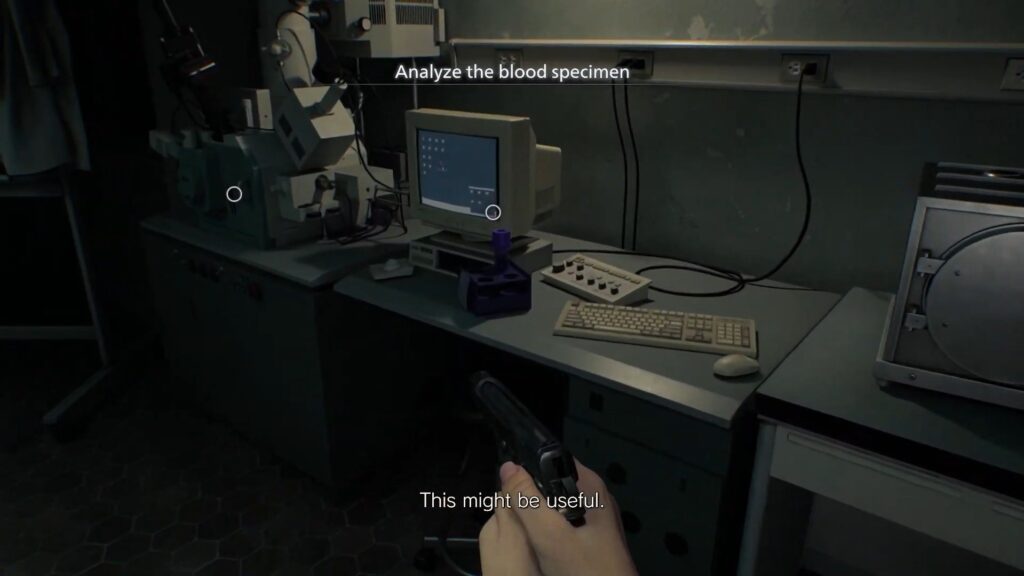
Blood is critical for crafting items like ammo, injectors, and medical items. After getting your hands on the Blood Specimen Denatured from the desk, bring it to the laser microscope. Interact with the microscope while holding the Denatured Blood Specimen.
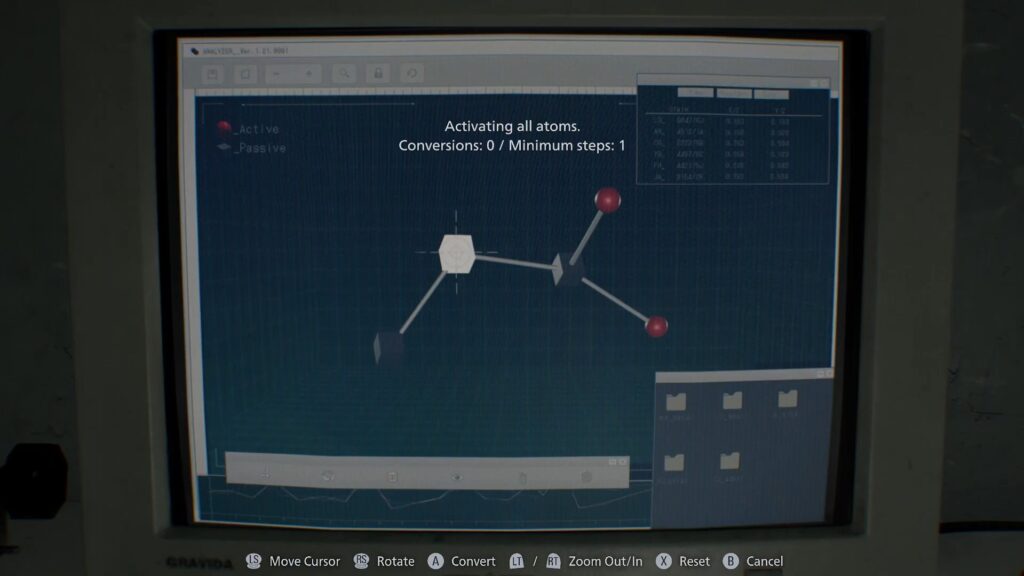
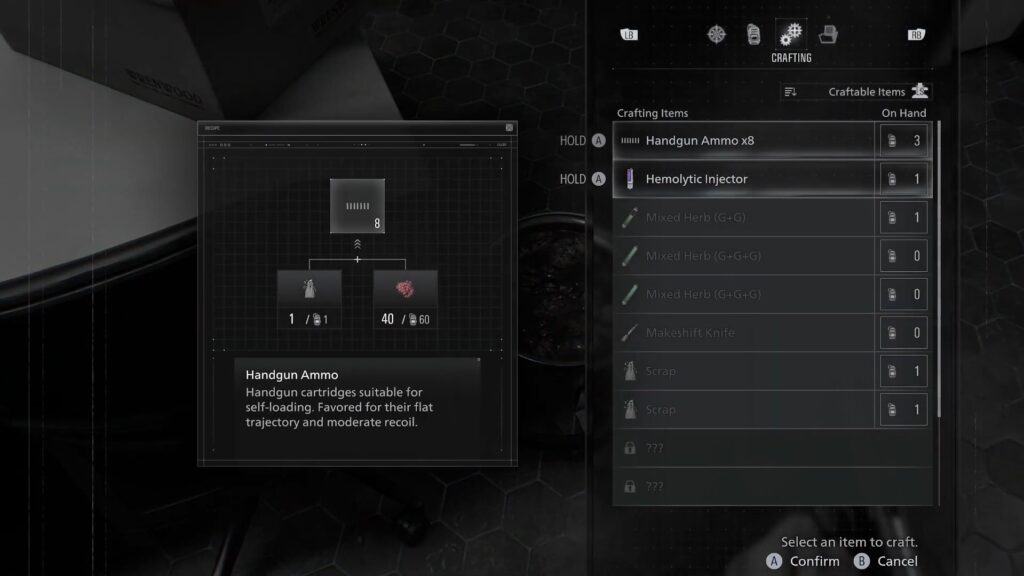
You need to solve the simple node puzzle by clicking the middle square. This allows you to activate all and convert all the atoms. Doing so allows you to unlock the crafting abilities like handgun Ammo and Hemolytic Injectors.
Open the lockers inside the Blood Lab and collect Scrap and other crucial materials. After getting the Level 1 ID Wristband, use it to open a Level 1 locked closet in the Blood Lab. You can get the Blood Specimen Reversible to unlock Steroids and Stabilizers crafting.
After picking up the Blood Collector, analyzing the Blood Specimen, and looting all useful items, return to the main East Wing hallway. You don’t need to solve the puzzle to get out of the Blood Lab door. Go to the left of the hallway intersection and clear all the nearby zombies. Get inside the Waiting Room and closets to collect more Blood Specimens.
While leaving the Lab, multiple zombies start chasing you. Go down the hall till you encounter the stairs. Make your way to escape from the zombies at the top of the stairs and get behind the door to interact with the typewriter.
Obtain ID Wristband (Level 1)
After exiting the Blood Lab, go back into the East Wing corridor you came from. Proceed past the Waiting Room on the first floor. Once you’ve passed the Waiting Room area on the first-floor hallway, you’ll see stairs leading up.
Take the stairs to reach the upper East Wing corridor. Continue moving forward on the second floor and enter the Lead Researcher’s Office area. Look for a headless corpse on the floor near the entrance of the hallway of the Conference Room. Interact with the corpse to pick up the ID Wristband (Level 1).
Solve Sun Quartz Puzzle
Once you have the ID Wristband (Level 1), open security-locked doors marked with Level 1. Collect blood, handgun ammo, scrap, and a file from the locker inside the Conference Room. You can get the Safe code for your next puzzle. The Conference Room itself is slightly ahead of the corpse where you found the Wristband.
You can get inside from the same second-floor corridor after the Lead Researcher’s Office. After heading inside, defeat the Singer zombie in this room. Find a bottle of corrosive to open the Puzzle Box in the Lead Researcher’s Office.
Return to the Lead Researcher’s Office and use the corrosive to melt the puzzle box padlock. Solve the puzzle box to get Sun Quartz and an instruction notebook. The correct combo to solve this puzzle is star, sun, moon, sun. Reading the notebook unlocks the organ transport box file.
Open the Secured Door
Get your hands on the antique coins from the dressing table inside the Waiting Room. Collect the handgun ammo from the vases and use the ID Wristband on the locked door to unlock it. You can get multiple items like handgun ammo, a blood specimen, and scrap.
Approach the room on the west side and unlock it to get to the Central Hall. Before heading out, go to the Examination Room and enter the Blood Lab. Approach the secured door to unlock and collect a blood specimen, an empty injector, and Victor’s journal.
Now, you’re ready to move back to the Central Hall and get back to the West Wing to enter the Isolation Ward.
Obtain the Wrench (Isolation Ward)
After obtaining the Level 1 ID Wristband from the corpse near the Lead Researcher’s Office, return to the West Wing of the Care Center. Approach the Security Point just past the West Wing corridor near the kitchen. Use the Level 1 Wristband to open the Security Point to open a new hallway.
Get inside the Custodian’s Office in the garage and approach the typewriter to save the progress. Pick up the Wrench from this room that you will use later to open the Cold Storage door.
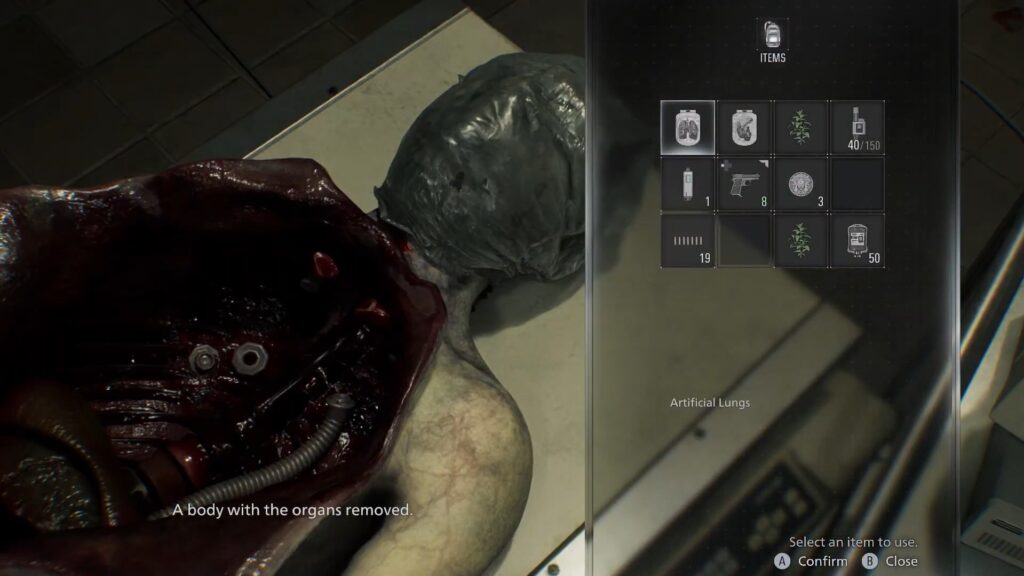
Get the Artificial Lungs
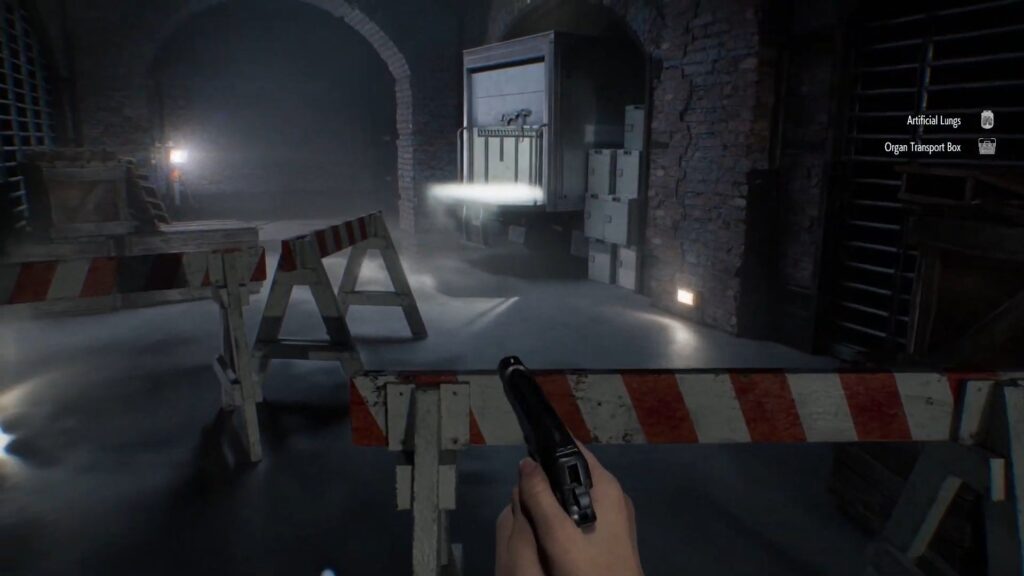
Continue moving deeper into the Garage area from the Custodian’s Office hallway. Defeat all the zombies inside the Garage, especially the driver. Approach the vehicle or a workbench to locate the Organ Transparent Box. Interact with it to add it to your inventory.
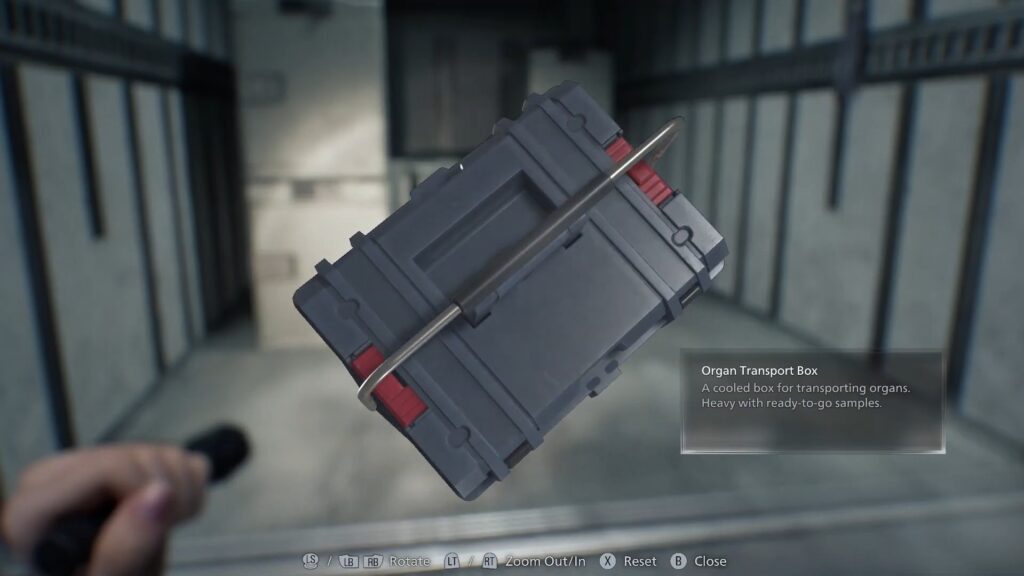
Organ Transport Box Puzzle
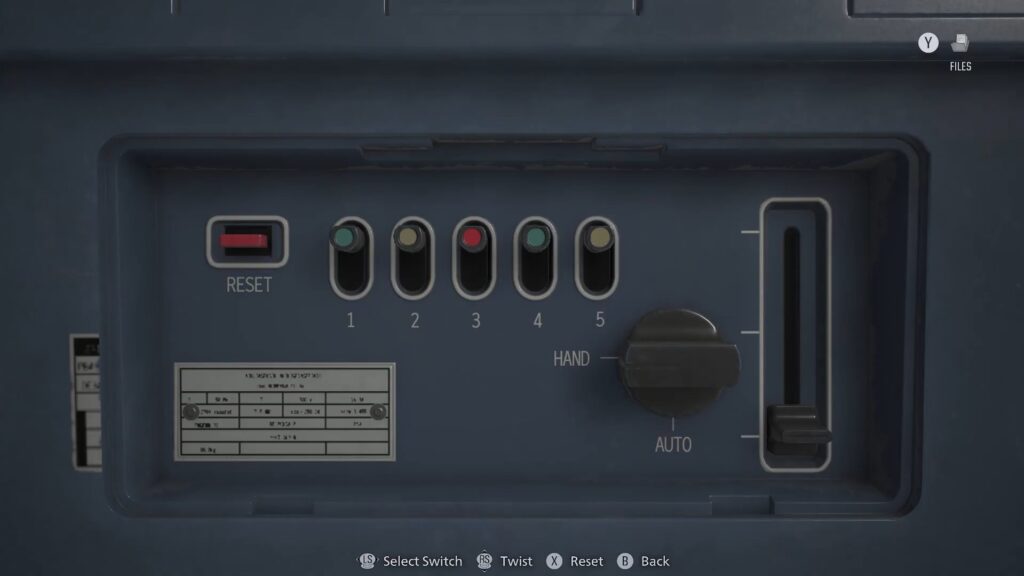
You have to take out the Artificial Lungs from inside this box. Open your inventory after obtaining the Organ Transport Box and select it to examine it. A puzzle interface appears on your screen, requiring you to solve it. Below are all the steps you need to follow to solve this puzzle.
- Rotate the switch from Auto to Hand.
- Move the far-right slider up to the middle and press the number 5 switch.
- Hit the number 2 switch and rotate the switch from Hand to Auto.
Doing so allows you to open the box and obtain Artificial Lungs. Collect six handgun ammo from the crates before heading towards the Storage door.
Revive the Organless Body
Go all the way to the Cold Storage and use the Wrench to open the door. Collect the Artificial Heart from this area, along with the blood bag, scrap, and 5x handgun ammo. Once you have both, return to the place where you discovered the dead body. Navigate back to the East Wing first floor corridor and enter the Examination Room.
You can find the corpse here that you must revive and kill. Approach the body and interact with it to get the prompt to Insert Organ. First, select the Artificial Lungs and confirm the placement. Now, select the Artificial Heart to insert it into the body.
Get the Level 2 ID Wristband
The corpse returns to life, but as a zombie. This enemy attacks you like a small boss fight. You need to fight and defeat it to complete the reviving puzzle. Go for the headshot with a shotgun and use the healing items during the combat.
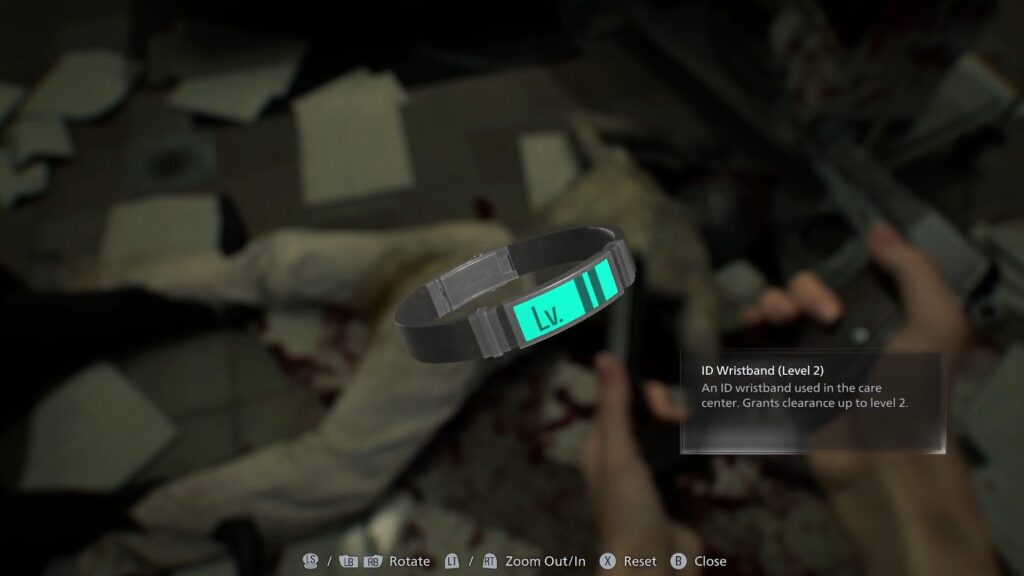
After defeating the revived enemy, open the corpse’s inventory to find the Level 2 ID Wristband on its wrist. This wristband grants you Level 2 security clearance. This is crucial to obtain if you need Star Quartz from the Security Manager’s puzzle box.
Acquire ID Wristband (Level 3)
Head to the East Wing corridor and get past the Examination Room on the first floor. Get inside the Isolation Ward by using the Level 2 wristband at the Security Point. After moving into the Isolation Ward, progress toward the Security Manager’s Office.
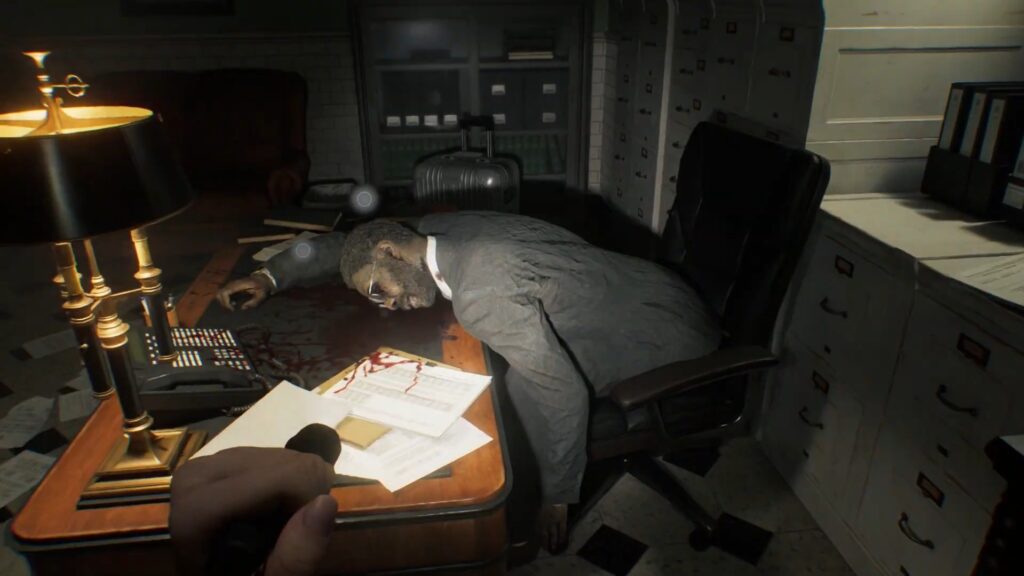
Use the Level 2 Clearance to open the Security Point at its entrance. Get inside and examine the dead manager’s body over the desk. A cutscene will trigger when you inspect the corpse, allowing you to gain a Level 3 ID Wristband.
Be aware of the zombies in this, so try to sneak around without getting caught. The mutated zombies are harder to eliminate, so use the best weapon in this case. Get past the giant monster and wait for the right moment to enter the Isolation Ward front door.
Eliminate all the zombies after giving work to Emily. Get back to the Security Manager’s Office after Emily starts yelling at you.
Defeat Chunk
You now play as Leon in Attic. Ahead of you is an attic corridor that leads to enemies. The first major enemy encounter as Leon in the Attic is Chunk. You find this enemy roaming the Attic area. This is a large, heavy mutated enemy that can take hits and chase you like a mad dog.
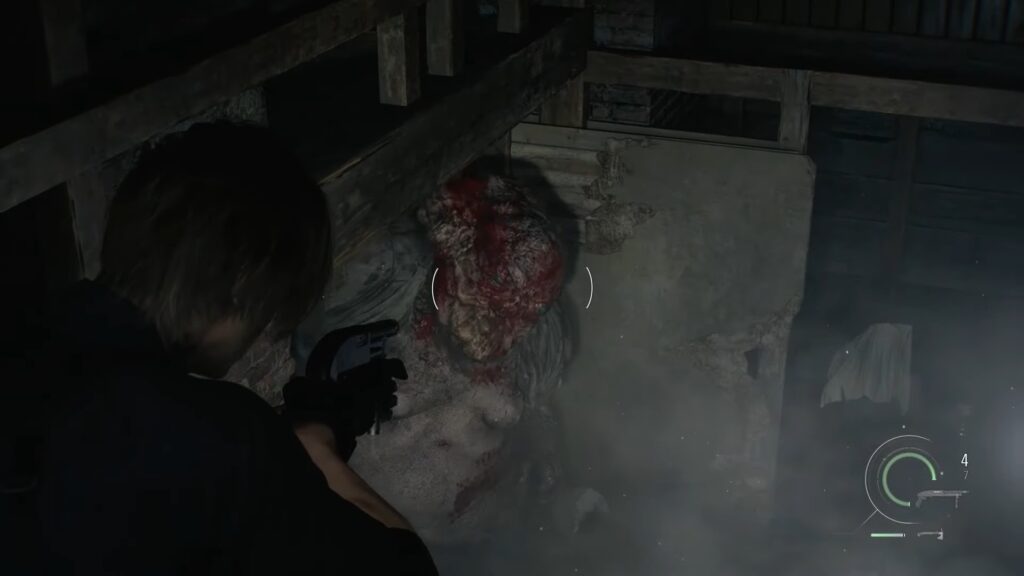
Pick up the MSBG-500 shotgun that’s on the ground and deal massive damage to Chunk. You must aim for the head or weak point to stagger this enemy. Switch back to standard firearms after this enemy loses much of its health. Defeating this boss allows you to gain a hand grenade.
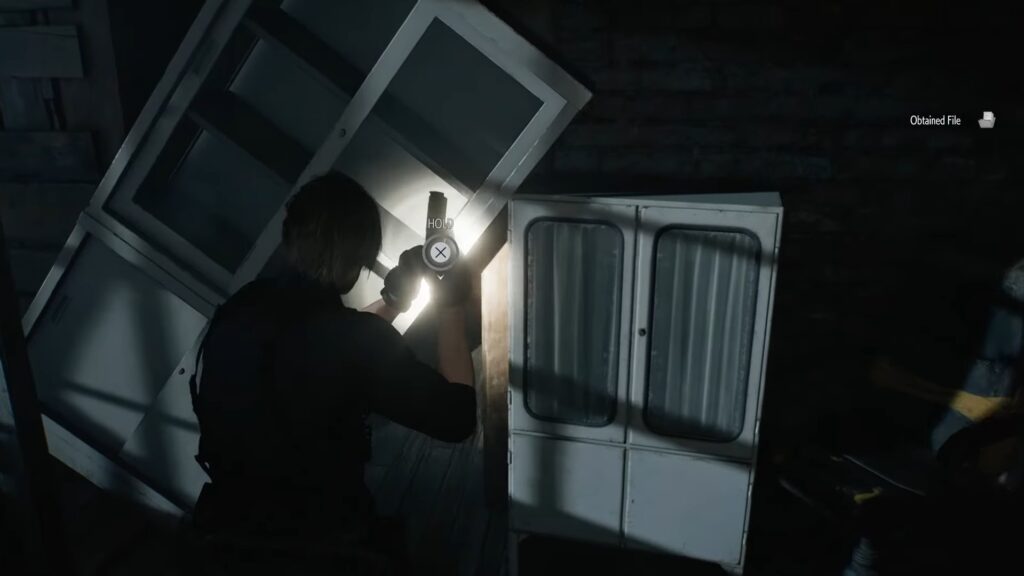
Once eliminated, keep moving through the Attic corridors to find the ladder. Use the interact prompts to lower ladders and descend to the next area. Drop down and continue moving towards the Bar & Lounge area. Use the hatchet to break warped doors and cabinets to get useful items like Mr. Raccoon Memoriam from inside.
Explore Visitor’s Office
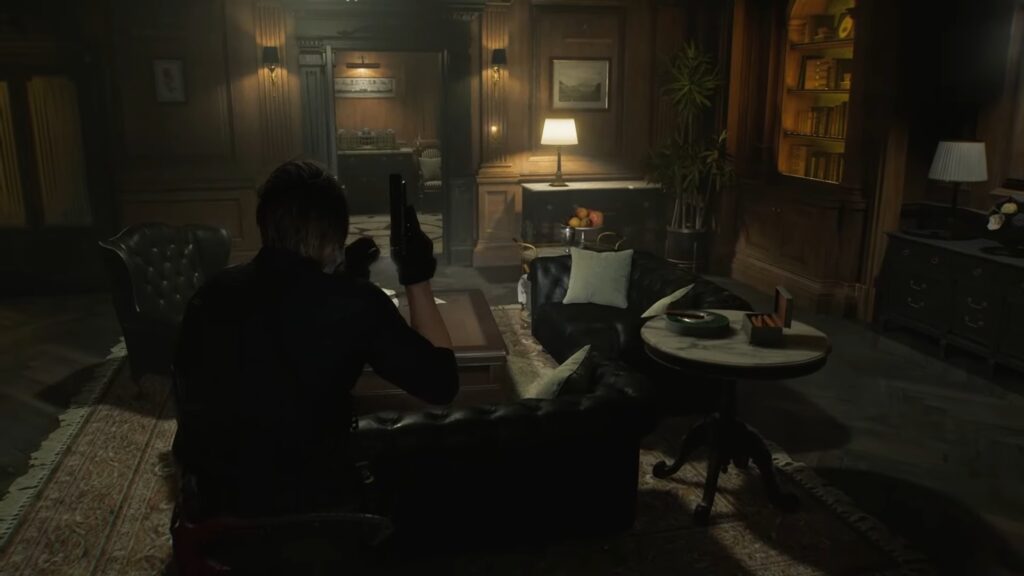
After clearing the Attic, go to the western staircase and climb up to the top floor. This path leads you to Victor’s Office, but defeat all the enemies while progressing. After clearing the room, interact with the painting mechanism to open the next locked gate.
Activate the painting mechanism to unlock the next corridor. This leads you to the elevator or the next major objective corridor. Before heading out, collect the green herb from the chair and 4x handgun ammo from the dressing table.
Defeat the mutated zombie inside the lounge and kill two more on the back side. Get the hand grenade and med injector from the Director’s Office. You need to pull the lever on the east side of the wall and defeat two more zombies. Once the mechanism inside Victor’s Office is solved, use the elevator to get deeper into the story.


