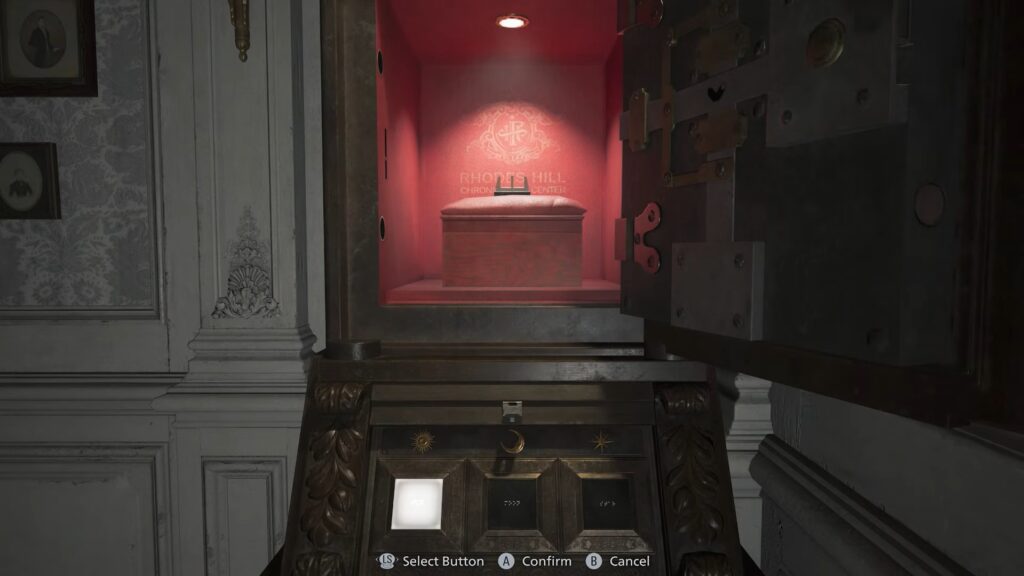
Discover everything you need to know about all the puzzles in Resident Evil Requiem, including how to solve them.
Resident Evil: Requiem offers multiple puzzles as part of its classic survival-horror gameplay. Quartz puzzles are traditional rotating symbol puzzles found in the Care Center. Grace must solve these to obtain Moon, Sun, and Star Quartz pieces needed to open the central door.
Blood Specimen Puzzles requires you to analyze blood specimens by toggling nodes to turn all cubes into red spheres. Inventory Puzzles are additional interactive puzzles that aren’t just code boxes.
Table of contents
Puzzles in Resident Evil Requiem
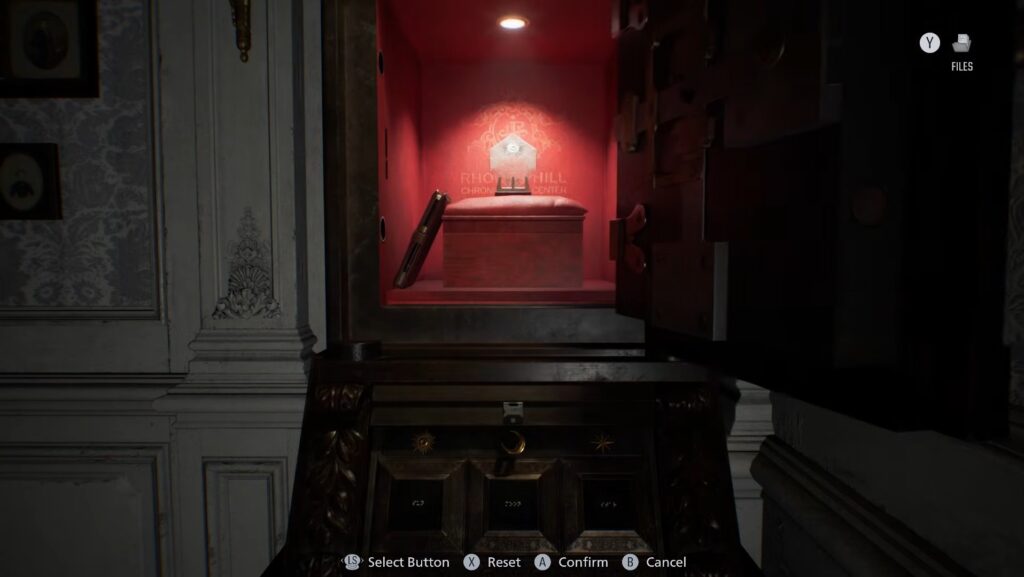
Puzzles are the complex challenges for the players to solve to progress in Resident Evil Requiem. Solving them allows you to open important items, unlock areas, or gain a crucial objective. There are four combination puzzles found in offices and specific rooms throughout the Rhodes Hill Chronic Care.
You must input a correct symbol code to unlock the box. The clues are all scattered, written on hidden notebooks, or found in photos nearby. The puzzles vary in difficulty, and you must solve them while the enemies are nearby.
Chairman’s Office Puzzle
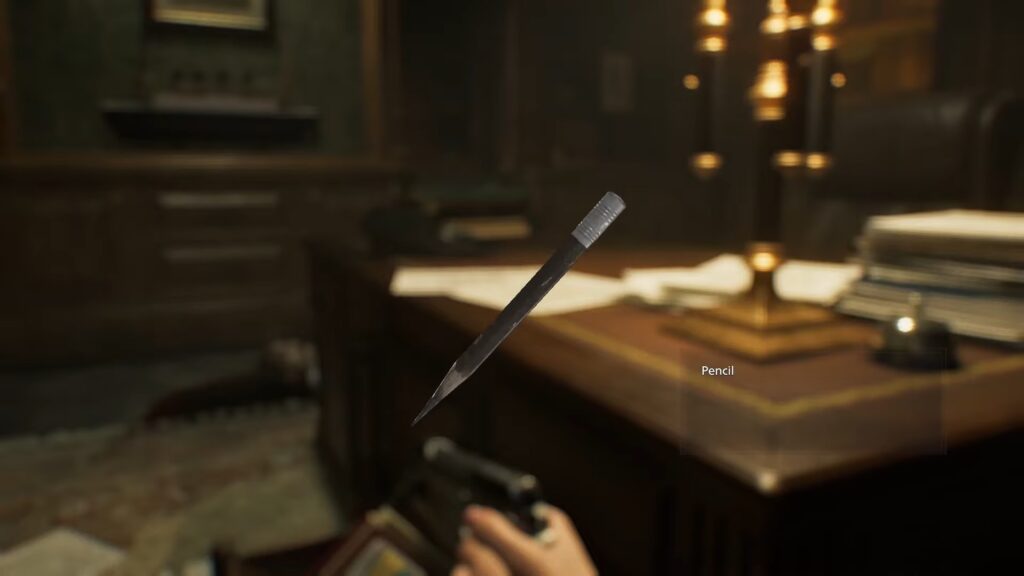
This puzzle in Resident Evil Requiem is located inside the Chairman’s Office in the West Wing, 2F of the Rhodes Hill Chronic Care Center. The objective for you is to find two key items (Pencil & Notebook) in the room. Get the pencil from the desk in the back room of the Chairman’s Office.
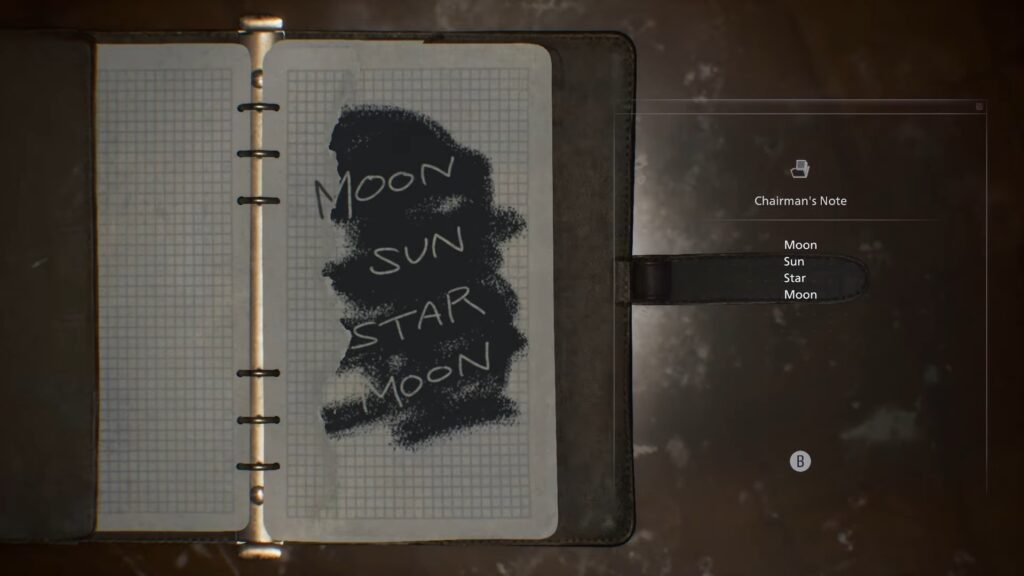
Defeat all the enemies in this room before grabbing the pencil. The Notebook is located on a small lounge table in the main office seating area. The writing on the notebook isn’t visible in the first place. Open your inventory and select the Pencil to use it on the Notebook. Grave reveals the correct order of the symbols.
- Moon → Sun → Star → Moon
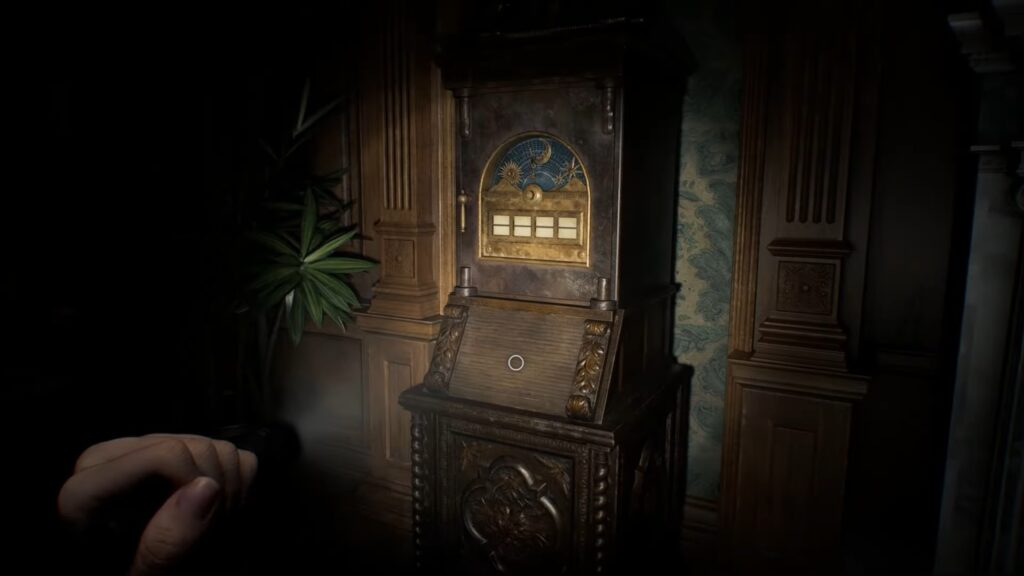
Approach the puzzle box and use the same current symbol sequence to unlock it. Opening the puzzle box rewards you with the Moon Quartz. This is one of three required to unlock the Central Hall Door and enter the Courtyard.
Lead Researcher’s Office Puzzle
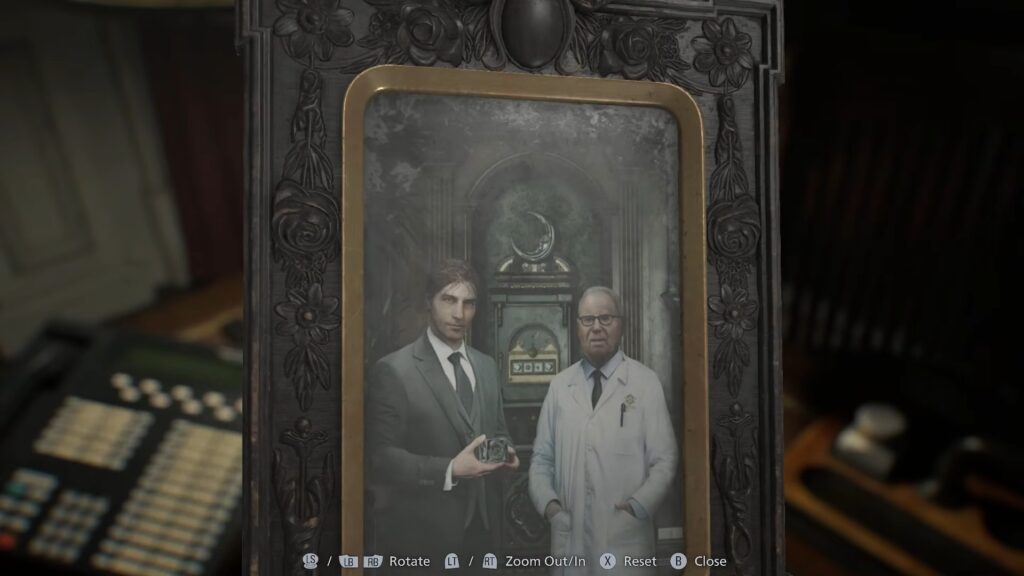
The puzzle box is located on the second floor of the East Wing. Make your way inside the Lead Researcher’s Office of the Rhodes Hill Care Center to locate the Lead Researcher’s Office puzzle box. Getting to this room can be challenging, as you need to go through different areas and defeat multiple enemies.
Here are the steps to reach the Lead Researcher’s Office puzzle box in Resident Evil Requiem.
- Get out of the Lead Researcher’s Office and take the stairs to move down to the Conference Room.
- Go past the zombies and the singer enemy to collect Corrosive from a table in the back room.
- Move back to the Lead Researcher’s Office and use the Corrosive on the padlock to get access to the puzzle box.
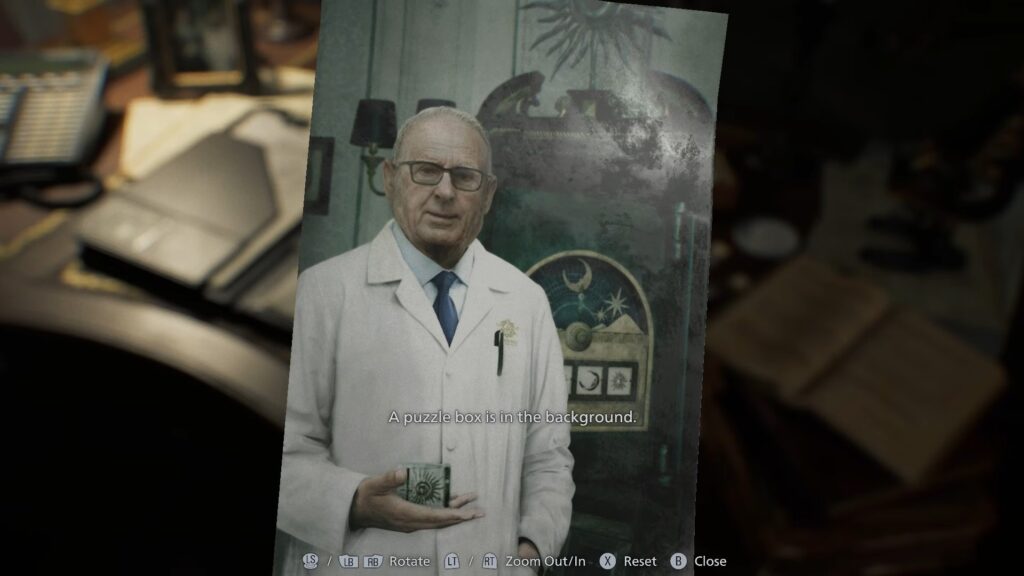
Make sure to bait the chunk down the corridor or use Hemolytic Injectors to kill it. Defeating this enemy allows you to gain Eyespy Charm. You also need to find the clue to solve this puzzle. Interact with the photos and documents on the desk and around the room after removing the padlock. You get the clues from the symbols used to open the box from the pictures.
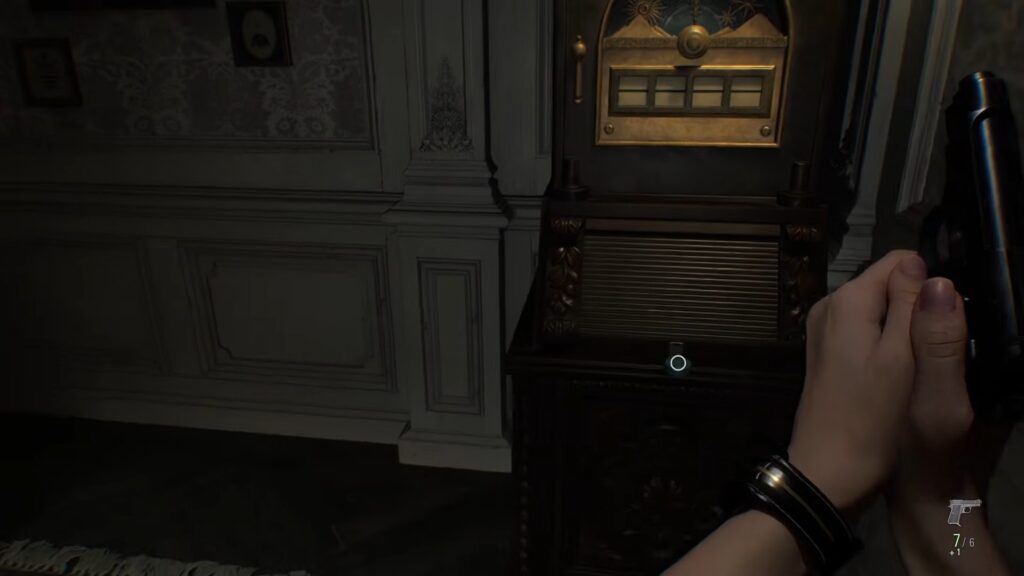
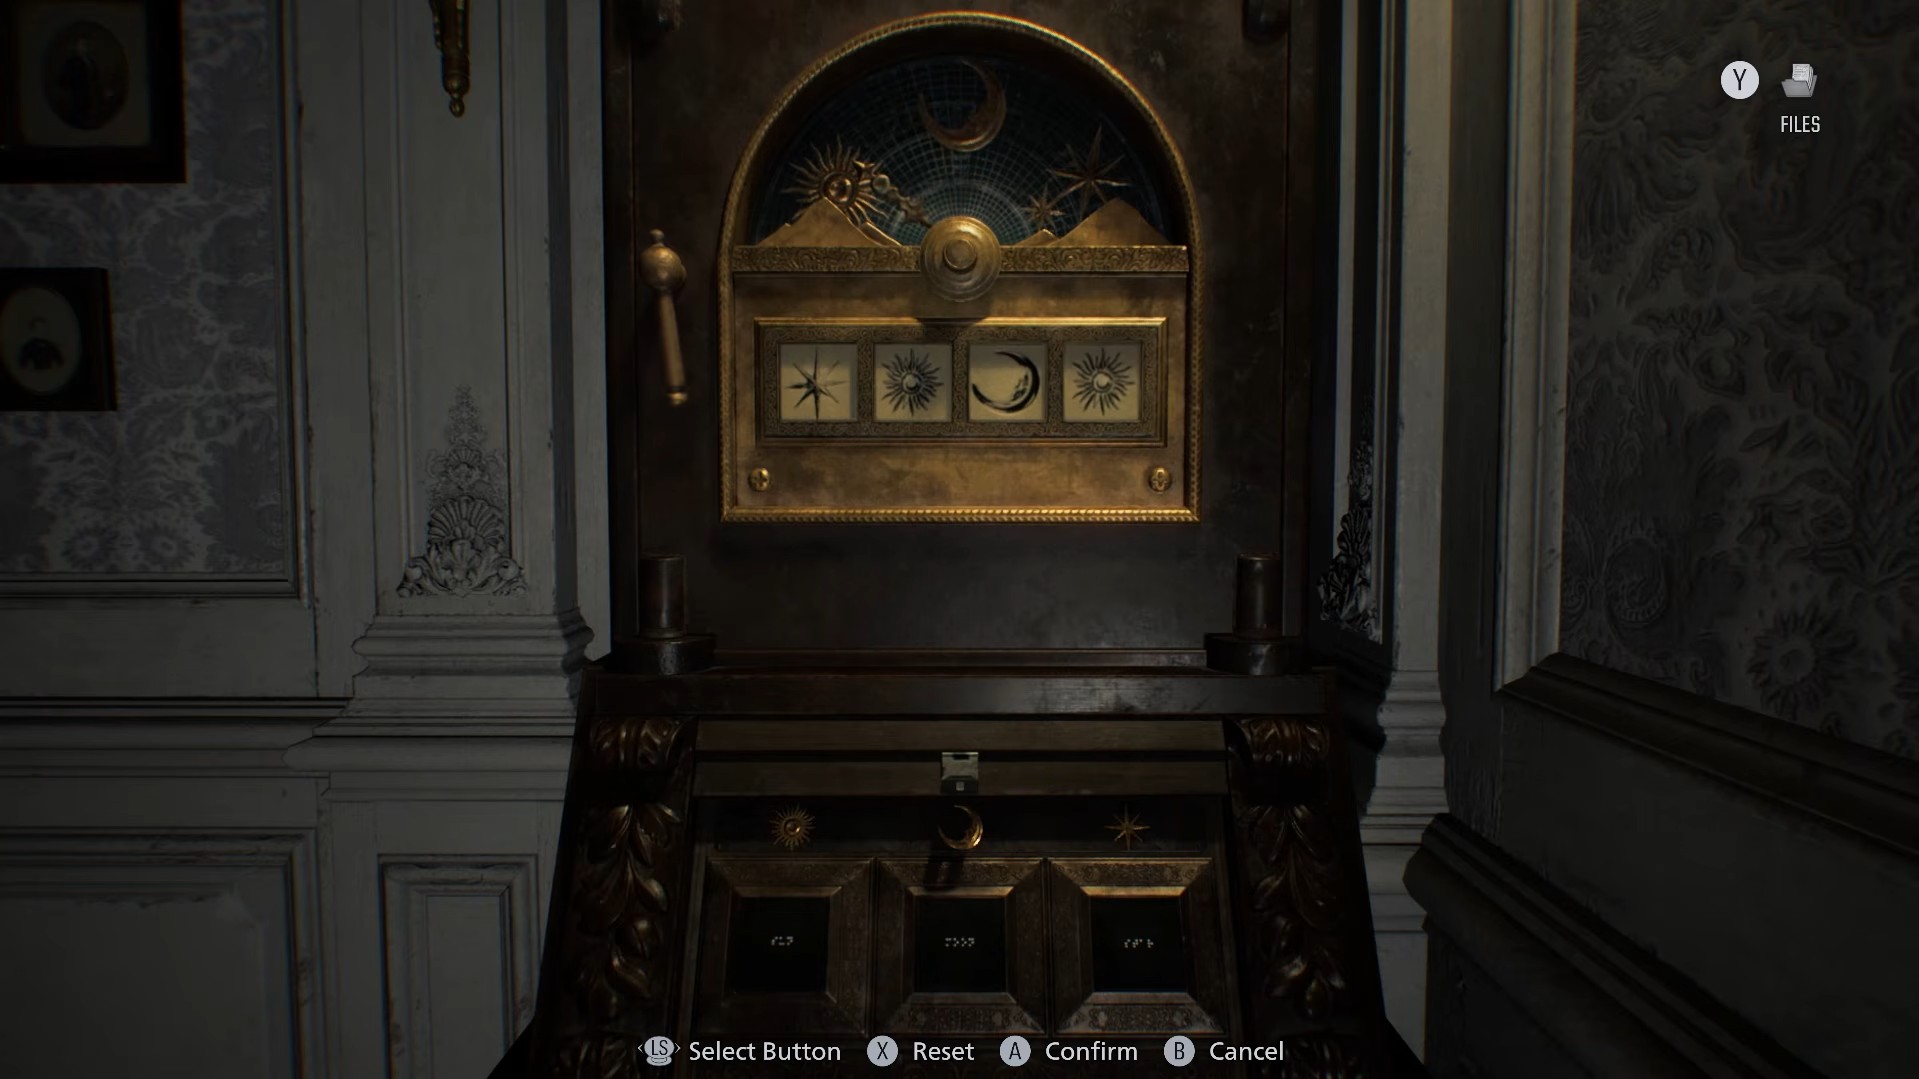
I recommend checking every photo, document, or image in the room. Once the box is unlocked, you can enter the symbol code. You must start from left to right on the box’s four symbol slots.
- Star → Sun → Moon → Sun
Inputting this sequence allows you to open the box and gain Sun Quartz and a Leatherbound Notebook.
Security Manager’s Office Puzzle
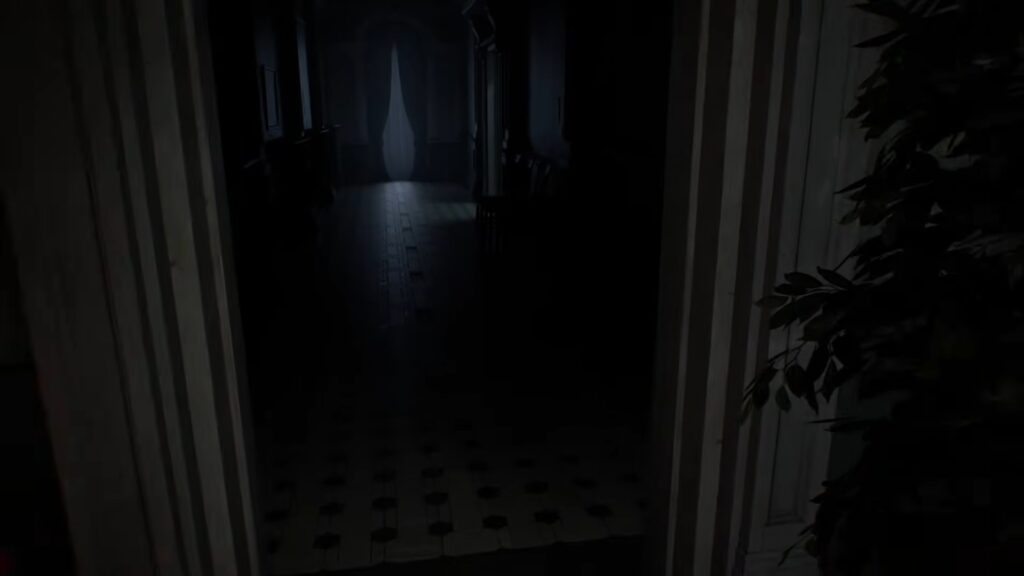
This puzzle box is located inside the Security Manager’s Office on 1F of the East Wing of the Rhodes Hill Care Center. Obtain the Level 2 ID Wristband to access this area. Solving this puzzle is more challenging than the previous ones, as they don’t have a simple, visible symbol clue.
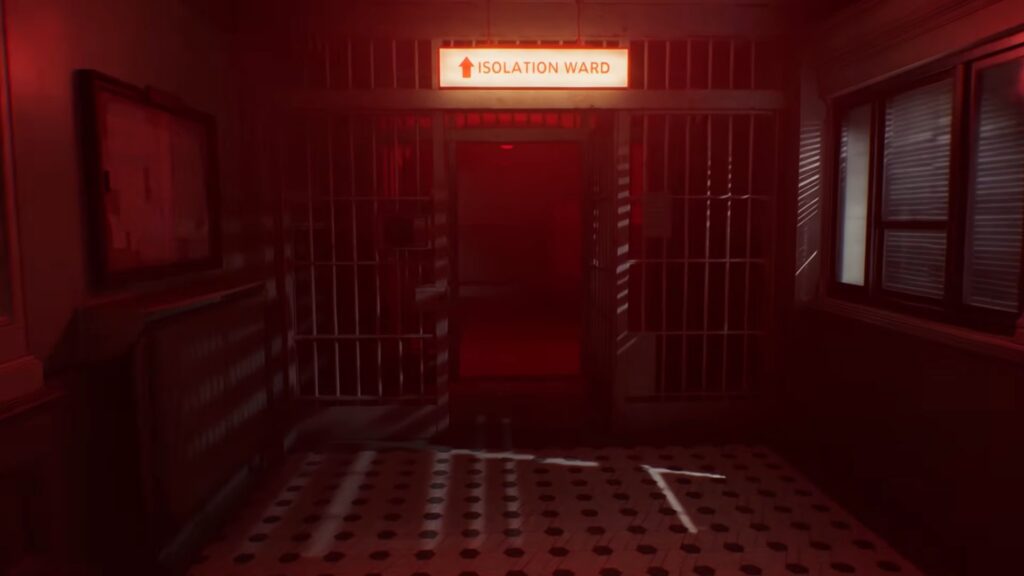
Make your way inside the Security Manager’s Office and inspect the notebook on the desk. Look at the top-right corner of the notebook to get the puzzle code. Unfortunately, the text written is in Braille, which Grace cannot read. When you translate it from the Braille clue, you get the correct combination for the puzzle box.
- Star → Star → Moon → Sun
The puzzle symbols have worn away, and only Braille remains, making it difficult for Grace to input the code. You need to interact with the Braille notebook in the Security Manager’s Office to reveal the clue. Get the Level 3 ID Wristband also in the same office.
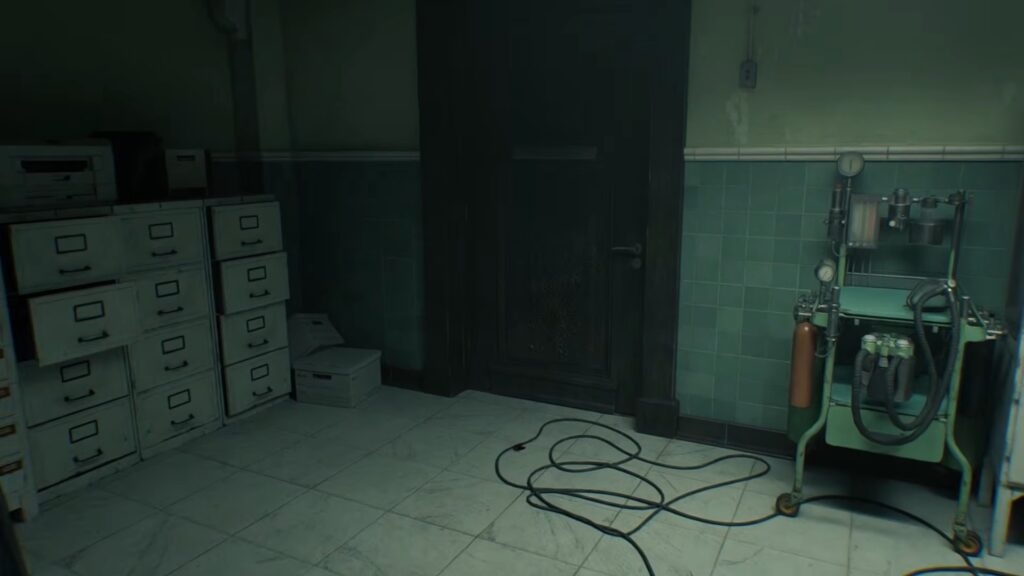
Move to the Medication Room to use this Wristband to free Emily because she can understand and read Braille. Bring Emily back to the Security Manager’s Office, and she automatically starts reading the Braille and solving the puzzle.
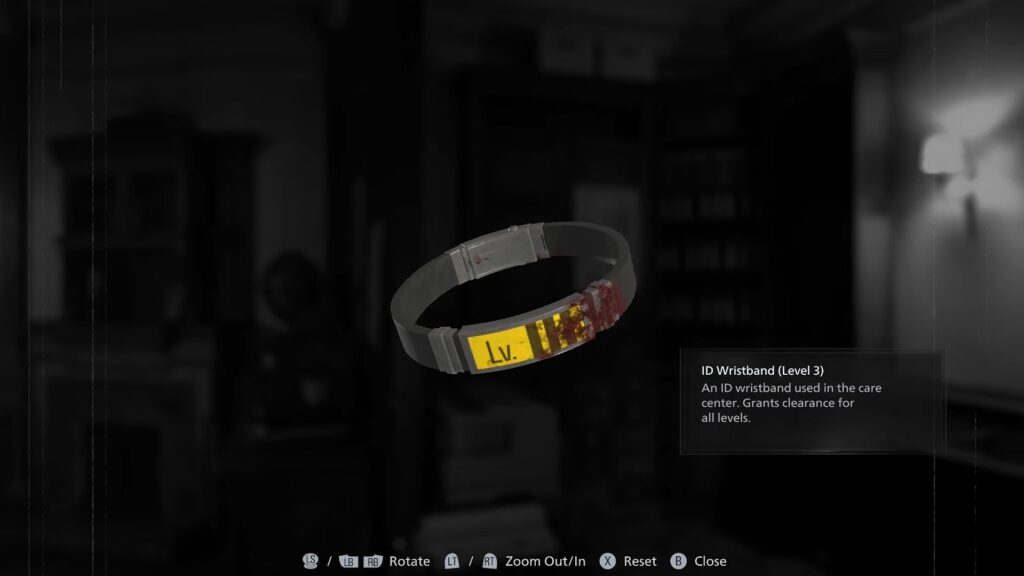
Completing the Security Manager’s Office puzzle box allows you to gain Star Quartz. The objective for you in this puzzle is to find the clue and bring Emily back to solve this puzzle. Defeating multiple enemies allows you to gain a Level 3 Wristband.
Analyzer Blood Specimen Puzzles
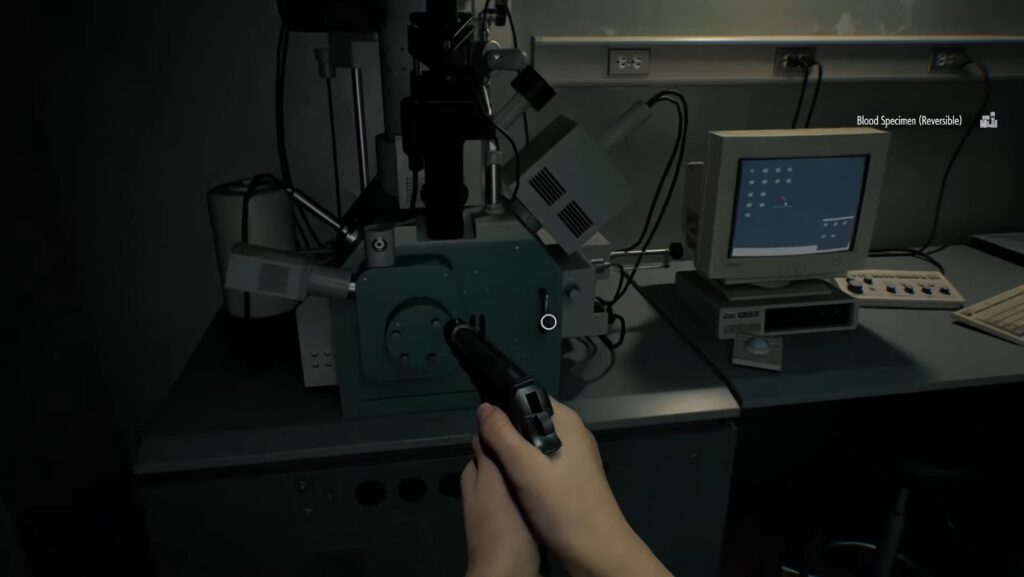
Blood Specimen puzzles are small logic challenges you solve at a Blood Analyzer machine in Resident Evil Requiem. Interact with the specimen at the analyzer to see the grid of nodes. The objective for you here is to turn all cubes into red spheres. Each click toggles that node and any directly connected ones.
The game offers three main fluid samples at Regular modes in Resident Evil Requiem. Turn every cube square into a red sphere. Each click toggles the clicked atom, which toggles any connected neighbors. You can always reset the puzzle and start over if you get stuck in one place. Make sure to check how the cubes are connected before clicking any atom.
Denatured Blood Specimen
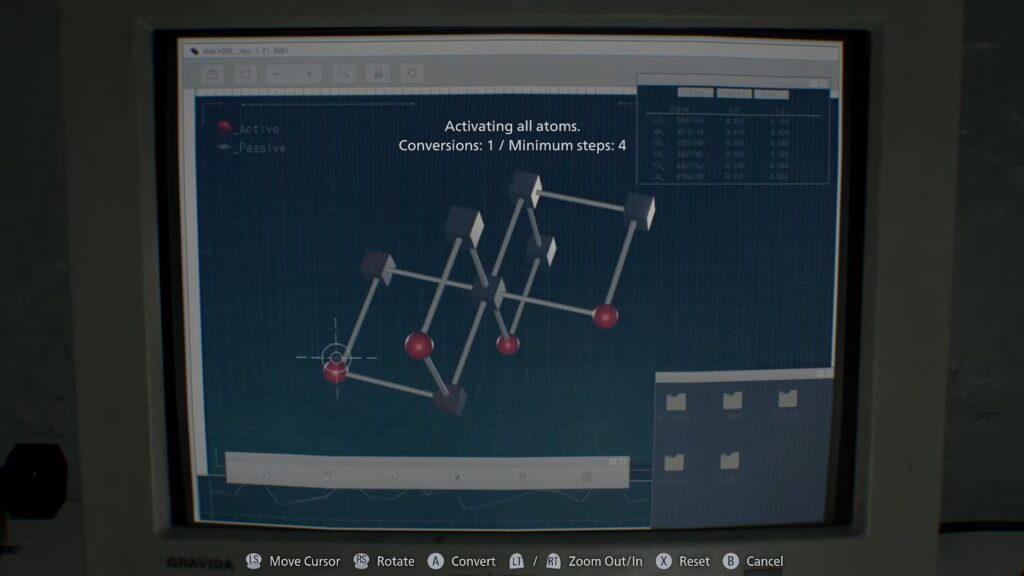
You can find it inside the Blood Lab next to the Blood Analyzer machine. Click the middle square to turn all cubes into red spheres. Completing this puzzle allows you to get Handgun Ammo and Hemolytic Injector crafting.
Converged Blood Specimen
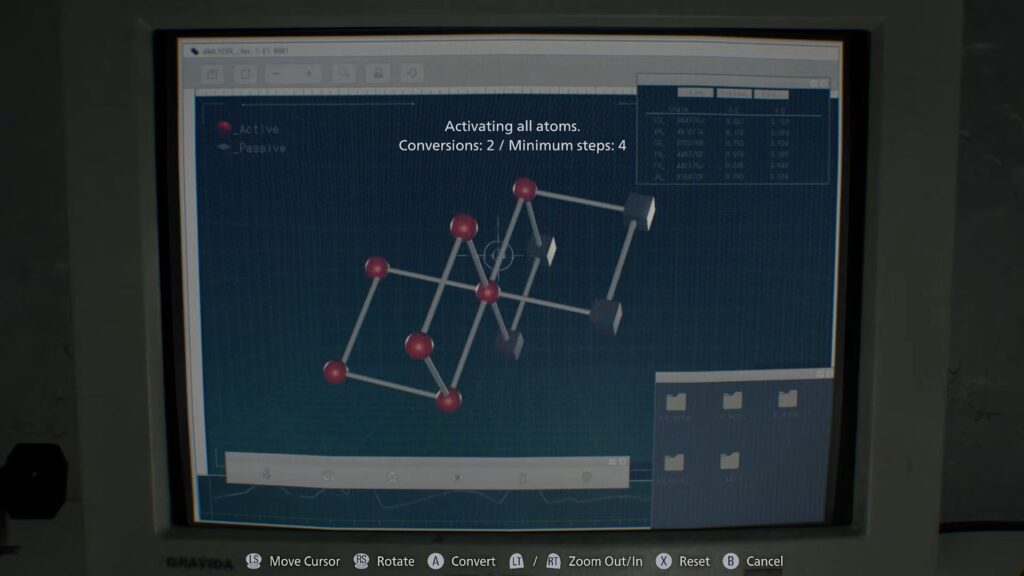
This one is located inside the Ward Office off the Waiting Room. You need to have an ID Wristband Level 1 to open the locked door. Hit the top middle node first and click the second square from the bottom. Doing so allows you to convert all cubes to spheres and grants you Med Injectors and 12.7×55mm ammo crafting.
Reversible Blood Specimen
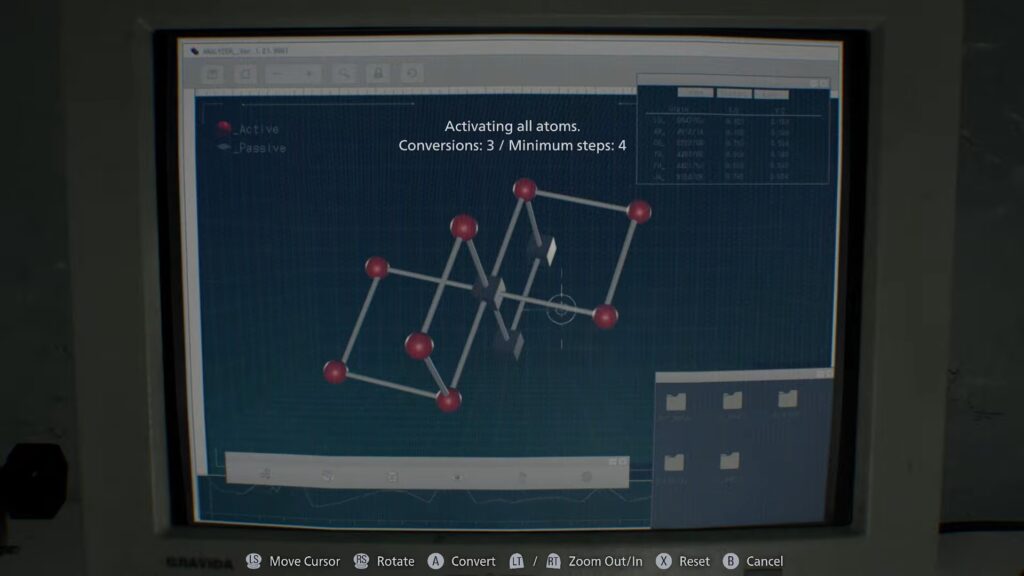
It is located in the side room of the Blood Lab behind a locked door and require D Wristband Level 1. Click the bottom left corner square, the middle square, the top right square, and the second square from the top. Completing this puzzle allows you to gain Steroids and Stabilizer crafting.
Polymerized Blood Specimen
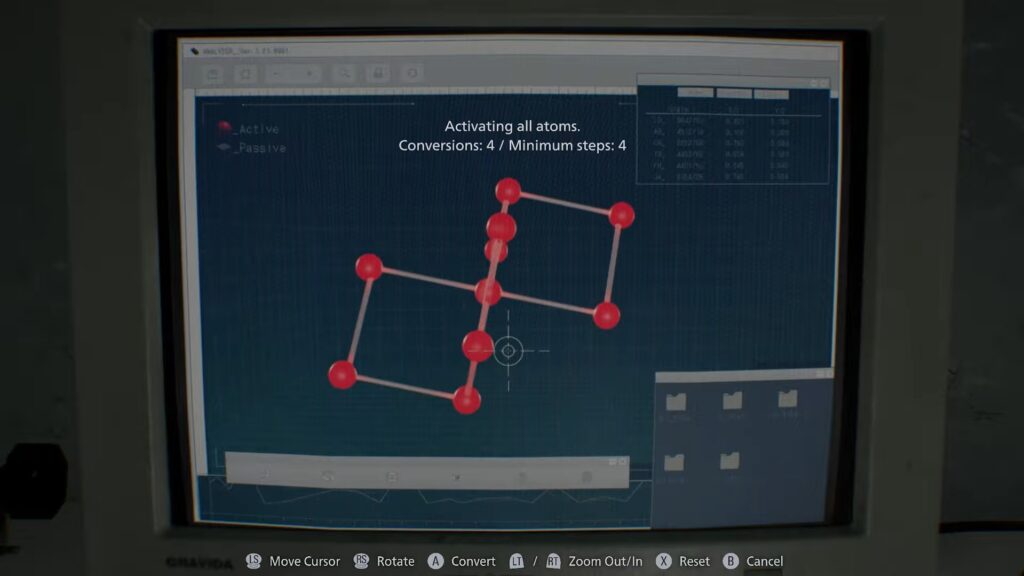
Go to the same closet as the Converged specimen on Insanity difficulty. Click the middle left, middle right, and then middle bottom nodes to obtain RIP Knife and other crafting items.
VIP Suite Double Helix Puzzle
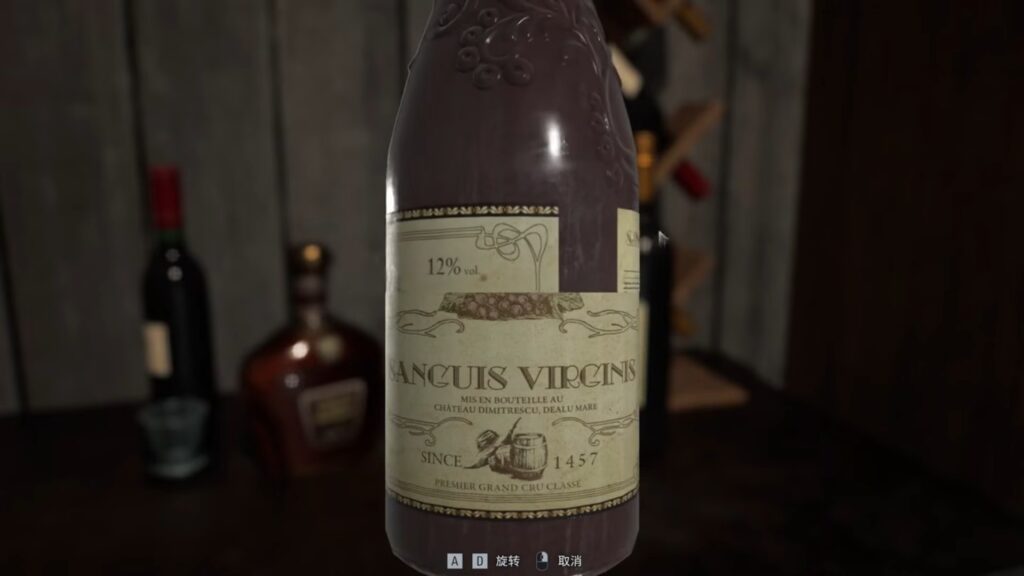
Make your way through the Courtyard area until you get access to the house next to the helipad. Get inside the house and head to the VIP Suite office to locate the VIP Suite Double Helix puzzle. Approach the wine bottle near the entrance or on a table and interact with it. This allows you to pick it up and rotate the top half of the bottle.
You need to keep rotating the wine bottle till the label aligns properly. You need to fully rotate the wine bottle’s top until it snaps into place. Open the bottle after aligning it to unveil the Double Helix Model inside. This is a key item for this puzzle, so pick up the Double Helix Model.
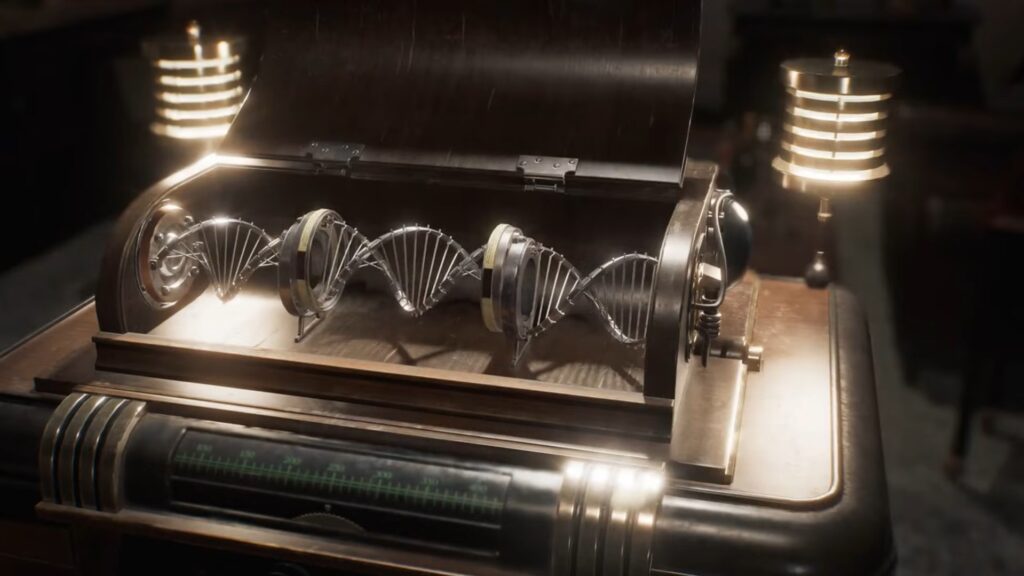
Look for a pedestal on the table in this room and interact with it to insert the Double Helix Model into the slot. Doing so allows you to complete the puzzle and unlock the elevator leading you into the house.
Organ Transport Box Puzzle
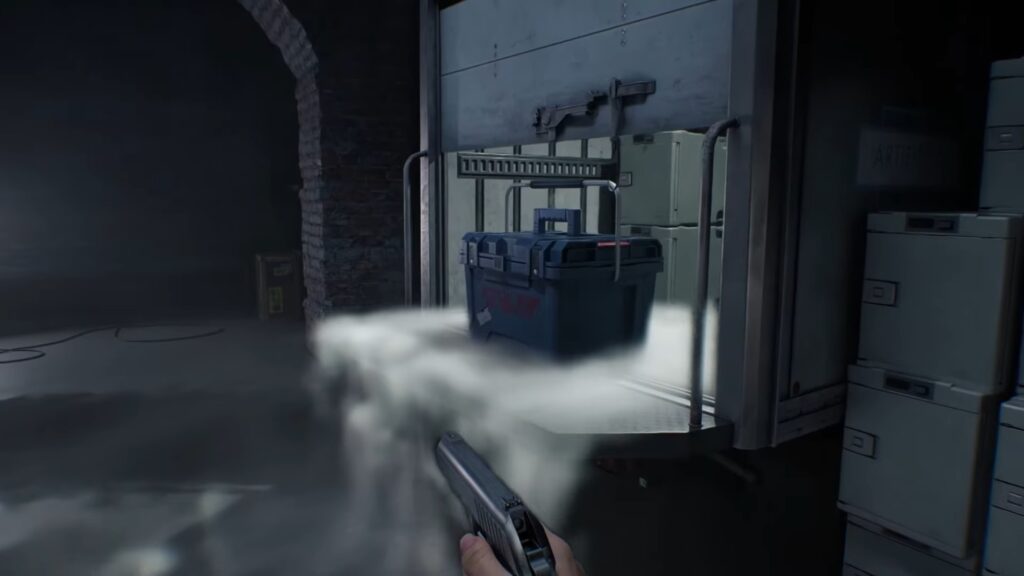
Go to the Garage area of the Care Center to locate the Organ Transport Box Puzzle. Make sure you have a Level 1 ID Wristband to reach the ground. Use it to pass through the Level 1 Security Point to the garage corridor. Once you’ve picked up the box from the garage, open it immediately by interacting with it in your inventory.
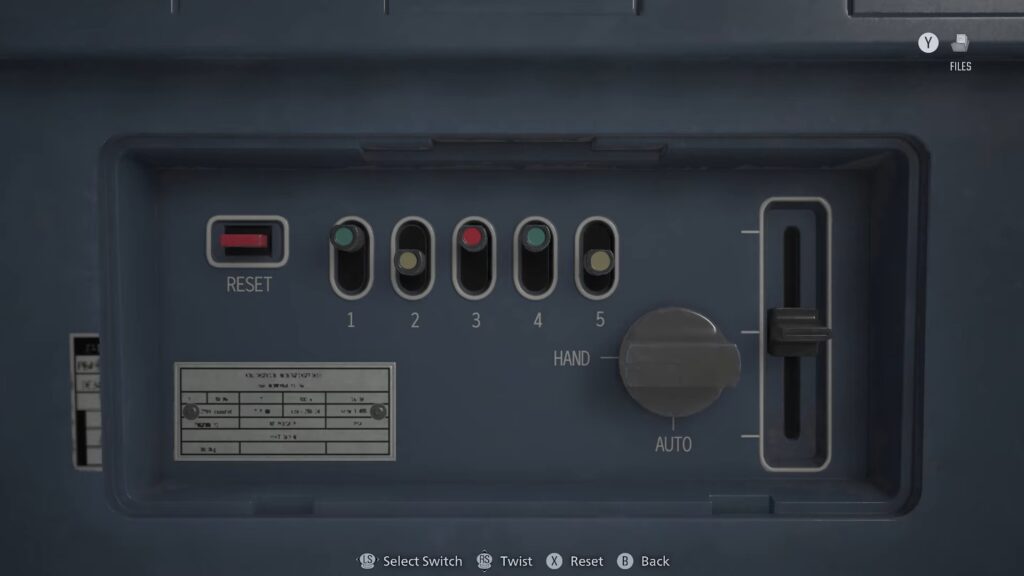
Rotate the box until the back control panel with switches and buttons is visible.
- Make sure to set the bottom-right dial to AUTO → HAND.
- Put the far-right slider switch up to the center.
- Press button 5 and then 2.
- Turn the knob to AUTO.
You can also use the Reset option on the panel if you make any mistakes. The box opens after solving the puzzle and drops the Artificial Lungs.
RPD Briefcase Puzzle
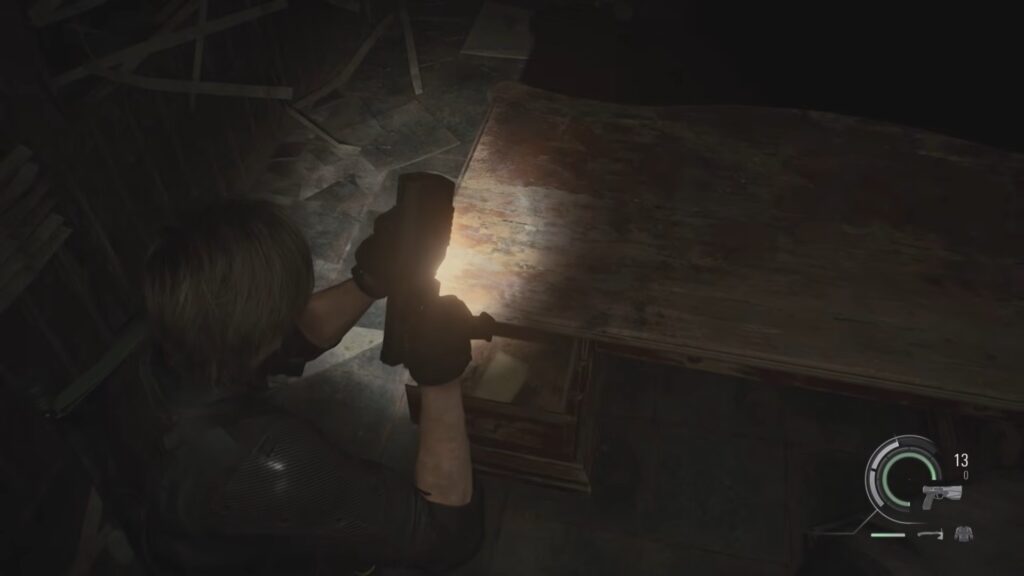
You can find this briefcase inside the S.T.A.R.S. Office on the second floor of the RPD building. Once there, find it on a desk or inside a locker in that office. This briefcase uses a 3-letter code lock, so you need to find clues. Pick up a note called Barry’s To-Do List from inside the S.T.A.R.S. Office to get the first clue.
After that, exit the S.T.A.R.S. Office and enter Wesker’s Office nearby to get the Library Card. You can obtain it from the desk drawer. Move inside the RPD Library, go up the stairs, and across the upper walkway.
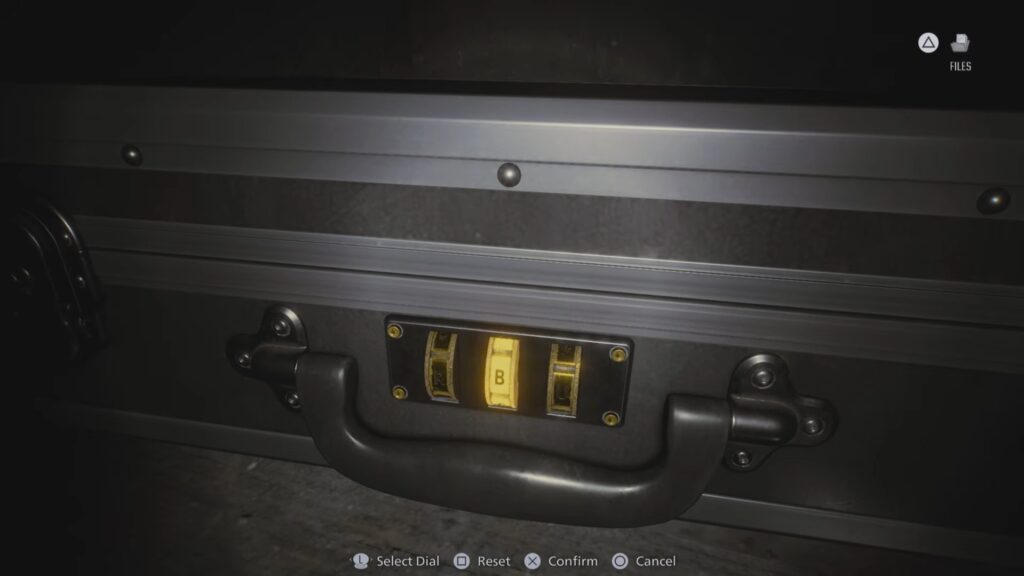
Pick up the required book and open it from your inventory to locate the photo of Rebecca Chambers. Flip the photo over to see the phrase written on it. The code for this RPD briefcase puzzle is in RRR. Return to the briefcase and use this code to open it. You get the Power Shades Charm from the briefcase.
Barry’s Scavenger Hunt
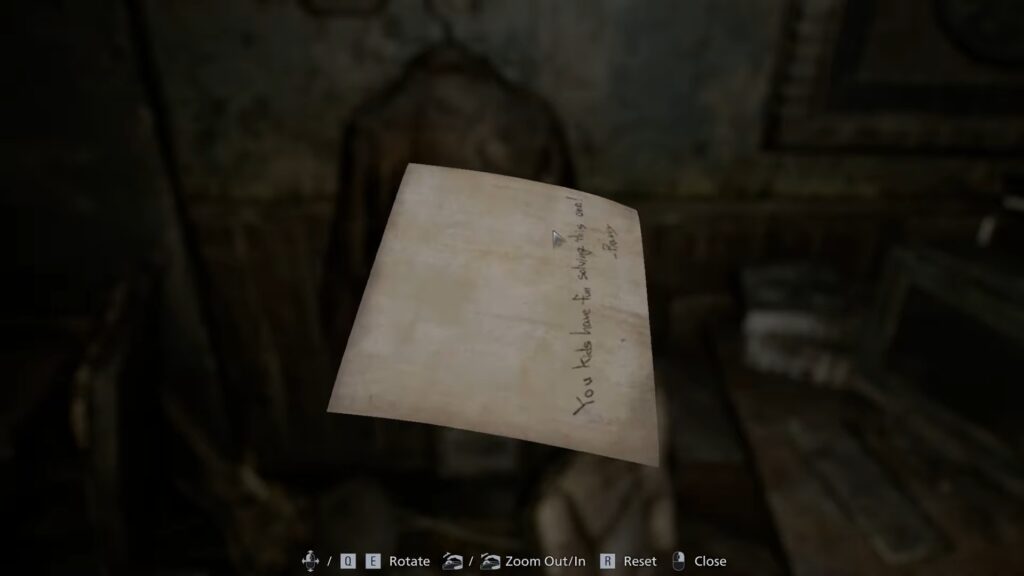
Head to the S.T.A.R.S. Office on the second floor in RPD. Get inside the room to find photos left by Barry Burton hidden around. Open the locker in this room on your right, pick up the photo, and examine it.
After that, interact with Chris Redfield’s brown leather jacket on the wall on the opposite side of the locker. You get another photo to examine. These two photos together act like a map, giving you a hint to go to a specific place.
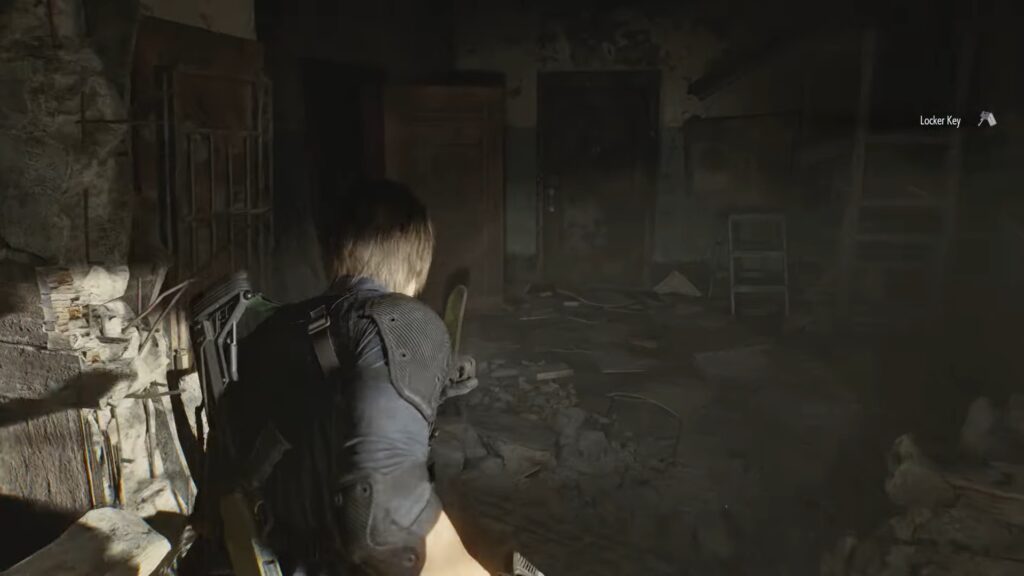
Exit the S.T.A.R.S. Office and go to the first floor of the RPD to move inside the Operations Room. Find the stack of wooden pallets near the board and climb up to reach the hanging TV. Pick up the JoJo’s Locker Key from the top of it.
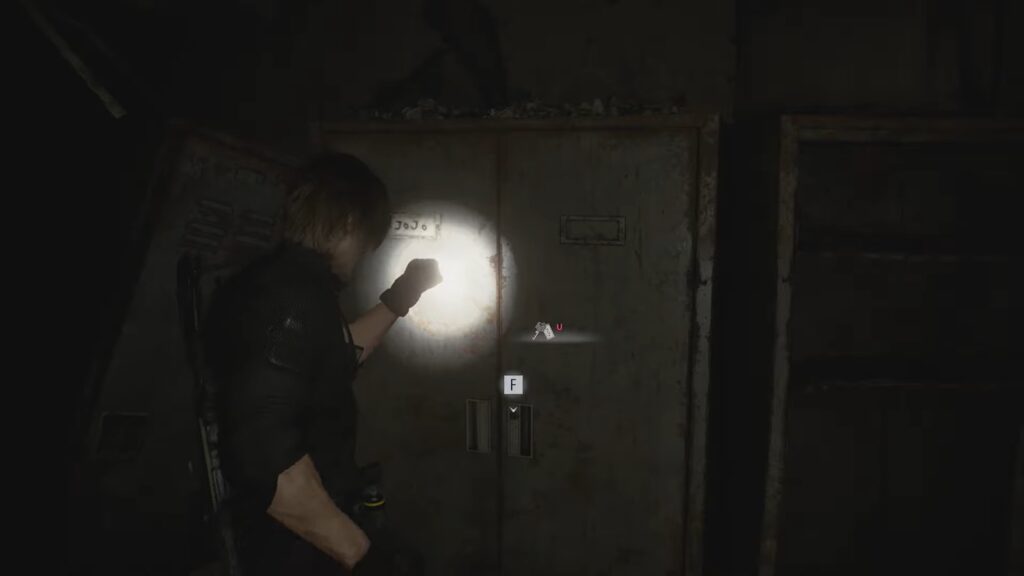
Make your way back to the West Office on the ground floor after obtaining the key. Once inside the office, use the key on the rear corner locker to obtain the S.T.A.R.S. Emblem Charm and two Raccoon City Zoo tickets.
The Final Puzzle
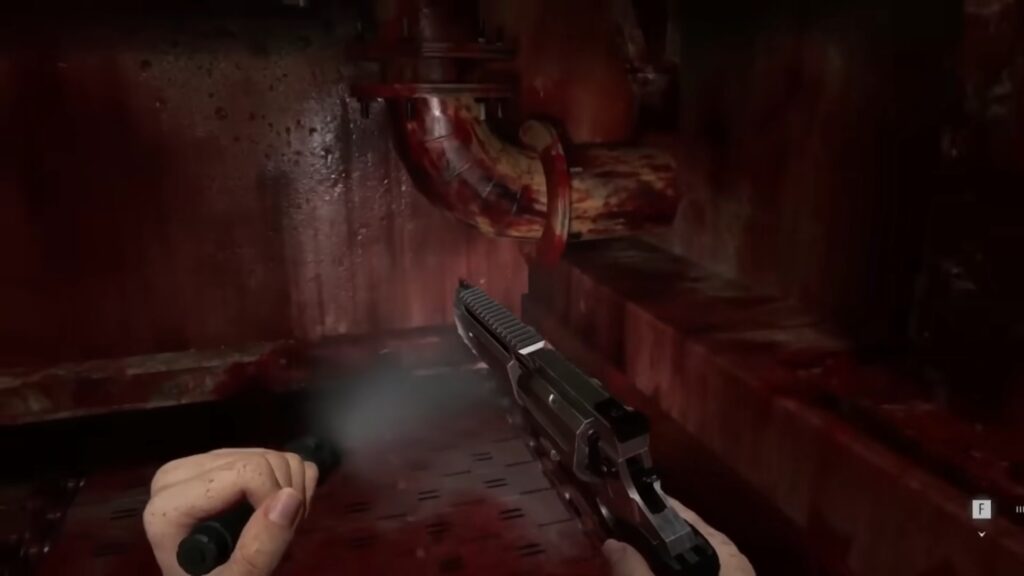
This is a secret post-game challenge you only unlock after beating the game once. Solving this puzzle grants you 20,000 Challenge Points, which you can use to unlock weapon skins.
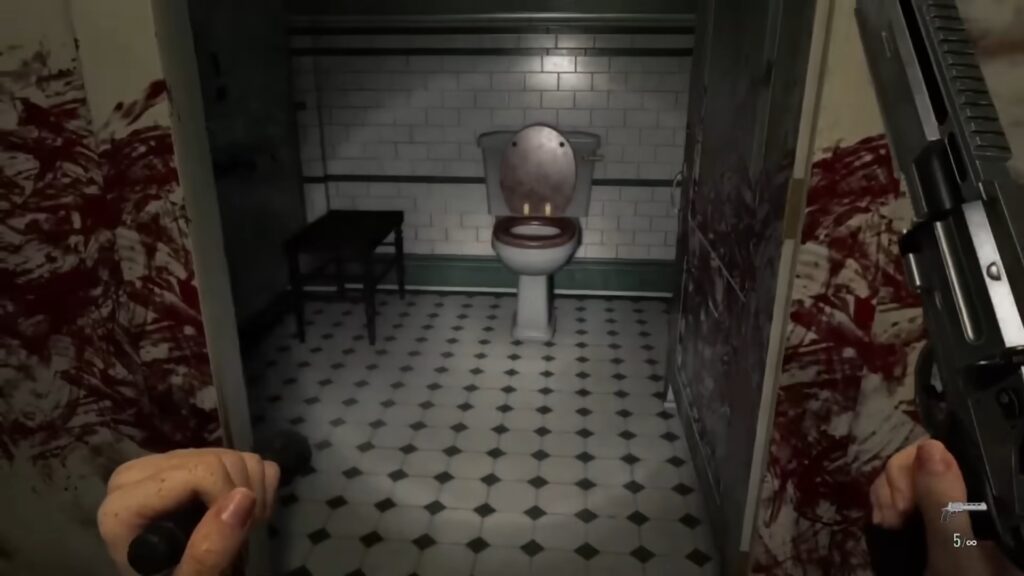
Make sure to trigger a few hidden flags before completing the main story.
- Don’t need to kill zombies manually in the blood processing area.
- Let them fall so they die from the machine.
- After a while, drain the blood.
- Go to a restroom in the West Wing after escaping back into the Care Center with Emily.
- Flush the same toilet exactly 8 times with Emily.
How to Find Marie’s Doll
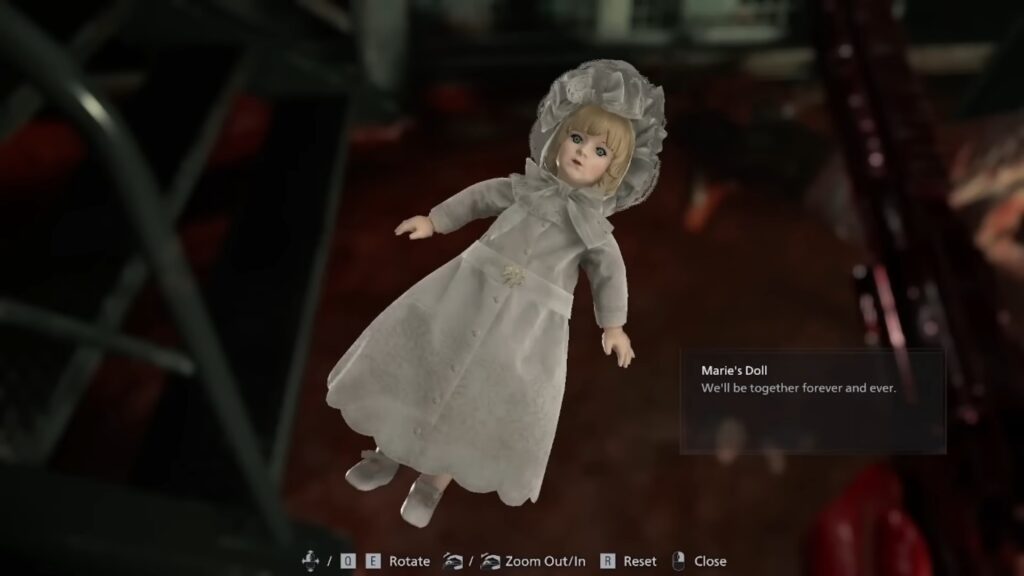
Make your way into the Collection & Testing room after progressing through the VIP Suite and Underground Facility. Look at the flooded area near the metal stairs after the explosion.
You can find Marie’s Doll on the ground, so pick it up and carry it to the end of the run and finish the campaign.
How to Get the Severed Hand
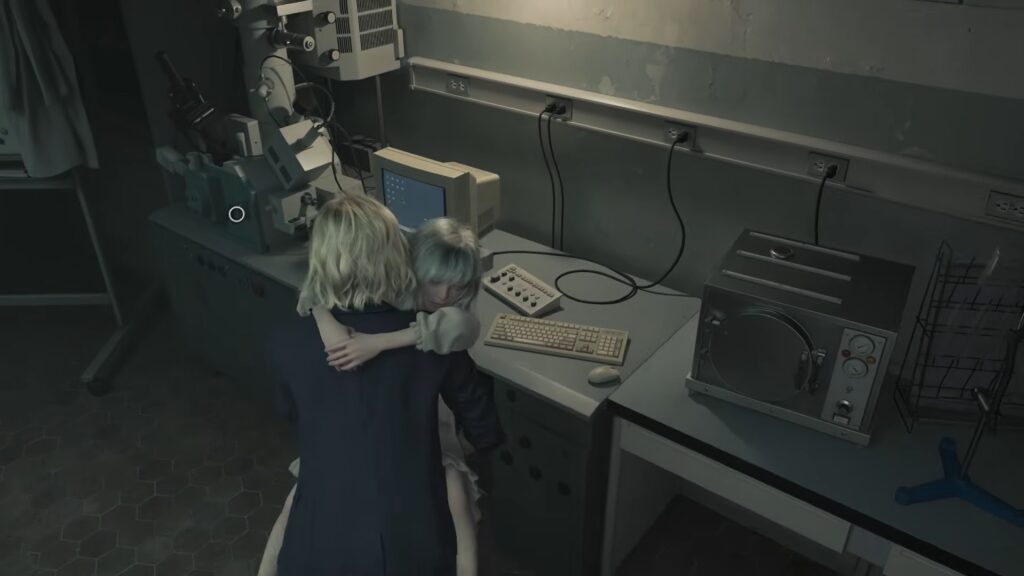
Once the Grace escapes the basement with Emily, you find the severed hand on the floor near an elevator. Pick it up and bring it inside the East Wing Blood Lab. Interact with the laser microscope to examine it, revealing a cryptic DNA-like sequence.
Decode the RNA sequence
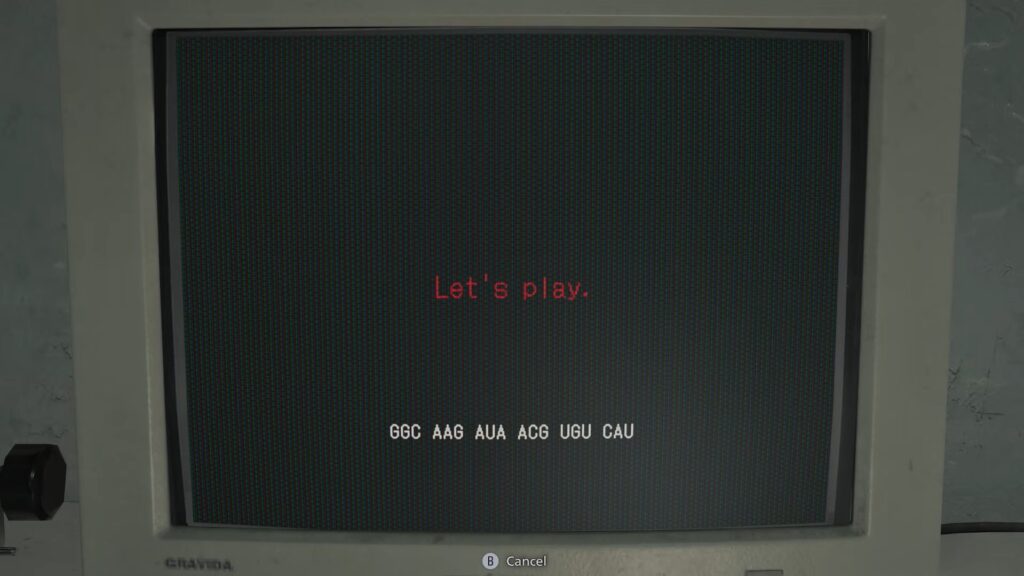
You need to decode the DNA Letters (GGC-AAG-AUA-ACG-UGU-CAU) using the clues.
- G → Sun
- U → Moon
- C → Star
Make your way into the Lead Researcher’s Office on the second floor of the Care Center East Wing. Use the puzzle box there while carrying Emily and Marie’s Doll in your inventory. Enter the code, Sun, Sun, Star > Sun, Moon, Star > Sun, Moon, Sun > Moon, Star, Moon.