


Discover everything you need to know about Ebisugaoka Mountain Path walkthrough in Silent Hill f, including how to progress in it.
The Ebisugaoka Mountain Path in Silent Hill f is the area that links the Ebisugaoka village and the upper Dark Shrine area. The zone is filled with deadly monsters and a Fog Monster. Progressing through this chapter can be challenging due to powerful enemies and its complex mechanics.
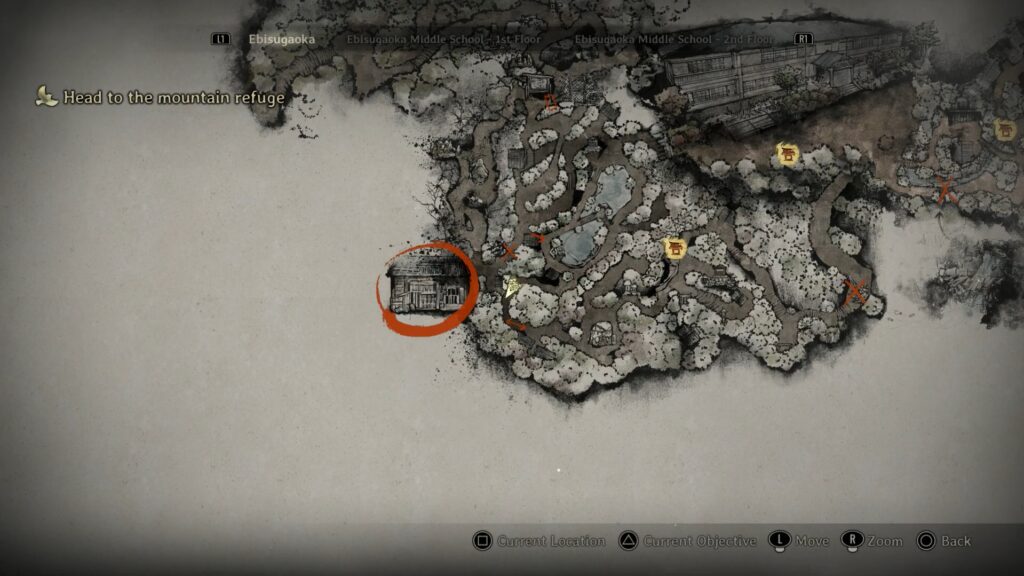
Make your way to the Shu’s house and head to the Mountain refuge. Get your hands on the Gate key and escape from the Fog Monster. Use the right strategies to defeat the monsters to proceed further. In this guide, we’ll discuss how to progress in Ebisugaoka Mountain Path, including some tips to escape the Fog Monster.
Locate Shu and Rinko
Find Shu and Rinko after waking up. A small cutscene commences after leaving the school. You can already be available in the mountain when the cutscene ends. Go through the stone stairs to move upward.
Find A Path To Shu’s House
Move to the path on the left and collect chocolate from the bench after seeing the staircase ending while going up. Continue moving up the stairs and go through the point till you find the shrine. Interact with the shrine and save your progress. Acquire Yokan by following the path on the left.
Move to the left after getting up to the other path on the way. Pick up Dried Carcass by following the path to the dead end. Return and keep running to the major path. Take the stone stairs to head up and head straight. Turn left and continue moving.
Acquire an Axe
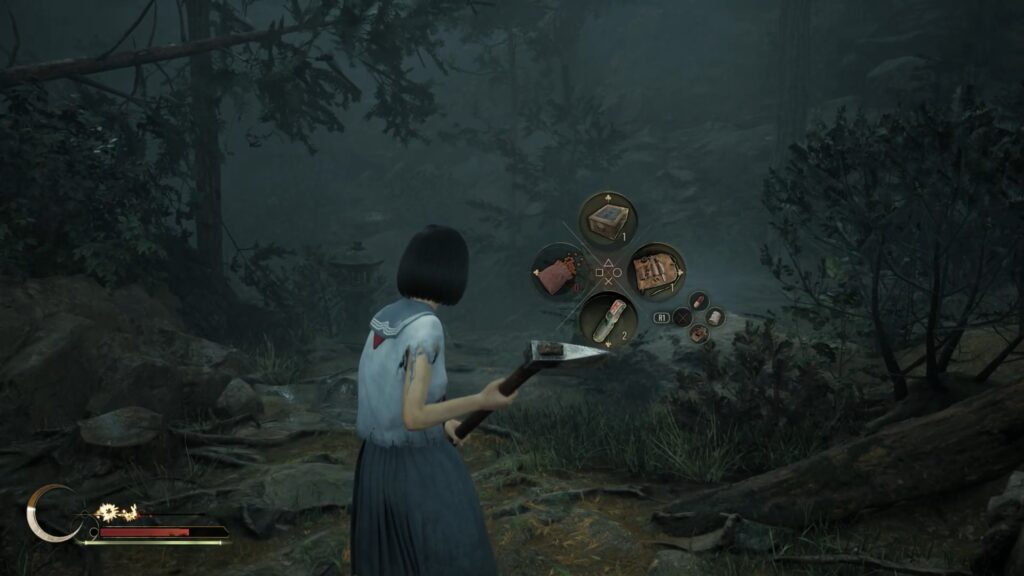
Defeat the enemy you encounter after moving ahead. Go to the left path and obtain the Axe from the tree. Axe is basically a melee weapon that replaces Sledgehammer and can deal massive damage to enemies in combat. Sledgehammer is obtained from Ebisugaoka Middle School.
Explore Mountains
Make your way to the path on your left and collect the bandage while exploring near the bench on the right. Be aware of the enemies ahead of you. You don’t need to engage with them, as you can just avoid them to avoid wasting the healing items or other resources. Move in a straight direction and move upward to the left. Pick up the Antique Comb near the shack over there.
Return to the main path and clear the path by removing the log to move straight. Defeat the enemies you locate here. The enemies here can deal massive damage, and eliminating them can be challenging. Follow the path until you hear the voice of Hinako.
Move to the path on the left and collect Ramune near the basket. Go through the left path near the bridge. You need to move down from the path on the left and get the toolkit from the end path. Make your way back and continue running to another path on the right side near the bridge.
Avoid Monsters
Travel to the left and pick up Kudzu Tea while exploring. Continue moving ahead and avoid fighting with the enemies. Move to the right once you take the stairs to move up. Go to the other side after collecting Research Notes on Hakkokuso. Collect the Antique Comb near the shovel after moving down from the bridge. Return and take the right turn, and keep moving till you find another enemy. Avoid it and move to the path on the right.
If you listen, “Did I finally make it out? From Hinako, then it means you’re on the right track. Obtain a note and a Red Capsule from the right side by interacting with the board. Move to the path on the left to get the toolkit and Yokan.
Move to the Mountain Refuge
Make your way back to the path where you get your hands on the toolkit. Follow the path till you find monsters over there. Pick up the Strange Note near the trees. Collect Red Capsule from the east side. Move to the path on the left and get Ema while following the path. Avoid the monster you encounter while passing through. Move down to interact with the shrine after avoiding the monster. Save your progress and mark it as a checkpoint.
Locate Gate Key
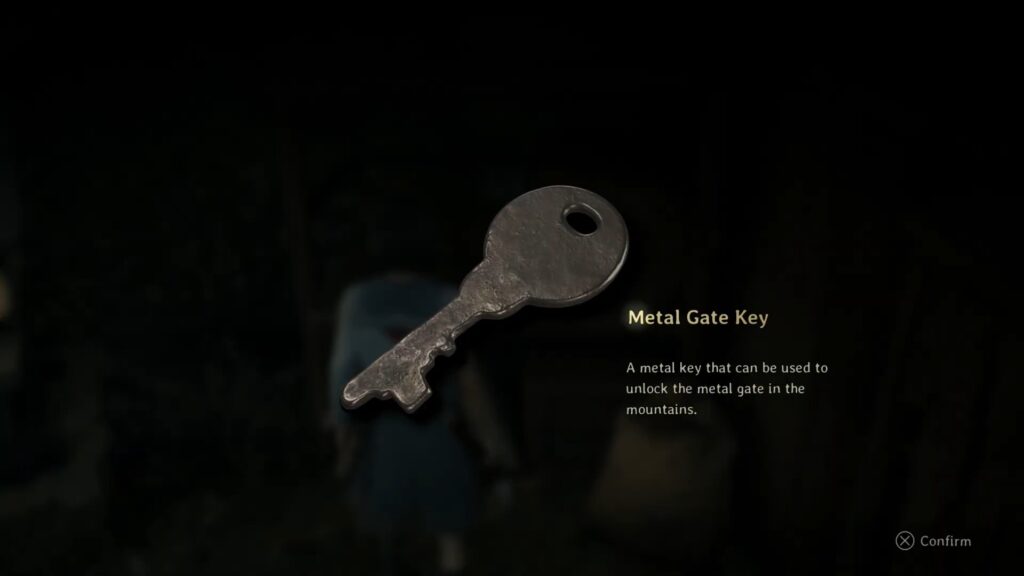
You need to find the gate key in this area. Search the area near the shrine to collect a key and a Strange Note. Collect the Shriveled Abura-age after moving around the house. Pick up the Crowbar from the bench over there. Two or more enemies will attack you, so stay alert. Take out your weapon and perform a heavy attack, and follow up with the light attacks to eliminate them.
You must move the logs west to the shrine and move down. Get ready to escape from the Fog Monster that will chase you on the way. Stopping at any point while this monster is chasing can put your life at risk.
Escape The Fog Monster
Continue moving through the path and don’t you dare to step on the redish items while running. Go through the wooden bridge and take a U-turn to find the glowing lantern. You can see it at the end of the bridge. Keep passing through the path and avoid the enemies on your way. Take the stone stairs on the left to move upward.
Go to the left path, but the Fog Monster will rush towards you from the left side. Move to the path on the right and take another right. Dodge the enemy attack and pass through the wooden bridge. Travel to the left path and interact with the gate. A cut scene will commence. Collect Higashi, Arare, and a First Aid Kit from the boxes over there.
Once you move ahead, you will see that the Fog Monster is again behind chasing you. Move to the north and avoid the enemies. Take the logs to the left and continue moving the path till you find a fallen tree. Move under this tree and take a quick U-turn to avoid all the enemies over there. A cutscene will appear on the screen, and your objective will now be updated to Head to Shu’s House.
Head to Shu’s House
Interact with the shrine and save your progress. Get your hands on the “O Divine Tree” (Achievement) after going through the secret location on the left of the shrine. Continue moving to the path on the right till you find Shu’s House. Move around the house to see a shack.
Get inside and collect the Front Door Keys to Shu’s House. Collect the Red Capsules from there and travel to the opposite side of the front gate. A cutscene will appear on the screen by interacting with it. You get attacked by an unknown person and pass out.


