


Discover everything you need to know about the Dark Shrine Rooms in Silent Hill f, including how to progress in it.
Dark Shrine Rooms in Silent Hill f is all about completing the Mural Puzzle to get access to the Ebisugaoka Corupted (Fog Town). Locate all three crests to solve the Mural puzzle in Dark Shrine Rooms. Black Sparrow Crest, White Sparrow Crest, and Fox Mask Crest are located in different locations, so collecting them can be challenging. Defeat all the enemies while progressing through this Chapter.
You will encounter enemies like Birthing Monster, Blade Legs Monster, Oi-omoi, and Shackled Monster while exploring. Use the Journal Entries as a guide while placing Crests inside the hole slots. In this guide, we’ll discuss how to progress in Dark Shrine Rooms in Silent Hill f, including some tips to solve the Mural puzzle.
Head to the Next Room
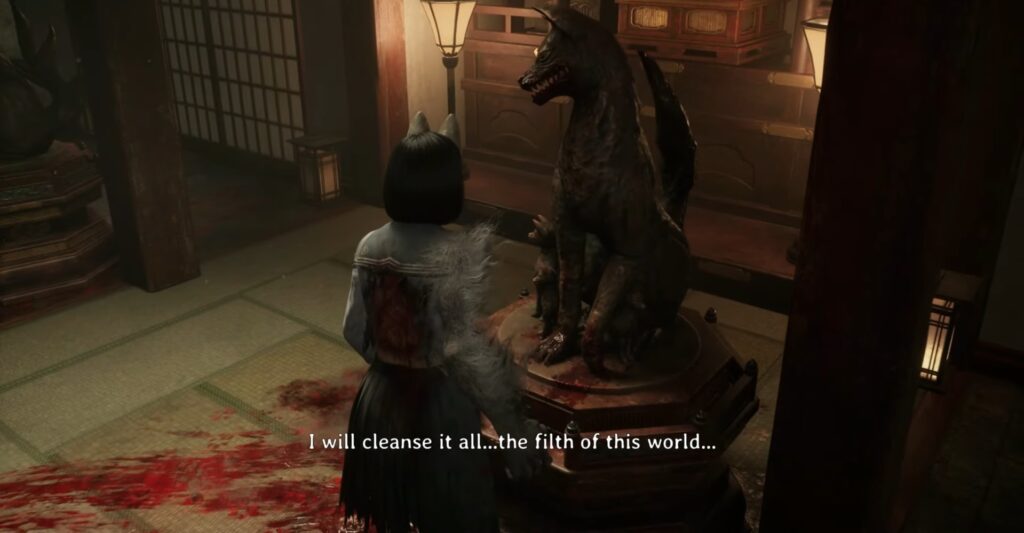
Hinako faints after the murder of her parents. You find yourself in the Dark Shrine area, and the Fox Mask helps you to stand again on your feet, as showcased in a cutscene. Move to the next room and keep following the path. Pass through the wooden bridge and interact with the shrine on the left to save your progress. Open the door and start investigating this area. Interact with the portrait in front of you. Collect all three Crests and place them in the correct hole in the portrait.
Move to the west to get inside the room. Pick up the Family Physician’s Log and open the door on your right side. Move around the room and defeat the enemies over there. Perform Soul Siphon to charge your Bestial Form after defeating the enemies. The enemies are more powerful, so you don’t need to fight them all.
Locate all Three Crests
Black Sparrow Crest is located inside the Western Chambers of Dark Shrine Rooms. Make your way to the end of the hallway after getting inside the door. This is the same door where the Fox statue with the Ornate Scroll is pointing towards. Defeat all the enemies to open the box. Pick up the crest and escape the room from the exit to the east. You need to activate the talisman to escape this area, as the illusory wall is blocking the path to the hidden room.
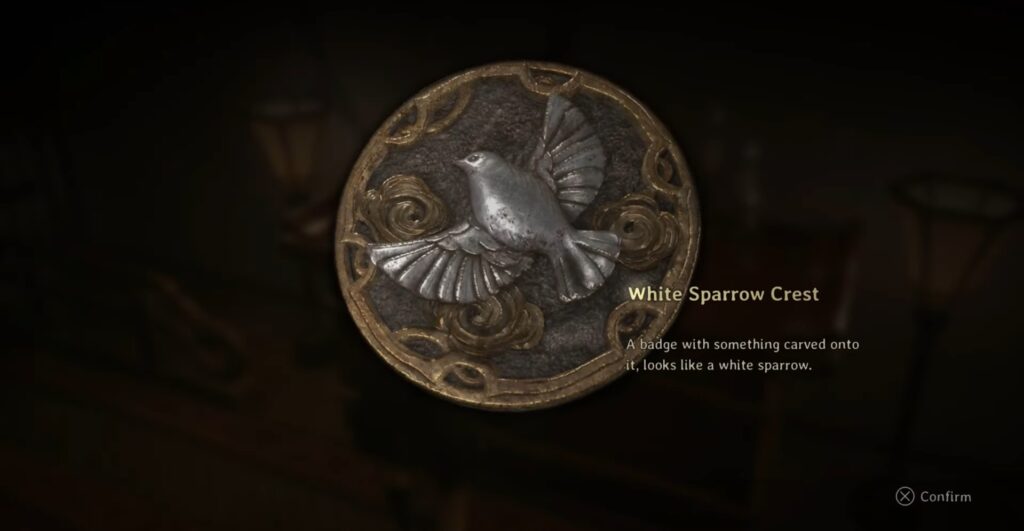
White Sparrow Crest is located inside the Southern Chambers of Dark Shrine Rooms. Collect the notes while getting through the Southern door. Get inside the room and defeat the Drum Monster, along with other blade monsters. Gain the White Sparrow Crest by defeating them. The box can’t be opened, as some enemies are hidden behind the illusory walls.
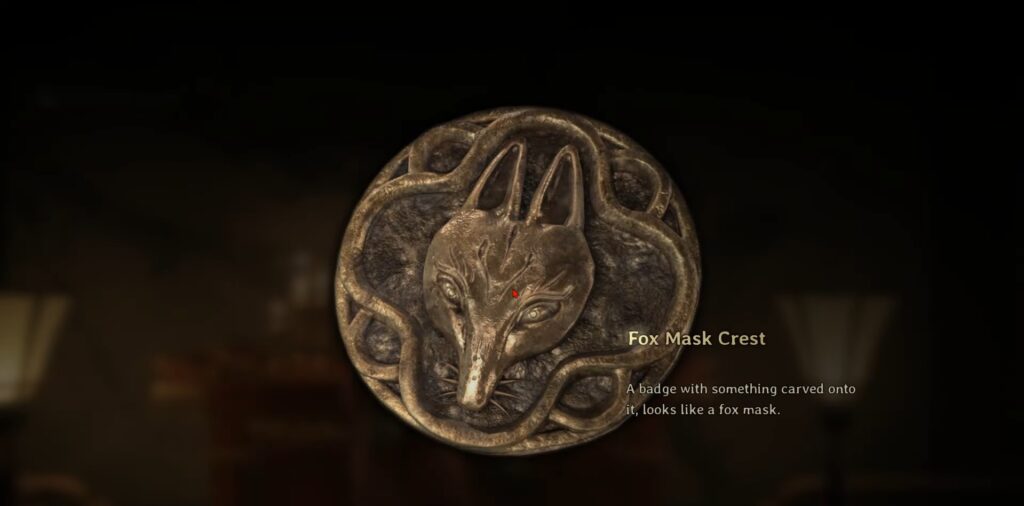
Fox Mask Crest is located in the Eastern Chambers of Dark Shrine Rooms. Find the Fox Statue with an arrow piercing. You can gain a Scroll of Welcome and a direction to the door, leading to the crest. Defeat all the deadly enemies after getting inside the room. Open the Box and gain the Fox Mask Crest. Use the Sealed Talisman to open the box, triggering the cutscene.
Find Black Sparrow Crest
Move around the room and get to the room after opening the sliding door. Find the door on the left and open it, and find to fox statue. Interact with it, and the blade will fall on the ground, allowing the statue to change its direction. Open the door on your left and then to on the right door, and obtain Omamori Hound. Collect Yokan from the next room and get a Shriveled Abura-age and a Higashi from the other rooms.
Defeat the enemies after entering the room on the top right. Get access to the hidden path and collect the Black Sparrow Crest after exiting the room and moving to the right. Move back to the secret path and exit through the door on the left side.
White Sparrow Crest
Collect the Housemaid’s Note from the room you just entered. Open the sliding door and collect the Strict Mother’s Letter near the pillar. Move to the right side and open the sliding door to encounter two Shackled enemies. Defeating these monsters allows you to fill your Bestial Form Gauge. Use the right tactics to defeat them using your best weapon. Perform a heavy attack to stun and then follow up with the light attacks to finish them.
Leave the room after fighting them and open the door to get inside the room. Drum Monster is waiting for you here, and defeating it can be challenging. Don’t be more aggressive with this enemy if you don’t have the Bestial Form fully charged. Make sure you have this fully charged before entering this area. So, defeat the blade-legged monsters to gain a charge for the Bestial Form. Approach the Drum Monster and defeat it with ease.
Find Hidden Path
Acquire the second crest from the middle of this room. Unlock the path by pressing L2, and get inside to explore this path. Collect the Antique Comb from the right side after getting inside the hidden path. You can’t break the seal of the talisman if you don’t use the ability to unlock the hidden path.
The talisman is basically defending the crest, so you need to unlock both hidden paths before finding the box of the crest. Move ahead and get your hands on the White Sparrow Crest. Get inside the room on the left to move into the room with the paintings.
Fox Mask Crest
Move inside the room ahead of you after moving into the room with the wall paintings. You must offer some items as an offering to gain Faith and the upgrade at the shrine. Open the door on the right and get inside the room. Collect a Mandate of the Clan note, an Ema, and a Letter after getting inside the room. Move out and start running to the right corner of the room.
Locate the fox statue in this area and interact with it to gain a blade from its bottom leg. You can gain the Orante Scroll when you interact with this statue. You need to unlock the door where the fox statue is facing with blue eyes. Interact with other items to gain other valuable items.
Defeat Monsters
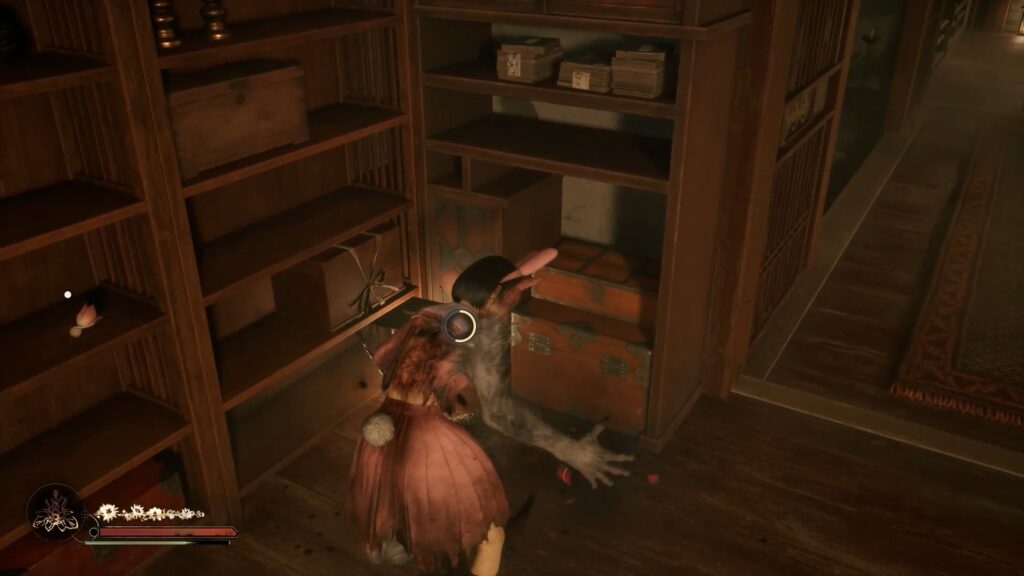
Get inside the room and follow the path to the right. Move to the left and encounter the Birthing Monster and a Shackled Monster. You must dodge it when you see it coming. It also roars and screams, which stuns you if you get too close. If any cocoons become monsters, kill them first so they don’t distract you.
Since the Birthing Monster is slow, you can dodge, land hits, then back off to avoid its ranged attacks. Press R2 for a counter if you see a red glow around it. Once you defeat the Birthing Monster, don’t forget to perform Soul Siphon. Get inside the Ritual Chamber and collect the First Aid Kit from the left side. A cutscene will commence, and your objective will be updated to reach the final Ritual Chamber.
Exit the room after defeating them. Interact with the box ahead of you and collect the Fox mask. Once the cutscene ends, you will get the Fox Mask Crest. Move back to the room with the painting after exiting the room through the door at the right.
Solve Mural Puzzle

The solution for this puzzle depends on the ending being progressed. You need to locate Black Sparrow Crest, White Sparrow Crest, and Fox Mask Crest to progress in the Mural puzzle. The locations of all these crests are different from each other, and acquiring them can be challenging. Placing a fox mask and two sparrow crests on a large painting allows you to complete the puzzle and unlock a new path to move forward.
The exact placement varies depending on which ending you are aiming for, making this puzzle even more complex. Use the visual motifs on the mural to confirm you’re placing each crest in the correct slot. Completing this puzzle allows you to gain access to the Ebisugaoka Corrupted (Fog Town). Below are all the endings and their solution for completing the Mural puzzle.
- Coming Home to Roost- Locate the clues from the last two stanzas of the poem. Fox doesn’t notice the two birds, as it’s leading the group. Place the Fox Crest in the Fox in the far left.
You need to insert the White Sparrow in the lantern. This one is available in the upper middle area. Just like a fox pulling the rope of the White Bird’s lantern, the Black Sparrow takes the White Bird.
- Fox’s Wedding- Focus on the last two stanzas of the poem to see the solution to the ending. The fox is leading the group to the far left. The white bird sleeping is the second clue. The fox is trying to steal the lantern. You need to place the White Bird in the center lantern. Black bird is the hardest clue to solve. Place it inside the lantern, which is held by the fox.
- The Fox Wets Its Tail- Focus on the last two stanzas of the poem to complete the puzzle in this ending. Just like two Foxes running away from the group, the White Bird flies free from her cage. You need to place the White Sparrow in the lower-right fox. Locate the Black Bird in the closest lantern on the left. Insert the Crest inside the raised lantern on the left side above the palanquin.
The Mural will disappear once you complete the puzzle. Get inside the room by opening the door ahead of you. A cutscene will commence, showcasing Fox Mask and Hinako. Hinako gets back to Ebisugaoka Town after they open the gate, and your Dark Shrine Rooms (Chapter 11) end.


