
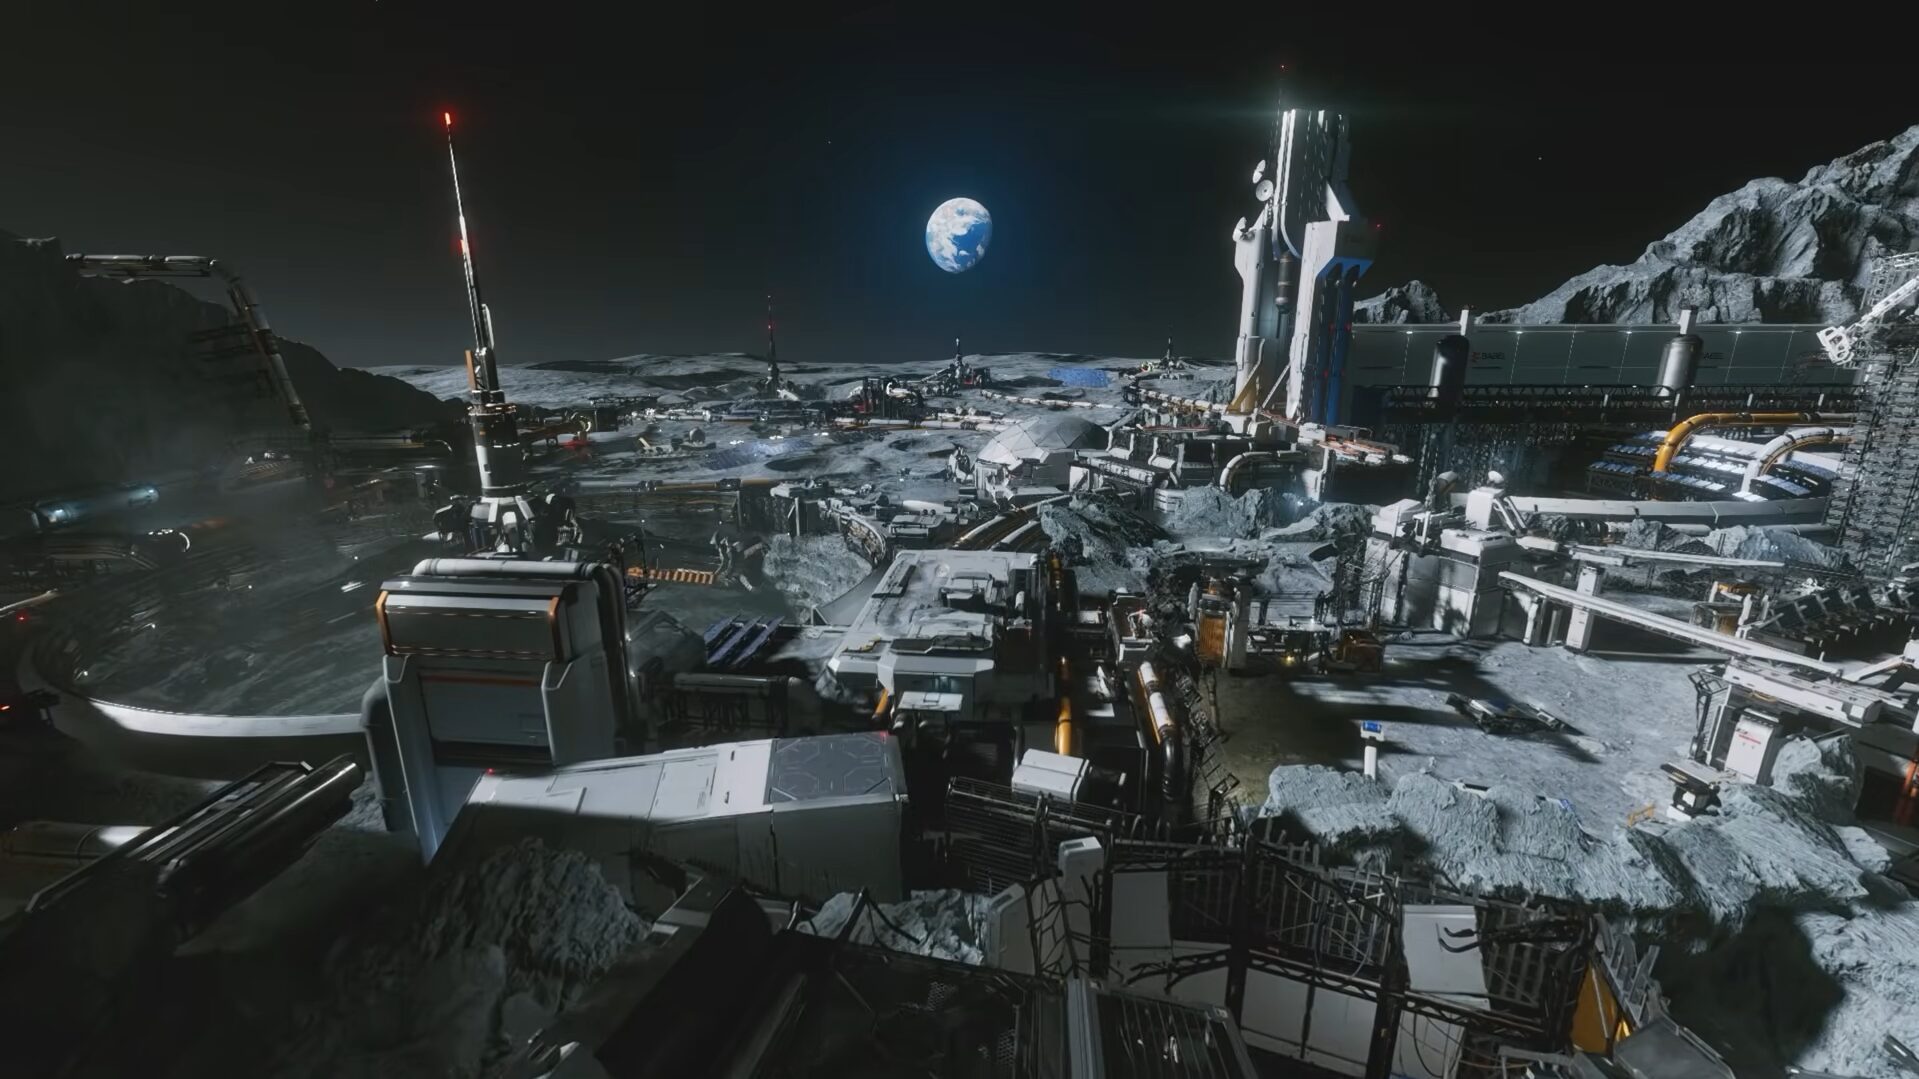
Discover everything you need to know about the Sector 4 and 5 Lunum Mines & Experimental Pragmatics walkthrough in Pragmata, including how to progress.
Lunum Mines is the fourth sector in Pragmata and acts as a mid-game challenge spike, introducing tougher enemies and more complex puzzles. The sector is divided into 5 main sub-areas, like Mine Entrance, Crane Operation Yard, Warehouse, Main Excavation Site, and Nexus Tower. Experimental Pragmatics is the next sector where you learn about DR. Higgins.
Each area mixes platforming, hacking puzzles, and combat in different ways. Some areas are locked until you unlock abilities later, so backtracking is normal. The final boss is LunaDigger, a massive mechanized worm, and you encounter it multiple times before the final boss fight. Let’s dive into the Sector 4 & 5 Lunum Mines & Experimental Pragmatics Walkthrough in Pragmata.
Mine Entrance
The objective in Mine Entrance is to learn the layout and basic traversal. You must clear the first enemy rooms and begin collectible hunting. Move forward through low-gravity platforms and early crystal barriers to hit the first combat room. Start your journey by moving forward till you find yourself in a space.
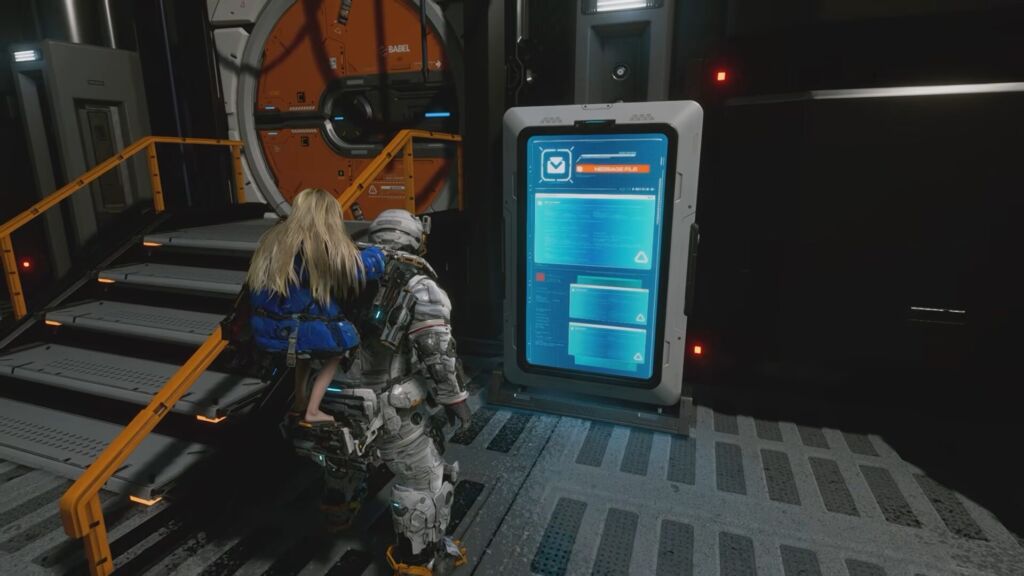
Get to the Mine Entrance
Gravity drops when you’re in space, so you can jump higher and stay in the air longer. However, the movement speed is slower, affecting your progression. Move into the lower area to get your first upgrade component here. Continue moving the path till you enter another space area with the pillars.
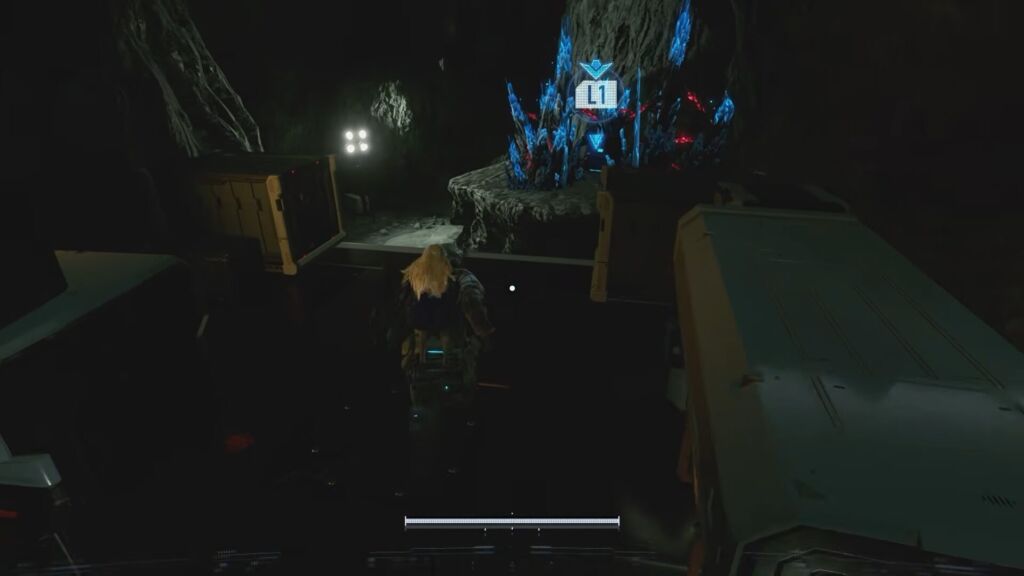
Find Filament Masses
Make sure to drop onto the blue trap and go to the right side to get the filament mass. You need to jump over the platforms over there and use your weapon to destroy the filament. Get the Equilibrium mod from the chest. Find another blue trap while facing towards the building after getting to the top of the pillar.
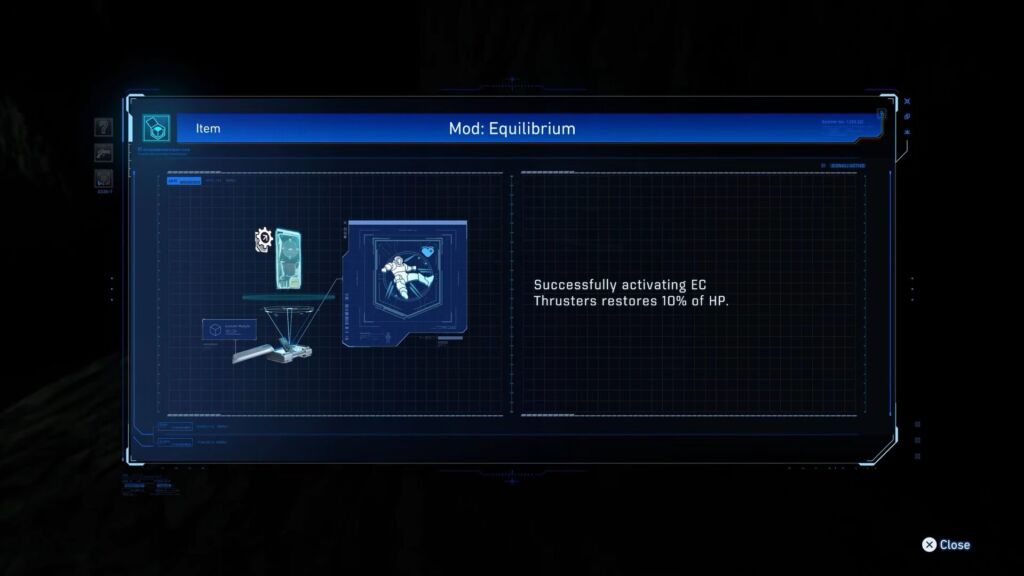
Equilibrium Mod
Reach the platforms in front of you by using the thrusters till you encounter the homing missiles. Get ready to defeat spider enemies in the area ahead. Approach the pillar in the corner to hack the terminal. Make sure to time your button presses to make the hacking successful. Use the stairs and platform to go up from the other corner and find the safe box at the top. Get the upgrade component after dropping down and destroying the filament spikes.
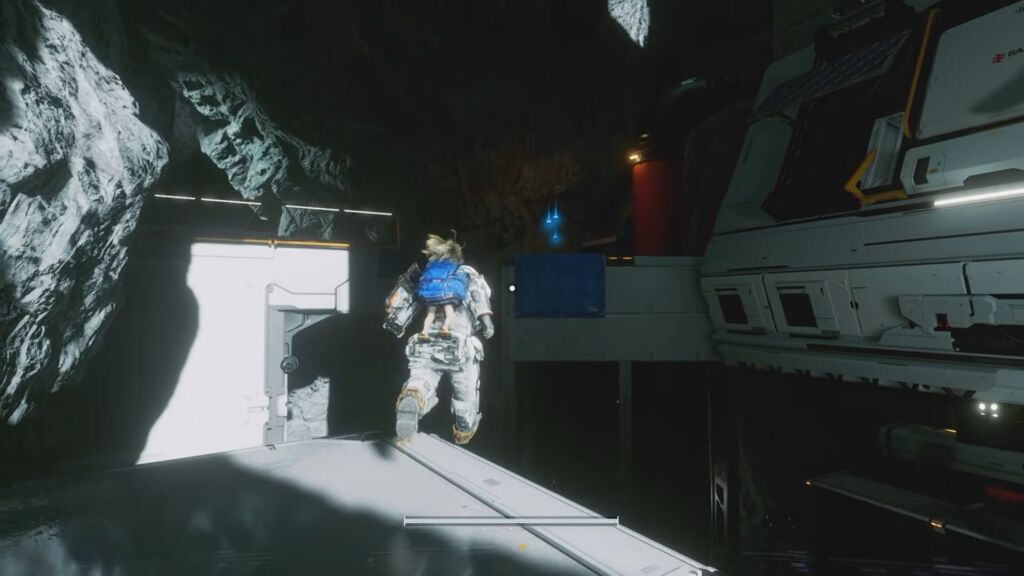
Reach the Upper Floor
Go directly towards the stairs to reach the box to get your hands on the blue trap. Thrust your way to the orange box and the door in front of you. Take a few steps ahead and hack the door to trigger a cutscene, showcasing LunaDigger (Robotic Space Worm). Don’t waste your time trying to destroy the filament, so just ignore it.
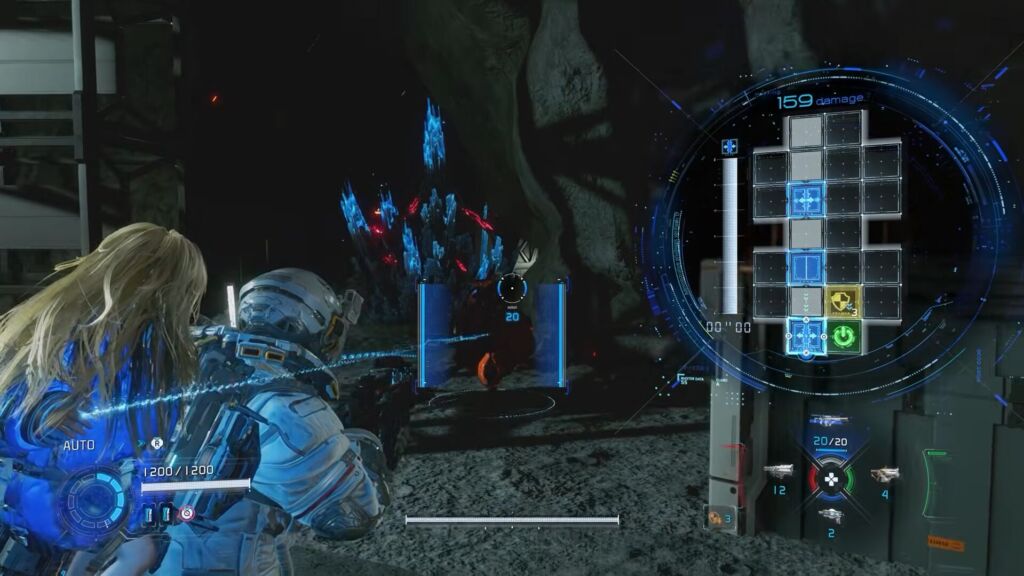
Defeat the Enemies
After taking a few steps ahead, the ground starts shaking, and the LunaDigger spawns. Defeating this boss can be challenging here, so keep moving ahead while jumping and dashing to avoid getting caught. Being grabbed by this enemy requires you to complete a hack to get rid of it.
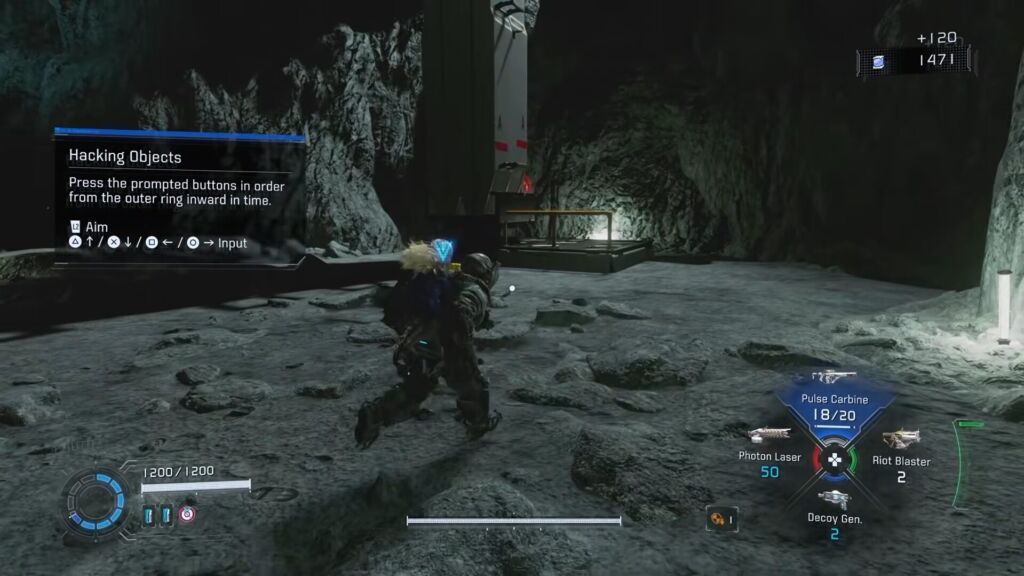
Take the Elevator
Make your way inside and defeat the two walkers and a new version of this enemy type. Once eliminated, jump over the platform to reach the staircase. Keep moving through the door to get outside. Approach the platform in front of you and jump on it to defeat the missile-based enemy.
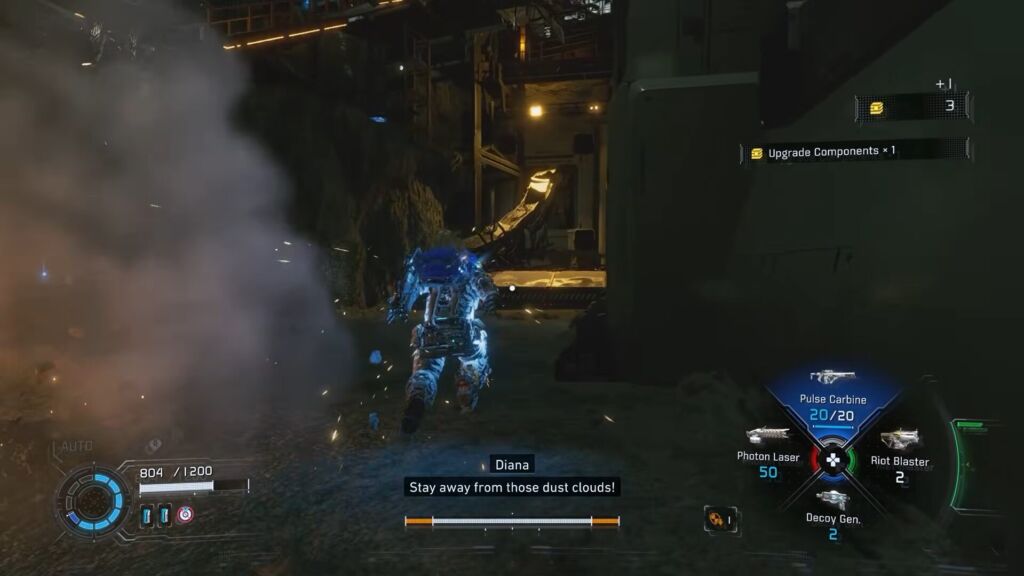
Campfire REM
Keep moving up to get an escape hatch till you reach the stairs at the top. You need to drop into the small opening to get Campfire REM and return to go through the door at the top. Doing so lets you enter the Crane Operation Yard after getting the escape hatch.
Crane Operation Yard
Get your hands on the impact shield from the corner of this room. This defense unit lets you avoid the attacks from LunaDigger. Once picked, get out into the space to encounter this boss. Wait for the elevated platform to start picking up moon dust and then jump on it. Get the Analog Aggression mod from the next platform above you.
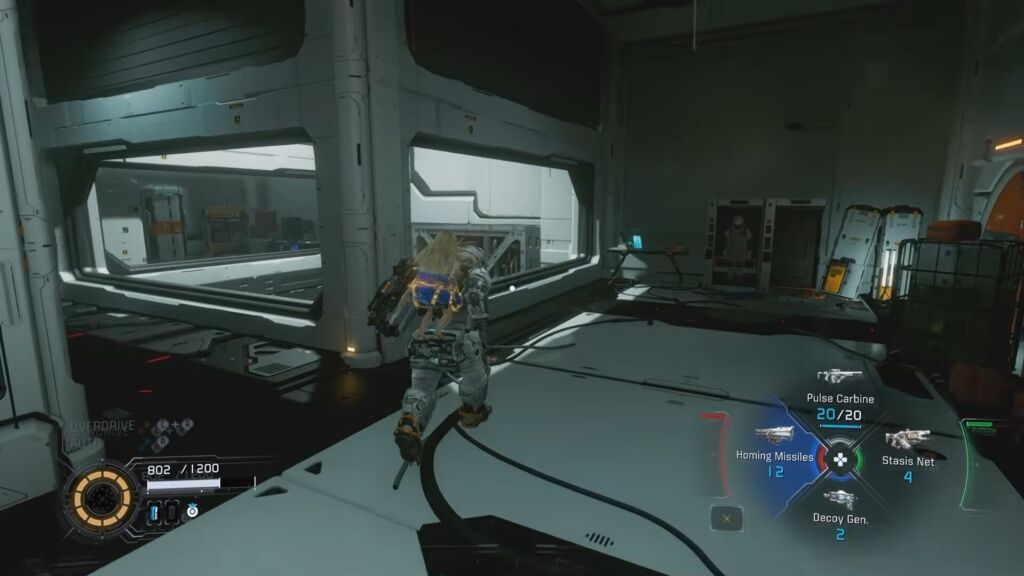
Crane Operation Yard
Use the thruster to reach the platform on your right side. I recommend using the dashes to avoid the LunaDigger and move into the building with the orange door in front of you. Defeat all the enemies after getting inside and take the stairs to move up.
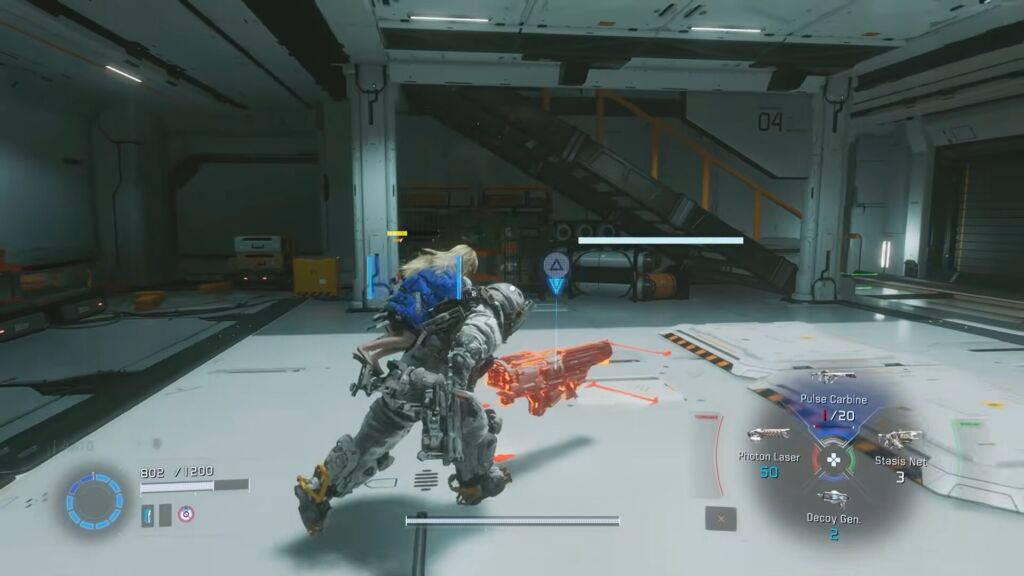
Take the Stairs
Once you reach the top, pick up the safe box from the path on the left. Defeat two walkers in this area and approach the orange door to return. Approach the terminal to hack it to get the storage container. Use the thruster and find the safe box after reaching the top.
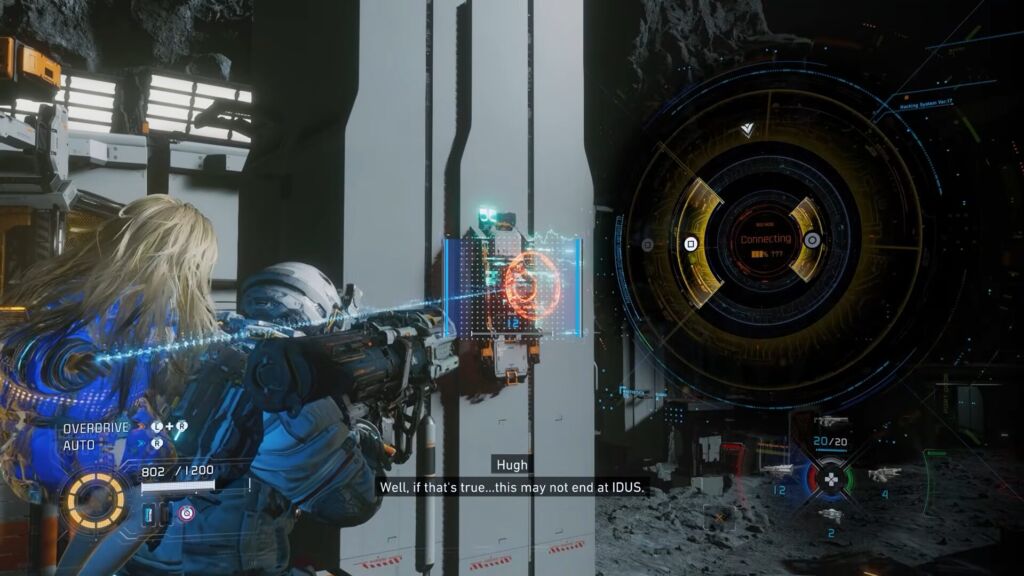
Hacking the Terminal
Move to the corner of the building and locate the holographic wall to interact with, allowing you to unveil another safe box. Start running from here and then dash towards the platform to trigger a cutscene. Get the upgrade component from the left side of the orange door over the platform.
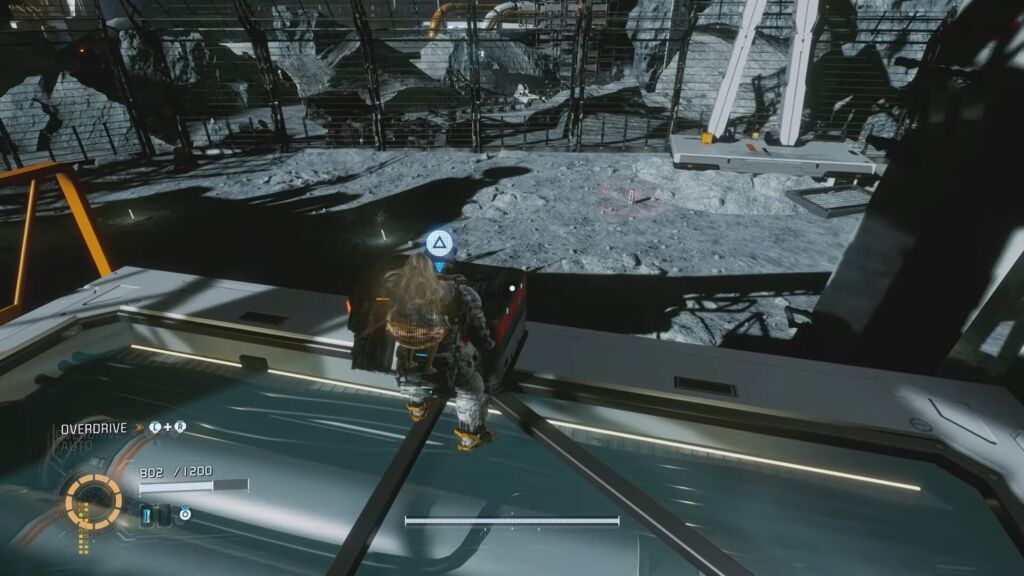
Digital Dominance mod
Go to the platform on the right to get another upgrade component. The enemy spawns here and starts attacking you, so quickly take it down. Move up the platform to eliminate the watcher MK-II, and get the Digital Dominance mod by moving up the crane. Go to the platform across the area and tackle the enemy by using the mines.
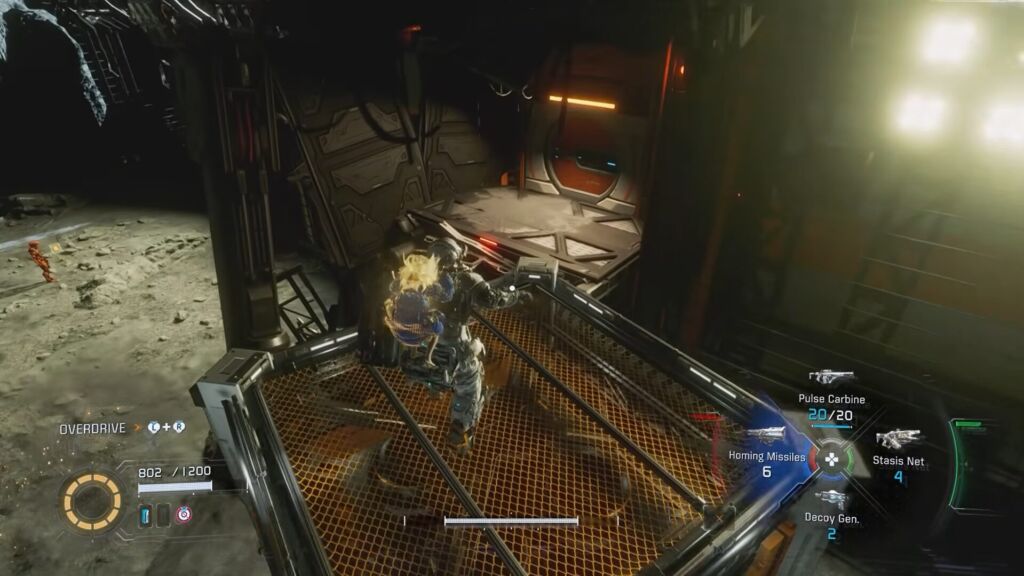
Find Orange Container
Defeat the enemy standing on the higher ground and drop the orange container by hacking the terminal. Take the elevator to interact with the escape hatch and move into the Warehouse.
Warehouse
Make your way inside the area in front of you to find the red gate. You can get the upgrade component from here and find another terminal. You can use the red gate key to open the door and move inside. If you don’t have the key, get ready to defeat different enemy types to get the pure lunum and storage expander.
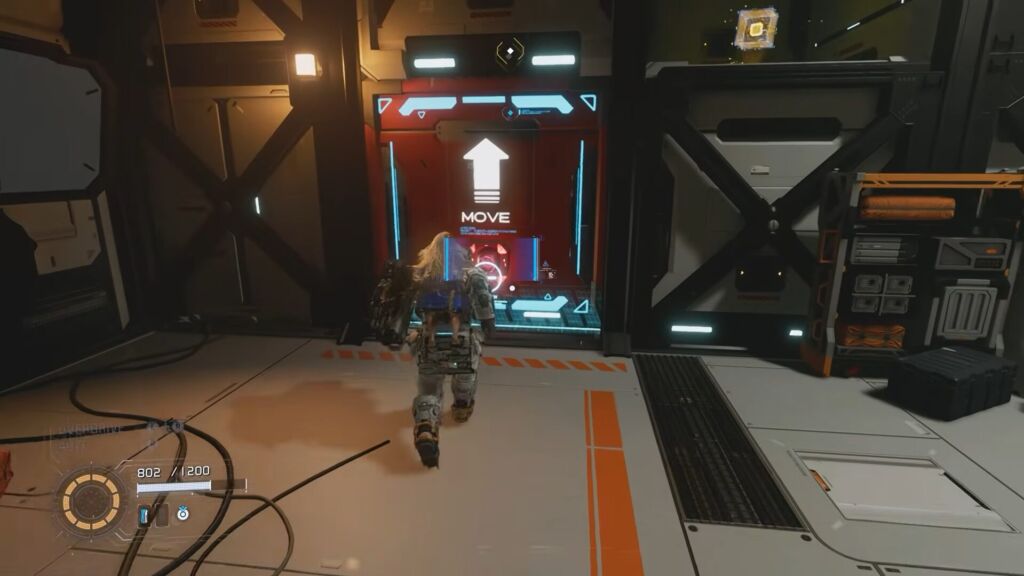
Hack the Move Container in the Warehouse
Approach the hackable terminal and hack it to move inside. Hack the other terminal in this new area and go to the left side to find the locked terminal. Get over the orange container and reach the fence to encounter another hackable terminal. You get the Bug Net REM by hacking this terminal.
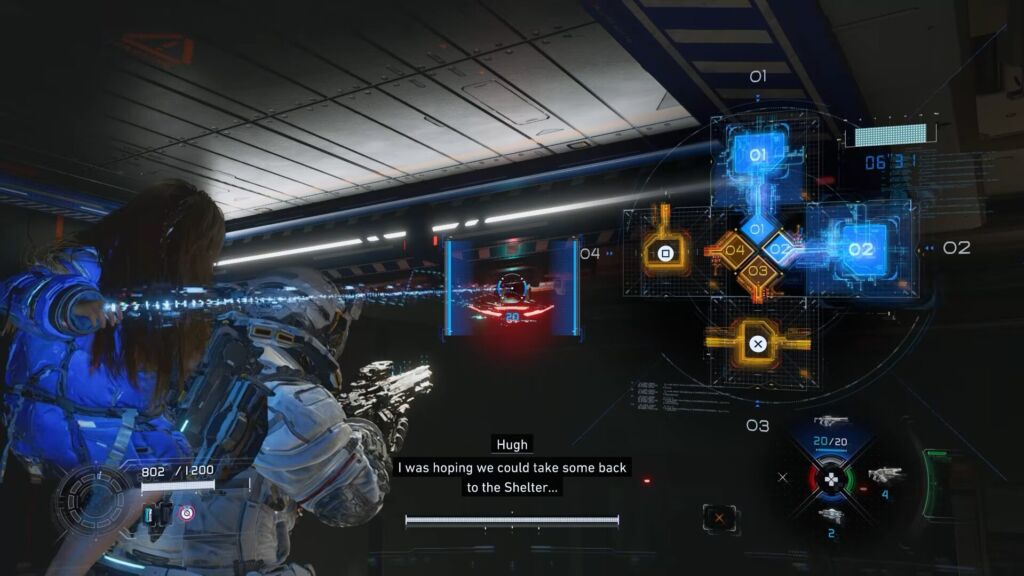
Hack the Terminal
Return from where you came and hack the terminal at the back of the container on the floor. Doing so lets you create a small opening in the area ahead. Defeat the enemy here and make your way to the left of the containers to get the safe box. This box is stuck behind the movable boxes of the last area, so hack the terminal two times to free up the safe box.
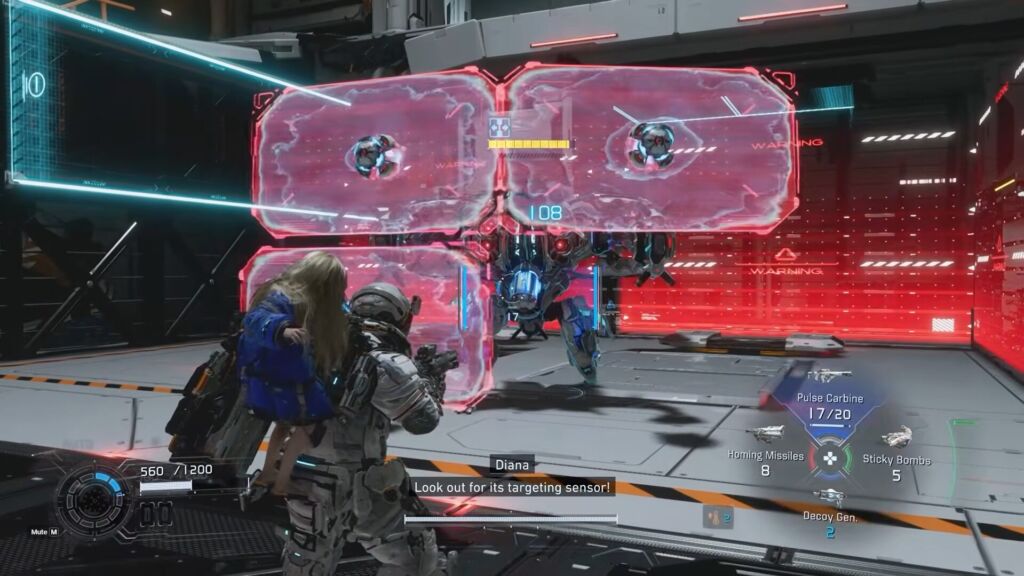
Defeat the Elite Enemy
Hack the terminal on the ceiling after moving back to make a small opening. Your objective is to hack the terminal on the bottom left side, the bottom right side, and the one behind the boxes. Doing so lets you build a platform that takes you to the ceiling of this room.
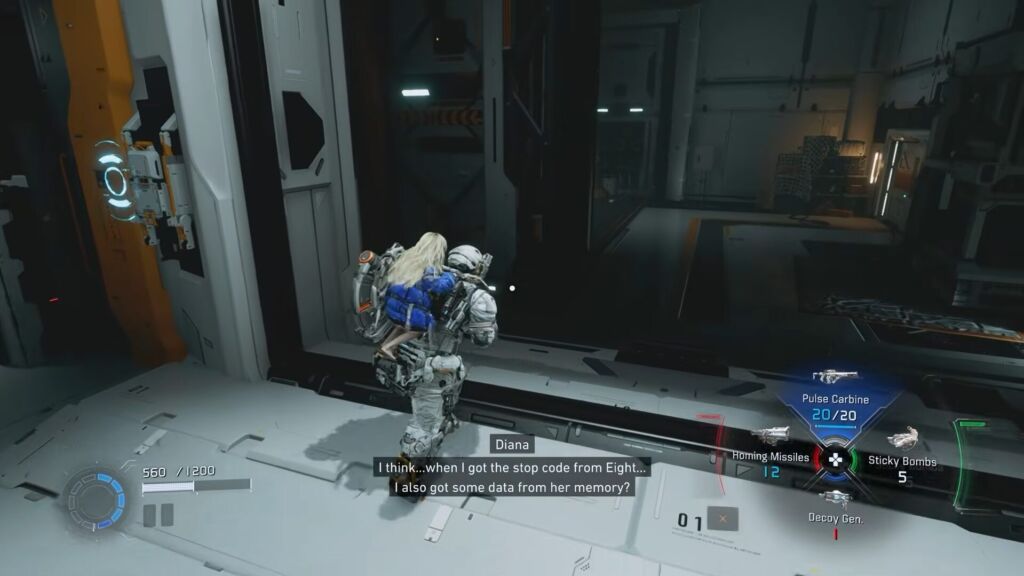
Hacking the Moveable Box To Clear the Path
Continue moving up and pass through the yellow barrier to encounter multiple enemies. Once defeated, collect the upgrade component from the ground floor after hacking the movable box. Go to the left side and hack the moving container to reach the entrance. Pick up the upgrade component from the path on the right.
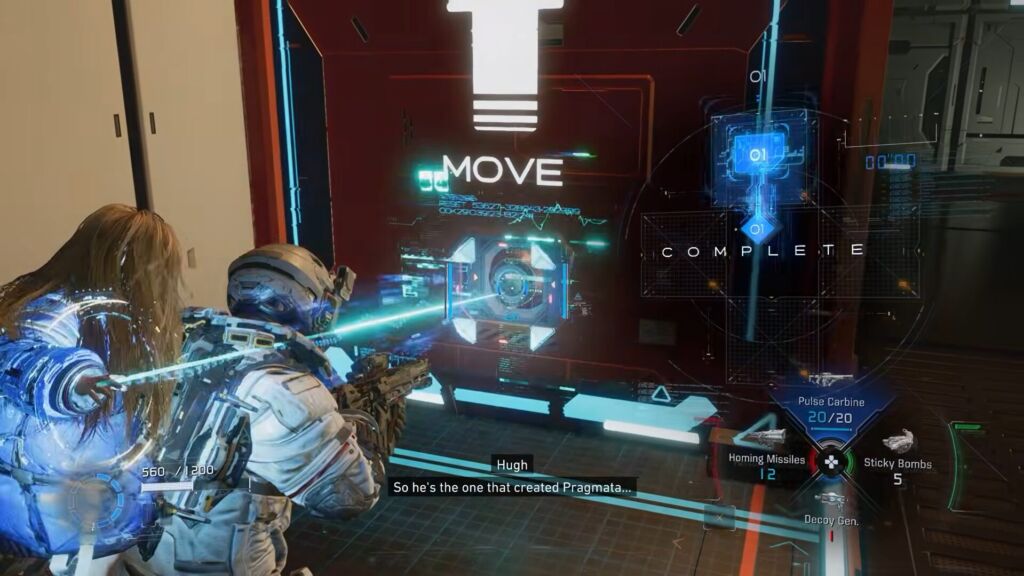
Clearing the Way
Move to the other side and unveil a box by hacking the box in front of it. You need to hack the box twice to get out. Take the stairs to move up and go up the box to see the blue chest and a blue ledge from the center. You must jump and dash to make it to the blue ledge and get the safe box. Drop down to get the upgrade component and reach the small hole to hack the box.
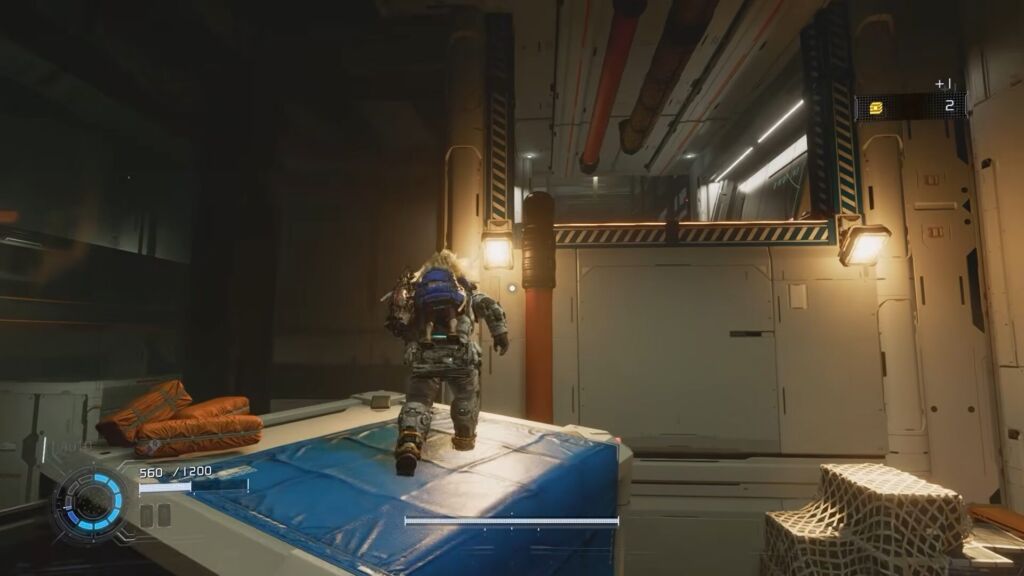
Pass through Small Opening
Push the box from the right to place it to unveil the blue chest. You can get the Nice Nodes mod from it and now return to the door that you avoided earlier. Get the pure lunum, a unit printer, and a terminal from here. Approach the terminal and hack it to continue moving the path to enter the area in front of you.
Find a Way to Enter the Main Excavation Site
Get the safe box from the platform and start moving along the path to reach the hackable terminal. Your goal is to move the box towards the safe box by hacking it. Doing so lets you go up and hack another box to take it to the corner. Continue climbing up and hop onto the white boxes to locate the safe box. Dropping down allows you to counter multiple enemies while following the path.
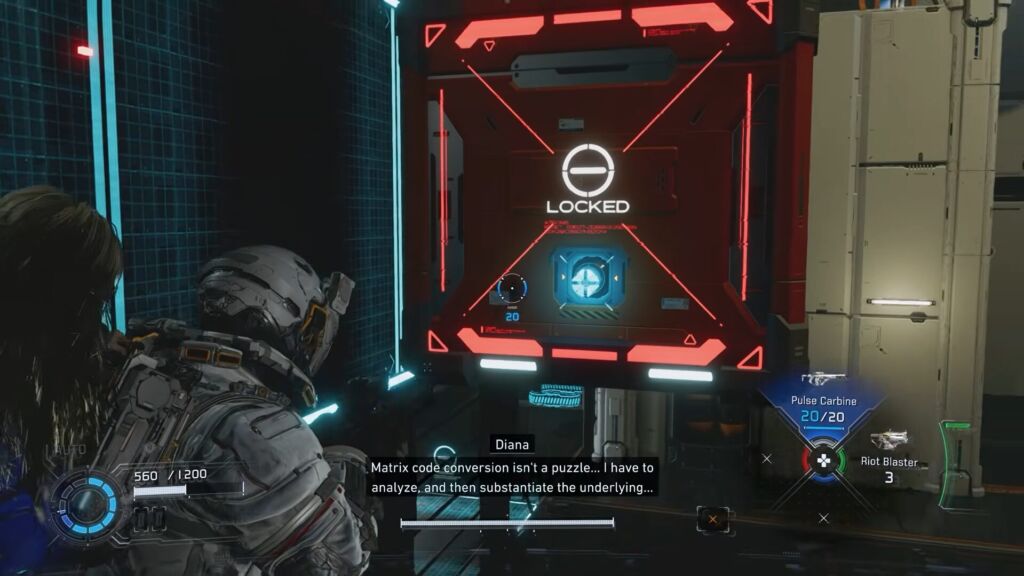
Moving the Containers
Once defeated, keep moving along the path to reach the next room. Get your hands on the upgrade component and get over the box to go through the hole in the wall. You can find these boxes in different levels, and you must hack them.
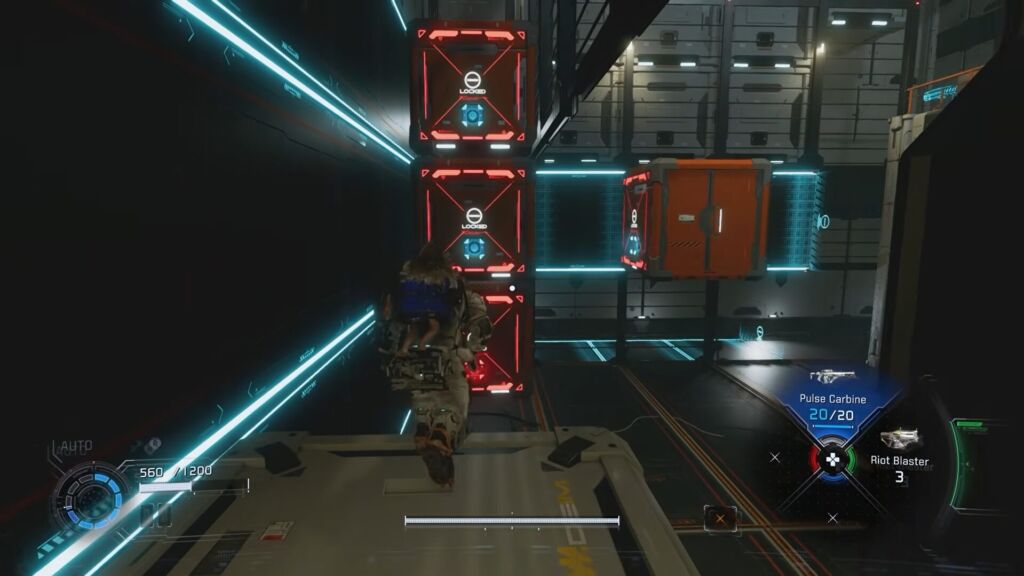
Align the Containers
Find the box above the ground floor and hack it to take it to the wall, and then hack the second box from the second level to push it towards the box. Get up to the fourth level from the orange box after getting up from the white box. Collect the upgrade component and hack the box from here to reach the stairs. You can find a broken cabin and training data from the right side of the lift.
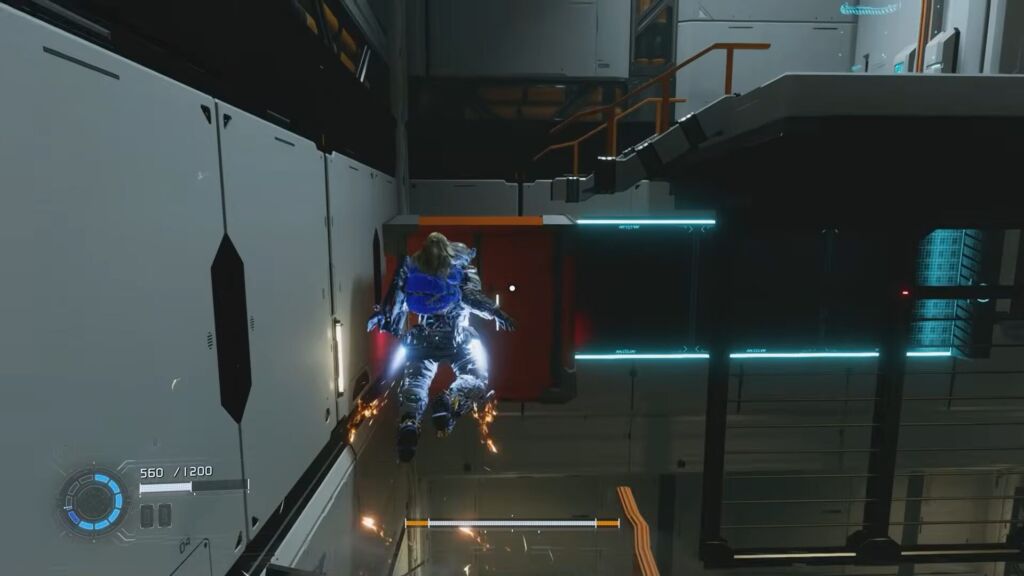
Broken Stairs
Once obtained, use the elevator to move up and get the escape hatch. Move inside the area in front of you and activate the mining rig by hacking the terminal. Doing so allows you to move the platform and encounter the walkers. Use the stick bombs to eliminate these enemies, making the hacking easy. Once eliminated, move inside the building to enter the Main Excavation Site.
Main Excavation Site
Make your way outside and grab the upgrade component. Speak with Diana and jump over the white box from the right side. Go up the rooftop and approach the container to hack it, letting you push it. Move into the building, and the path is blocked by the container. You need to hack it to move it out of the way.
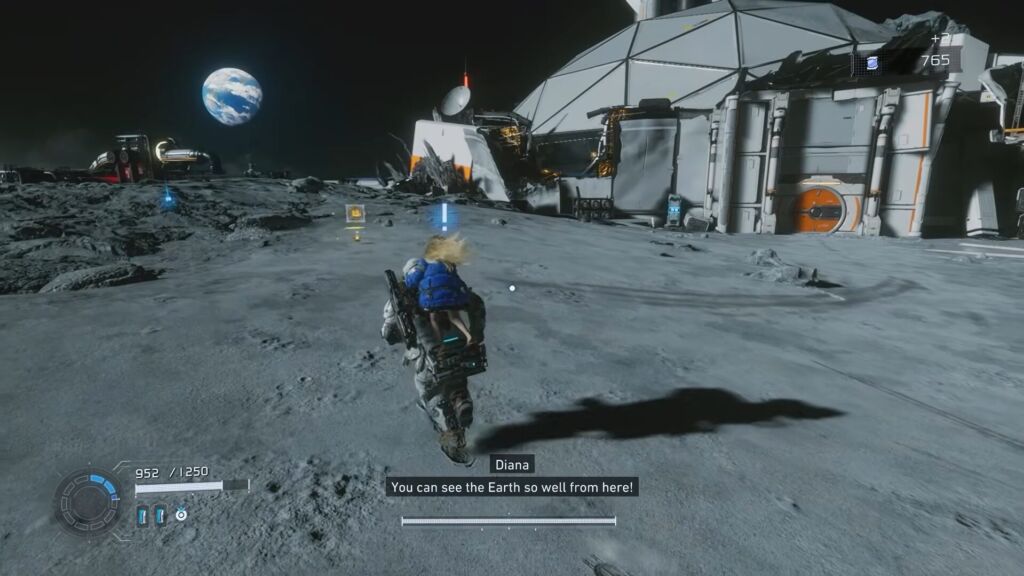
Main Excavation Site
You can see a small hole on the floor, so drop from it to get the Eagle Eye mod and a safe box. Approach the door in front of you to hack it and get up the broken section of the wall. Obtain the Tent REM and move inside to encounter the enemies. Once defeated, enter the next room to climb to the upper floor to encounter the enemies.
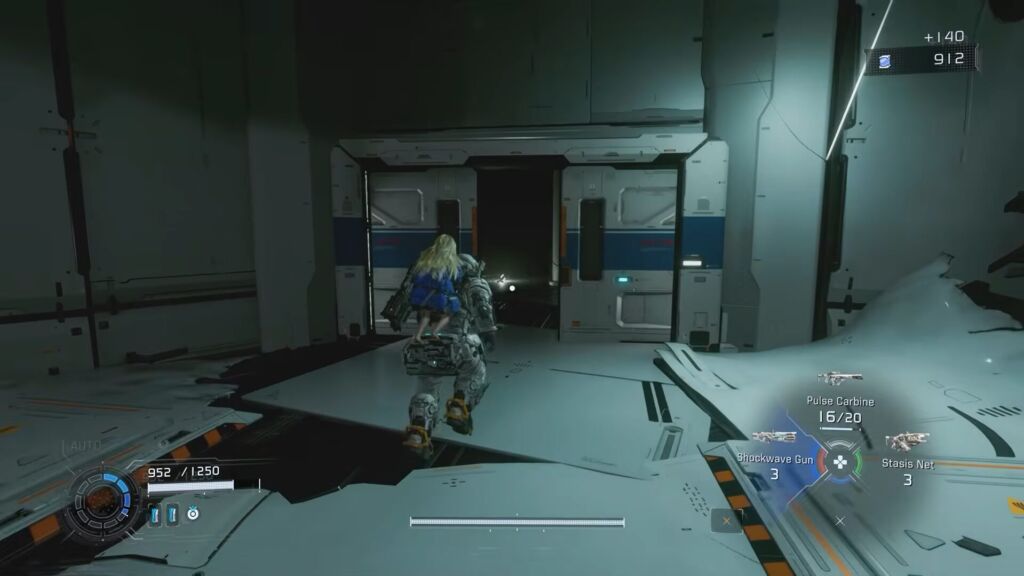
Climb the Upper Floor
The hacking process gets interrupted due to glitches, so it may take some time. Defeat them quickly without taking any damage and continue following the path. You find yourself inside the next room with the red filament blocking the path to reach the lower floor. Approach the door and get the red gate key to enter the next area.
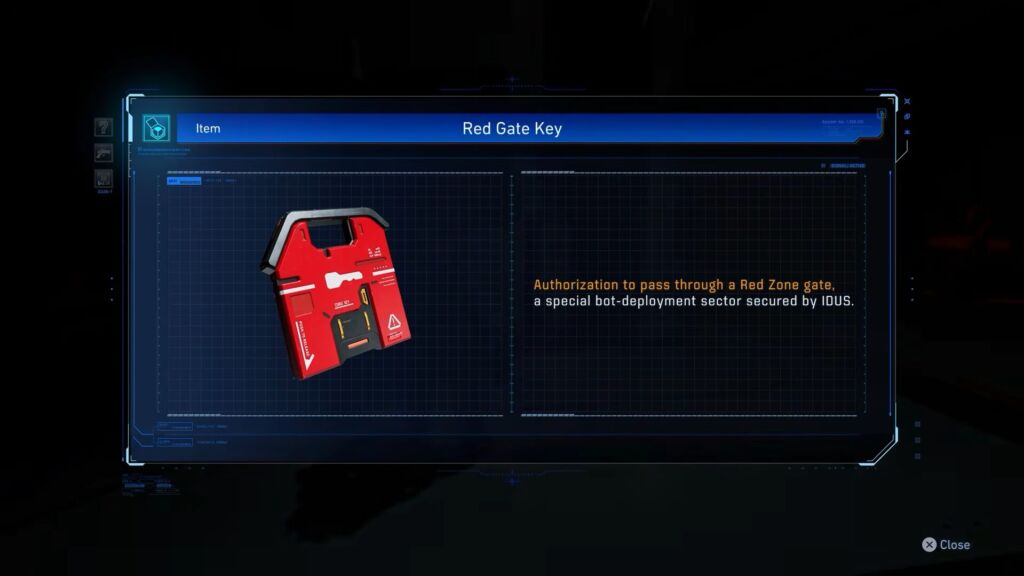
Get the Red Gate Key
Go to the left side to reach the hackable terminal. Hacking it lets the orange container drop, so go up the container and jump over the platform. Keep moving to the top to obtain the safe box and then return to back to the previous platform. Defeat the enemies and move beside the ramp to reach the filament mass.
Find the Exit Door
Eliminate all the enemies and get the safe box after destroying the filament masses. I recommend staying on the debris to avoid facing LunaDigger. Return to the area where you located the red gate and move inside to encounter two different waves of enemies. Take them down quickly and get your hands on pure lunum and the Economize mod.
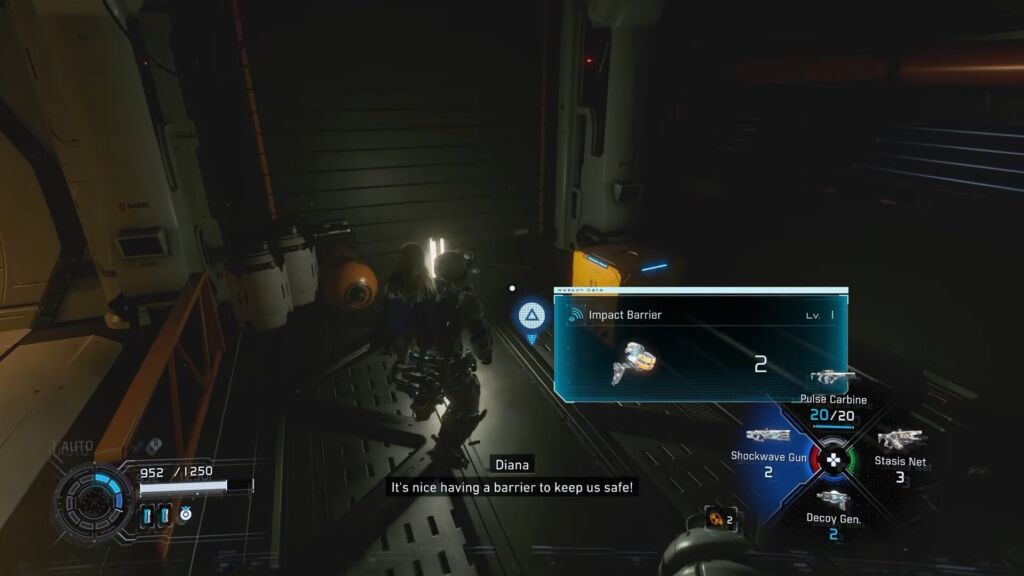
Destroy the Filament Mass
Make sure to leave the dangerous area and go to the left side to jump over the ramp. Make sure to use the unit printer and destroy the filament mass. Once you pass through the yellow barrier, get ready to encounter waves of enemies. Eliminate them quickly and hack the terminal to drop the orange container.
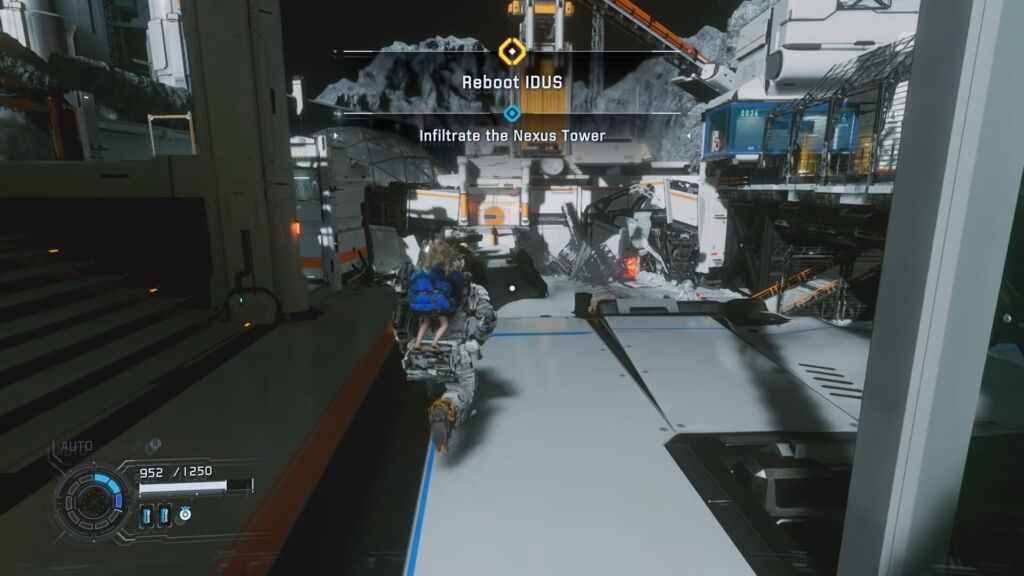
Infiltrate the Nexus Tower
Go up the orange container after hacking it to push it upward. Find the other two hackable containers to hack them, and the one in the center. Get over the container to climb up and defeat the robot here by stunning it first. Obtain the Synaptic Response mod from the blue chest after tackling the enemies. Go back to the previous area and pass through multiple platforms to reach the exit gate.
Nexus Tower
The objective here is to explore the first building and start vertical progression. As soon as you enter, you search the first room carefully to find a Training Data on a broken cabin near the railing and an Escape Hatch in the same room. Take the stairs to move down and continue following the path to get the upgrade component.
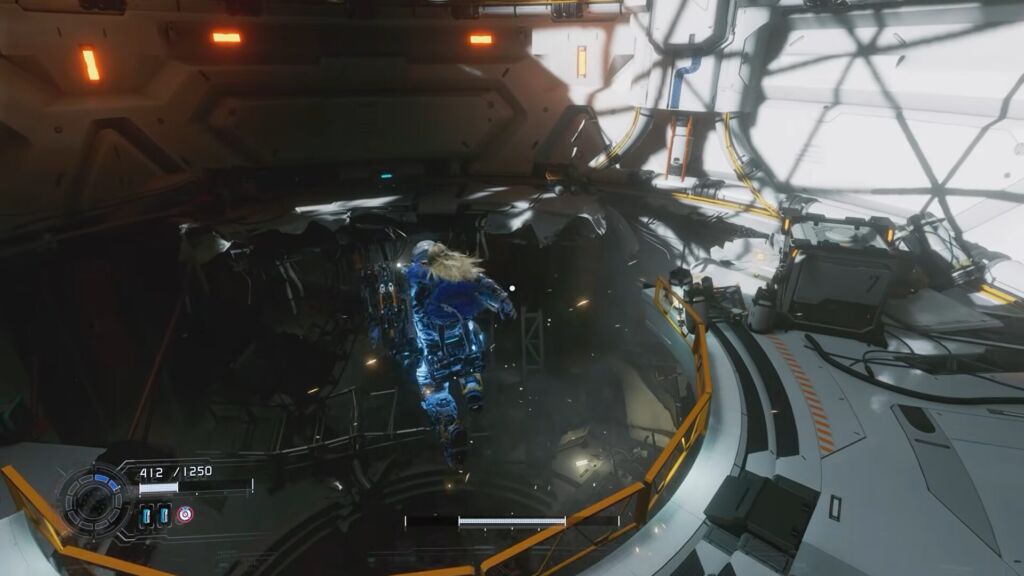
Get Access to the Door
You must drop down from this area and interact with the holo wall on your right to get the safe box. Return to the previous path to enter a new area filled with two different enemy types. Once defeated, get access to the door and move into the next area. Get the upgrade component from the platform here and drop down.
Move into the Tunnel
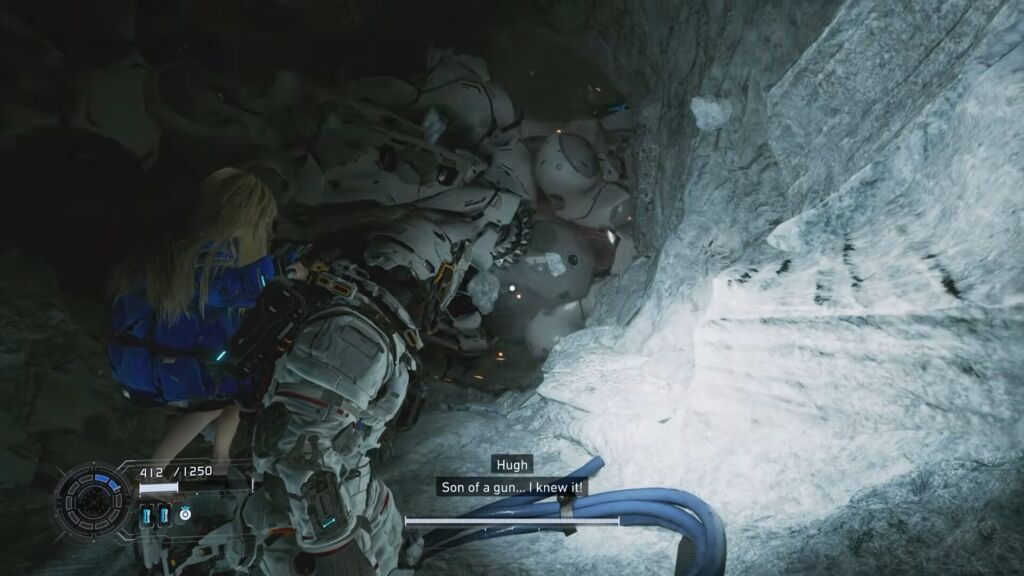
Keep following the path and drop down into the hole to encounter the walker. Make sure to quickly get inside the tunnel and get the upgrade component. LunaDigger will kill the two walkers here before you even hack them. Hide yourself in one of the walls and wait for the worm to leave this area.
Eliminate the Robot
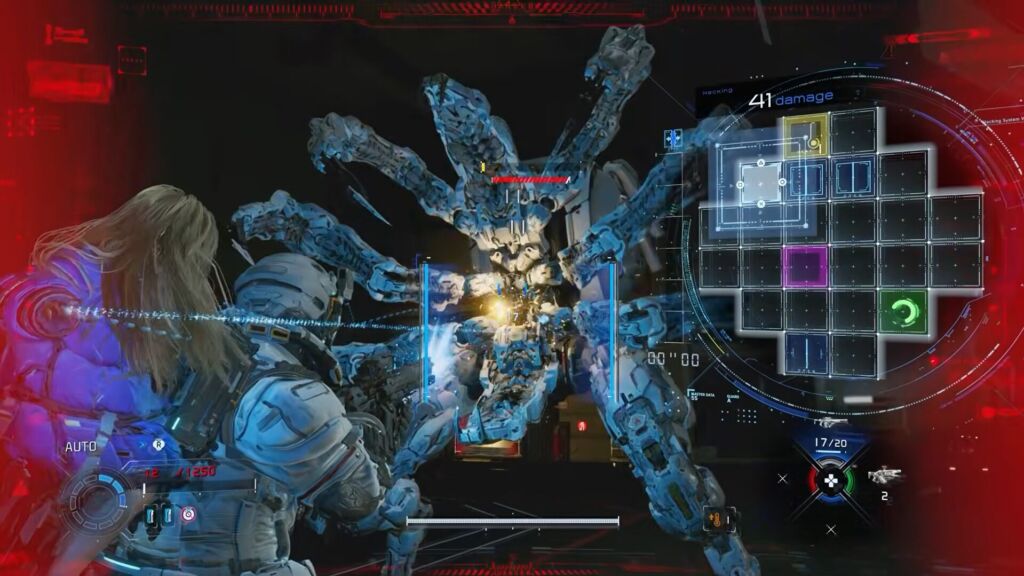
Start progressing through the hole to get the escape hatch, and keep following the path till you encounter the LunaDigger to kill it. I recommend choosing the best loadout before encountering the worm.
LunaDigger boss fight
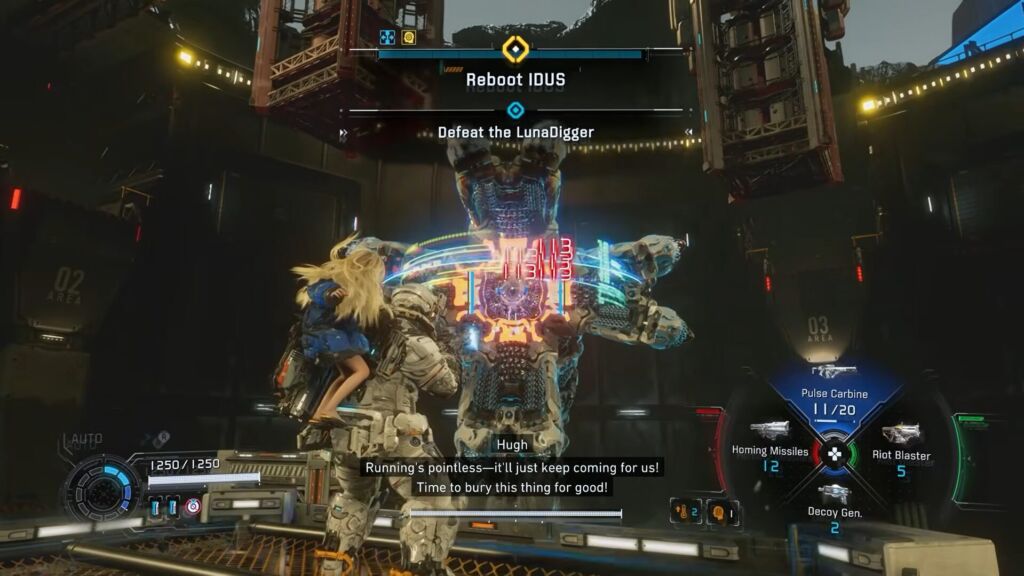
LunaDigger is the final boss of Lunum Mines and is fought in low gravity. Make sure to have a ranged weapon and choose Photon Laser, Charge Piercer, and Pulse Carbine. Drain nodes, Code Generator, and Sticky Bombs are the best hacking tools to use during the fight.
Defeat the LunaDigger
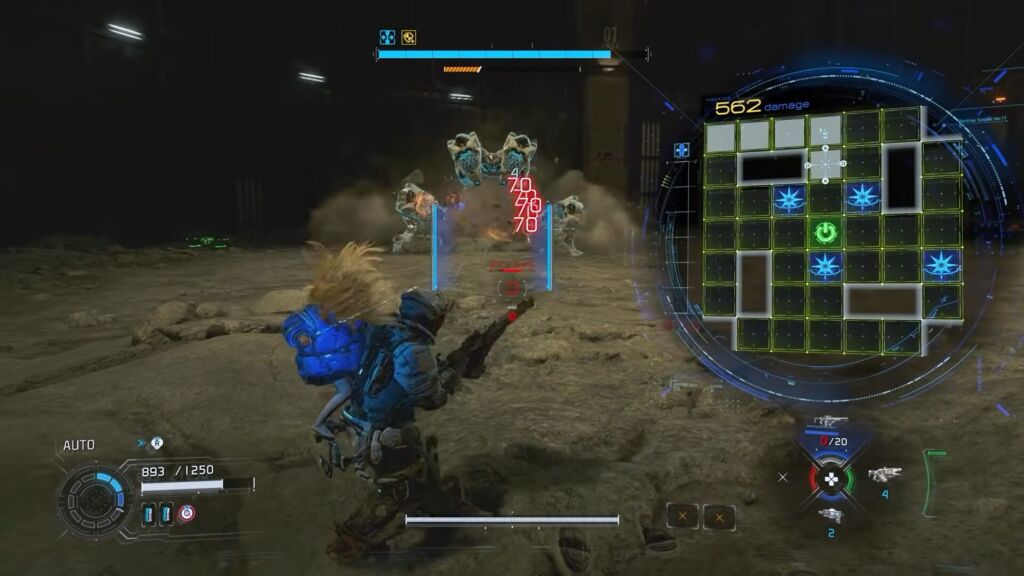
Your goal is to damage the mouth (main weapon point) to quickly chip away at the health. The boss burrows underground and pops up briefly to attack. You need to attack only when it emerges and aim at the mouth opening. I recommend using hacking to slow it down and increase the damage. Use high ground platforms to make aiming easier and for safer positioning.
Attack the Boss
The boss stays above ground more and becomes more aggressive during phase 2. It also sends small robots towards you, so you must hack them quickly and send them back to the boss. Doing so lets you deal huge damage and stagger the worm. Use Impact barrier to block most attacks and stagger the boss on contact.
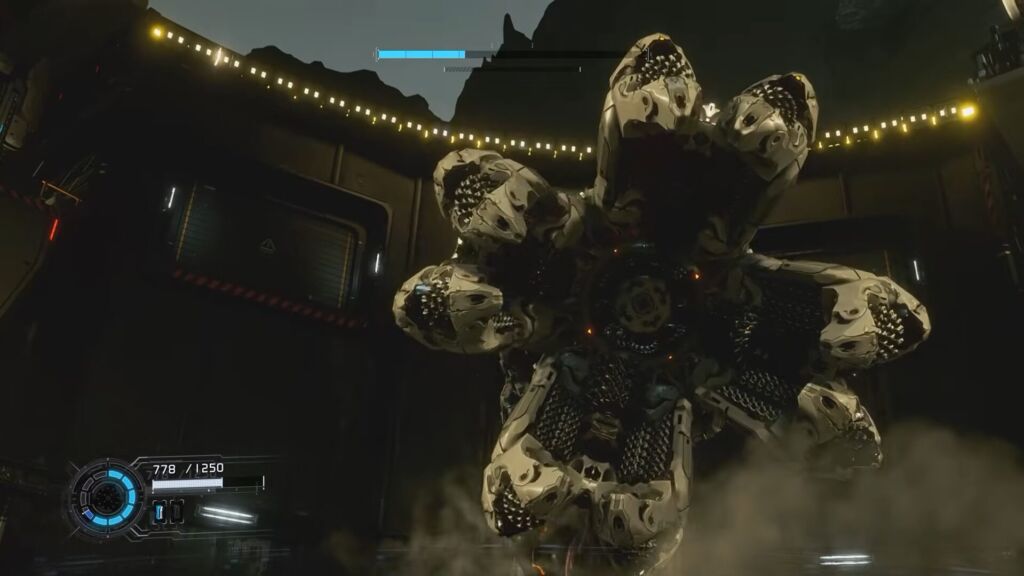
Use Confuse or Decoy
Use Confuse or Decoy to reduce the pressure during phase 2, and prefer circle movement to save stamina. Using the Decode before attacking weakens the armor for higher burst damage.
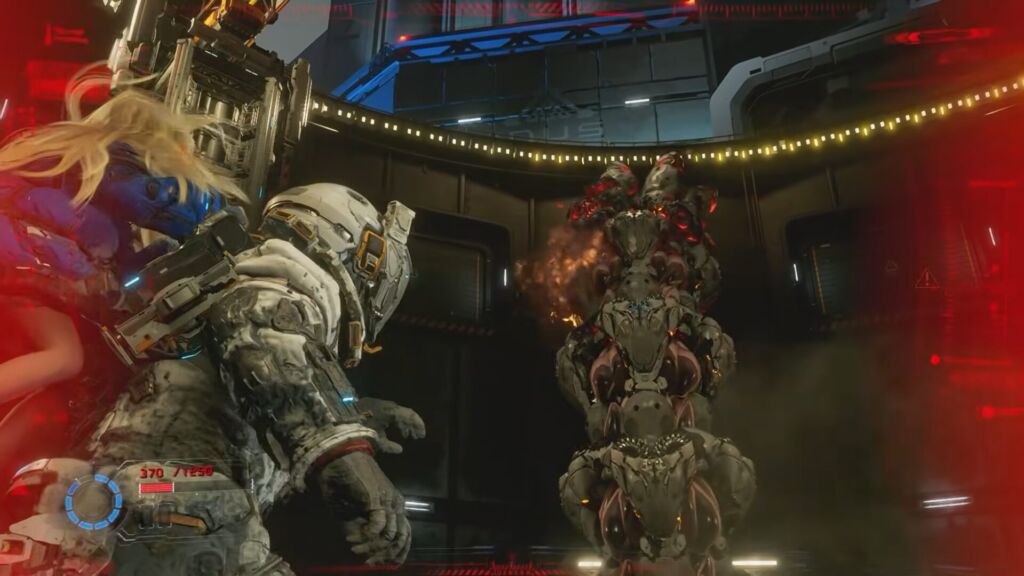
Defeated LunaDigger
Beating the LunaDigger allows you to unlock License Key 4 and gain access to a higher-tier upgrade. Once defeated, go to the emergency tram and interact with the screen to enter Experimental Pragmatics.
Experimental Pragmatics (Sector 5)
This segment triggers automatically as part of the story, and you arrive in a controlled research lab. Trigger a cutscene by taking Diana to the machine. Defeat the newly spawned walker here and learn the truth about Diana. She has some errors in the hacking process, as there are now purple corrupted nodes.
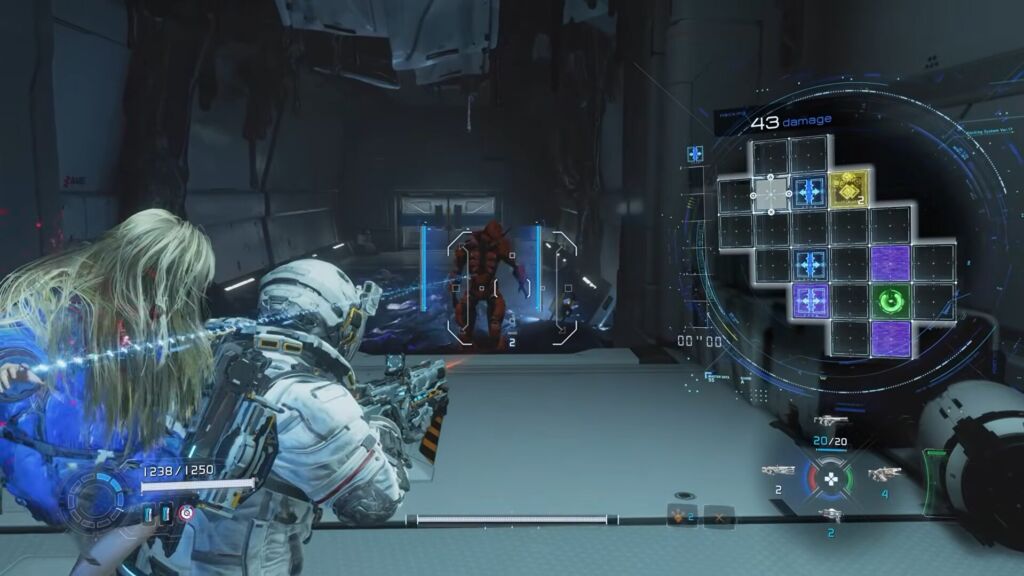
Experimental Pragmatics
Make your way inside the area in front of you and kill the enemies to enter the next room. Get ready to defeat more enemies and avoid standing in a black goop. Continue following the path and eliminate all the enemies. Holos appears here, and you learn about Dr. Higgins and Diana. Make your way to the end of the path and hack the terminal. Take the lift to move down and kill more enemies here.
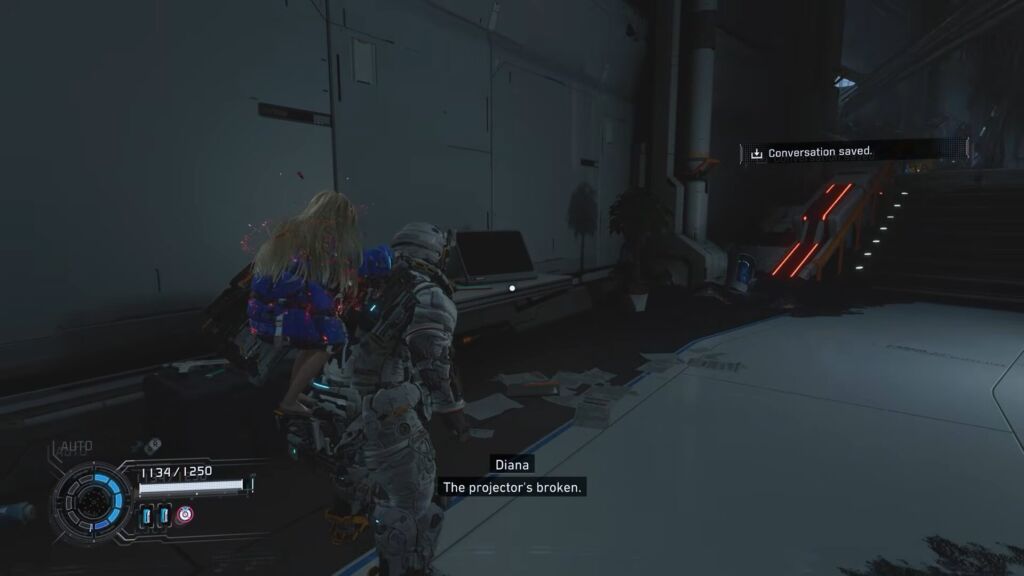
Finding a Holo
Find another elevator in this area and use it to move up and find another holo. Locate another one after going through the staircase and the doorway. Approach the terminal on the wall and hack it to unveil a new terminal. Make sure to destroy the filament before hacking this terminal and moving into the next room.
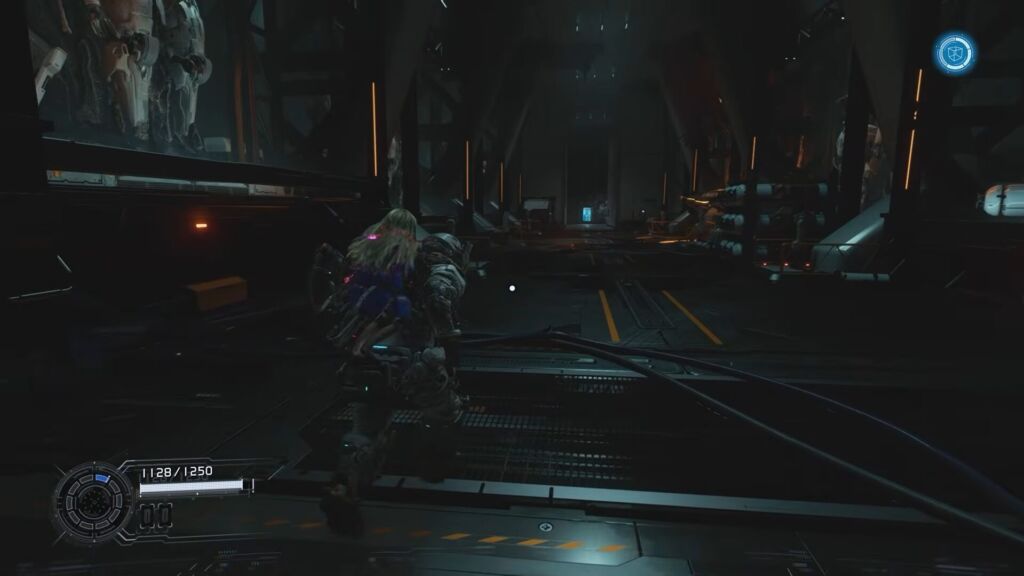
Follow the Straight Path
Hack the terminal after destroying the filament mass and get into the next room to avoid taking damage from the laser. Move inside the wall and hack the ceiling terminal to move the lasers from this area. Go inside the next room to obtain a file. Hack the terminal inside this room to remove the laser after destroying the filament mass.
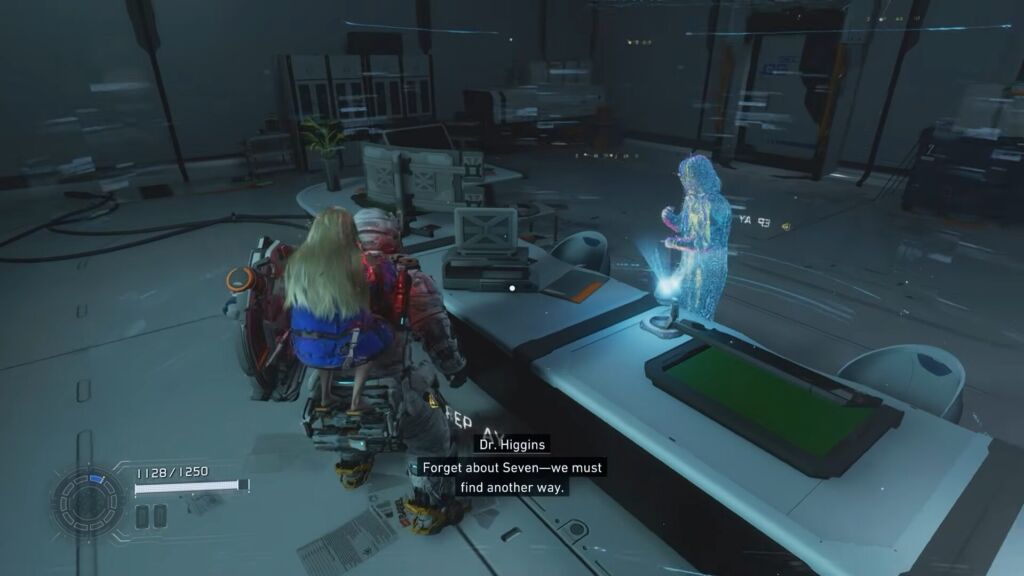
Find Dr Higgins
Keep progressing till you find yourself inside the hall with the lasers. Hack the ceiling terminal to clear the path from the laser and enter the next room to get the file. Move inside the next room to pick up the reactor and defeat the enemies.
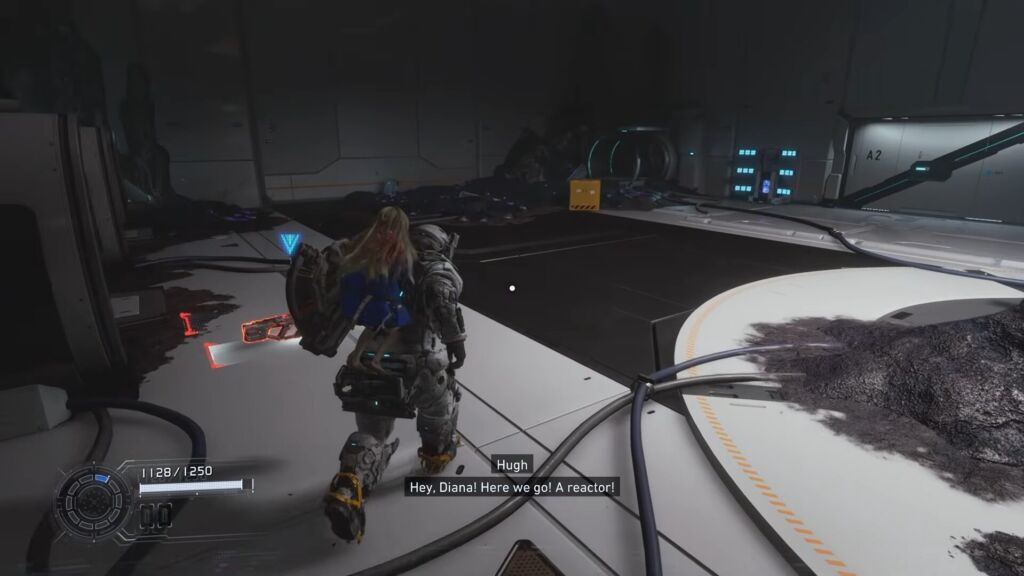
Pick up the Reactor
Getting inside the next area triggers a new cutscene. Defeat the robot here by using the best weapons and dodging its bullets. I recommend using the Overdrive Protocol to eliminate this enemy. Make your way through the blue door and cleanse the filament masses by holding the button.
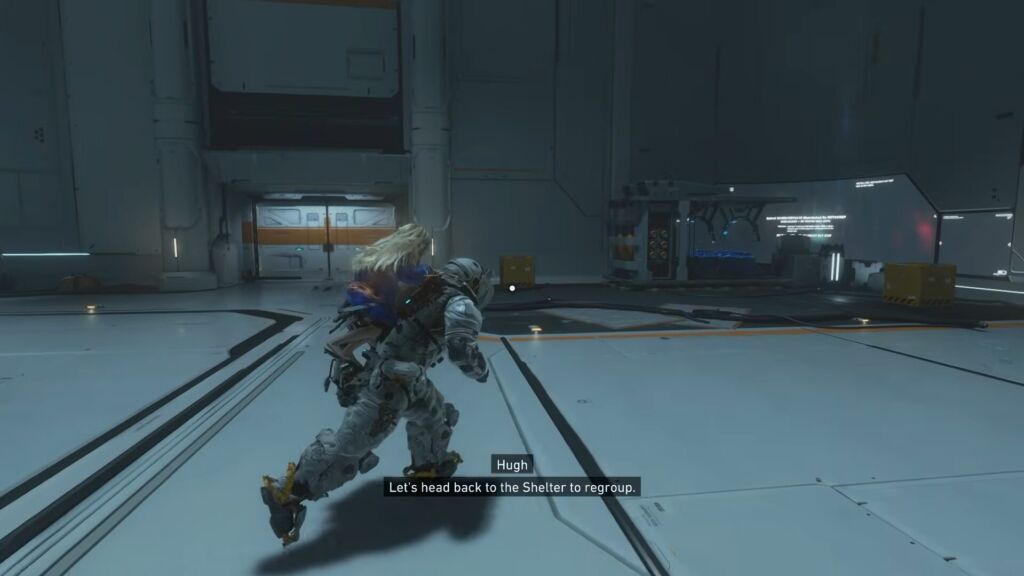
Cleanse the Filament Masses
Once you reach the shelter, you can get Central Port by upgrading it. Get two red gate keys on the stamp board and speak with the cabin. This concludes our Sector 4 & 5 Lunum Mines & Experimental Pragmatics Walkthrough in Pragmata.