

Discover everything you need to know about Dark Shrine Corridors walkthrough in Silent Hill f, including how to progress and defeat Sakuko.
The Dark Shrine Corridors in Silent Hill f are maze-like hallways, connecting the shrine’s outer chamber to the inner Offering Chamber. Progressing through Dark Shrine Corridors can be challenging due to the deadly monsters and enemies lurking in every corner. Equip the Nagniata to dominate all the enemies coming in your path to make the progression smooth.
Defeating the Sakuko in the final fight in Dark Shrine Corridors is a challenging task, as she has two phases. Collect all the items and investigate every note to get hints on where to proceed. Investigate the strange object, locate the missing part, head to the Sacred Door, and defeat the Sakuki-like entity. In this guide, we’ll discuss how to progress in Dark Shrine Corridors in Silent Hill f, including how to defeat the boss.
Locate A Way To The Sacred Door
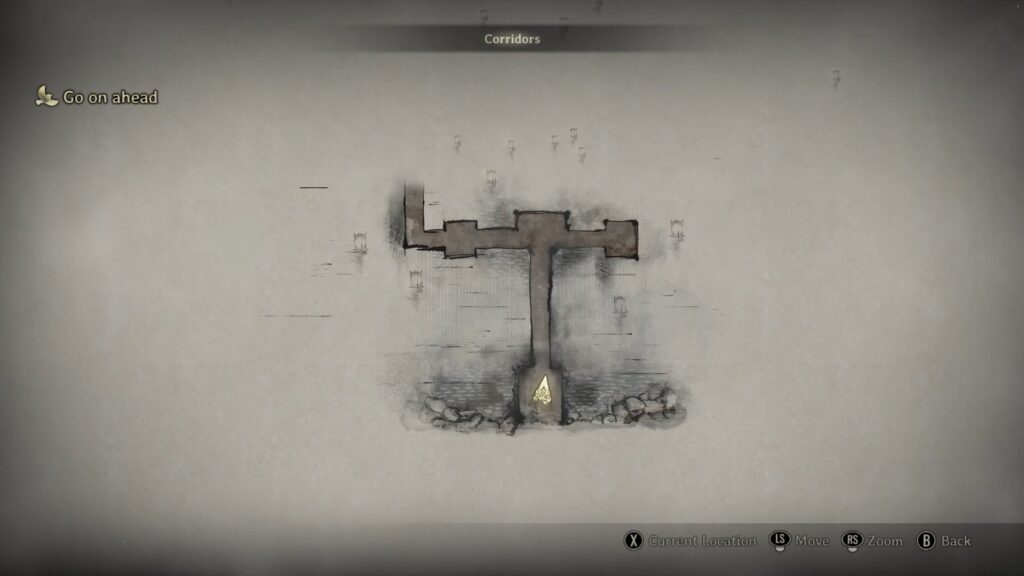
Hinako once again woke up in a different location after being pushed by Rinko on the stairs. The goal is to find a path that takes you to the Sacred Door. Continue moving forward and proceed along the path to the west. Move to the path on the right and then turn right again. Here, you will find a locked door, and you need a key to unlock it.
Go to the other side of the door and get inside the room. So, you don’t need any key to move inside. Locate Messy Scrawls on your left and a narrow opening at the front side. You can easily move through this opening and locate Divine Water from the drawers on the right. Escape the room and continue moving to the west. Take the path on the right and keep running in a straight direction to get to the far end.
Take the path on the right and the other left to get inside the room located on the west side. You need to crawl through the small opening to get your hands on the Store Key. Approach the drawers to locate the Storage key.
Go ahead and find the shrine on the left. It’s best to save the game and mark it as a checkpoint. Move to the other side be crawl, and get inside another room by taking the left path. Open the drawers to collect Yokan and read the note over there. Examine the strange object after moving to the other side.
Investigate The Strange Object
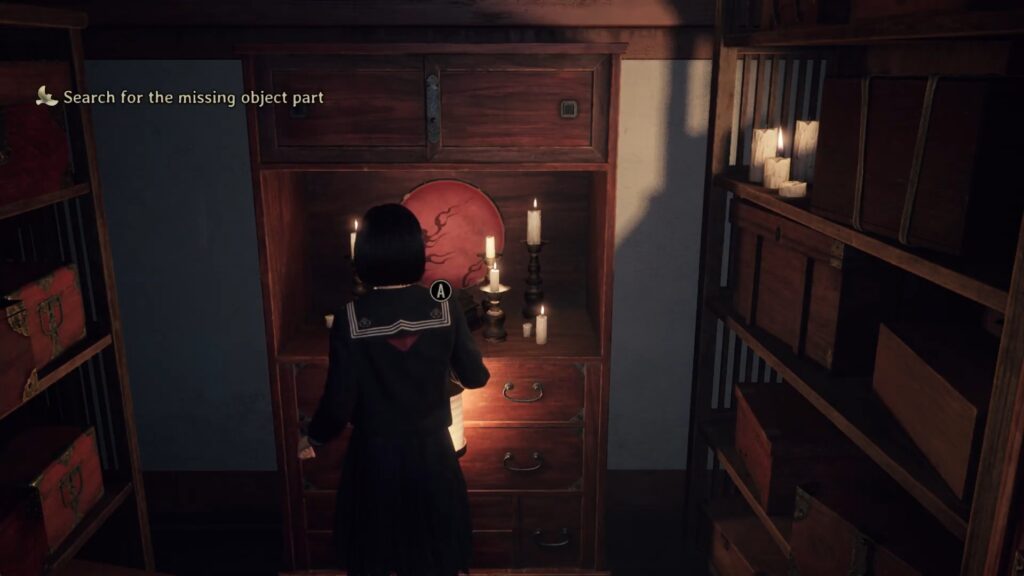
Investigating the strange objects allows you to learn that one of their parts is missing somehow. Explore the area to find that part. Use the Storage key to unlock the door to unlock the path to find the missing piece. You need to unlock the door that was previously locked using this key. Get inside the room and move to the right to get to the dead end. Use the Storage key to unlock the door on the left.
Find the Strange Room
Move to the other side of the room by crawling from here. Locate the letter on the left and Hinako’s Doll on the west. There’s also a crucial message next to Hinako’s room. Read it and leave the room through the doors on the right. The door is also unlocked by using the Storage key. Get inside the room and see the painting over there.
Locate the Inari Sculpture
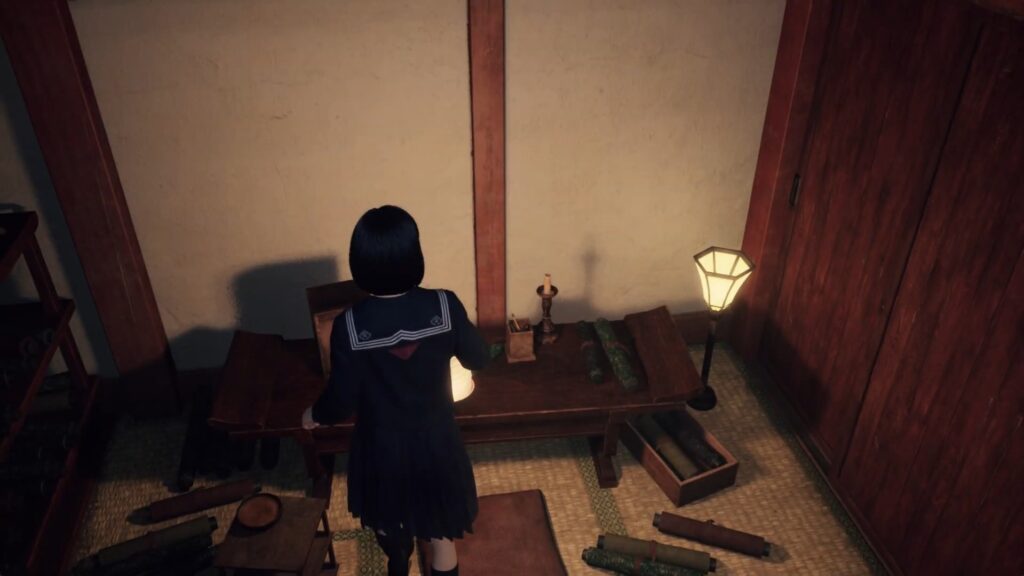
Obtain the Inari Sculpture by traveling to the bottom side of the room. This is the missing part that you’re looking for. The painting has fallen on the ground after getting this part. Read the message about the Fox Mask over there. You need to place the Inari Sculpture in the center of the strange object after making all the way to the back. A secret path will unlock after you place the missing part.
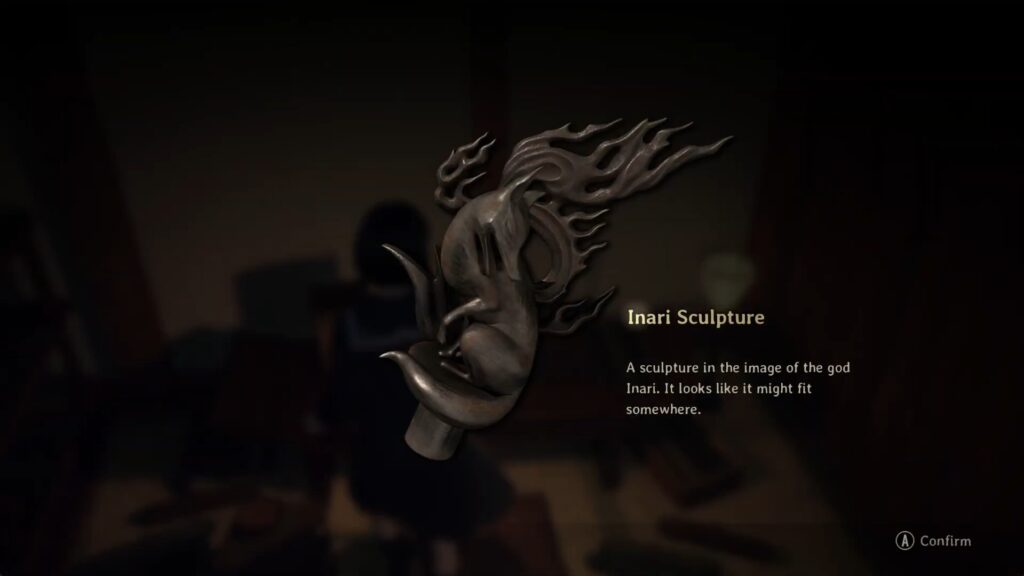
A cutscene will appear on the screen, and you need to defeat the enemy in this area. Don’t need to engage in a fight with this enemy. Simply more ahead and pick the Naginata to use in Dark Shrine areas to defeat the enemies.
Escape From Peril
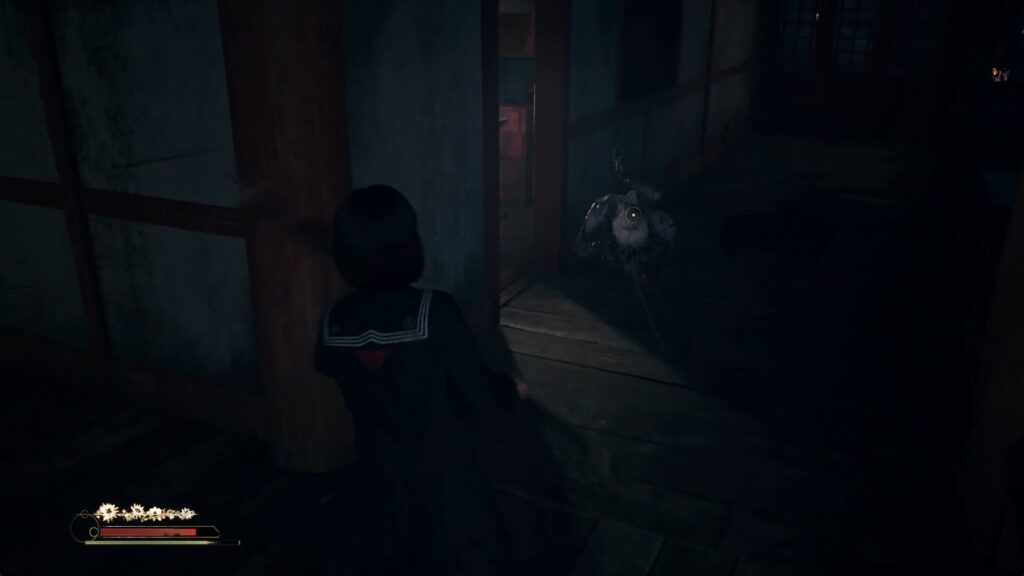
Equip the Nagniata and defeat the enemies coming on the path. The foes here are more powerful, and using this weapon allows you to dominate them. A heavy attack is enough to stun the enemies. After that, you can follow up with the other attacks to deal more damage. Keep checking your stamina, as it will drain quickly while using Nagniata. Dodge the enemy attack and counterattack to finish the fight off.
You can use this weapon against any enemy to eliminate them. Continue moving towards the Sacred Door. There’s a shrine on the left as you pass through the way. Interact with the shrine to save the game.
Examine the Sacred Door
Move to the path on the right after investigating the Sacred Door. Continue moving till you find the enemy. Use Nagniata to defeat this enemy and get inside the room on the left. Locate the bandage and Omamori. You can mitigate the charging time to focus by using the Omamori.
Follow the path after getting out of the room. Be aware of the enemy that will rush towards you from the roof and can deal much damage. Perform a heavy attack to stun it and then follow up with the light attack to kill the enemy.
Investigate the Rooms
Encounter the enemy after moving to the left. Use your weapon to defeat it and get inside the library. Collect the important notes and examine everything you came across. Find the narrow opening at the end on your left. Pass through this narrow space and collect everything you can.
Leave the room and get ready to defeat the enemy on the right. Using the charge attack is the best strategy to start the battle. Use light attacks and heavy attacks to finish it off. Defeat two other enemies in the opposite direction. Keep moving north and get inside the room.
Find the Source of Voice
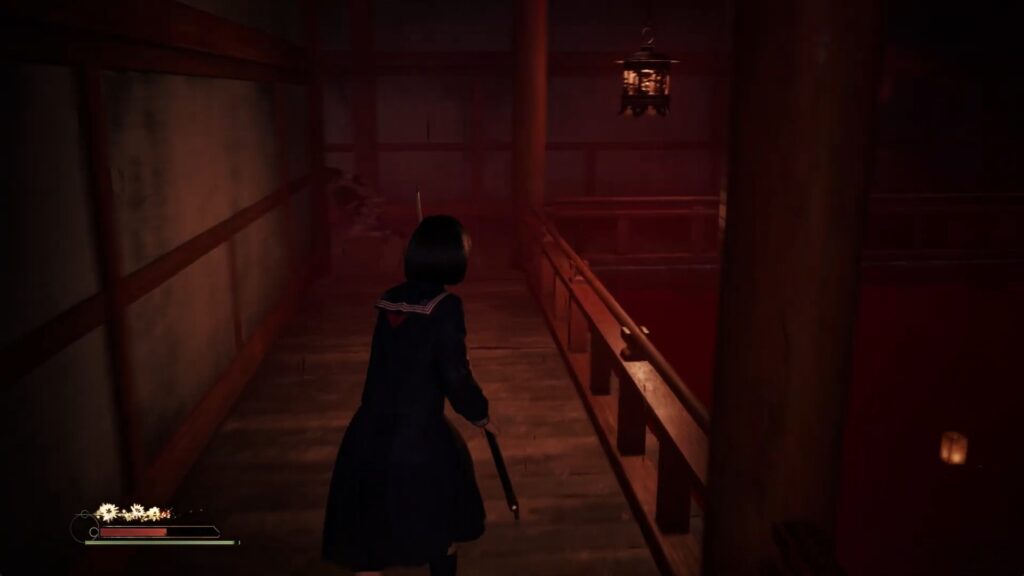
Get ready to fight the enemy after getting inside the room. Simply dodge the attack and follow up with a heavy attack. Move to the opposite side to enter the room. You need to pass through the narrow space to move to the other side. Open the drawers to find the Yokan and approach the shrine to save the game. Follow the voice after getting out of the room. Approach the red gate on the left while chasing the source of the voice.
Pick up the Stone Orb in front of you. Make your way back to the Sacred Gate after the cutscene commences. Be aware of the enemies that will try to catch you on your way. You can also get stunned for a while if they scream. Press the dodge button to escape the animation while stunned. Another cutscene will appear after reaching the Sacred Gate.
How to Defeat Sakuko
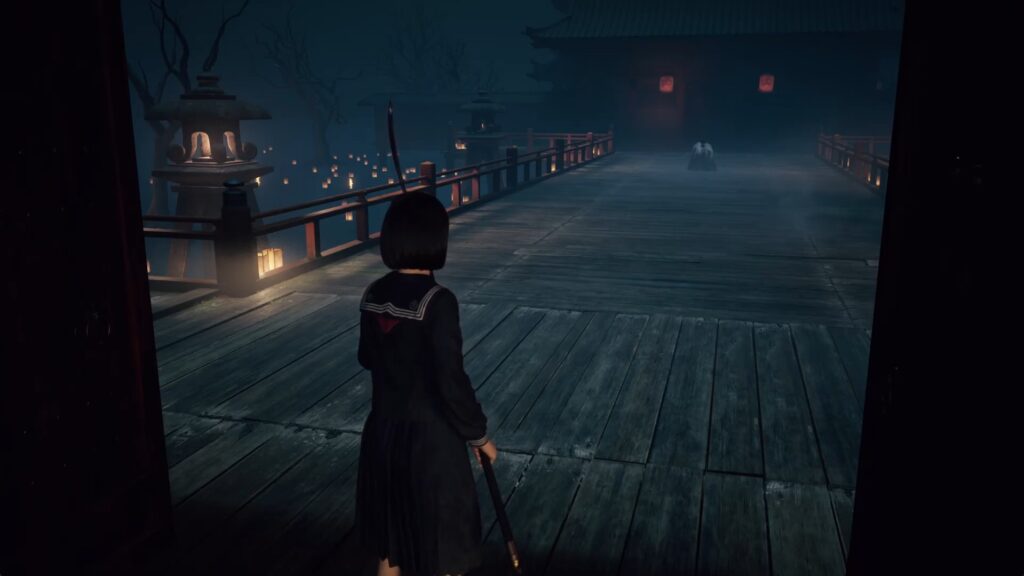
Locate the Fox Mask after you’re done escaping the nightmare. Collect all the items in front of you before getting inside. Pick up the Blessed Hand Mirror and use it in combat. Your health, stamina, and sanity will be fully restored, as the mirror breaks after taking the damage from light attacks.
Interact with the woman after getting inside the room by opening the gate. A cutscene will appear, and you need to defeat the boss. The boss fight is more challenging and complex than the normal attacks. You lose a good amount of health by taking the hit from an enemy attack.
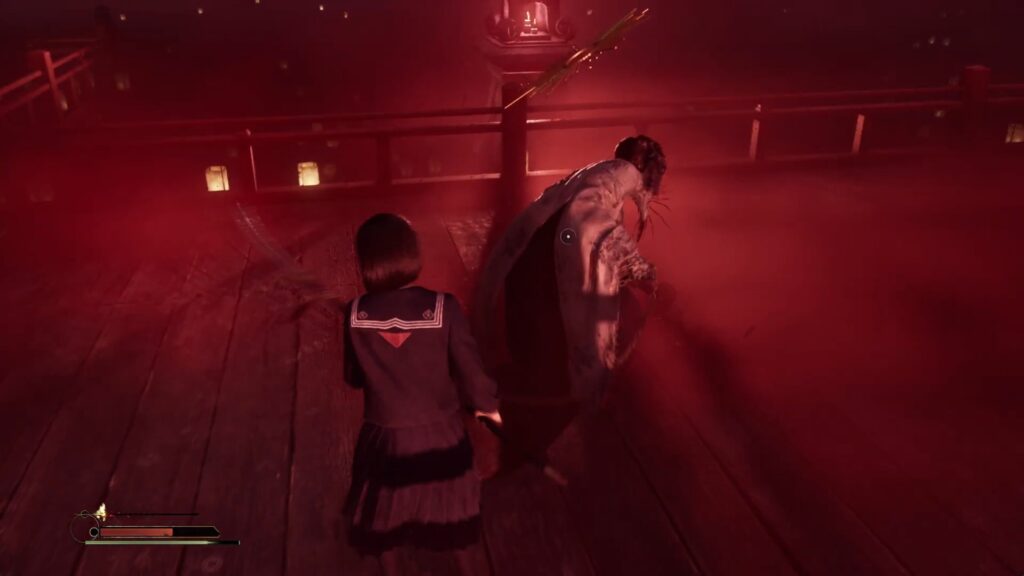
Sakuko has the grab attack, so you need to stay away from her. Get behind the boss and perform heavy attacks to deal massive damage. The boss screams whenever going for a grab attack. Dodge this attack in the opposite direction and use the weapon to attack her. Sakuko becomes vulnerable after the grab attack, so use this opportunity to deal heavy damage.
Second Phase
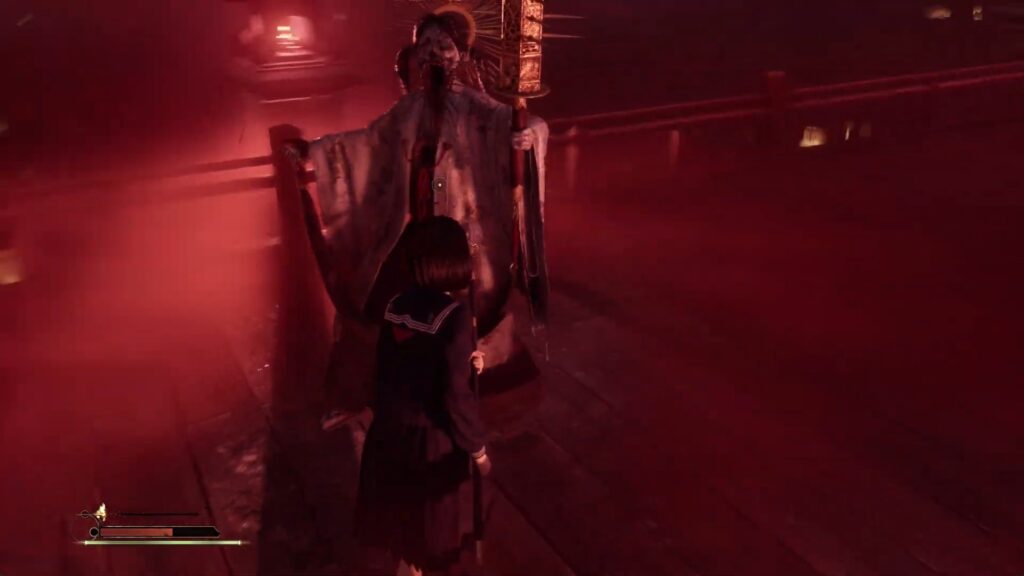
The second phase begins when you damage the boss more. The boss’s attacks become more powerful and difficult to dodge. Resist the boss by resisting her charged attacks. You can do two light attacks and follow up with the heavy attack to stun her. Be aware of her long-range attacks that deal massive damage if you’re not ready.
Dodge her weapons that she throws towards you. We recommend avoiding hitting her more than once after dodging the attack. The boss also starts charging her attack if you head too far from her, allowing you to stun her using the weapon. Dodge backward after seeing her attacks coming from the right. Keep a good distance from the enemy.
Sakuko will teleport herself, and there’s nothing you can do here. She teleports a few times, and the fight goes into the turn after interrupting her attack. Be patient, and you will have no trouble defeating this boss in intense combat. Don’t let the boss charge her attack and avoid being grabbed by her. A cutscene will appear, and your journey in Dark Shrine Corridors ends here.