


Discover everything you need to know about defeating Thomas Richards in Windrose, including his attack patterns.
Captain Thomas Richards is the first major boss in Windrose and a key story gate in the Coastal Jungle area. He appears at the end of the Revenge Is Best Served Cold questline and guards progression into the next region. Thomas Richards is not unfair, just a classic early skill check boss. Learning his attack pattern and using the best weapons and armor can make things easy. He teaches you stamina control, dodge timing, and patience over aggression.
Who is Thomas Richards?
Captain Thomas Richards is the first main boss you encounter in the game. This elite enemy is heavily armored and acts as a skill check for players early on. The fight introduces key mechanics like dodging, stamina management, and reading enemy attacks. You encounter him early in the game’s main story progression, as he’s located inside a cave.
Dodge Thomas Richards Attacks
The game leads you directly to its arena, so you don’t have to find it elsewhere. You can place a tent outside the cave to quickly respawn near the arena. Defeating Thomas Richards unlocks a new region called Foothills, increases your gear upgrade limits, and unlocks new resources. You encounter this boss while completing the Revenge is Best Served Cold quest in Windrose.
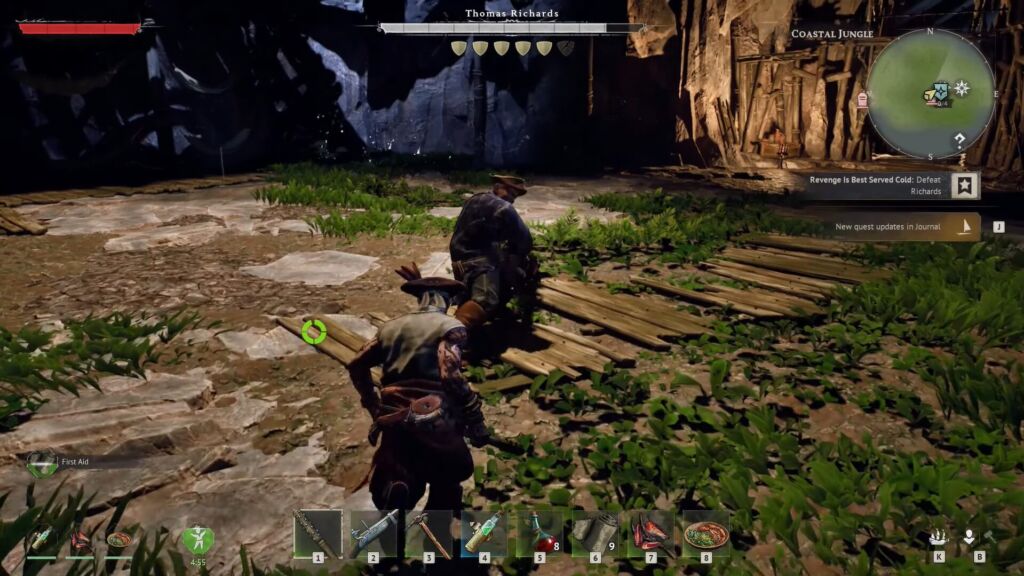
Thomas Richards Boss All Attacks
Thomas Richards has a small but deadly moveset in Windrose. Defeating this boss not that challenging, but the attacks can punish you if you don’t know the pattern. The fight is about reading telegraphs and punishing safely, not spamming attacks.
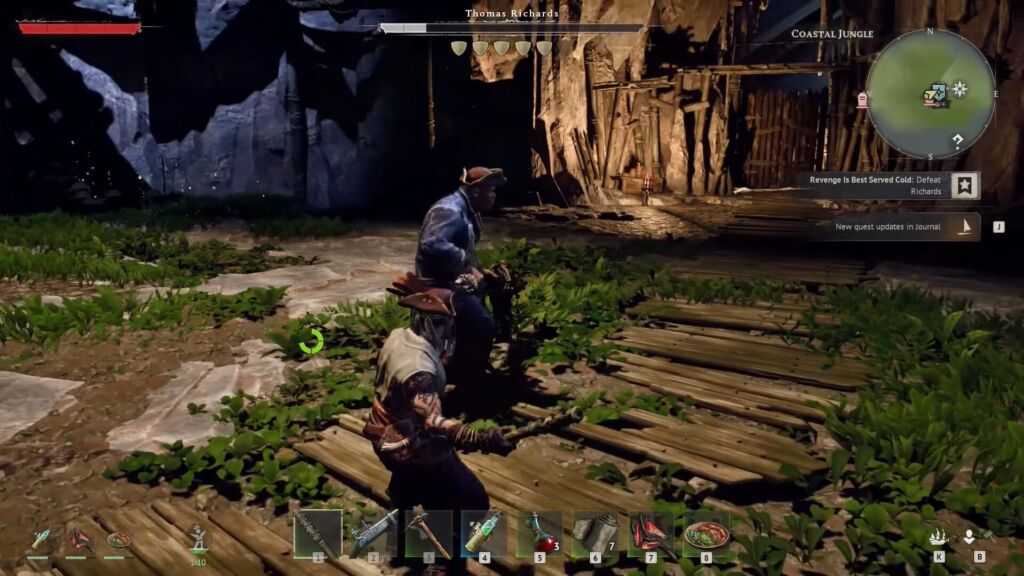
Hit Powerful Attacks
Managing stamina is crucial to dealing with continuous damage to the boss. He punishes aggression, but rewards patience. The fight becomes easy if you follow these steps (Dodge, wait, punish, back off). I recommend focusing on dodging, not parrying.
Below are all the Thomas Richards attacks and how to counter them.
| Attack | Attack Pattern | Counter |
| Double Swing | 2-3 slow melee swings with his heavy weapon. | The attack is clearly telegraphed and predictable. Dodge sideways or backward and wait for the final swing. |
| Red Attack | Weapon glows red and slams the ground to deal AoE damage. | Don’t try to block when the weapon turns red. Quickly dodge out of range immediately. |
| Charge + Grab | The boss rushes toward you and attempts a grab to deal massive damage if it connects. | Dodge to the side at the right moment and keep distance when he starts charging. |
| Bomb Toss | Throws explosives that deal heavy damage, allowing the boss to chunk your HP quickly. | Continue moving in the arena and avoid standing in one area. Run back when he pulls out bombs. |
| Gap Closer | The boss suddenly rushes toward you to close the distance. | Get ready to dodge sideways, create distance, and reset your positioning. |
How To Defeat Thomas Richards
The attacks of this boss are pretty slow, and you can easily block, parry, or dodge them. Don’t ever try to interrupt the red attack, as you can’t block or parry it. Spamming the attacks or dodging too much can consume the stamina. Use ranged weapons like a Blunderbuss to break his shield quickly and then deal burst damage safely.
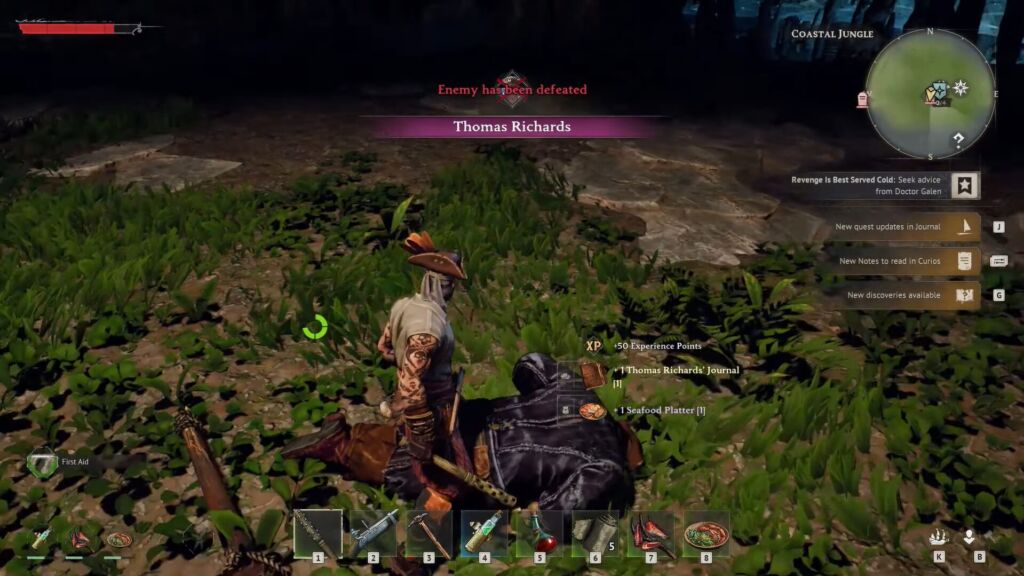
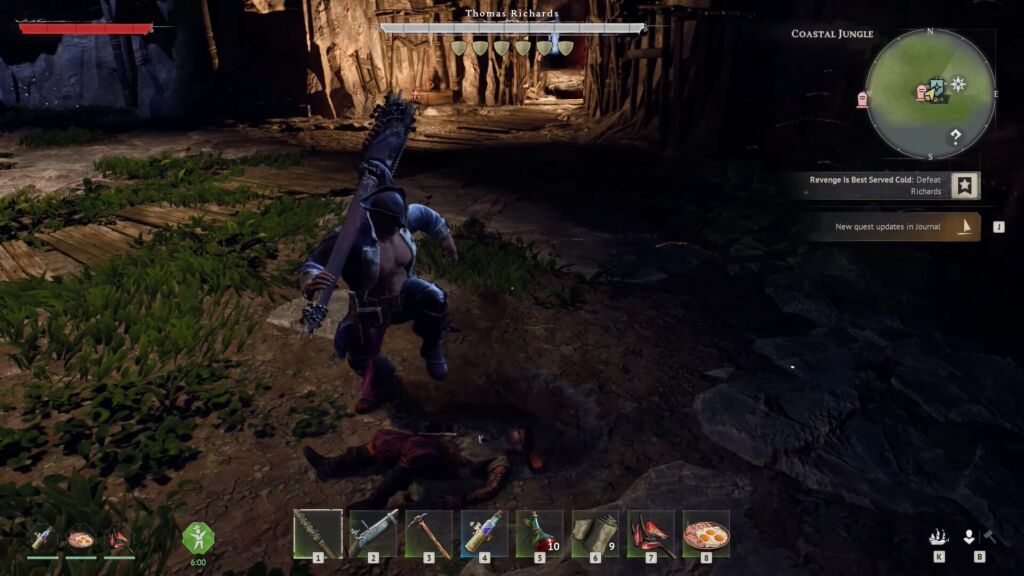
Defeated Thomas Richards
He has shield bars under HP, and each hit removes one. The shield regenerates if you stop attacking the boss. Focus on one damage stat and prioritize Vitality and Endurance. Upgrade weapon and armor to Level 5 and bring healing potions. Eating buff food gives HP and damage boosts during combat. I recommend getting the Rested buff for stamina regen and placing the tent outside the cave. Defeating Thomas Richards allows you to give 50x EXP, 1x Thomas Richard’s Journal, and 1x Seafood Platter.
Pro tip: The most common mistake that players make is to attack mid-combo. You must wait until he fully finishes.
Make sure to only hit 1-2 times max and then back off. The boss can punish you if you get greedy and try 3-4 hits. The fight is about timing, not damage output. Dodge sideways or backward every time, especially for red attacks. Get ready to stop attacking immediately when he throws bombs.

Red Attack
You must sprint away until they explode because the bombs deal huge damage. When you see a red glow, just dodge rather than taking a moment to attack. These attacks cannot be blocked, as they include slam and charge grab.
Use target lock-on immediately, letting you prevent camera chaos when he charges. Make sure to carry items like Bandages x10, Health Potion x3, Elixir of Cruelty, Coconut Milk, and Grog for unique effects during combat. He’s hard because of timing and damage punishment, not mechanics overload. He struggles to chase ranged or kiting players, so the hit-and-run tactic works.
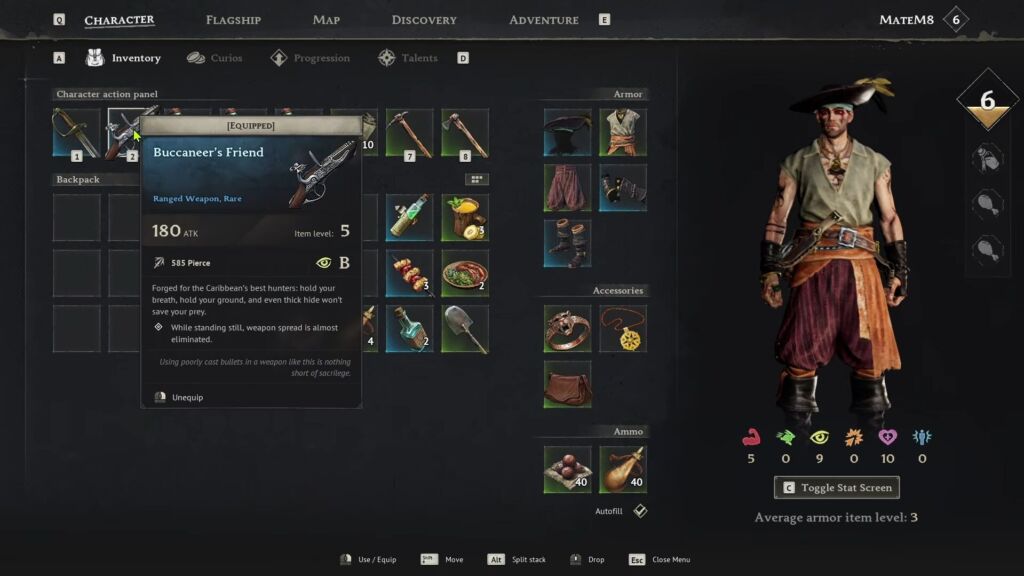
Best Weapons To Use Against Thomas Richards
Choosing the best weapons to defeat this boss is essential; using the wrong one can punish you multiple times. A blunderbuss is the best weapon to use because it deals massive close-range burst damage and can hit multiple pellets. Using this weapon properly can shred boss HP fast, making it perfect for breaking the shields quickly. Make sure to stay closer to the boss and shoot after dodging his combo. You should quickly switch to dagger for the stagger window to deal massive damage.
Best Weapons To Choose
Rapier is also the best weapon to use during this fight due to its fast attacks and heavy burst damage. It works perfectly with dodge-based combat, letting you stack damage safely without overcommitting. Saber can also be used to defeat Thomas Richards due to low stamina usage and consistent safe damage.
Prefer carrying the pistol or Musket to deal damage from a safe distance. This weapon is perfect for chip damage between dodges, but use it as a secondary weapon. Having no food buffs, bandages, a rested buff, and stamina exhaustion let you die multiple times while fighting this boss.
Best Armor Set to Equip
Conquistador’s Armor is the best armor set to equip before diving into the action with Thomas Richards. It lets you survive heavy hits and mistakes and the 4-piece bonus gives Bulwark. This armor also gives +15% damage reduction for a 2-piece. His red-glint attacks hit extremely hard, and Conquistador’s Armor allows you to tank small damage.
Tackle the Boss
Marksman’s Rig is also another good option to use because it reduces stamina cost for sprinting & dodging. It grants -30% stamina drain on dodge and +15% ranged damage. The best build contains 2x Conquistador & 2x Flibustier for tankiness and stamina efficiency. Flibustier’s Attire lowers the stamina cost for attacks and increases one-handed weapon damage. It grants -20% stamina cost on attacks and +15% one-handed damage.


