

Discover everything you need to know about the walkthrough of Shellwood in Hollow Knight: Silksong, including how to defeat the Sister Splinter boss.
Shellwood in Hollow Knight Silksong is one of the challenging regions to progress in due to several threats lurking around every corner. Purchase the map from Shakra to help you orient and navigate the complex terrain. Defeating Sister Splinter is necessary to reach the upper portions of Shellwood.
Obtain the Cling Grip or Wall Jump ability after eliminating this boss. This region sets up access to Bellhart’s full potential, both for story and for upgrades. Defeat all the enemies and explore the map thoroughly to uncover all the secrets in this biome. In this guide, we’ll discuss how to progress in Shellwood, including how to acquire Cling Grip.
How to Get in Shellwood
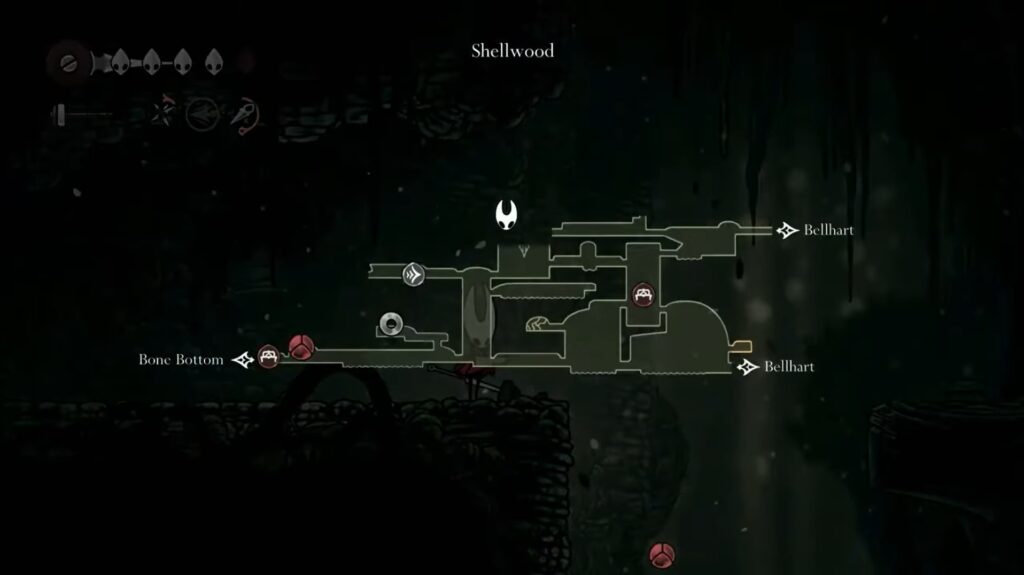
After defeating the Moorwing in Greymoor, you can move west into the Hunted Bellhart. Following a cutscene, you can sit down at the bench to rest. Move west until reaching the next area, Shellwood. From there, you will need to move up and through this large chamber in a sort of S shape, going back and forth as we make our way up. Your goal is to eventually reach the top west exit. You will then need to drop down to the west to enter a boss chamber. There, you will have to fight off multiple waves of enemies.
Rest at the Bench
Store the Silk to hit the enemies with a couple of Silk Spears, which should dispatch them quickly. Once all waves have been defeated, you can move out to the west. After that, go up a series of platforms to reach a purchasable bench. This bench costs 60 Rosaries to permanently activate. However, it will serve as a checkpoint for two separate boss fights.
Purchase Shellwood Map
Moving down and to the west of the bench, you can enter a new chamber and ride a lift all the way down. You can then move through the bottom west exit to reach a new chamber where Shakra is waiting. Purchase the map from her to make the progression smooth.
Take the Lift
Reach the top, east exit out of this chamber. You will then move further up and east, going through the first exit you see. There is a side quest item at the top of this chamber, but continue moving east. You will go up and further east in the next chamber, then activate and use the lift that is near the top east exit. This lift will serve as a shortcut, bringing us directly to that bench we unlocked earlier.
Defeat Sister Splinter
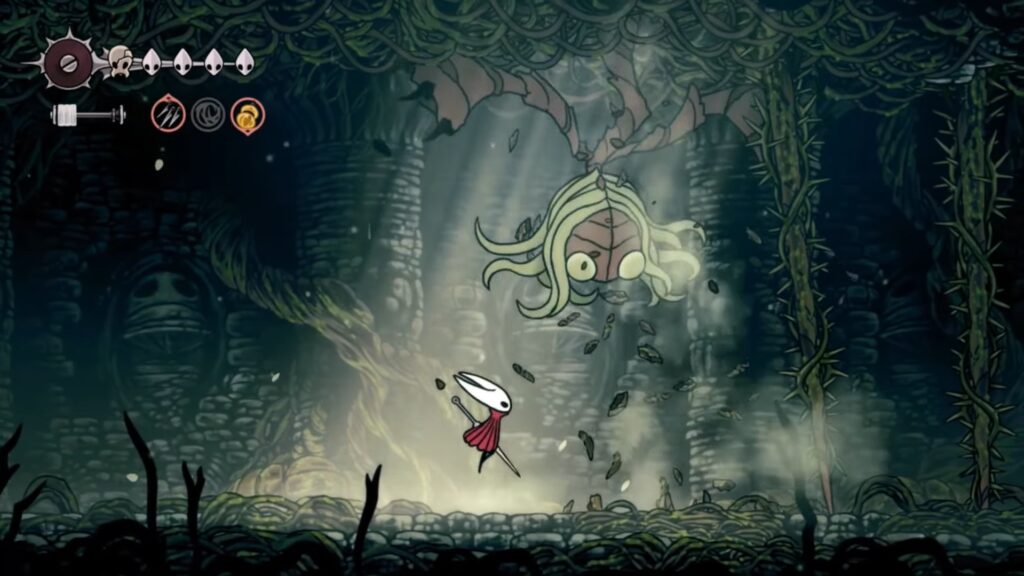
To reach the next major boss from the bench, you will ride the newly opened lift back up. After that. Go through the eastern exit. Moving through this short platforming section will get you to the top west exit, which then leads directly to the boss chamber. Here, you will need to defeat Sister Splinter. The actual boss is not too difficult.
You just need to quickly destroy the splinters. This allows you to have enough room to maneuver and avoid her simple attack pattern, while getting in plenty of our own hits. The only thing that makes the fight tough is the ads she spawns. These are super dangerous and annoying to deal with. The best way to take them out is to hit them with silkspears or a couple of ranged offensive tools, assuming you have those at your disposal.
Use the Swift Step ability to dash away from its attacks. We recommend you keep moving and using Dash throughout the fight. Standing in a single position gives opportunity to the boss to attack and kill you first.
The boss will appear in the arena with a triple slam after you defeat those two enemies. More spiked vines will appear in the arena to make your life more complicated. You can again move near any spiked vine and dash when she jumps to attack you. This will let you deal massive damage because her agility is the same as in phase 1.
Use any opportunity you get to attack her and deal damage. Attack her two to three times while dodging her arms. After she takes enough damage, she will fall to the ground while screaming.
Take out the minions in the first place and demolish all the vines to make space in the arena. Keep using Dash to avoid her attacks with arms. Don’t try to focus on her minions and vines, as you will hurt yourself by doing so.
Unlock Cling Grip Ability
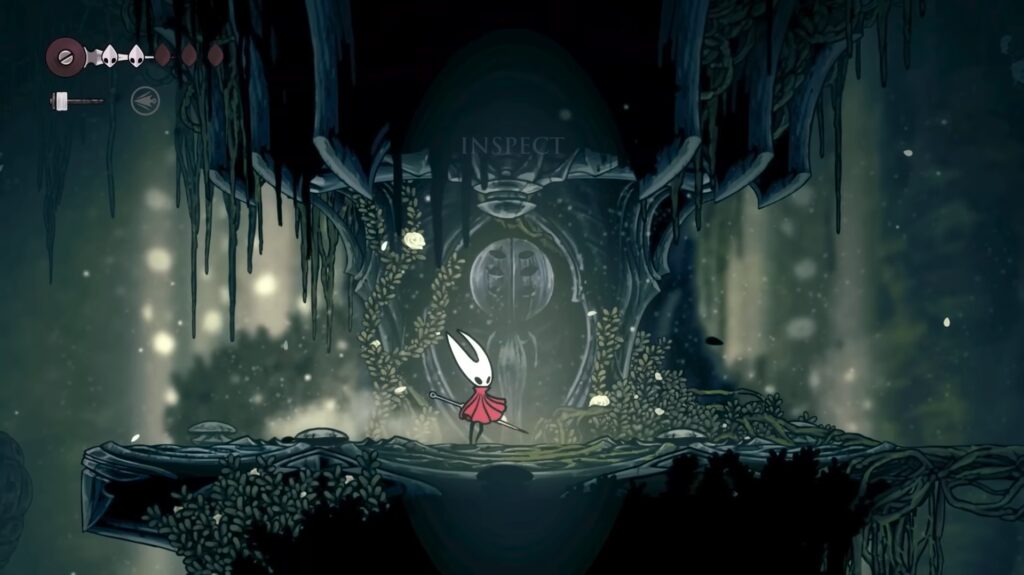
After defeating Sister Splinter, you can move further west. Drop down briefly before moving back up and towards the top west exit. In this next chamber, move further west, break through several vines, then needle-pogo our way up through a somewhat precarious platforming section.
Your goal is to reach the top east exit of this chamber. This will bring us to a final chamber where you can interact with an altar to unlock the Cling Grip or wall jump ability. Use this ability to unveil the secret areas and paths during your journey in Pharloom.
Free the Flea
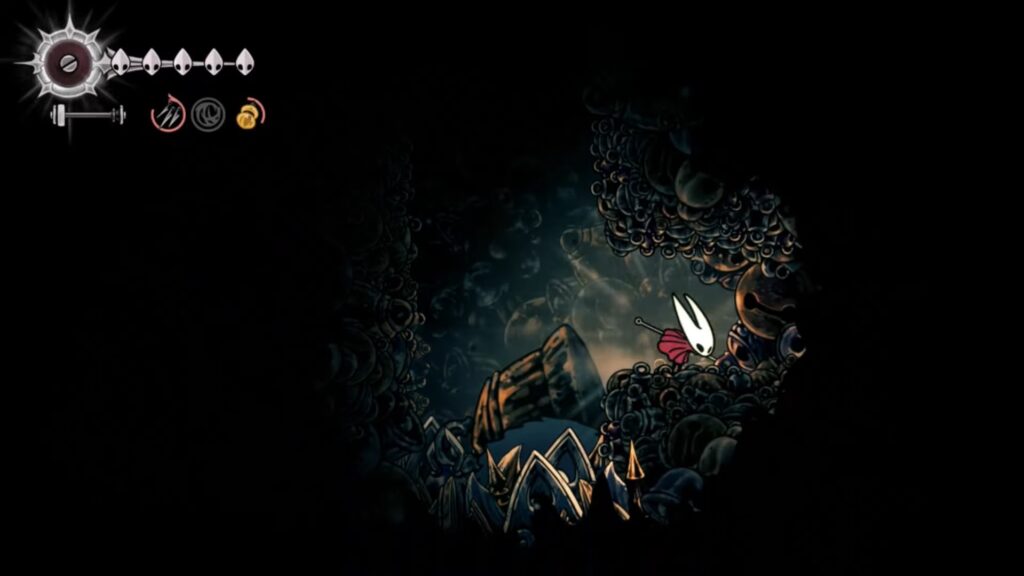
Do some backtracking once you unlock the Cling Grip. Use Drifter’s Cloak to avoid the foes and spike traps after getting to the base level of this chamber. Take the left exit and get to the platform on the right side of this room. Break the wall to free the Flea after you reach the bottom.
Acquire Longpin Tool
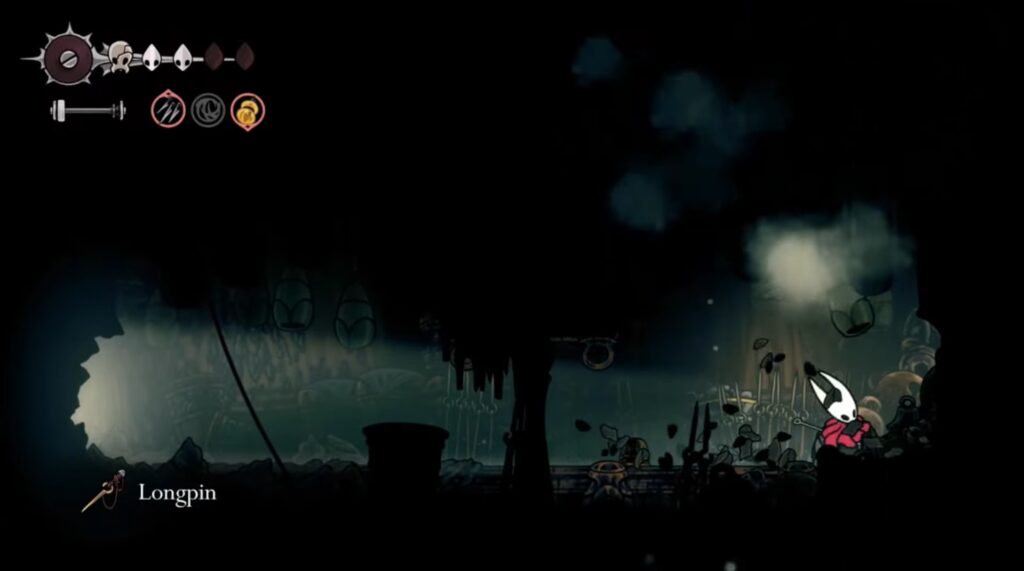
Move and travel to the left of this new area. Go right there where the Shakra was, allowing you to unlock the door. You will find the Pond Skippers and Pondcatcher enemies in this area of Shellwood. Move upward and to the right of the room by moving through the door. Destroy the purple flower to reveal the secret area. Get inside to get your hands on the Longpin Tool.
Travel To Bellhart or Blasted Steps
Move to the Shellwood Bellway and keep moving to the left to reach a newly unlocked area of Blasted Steps. However, you can also use the Cling Grip ability to explore the area of Bellhart. Make your way all to the bench in the center of the region to explore the Bellhart.
The bench will take you to the area where Sister Splinter was. Climb to the top without using the elevator and use the Cling Grip ability to jump. Doing so allows you to climb the wall on the left side. The path on the right side takes you to the area of Bellhart.