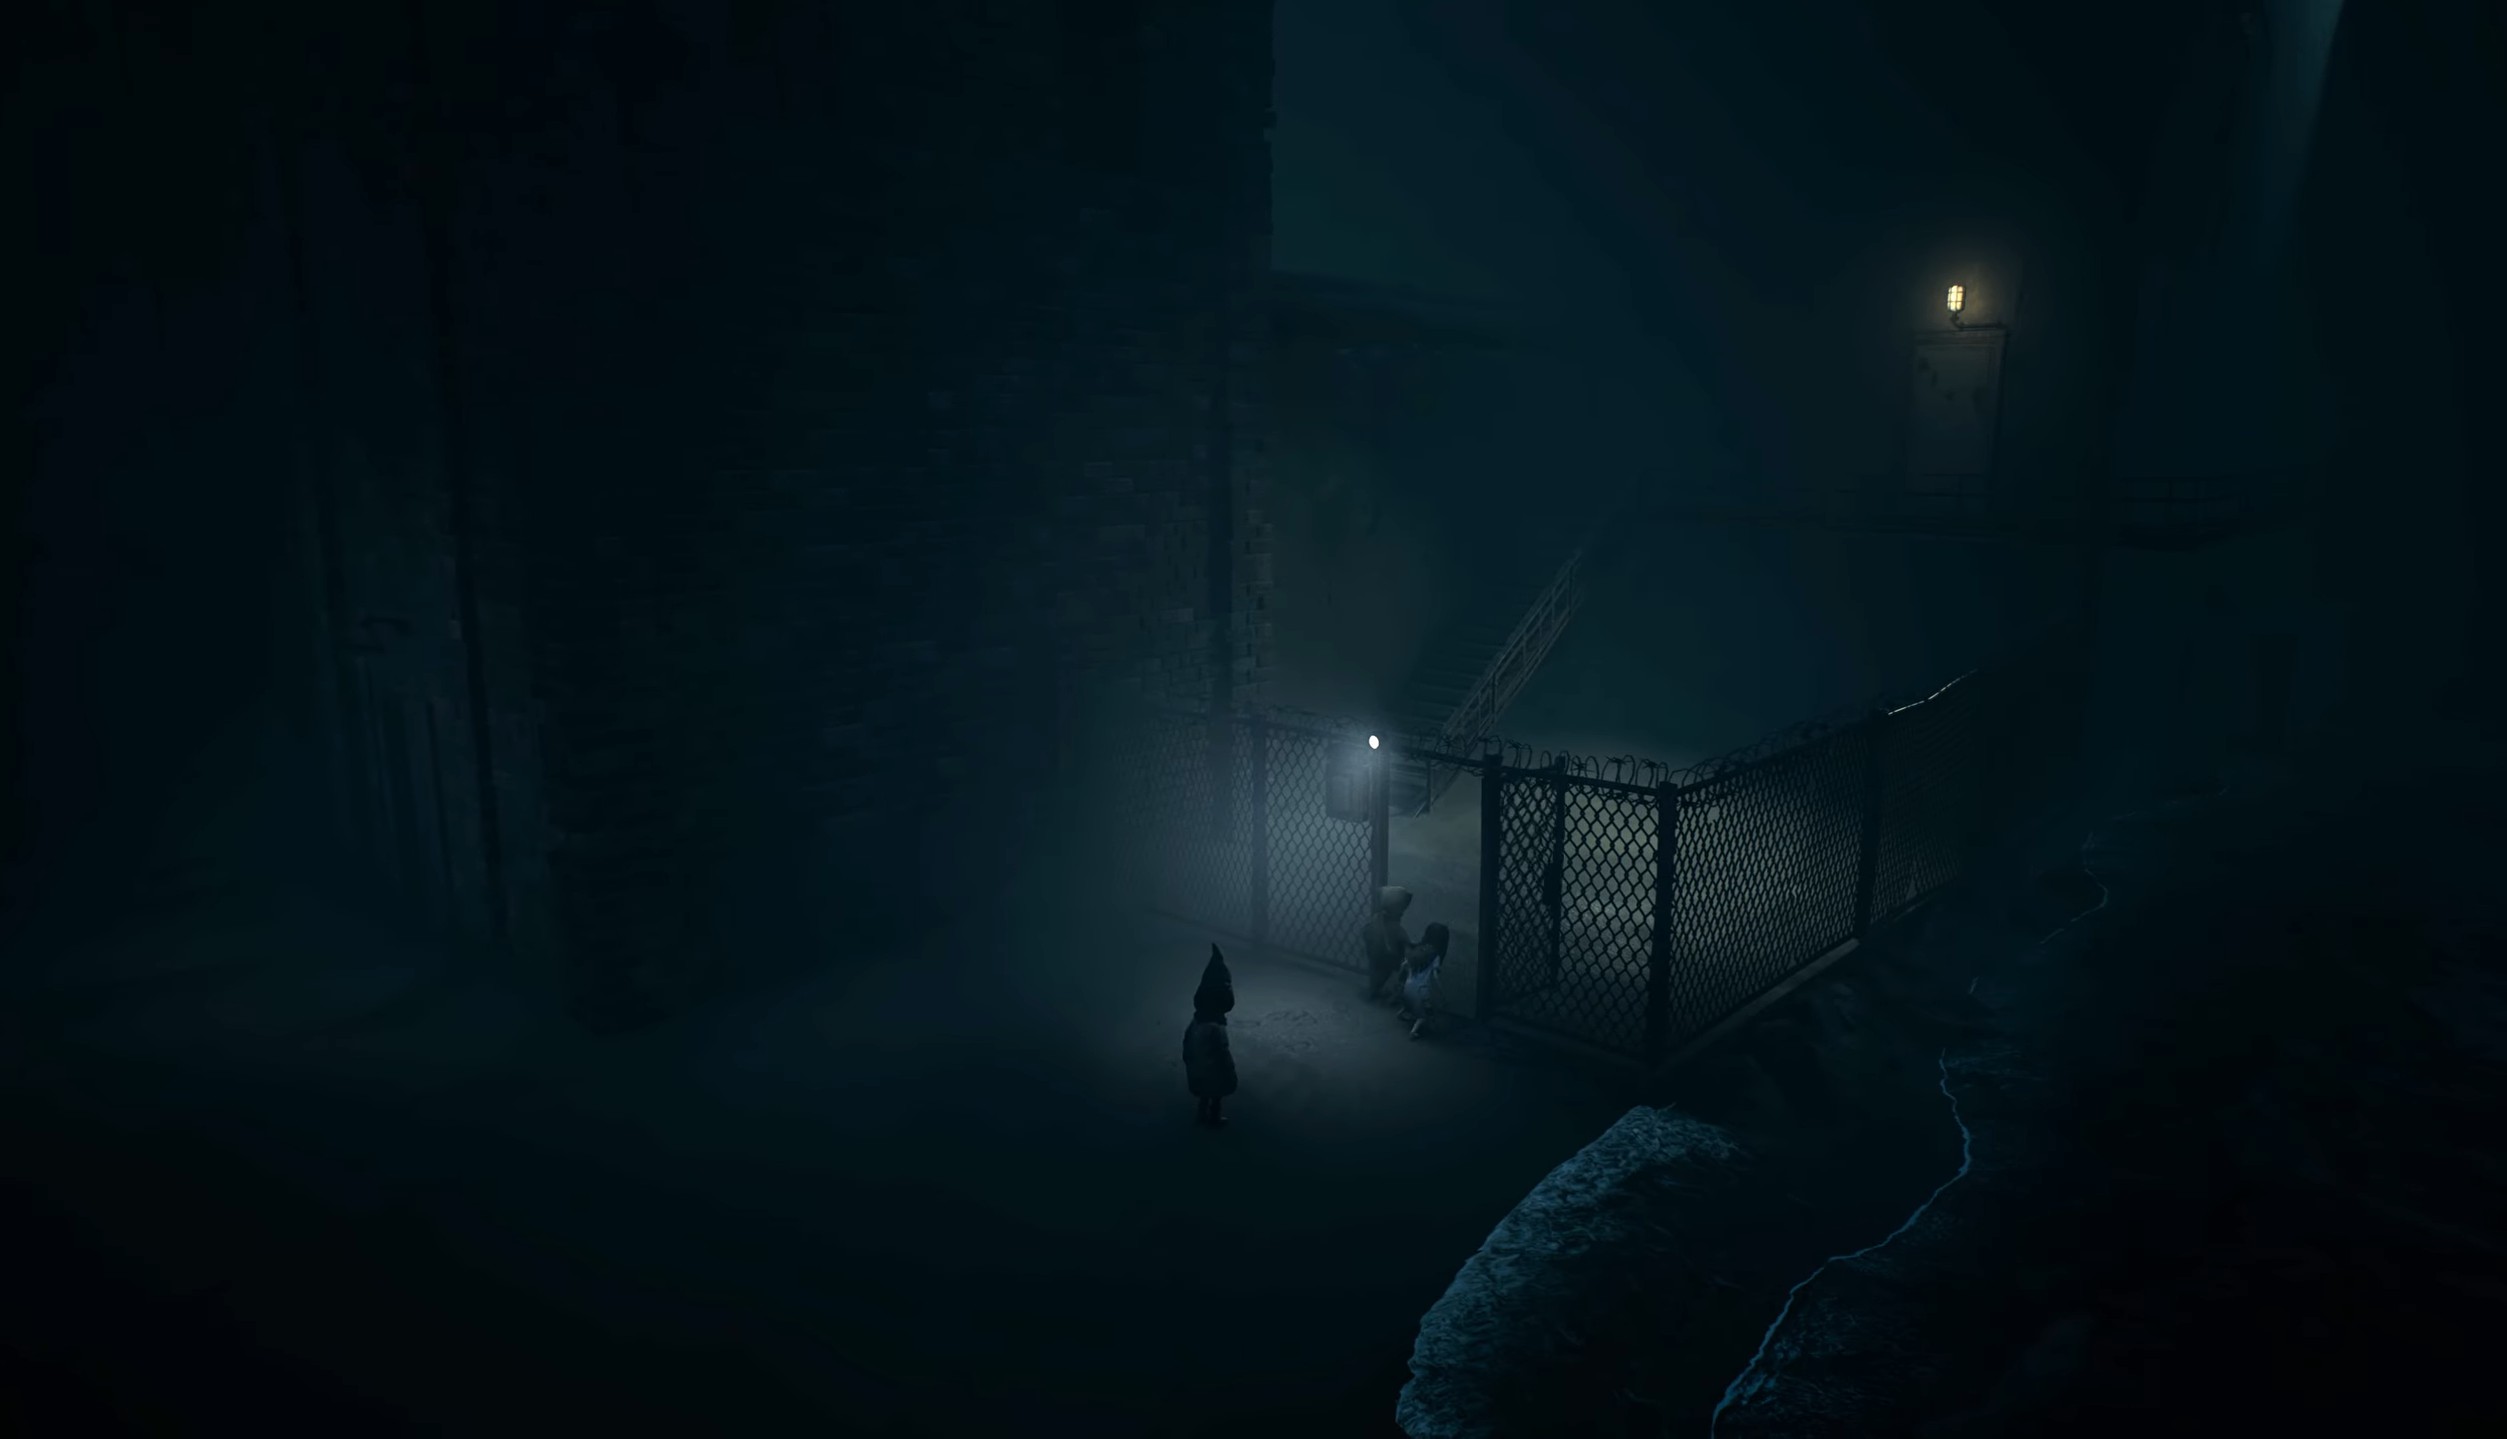
Chapter 3, After the Flood, in Reanimal expands heavily on boat traversal, environmental puzzles, and hidden progression routes. This chapter introduces sea mines, harpoon combat, multiple missable collectibles, and two secret coffins tied to the secret ending. Below is a full, start-to-finish walkthrough covering the main path, optional routes, collectibles, and escape sequences in proper order.
Table of contents
- Beach Return Area
- Locating the Control Wheel
- Opening the Floodgates
- Descending the Dam and Boarding the Boat
- Sea Mine Introduction
- Flooded Supermarket Entrance
- Flooded Streets
- Harpoons Location
- Secret Coffin #2
- Flooded Hotel
- Cannon Island Area
- Secret Coffin #3
- Barn and Flower Field
- Barn Interior – Poster Location
- Lighthouse Path and Climb
- Bandage Event
- Bus Stop Area
Previously in Reanimal
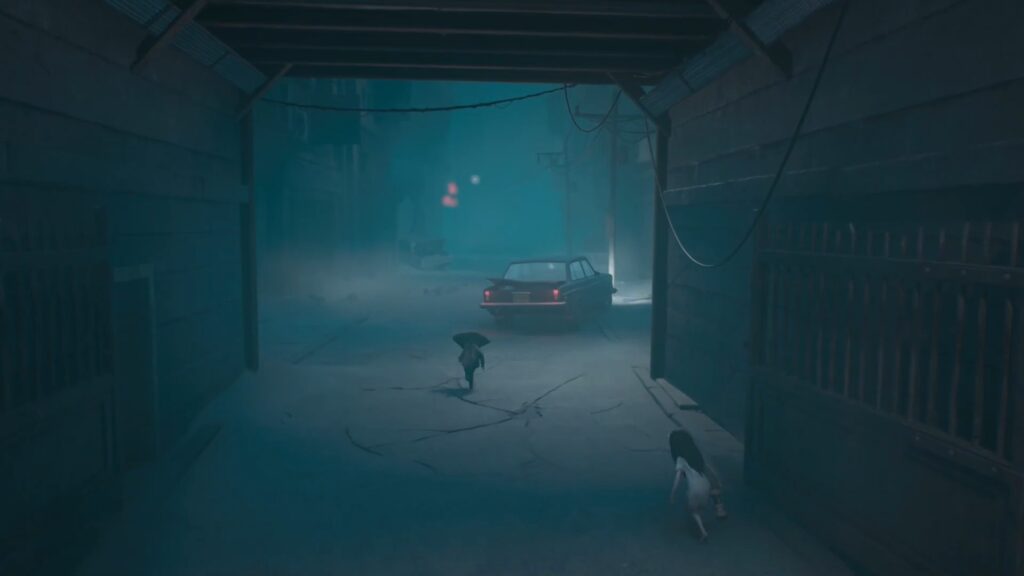
At the end of the previous chapter, the floodwaters break through the surrounding structures, reshaping the landscape and forcing you to escape by water. With new areas submerged and old paths destroyed, the journey now shifts toward boat traversal, environmental puzzles, and uncovering what survived after the flood.
Beach Return Area
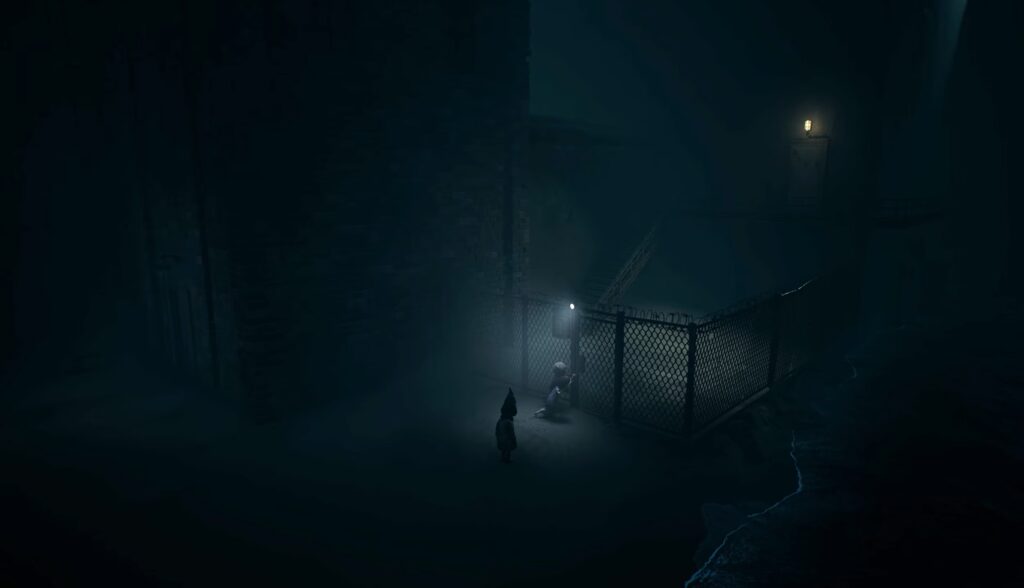
After the chapter transition, you regain control on a familiar shoreline previously visited earlier in the game. The environment is now visibly altered by flooding, with debris scattered across the sand and water levels noticeably higher.
Move to the right along the beach until you reach a locked metal gate. Use your crowbar to pry it open. This is the only way forward. Past the gate, continue straight and climb the tall ladder ahead. Follow the wooden walkway until you reach another ladder that takes you higher, eventually leading to the top of the dam.
Locating the Control Wheel
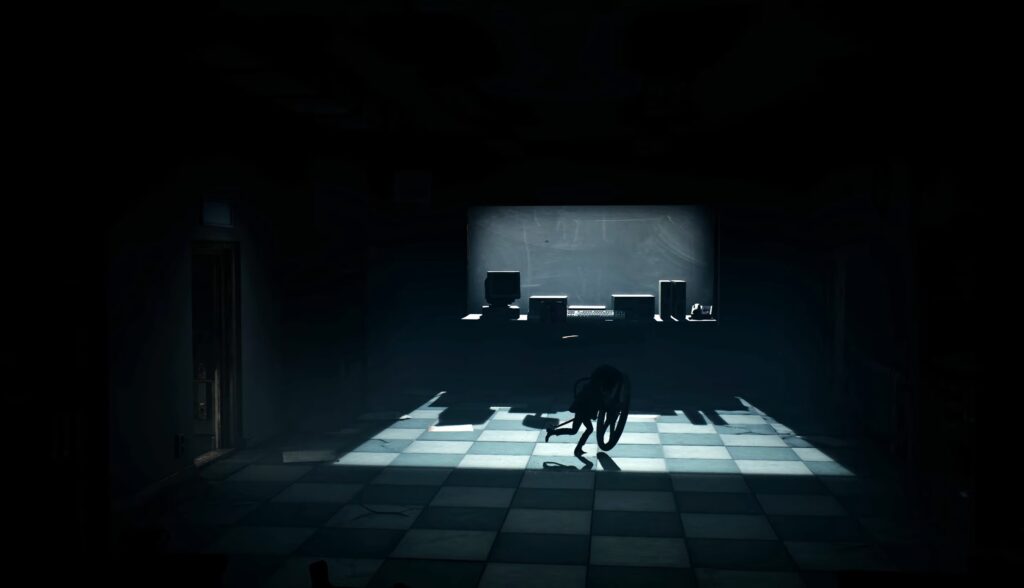
Once on the dam’s upper platform, stop and explore the left side before interacting with the main mechanism. A small utility room is built into the dam wall. Enter this room to find a large metal wheel resting against the interior machinery.
Pick up the wheel and return to the dam’s control crank located near the center of the platform.
Opening the Floodgates
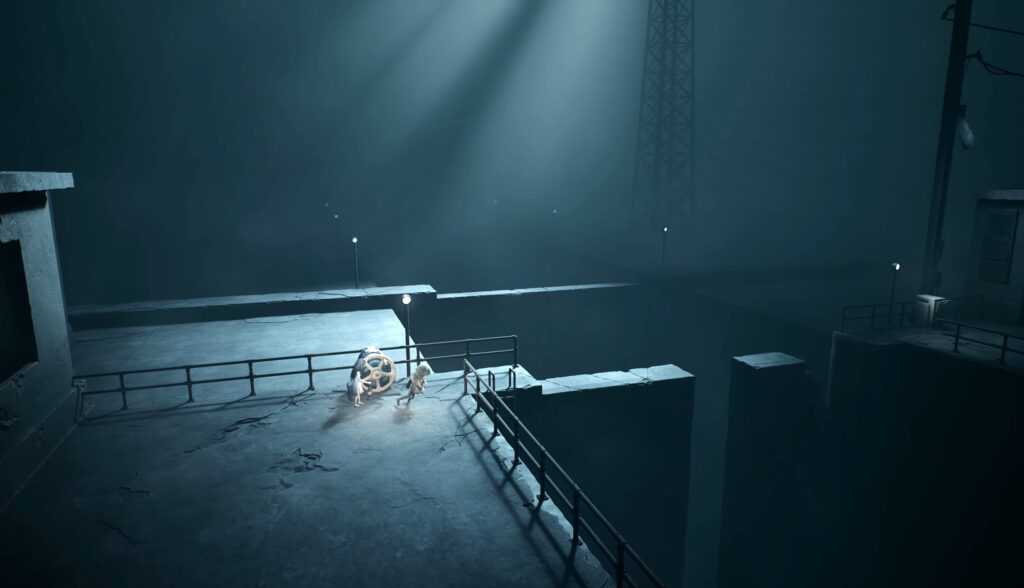
Insert the wheel into the dam mechanism and begin turning it. The objective here is not to fully open the floodgates immediately.
Turn the wheel slowly until the gates open just enough to create a narrow horizontal gap. This gap allows you to jump across to the opposite side of the dam. If you open the gates too wide too early, you won’t be able to cross.
Jump across the partially opened floodgates to reach the far platform. Here you’ll find a lever mounted on a column. Pulling this lever unlocks full control of the dam system.
Once the lever is activated, jump back across to the original side, return to the wheel, and fully open the floodgates. This creates enough clearance for your boat to pass through later.
Descending the Dam and Boarding the Boat
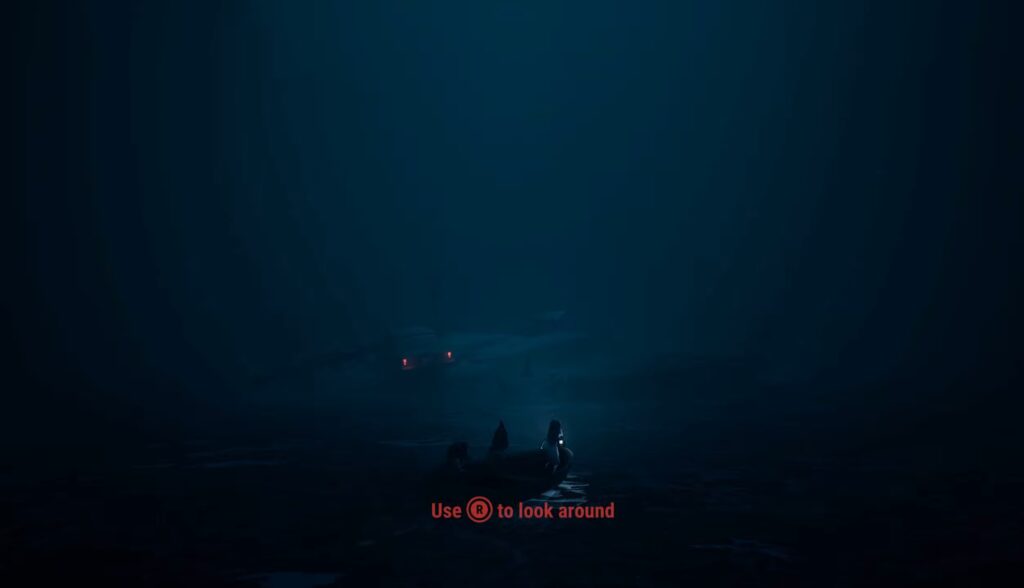
After opening the floodgates completely, climb down using the ladders on the dam structure. At the base, your boat is waiting in the water.
Get into the boat and begin moving forward through the opened dam gates to continue the chapter.
Sea Mine Introduction
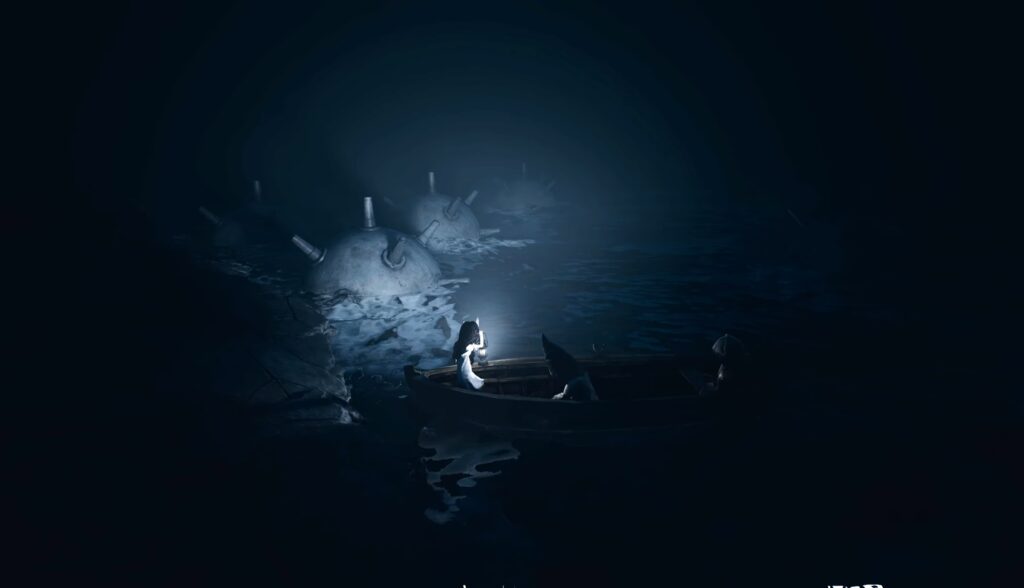
Shortly after passing the dam, you’ll encounter floating sea mines scattered throughout the waterway. These mines explode instantly if your boat touches them.
This section introduces the harpoon, which allows you to safely destroy mines from a distance. Aim carefully and detonate mines before steering forward. Take your time here, as rushing almost always results in an explosion.
Continue navigating through the minefield until you reach a dark structure with lit signage ahead.
Flooded Supermarket Entrance
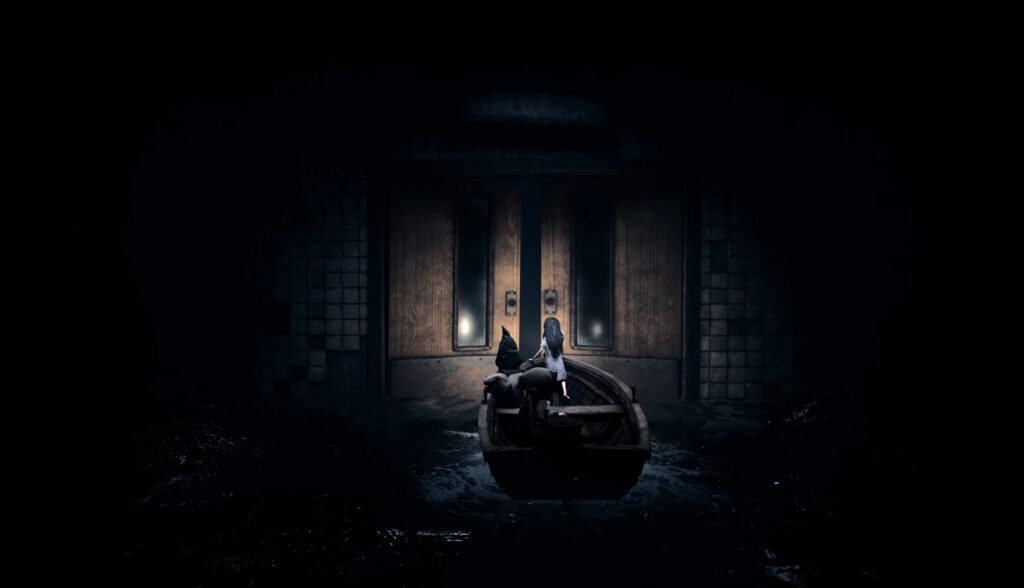
Steer your boat directly into the illuminated entrance and pass through the double doors. Inside is a submerged commercial area with tight corridors and limited visibility.
You’ll encounter Boomers here; these are water-based enemies that surface suddenly and rush toward you. Use the harpoon to kill them before they close the distance, especially when navigating narrow passages.
Follow the linear interior path until you exit back outdoors into a broader flooded street area.
Flooded Streets
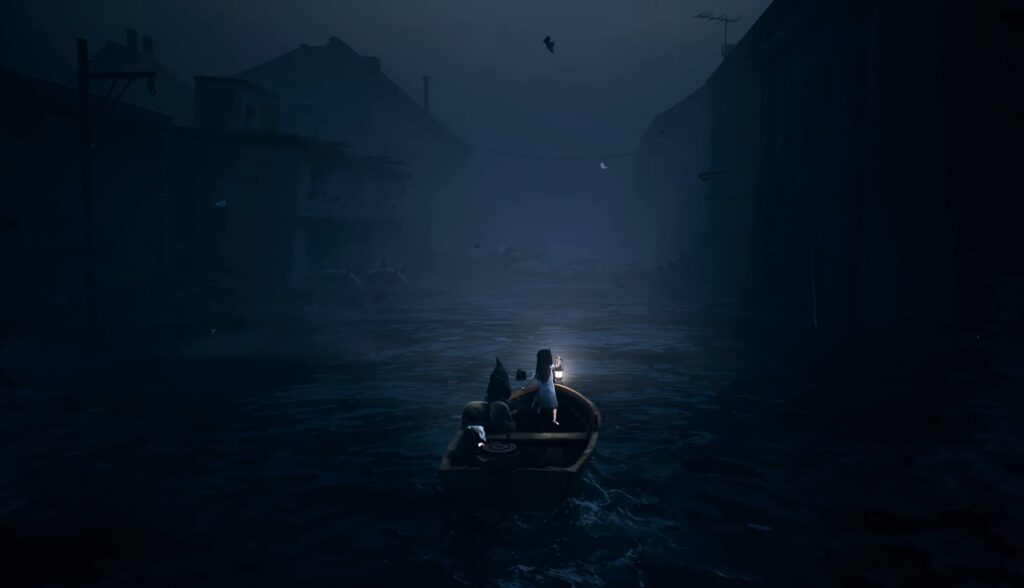
Your boat will automatically slow and dock near a partially submerged shoreline. Disembark and proceed on foot.
This area contains one of the chapter’s poster collectibles, typically placed on a nearby wall close to the docking point. Scan the surroundings carefully before moving on.
Continue forward through the shallow water and enter the nearby building to progress.
Harpoons Location
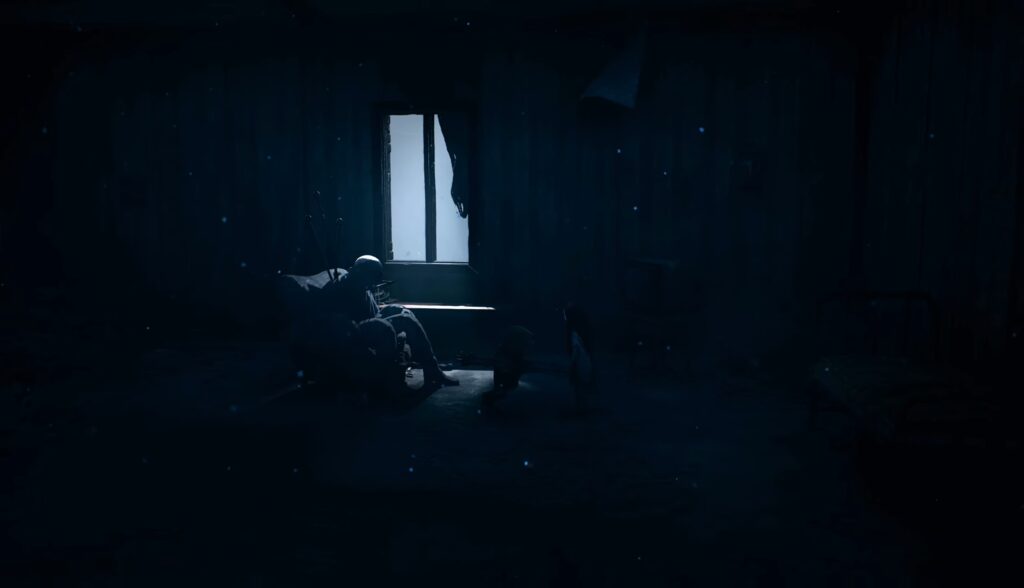
Before heading straight for the hotel entrance, follow the path that leads to a ruined house with a man in a wheelchair near a window. Inside this building, inside or near a room with a wheelchair, you’ll find a corpse with a bundle of harpoons on its lap. Interact with this body to pick up the harpoons.
After obtaining them, return to your boat. From this point forward, you can use the harpoons to destroy sea mines from a distance while steering the boat, and they become essential for safe progression through the rest of this chapter.
Secret Coffin #2
Before fully committing to the hotel route, you can access a hidden area required for the secret ending.
As you approach the flooded hotel entrance, look for a side alley on the right. Two sea mines block this path. Destroy both using the harpoon, then steer your boat into the newly opened route.
Dock at the small landing area and squeeze through the barred opening. Descend the staircase all the way down to find Coffin #2. Interact with it to register progress toward the secret ending.
Return the way you came to rejoin the main path.
Flooded Hotel
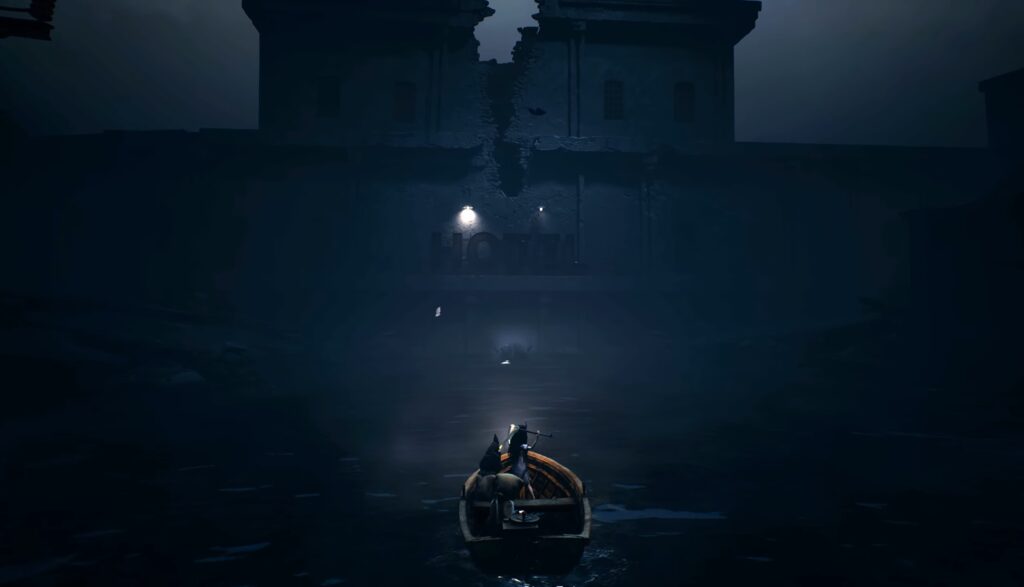
Back on the main route, destroy the mine blocking the hotel entrance and steer your boat inside.
The flooded hotel interior is a maze of submerged hallways, collapsed walls, and enemy encounters. Boomers attack frequently here, often from blind corners. Move slowly, clear enemies methodically, and follow the water path forward.
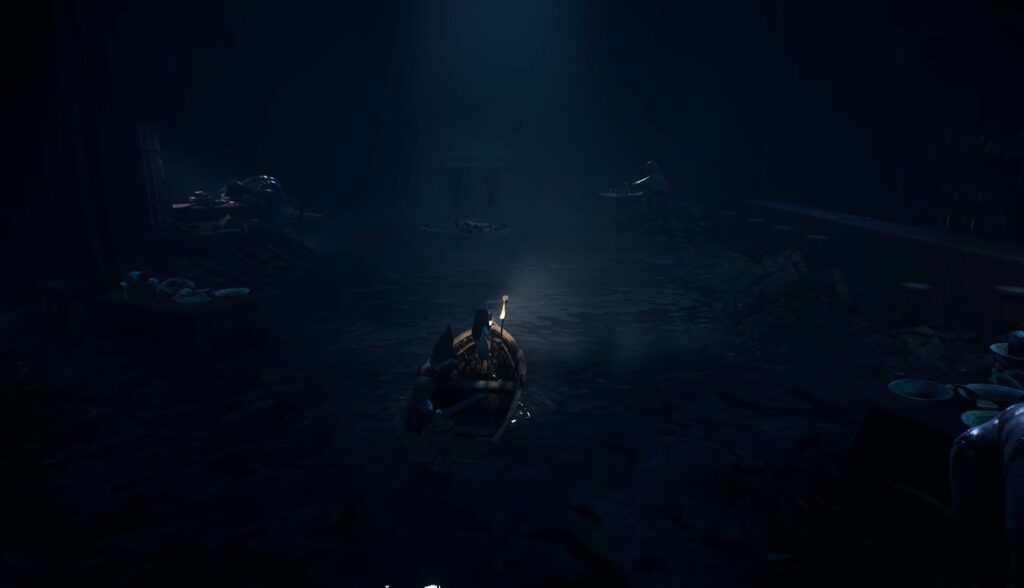
Eventually, you’ll exit the hotel into an open sea area.
Cannon Island Area
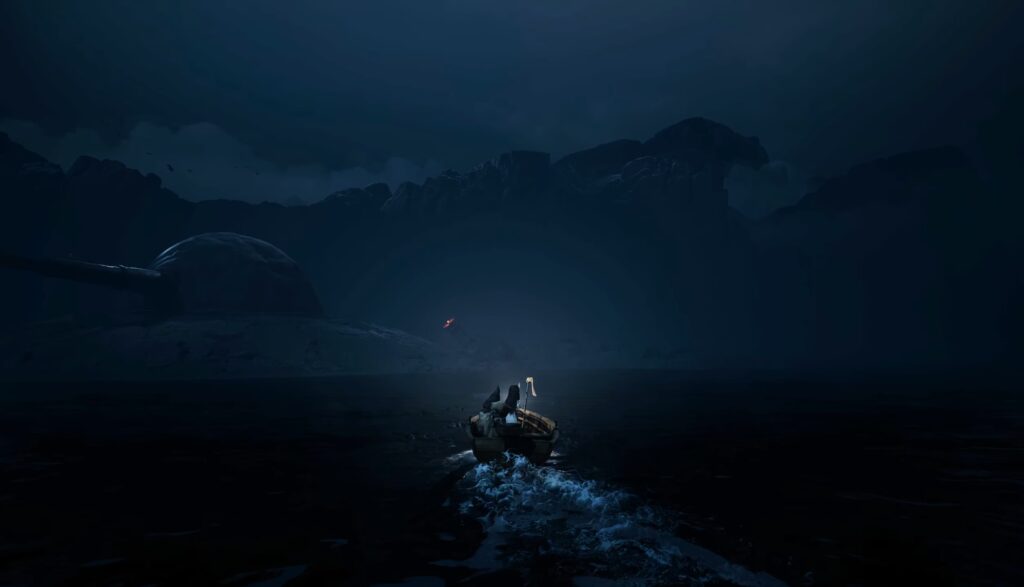
In the open water, you’ll spot a large cannon mounted on a rocky island. This landmark is important for both progression and secrets.
Circle around the cannon rather than heading straight ahead. On the far side of the island, there’s a hidden cave entrance that’s easy to miss if you don’t explore.
Secret Coffin #3
Enter the cave behind the cannon island. Inside, you may encounter an aquatic enemy; eliminate it with the harpoon.
Continue through the tunnel until it opens onto a small hidden beach. At the back of this area sits Coffin #3. Interact with it to claim another secret-ending requirement.
Leave the cave and return to the open water to continue.
Barn and Flower Field
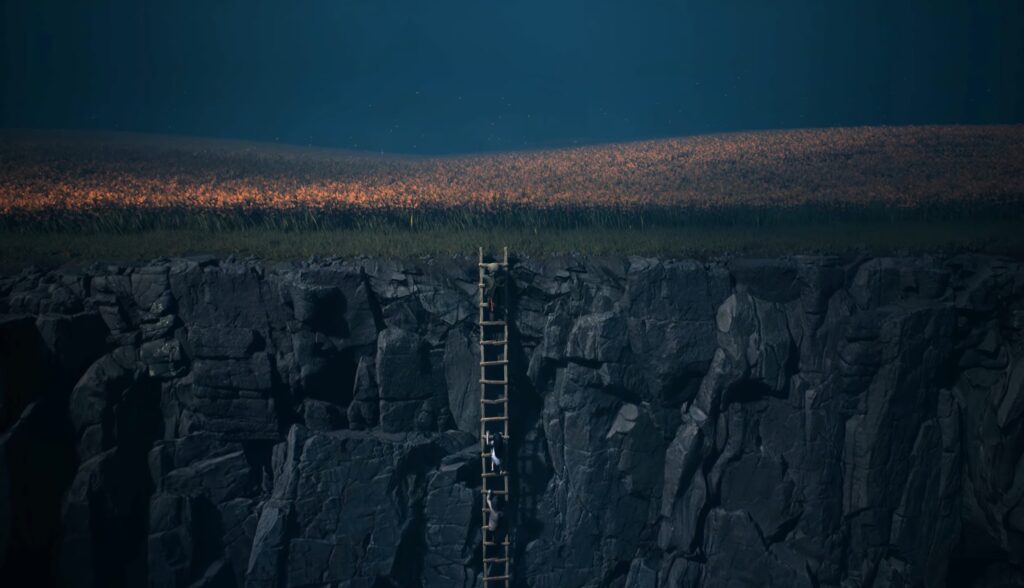
Proceed inland until your boat reaches a muddy farm area. Disembark and move forward toward the barn.
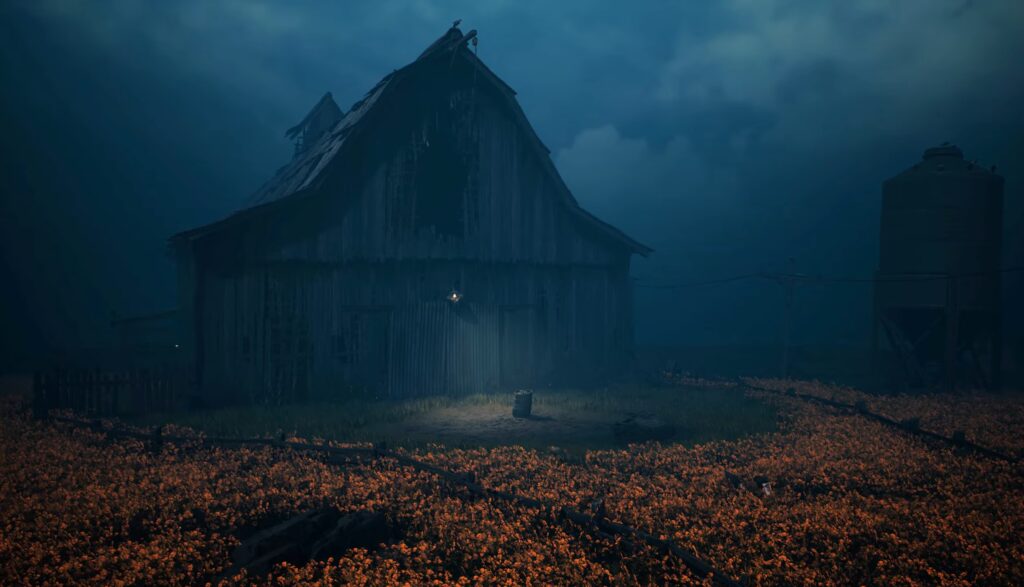
Before entering the barn, head left into the flower field. A scarecrow stands in the center. Strike it with your crowbar to spawn a critter enemy. Defeat it to obtain the Deer Head Mask collectible.
Return to the main path afterward.
Barn Interior – Poster Location
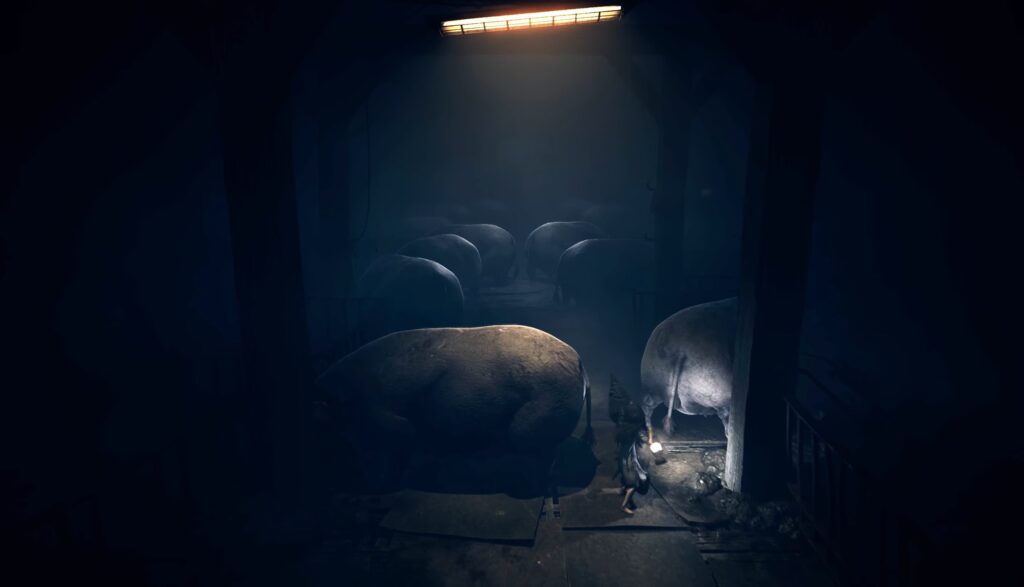
Enter the barn and move carefully through the interior. Pigs block parts of the path but can be pushed through.
Near a tractor inside the barn, check the wall behind it to find another poster collectible. Grab it before leaving the area.
Exit the barn and continue uphill.
Lighthouse Path and Climb
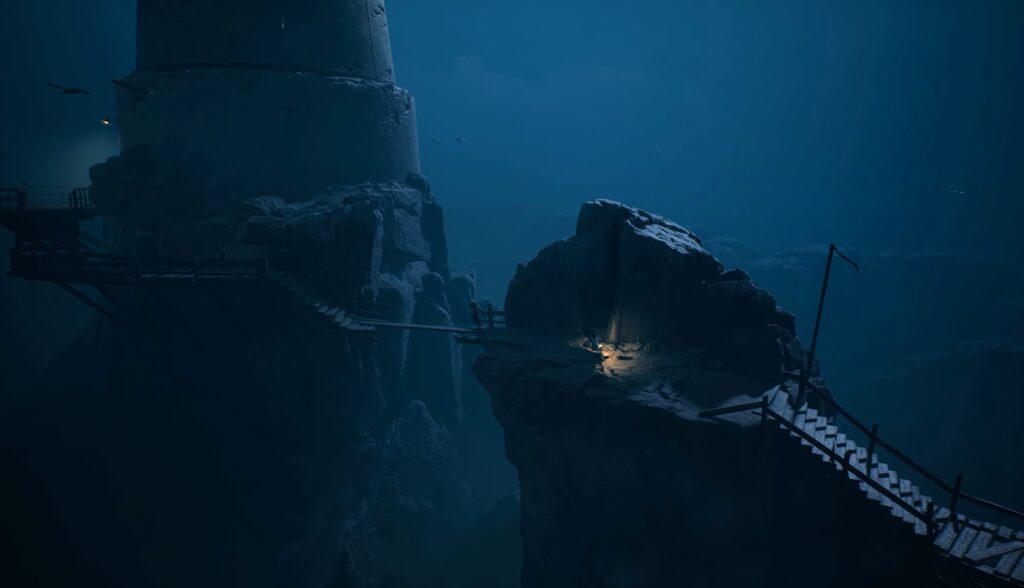
Follow the trail upward, crossing a bridge and climbing stone steps toward the lighthouse. Seagulls begin attacking aggressively in this section. Swing your crowbar while moving forward to avoid being overwhelmed.
Enter the lighthouse and begin climbing the spiral staircases all the way to the top.
Bandage Event
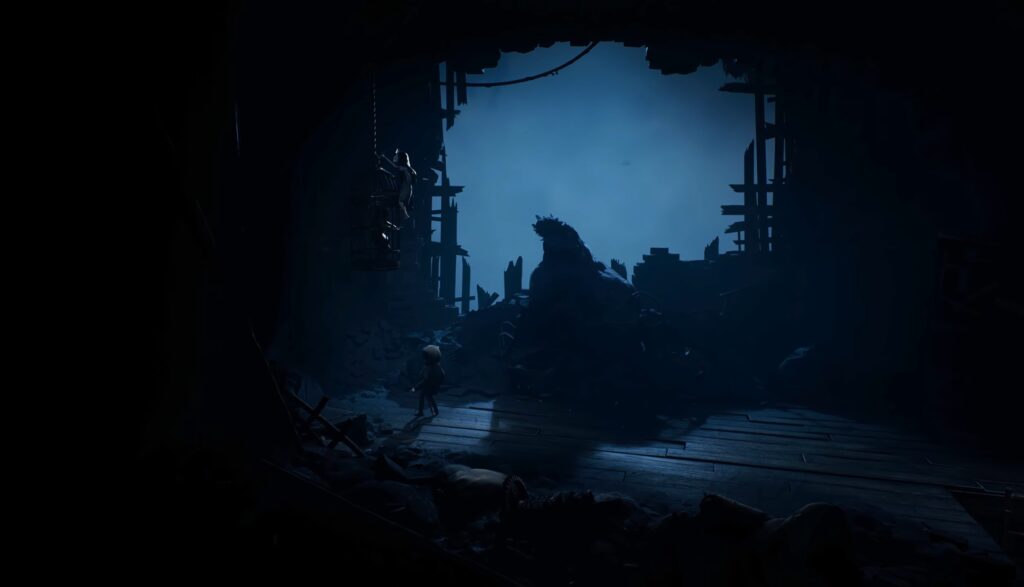
At the top of the lighthouse, you’ll find Bandage trapped in a cage. Interact with it to trigger a cutscene. Bandage briefly rejoins you before being snatched away by a giant pelican.
This immediately triggers a chase sequence.
Sprint back down the lighthouse as fast as possible. The pelican will attack from above while seagulls swarm along the path.
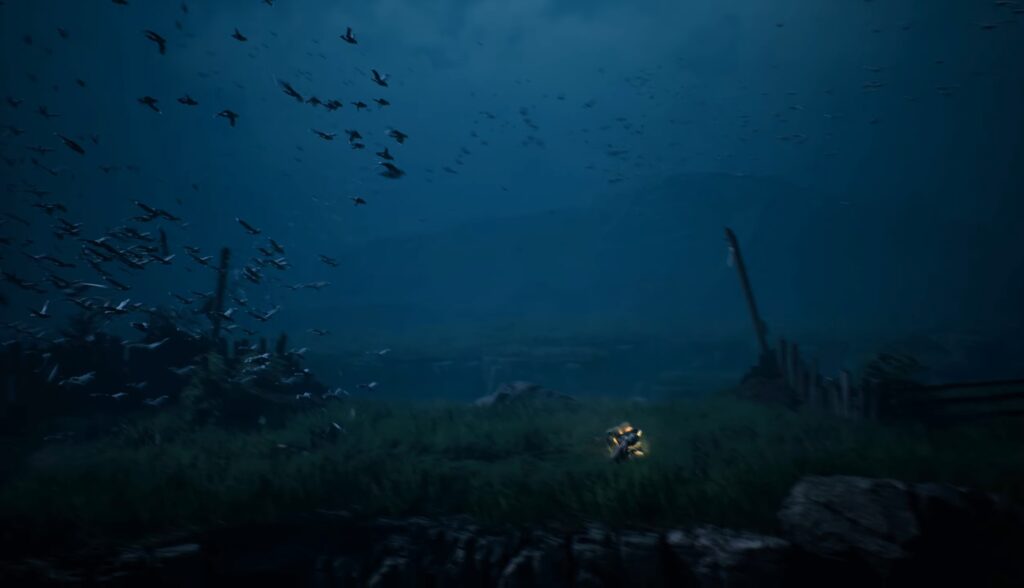
Run through the barn area again and continue downhill without stopping. Fighting is optional here, but slowing down too much can result in death.
Bus Stop Area
As you reach the bus stop, slow down briefly. To the right of the shelter, check the nearby structure or pole to find the final poster collectible for this chapter.
Collect it before ending the chapter.
Sit on the bench or approach the yellow bus to trigger the final cutscene. Once boarded, Chapter 3: After the Flood ends.